Celestron EdgeHD 8” Schmidt Cassegrain


the challenges of long focal length imaging with an EDGEHD 8”
As an early adopter of harmonic drive mounts (Rainbow Astro RST-135), I’ve had hopes to one day have a longer focal length setup to use with those mounts. In a way, I desired a portable long focal length imaging setup. The initial RST-135 guiding limitations made using a larger, longer focal length, telescope very difficult. With the release of the RST-135E Rainbow Astro suddenly made this possible. To read why, I wrote an article about my decision to purchase that mount and this telescope.
I primarily use my EdgeHD telescope for long focal length deep sky imaging. In general, Edge scopes have a few mechanical limitations that need to be overcome to support reliable imaging. The first is that the primary mirror moves position when you use the built in focuser. You may have heard the term “mirror flop”, and this specifically is that when you move the mirror by focusing it can shift left or right depending on it’s orientation when focusing. The second issue that crops up is what is knows as “flexure”. Flexure is the weight of the imaging train flexing under gravity. Why is this an issue? If you use a guide scope, and your main imaging train flexes as the telescope moves around, you have a mismatch in your guiding and capturing and this turns into a real issue at long focal lengths because any mismatch creates oblong star shapes. The same goes for the mirror flop when focusing, as it creates a shifted image after focusing or when crossing the meridian.
There are a few things that can be done to fix these issues. The first is to install a Crayford focuser onto the rear of the scope. This allows you to lock down the primary mirror using the mirror clutches that are built in. You then focus only with the Crayford, and that eliminates any issues arising from mirror flop. The second thing you can do to eliminate the issue of flexure is to use an OAG (off-axis-guider). By installing this, a pickoff prism takes a portion of the area that your camera sensor doesn’t cover, and uses the main telescope as the guide scope. There are a few benefits to this. When your main camera and guide camera are utilizing the primary scope for both imaging and guiding, then there’s no mismatch caused by flexure. The image train can sag, and the main camera and guide camera are still both in the same position. Also, with a 1:1 guiding and imaging setup, you can more accurately track the stars and correct for errors in your mount movement.
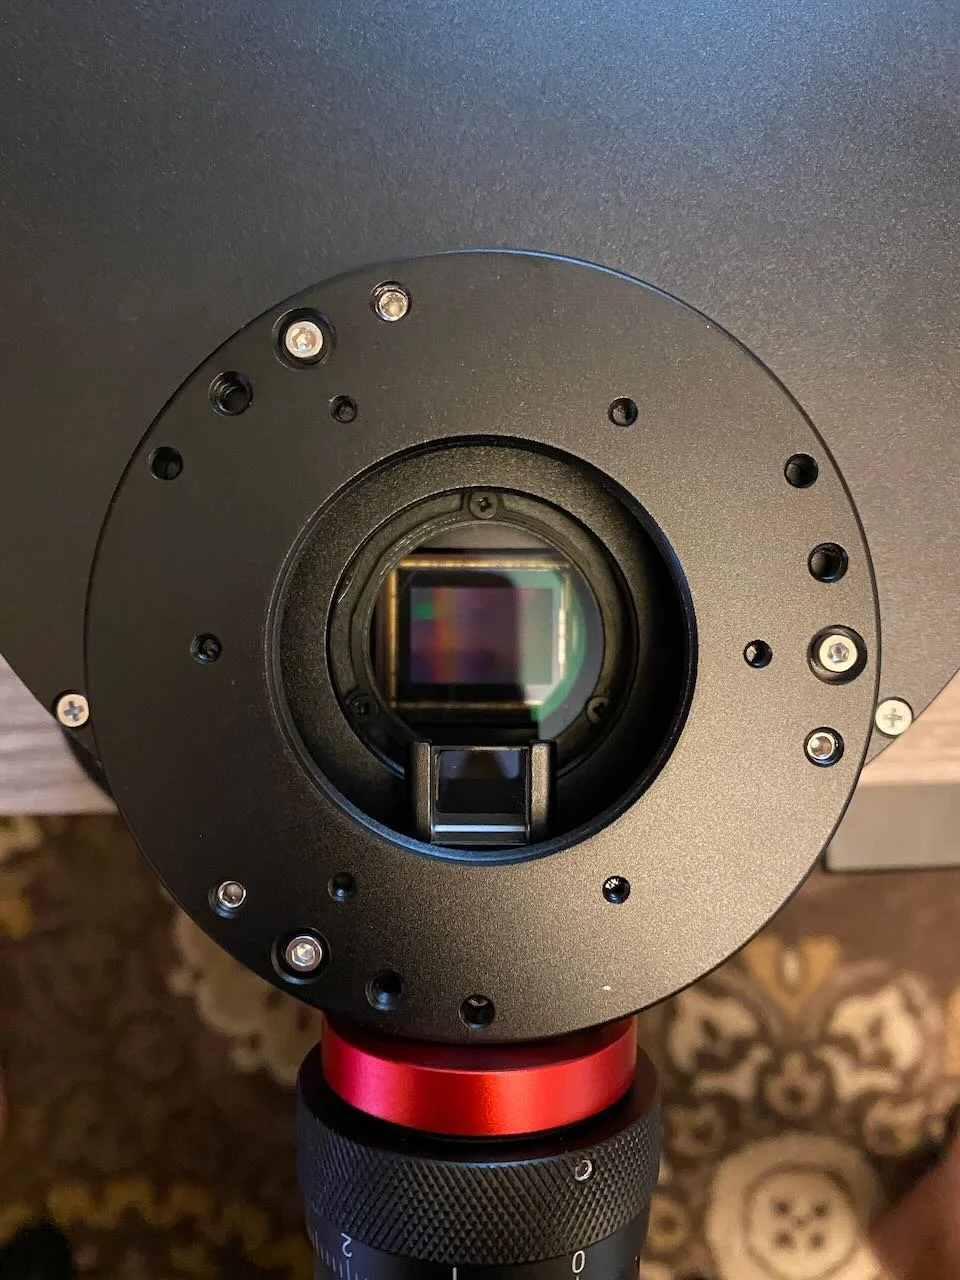
The ZWO OAG-L in position to pick off part of the light coming in the main telescope.

The Moonlite low profile EDGE crayford focuser with stepper motor for automated focusing.
Using the EdgeHD 8” .7x reducer
Initially it was a no-brainer for me to add the .7x Celestron reducer to this setup. It increases the imaging speed, and provides for some more versatility. In practice, overall, I’m not completely satisfied with the performance. As I started imaging regularly with it, I noticed a few issues. My star color was very unsatisfactory, the chromatic aberrations is so bad that it can be very difficult to get realistic looking stars in your images. I also noticed that when capturing broadband images (galaxies, reflection nebula, and clusters) that I always had trouble correcting my images with flats.

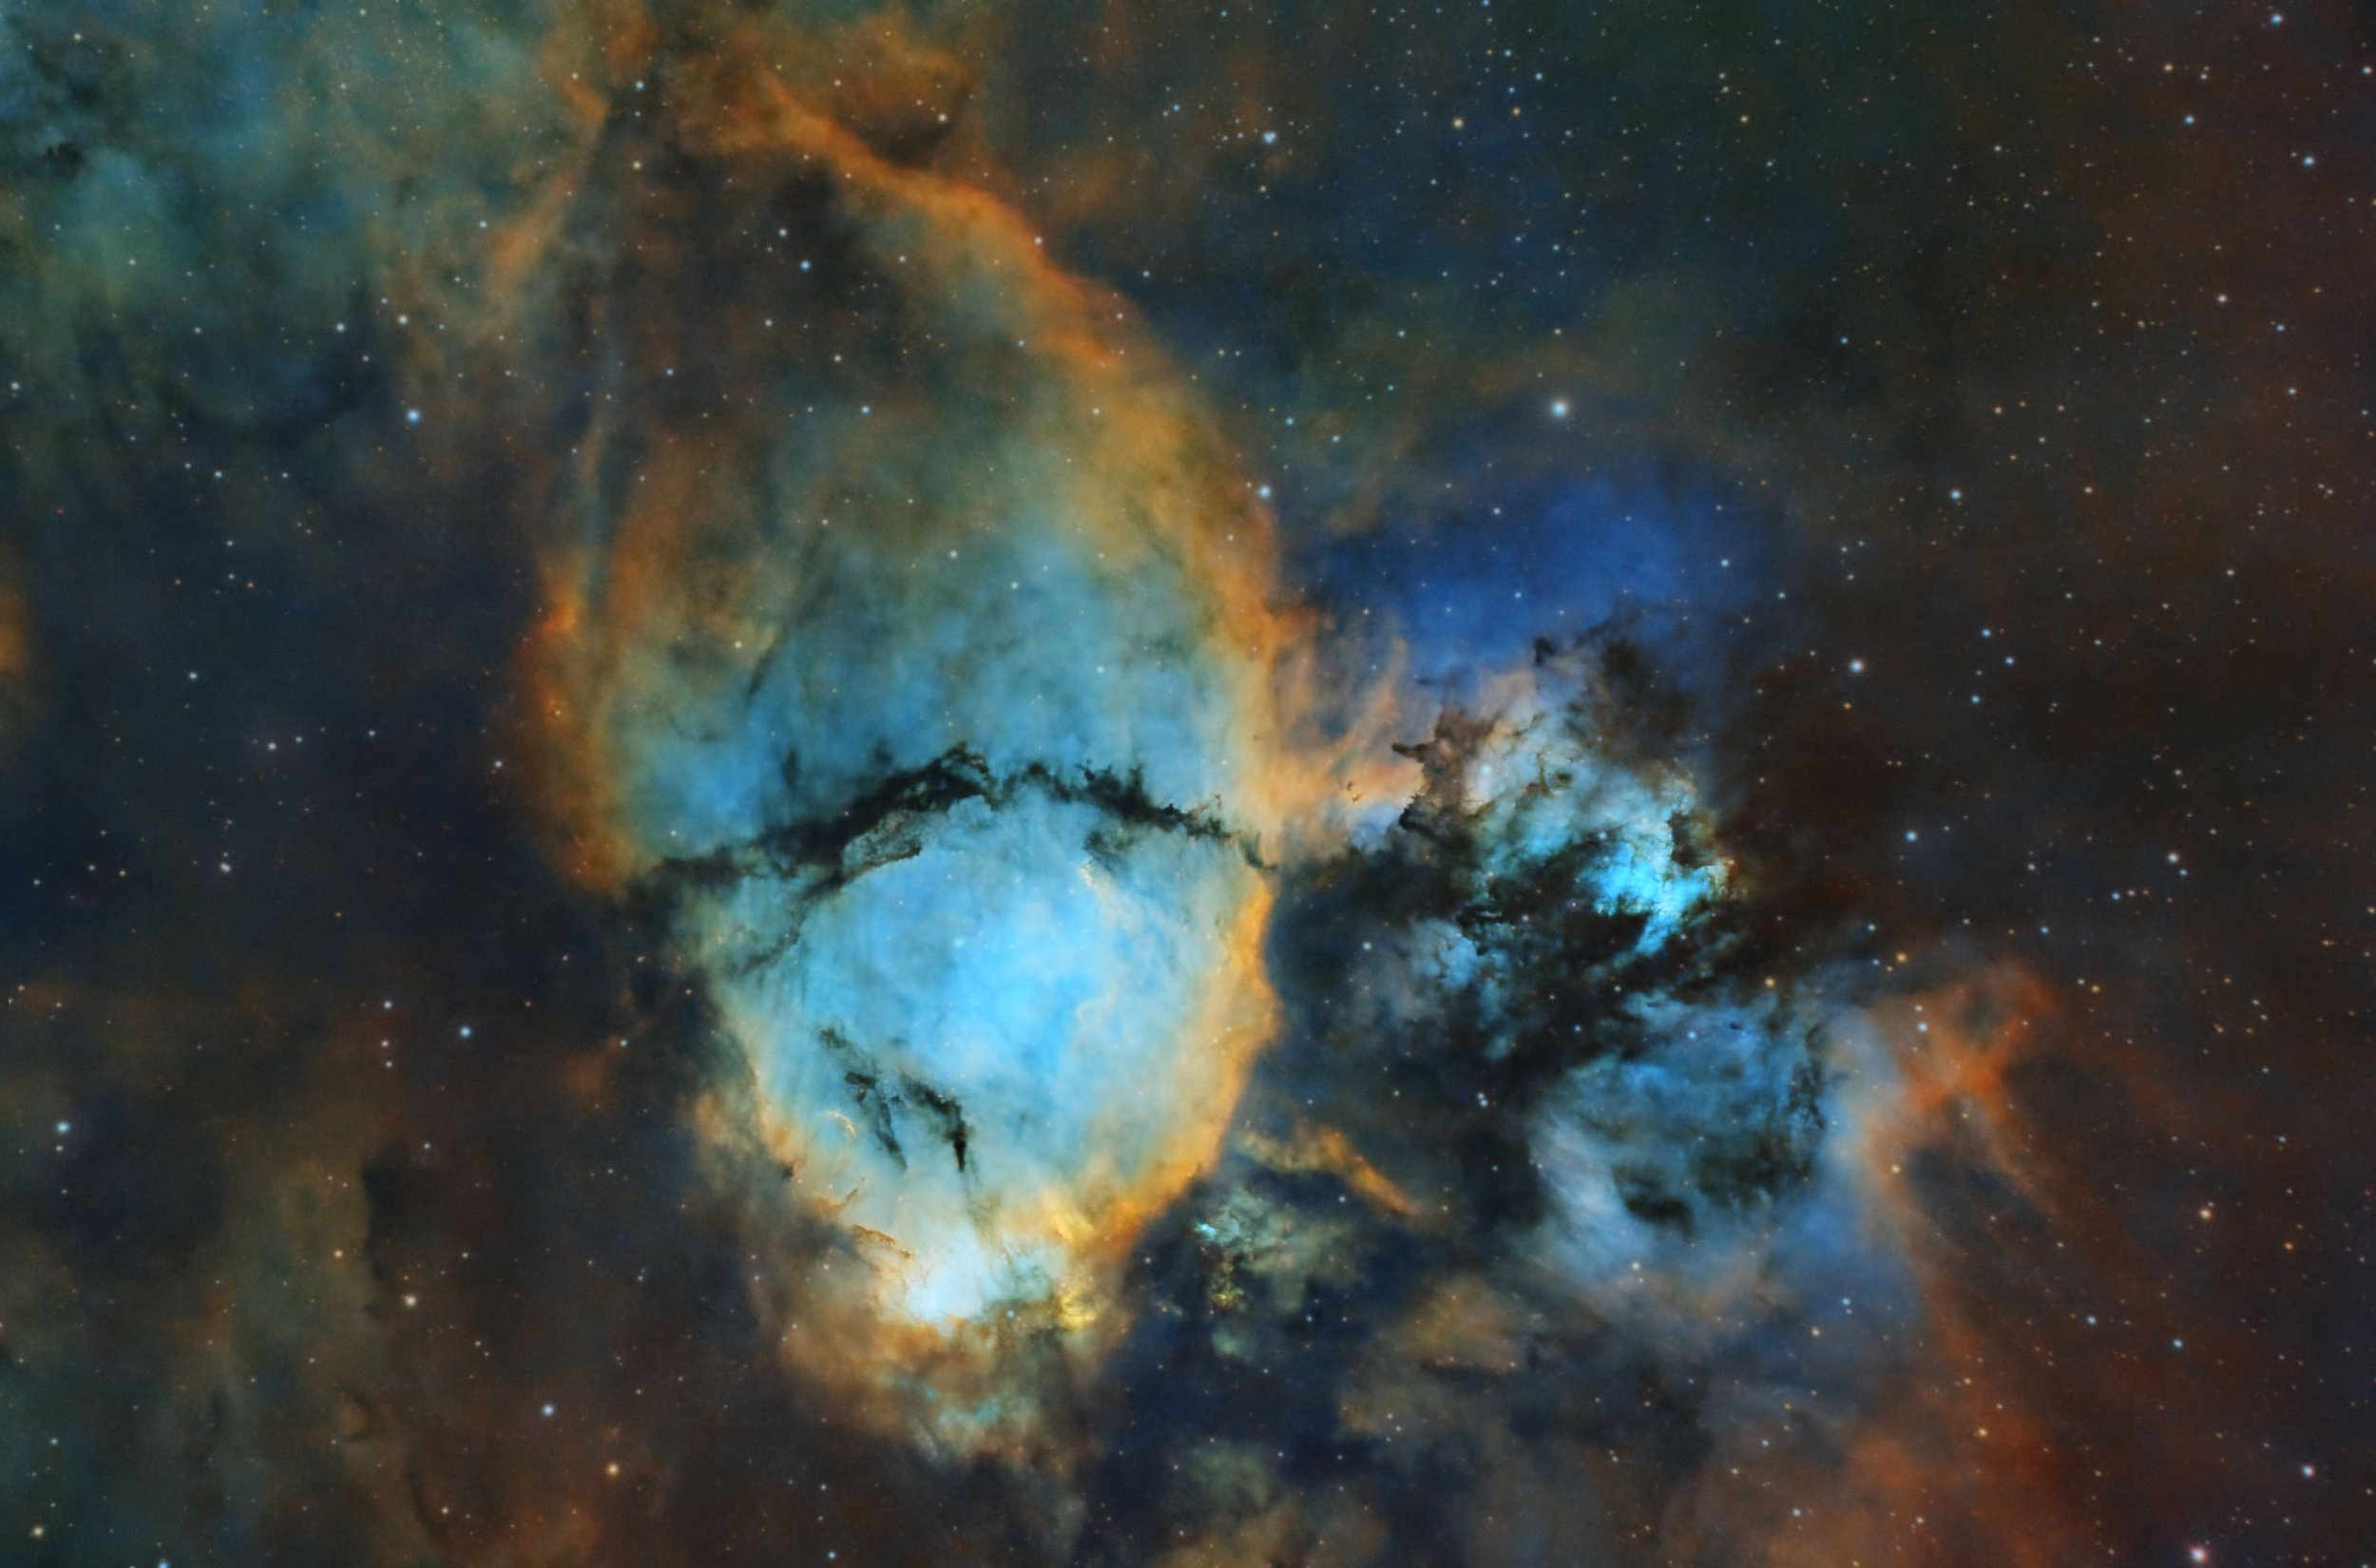
Narrowband images on the left correct out perfectly once calibrated, but broadband data on the right always had strange issues with correction due to the focal reducer.
I wrote about the flats issue at length on CloudyNights.com until I discovered where the issue came from. The issue mainly stems from reflections off the metal of the reducer. It’s not coated in a flat black color, and if you shine a flashlight through the tube you can see light bouncing off the insides of the reducer. The reason it’s not as apparent in narrowband images is that the majority of the broadband light is filtered out before it gets to the camera. Removal of the reducer eliminates the issue completely.
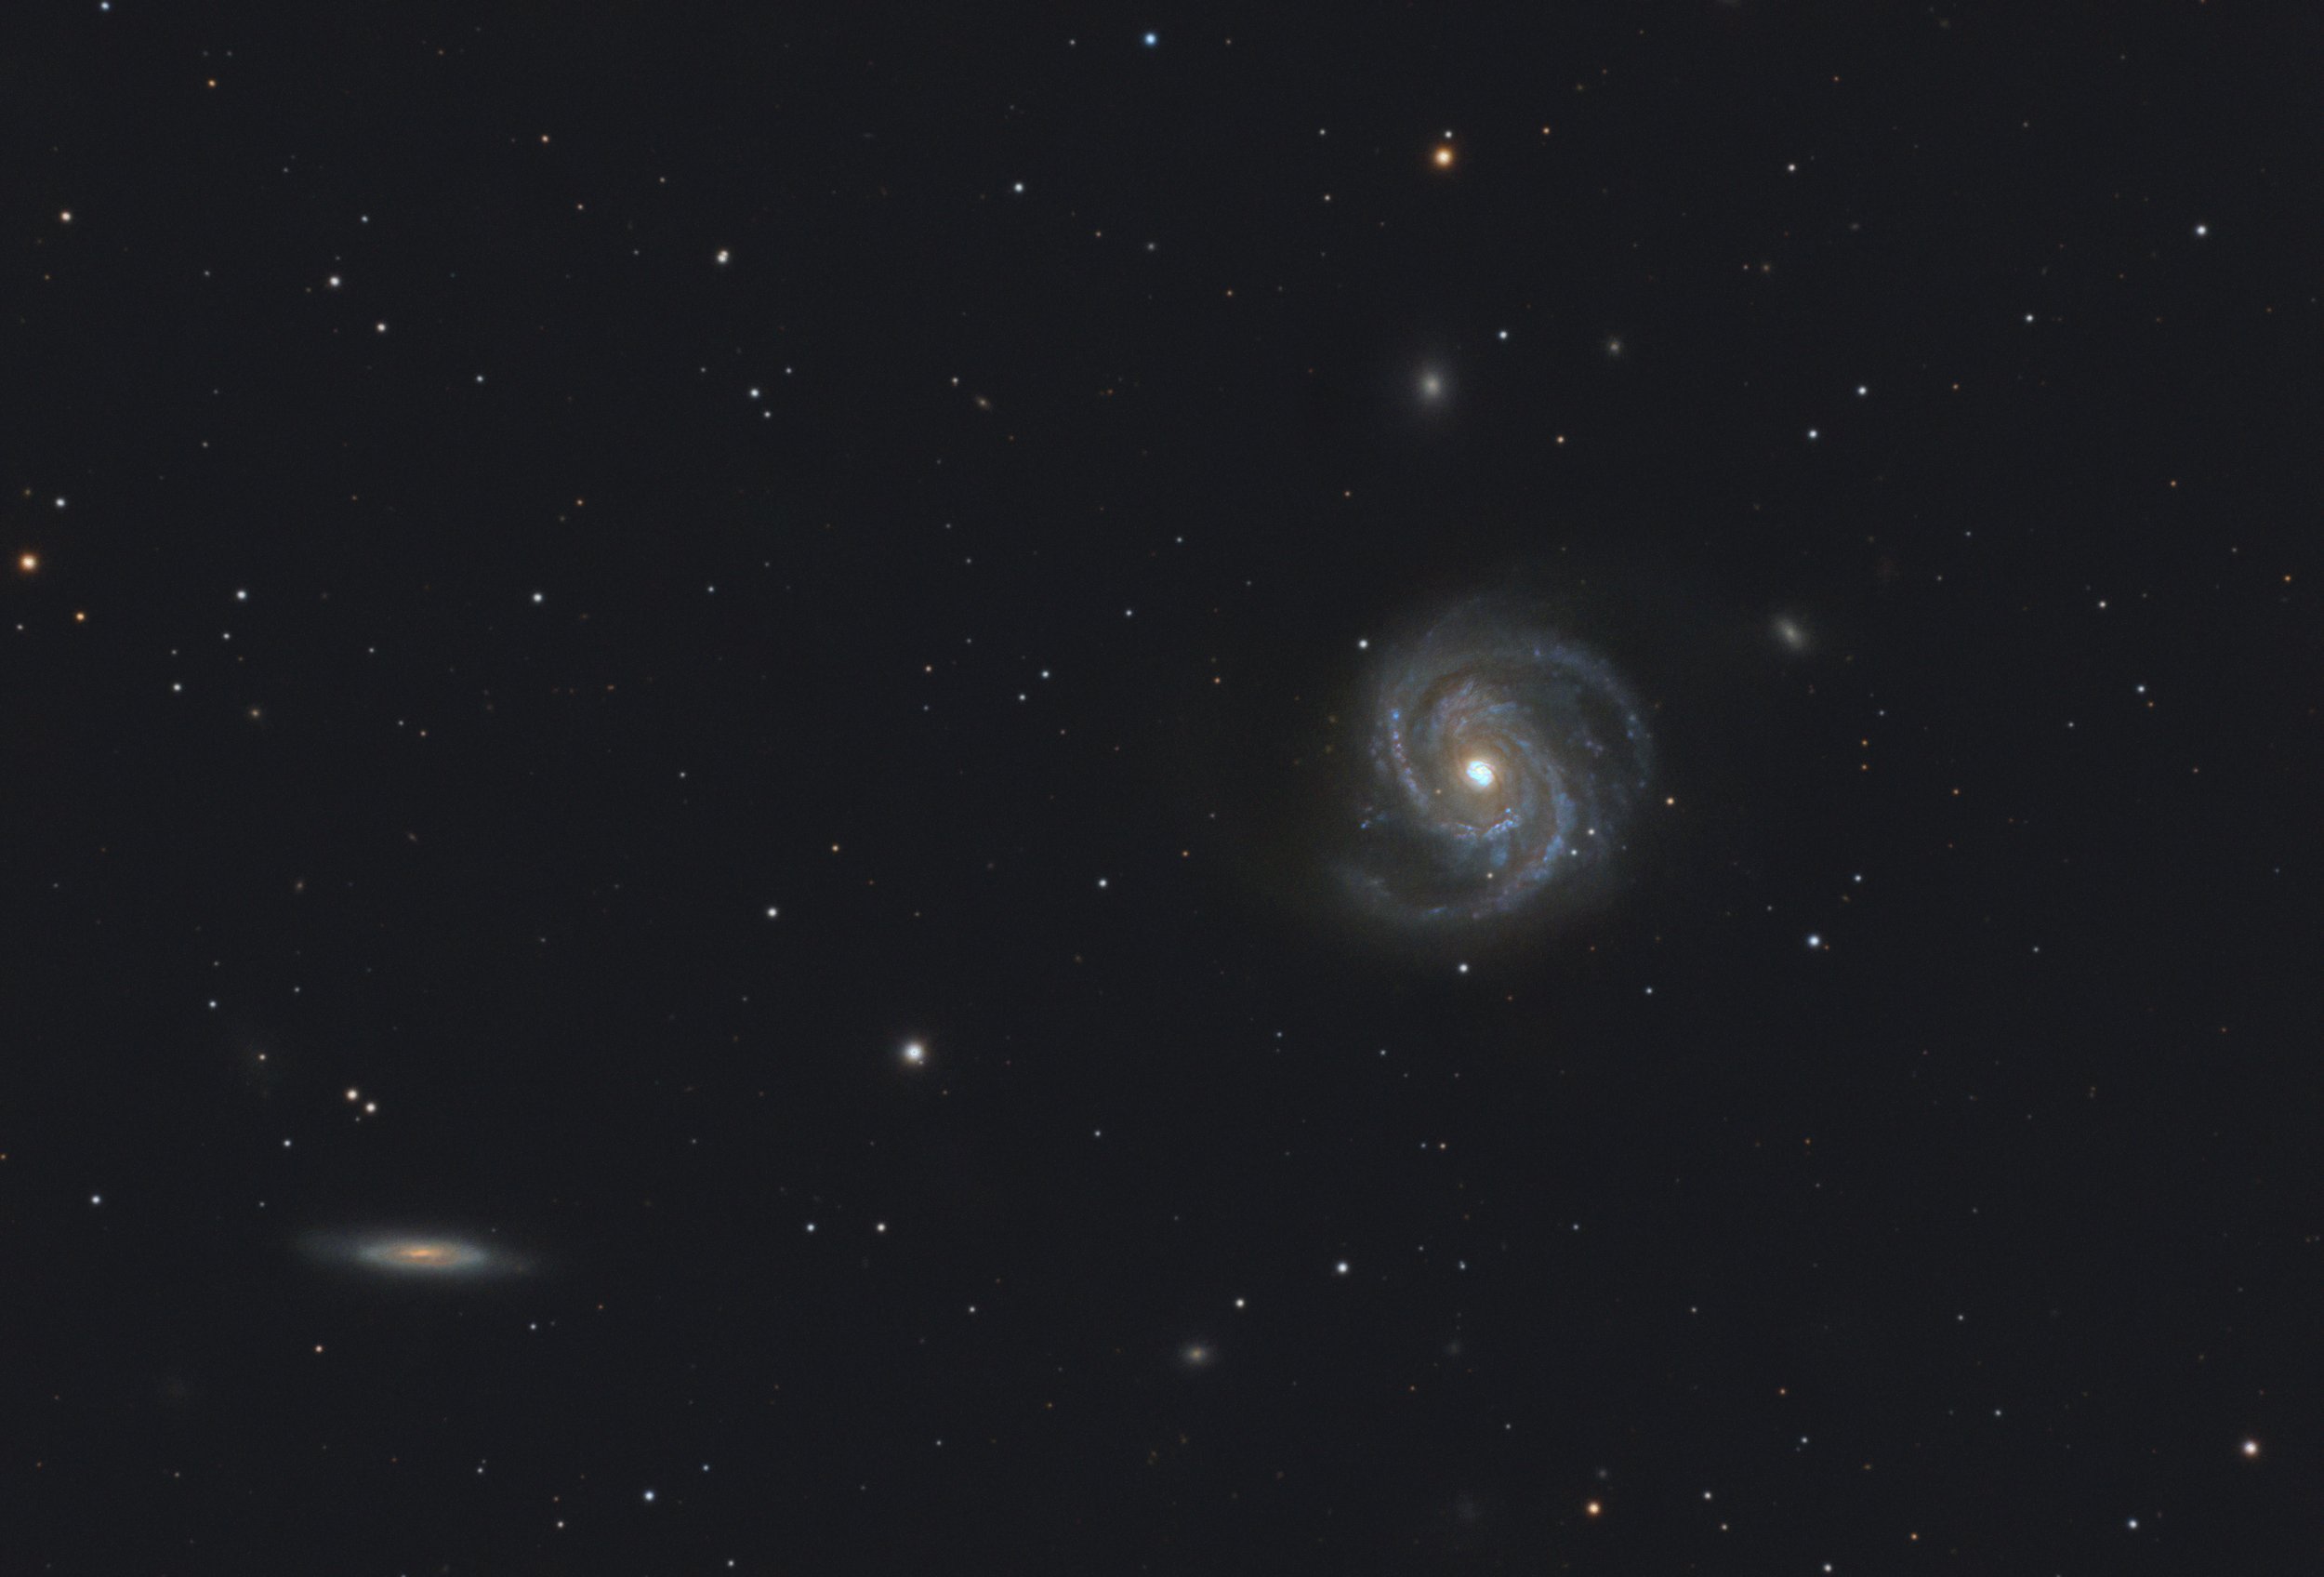
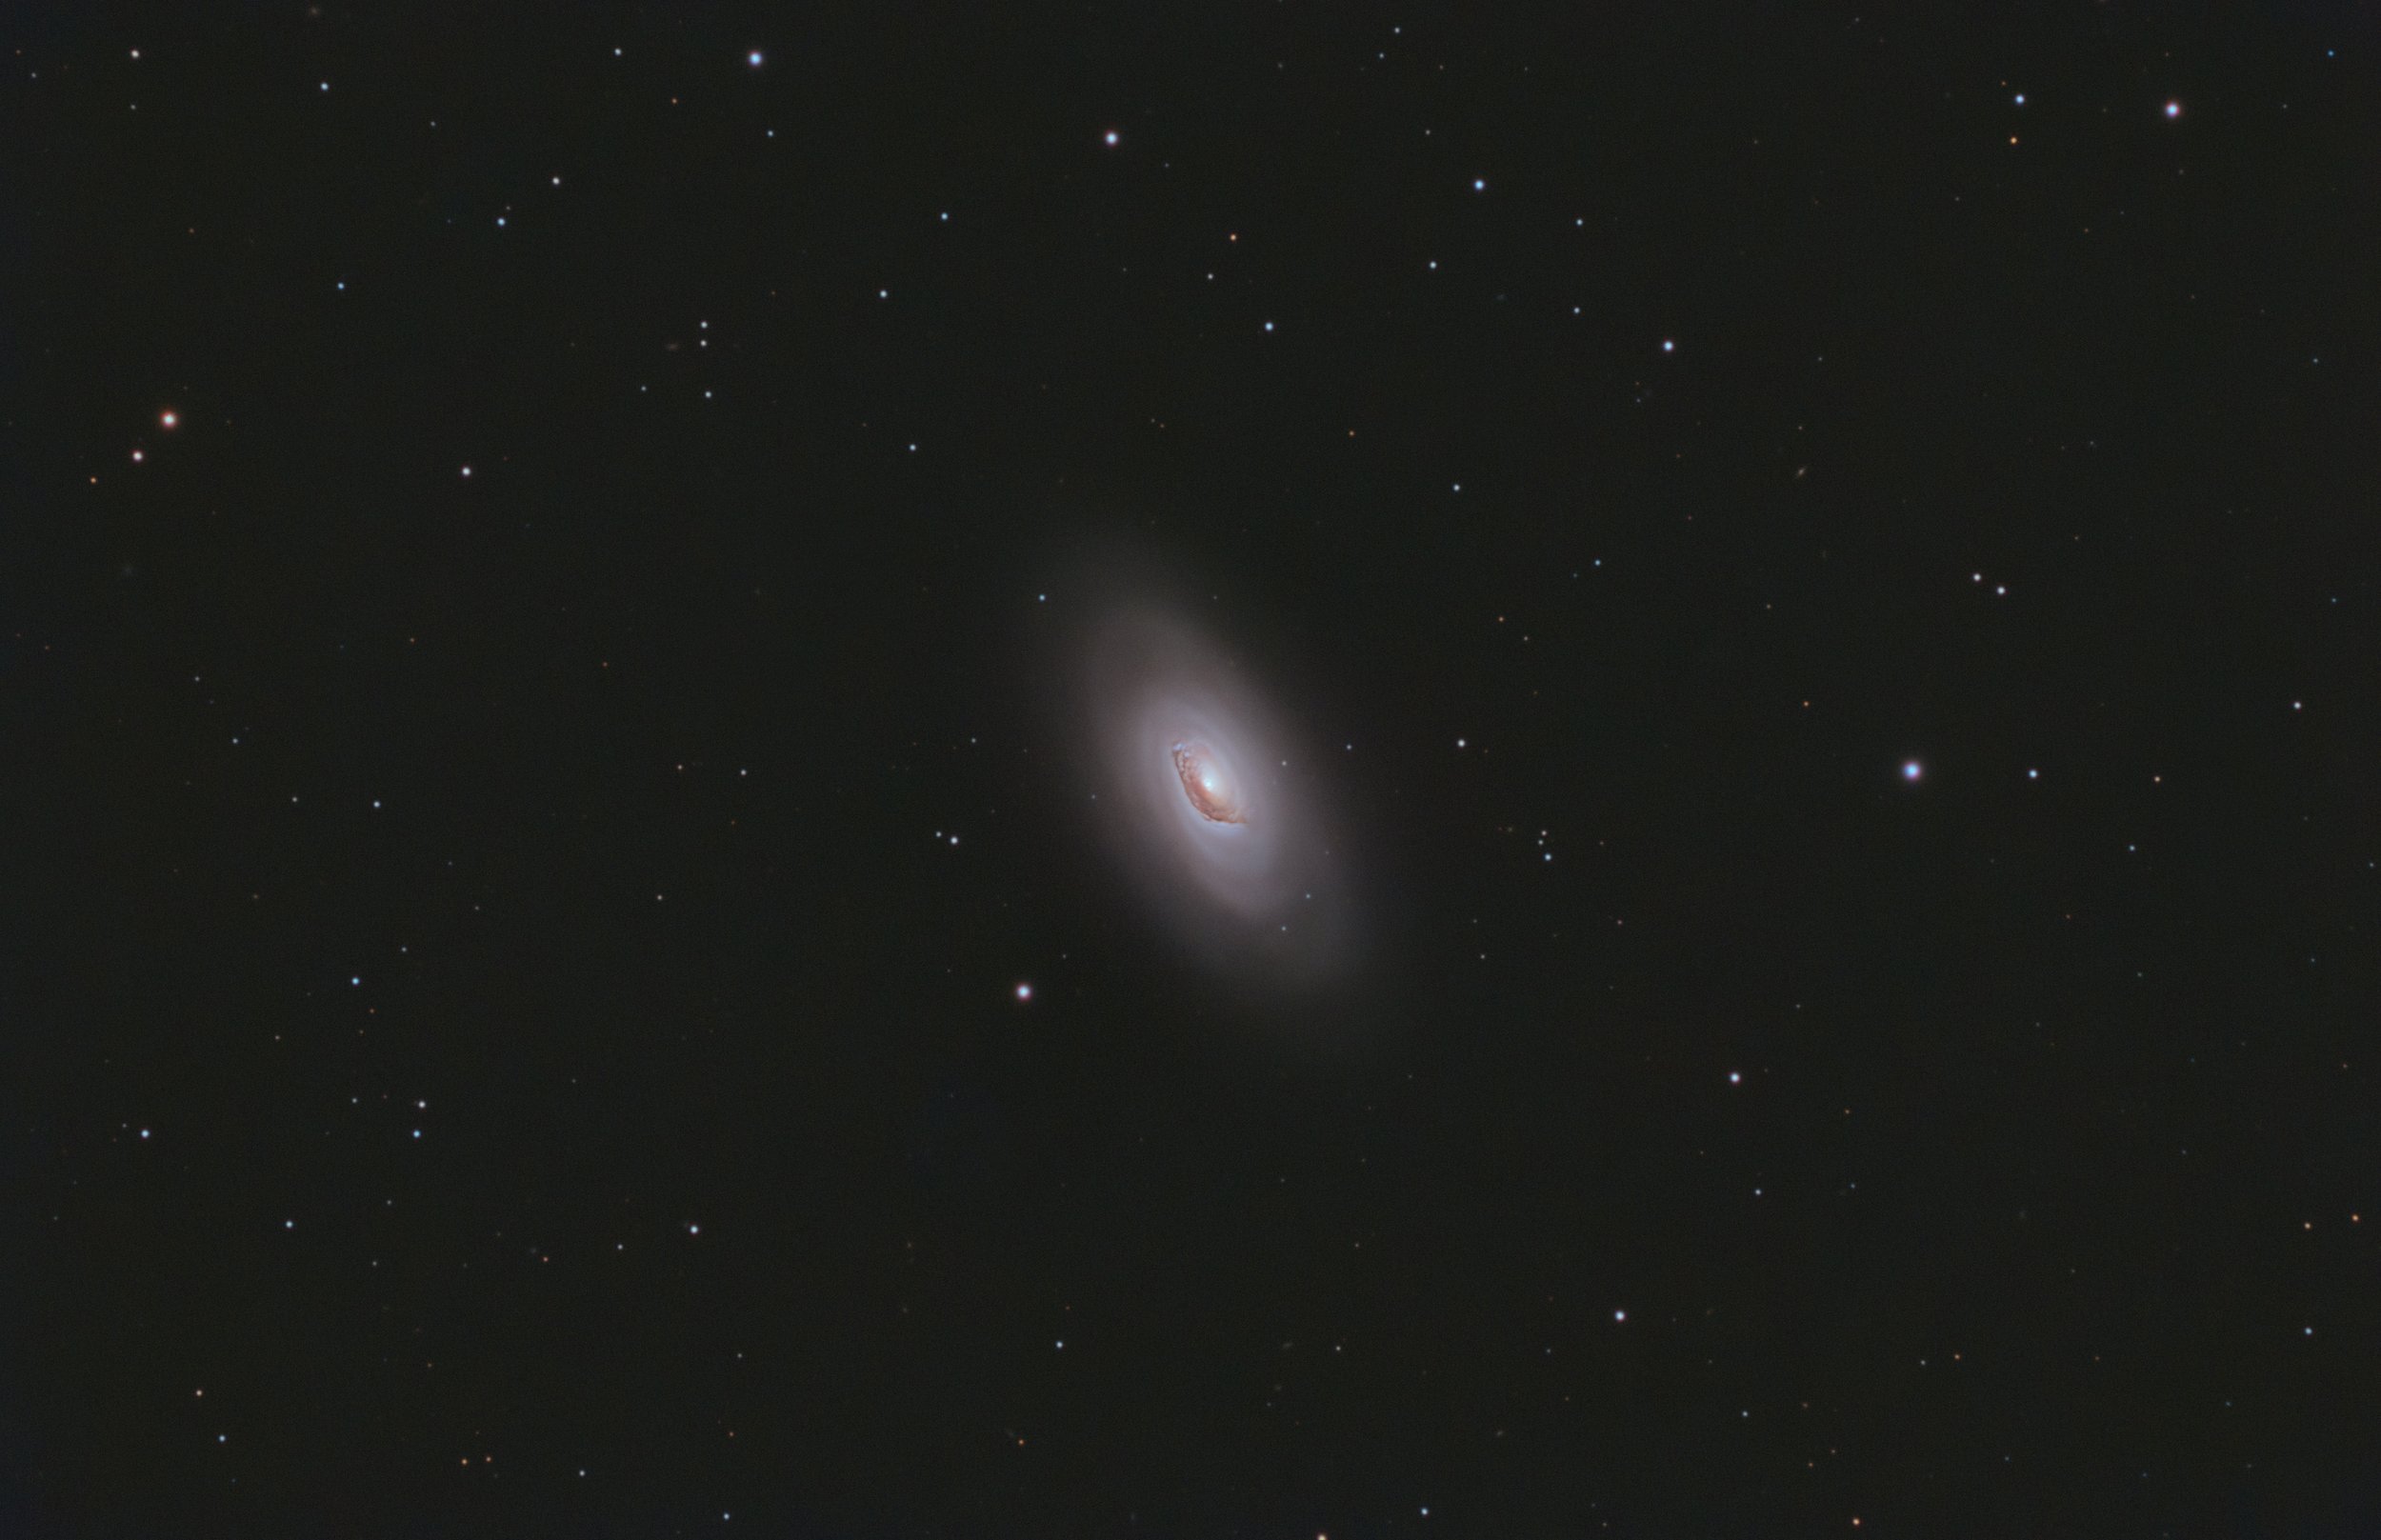
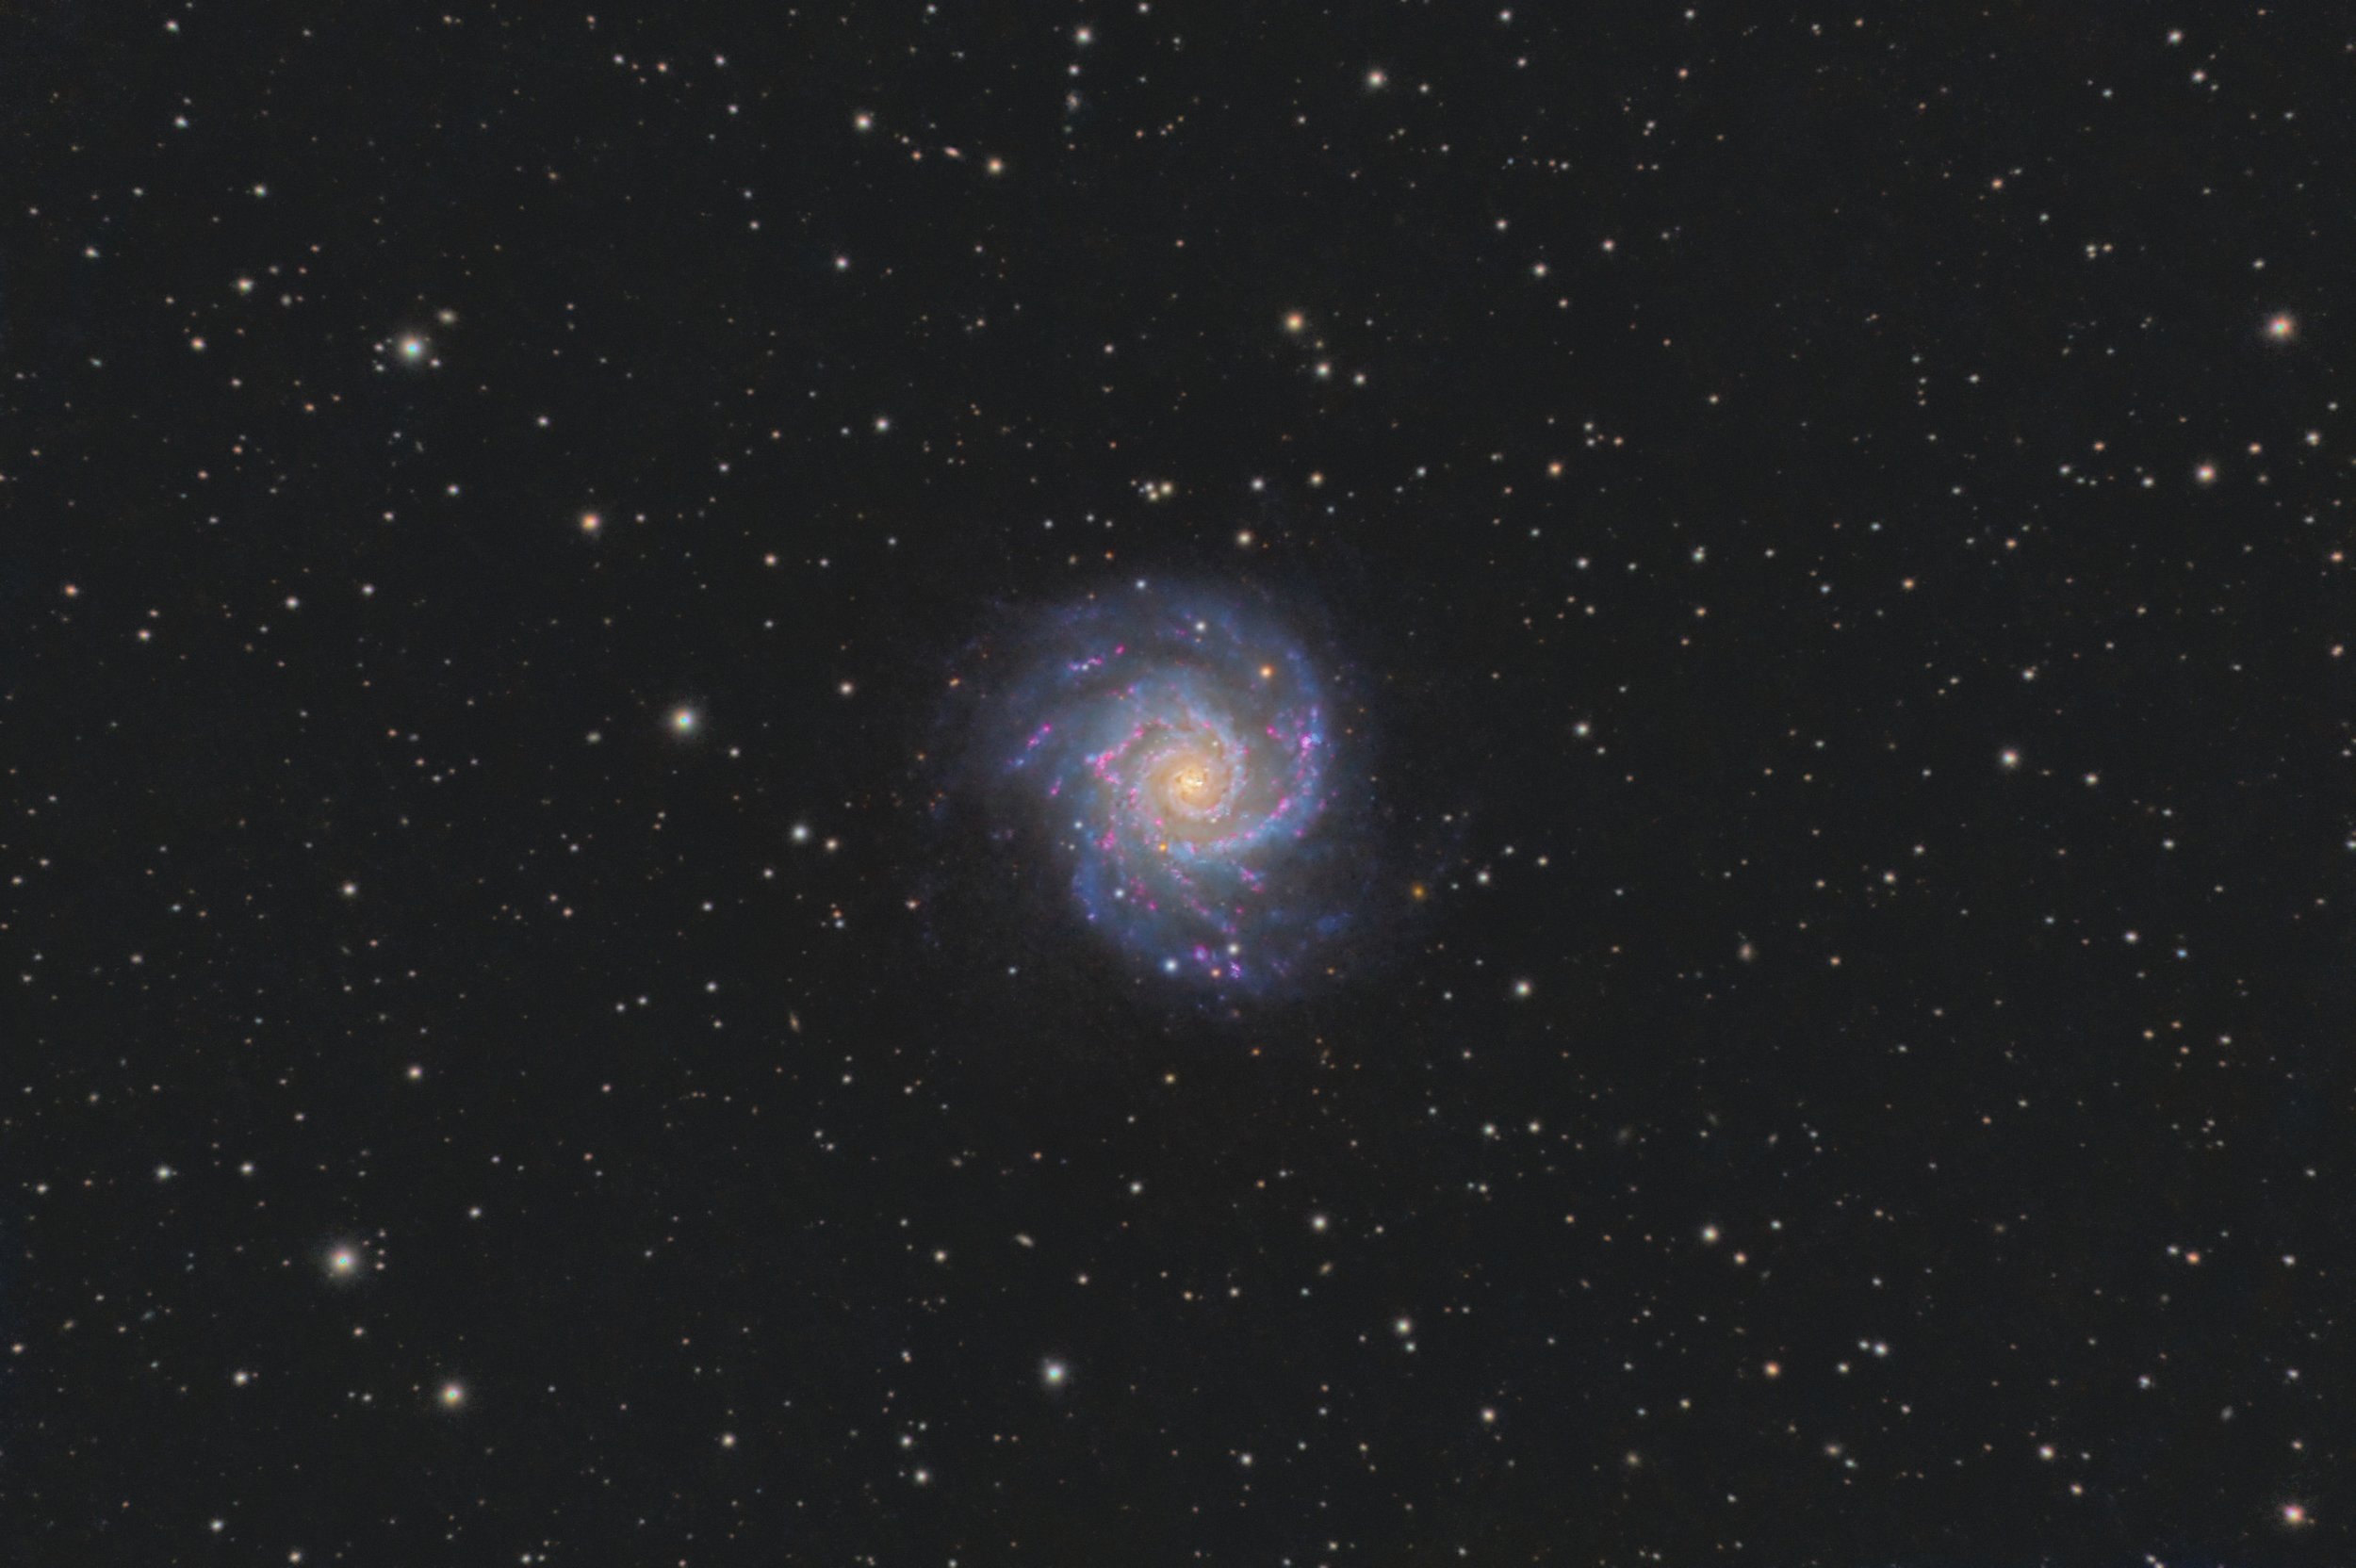
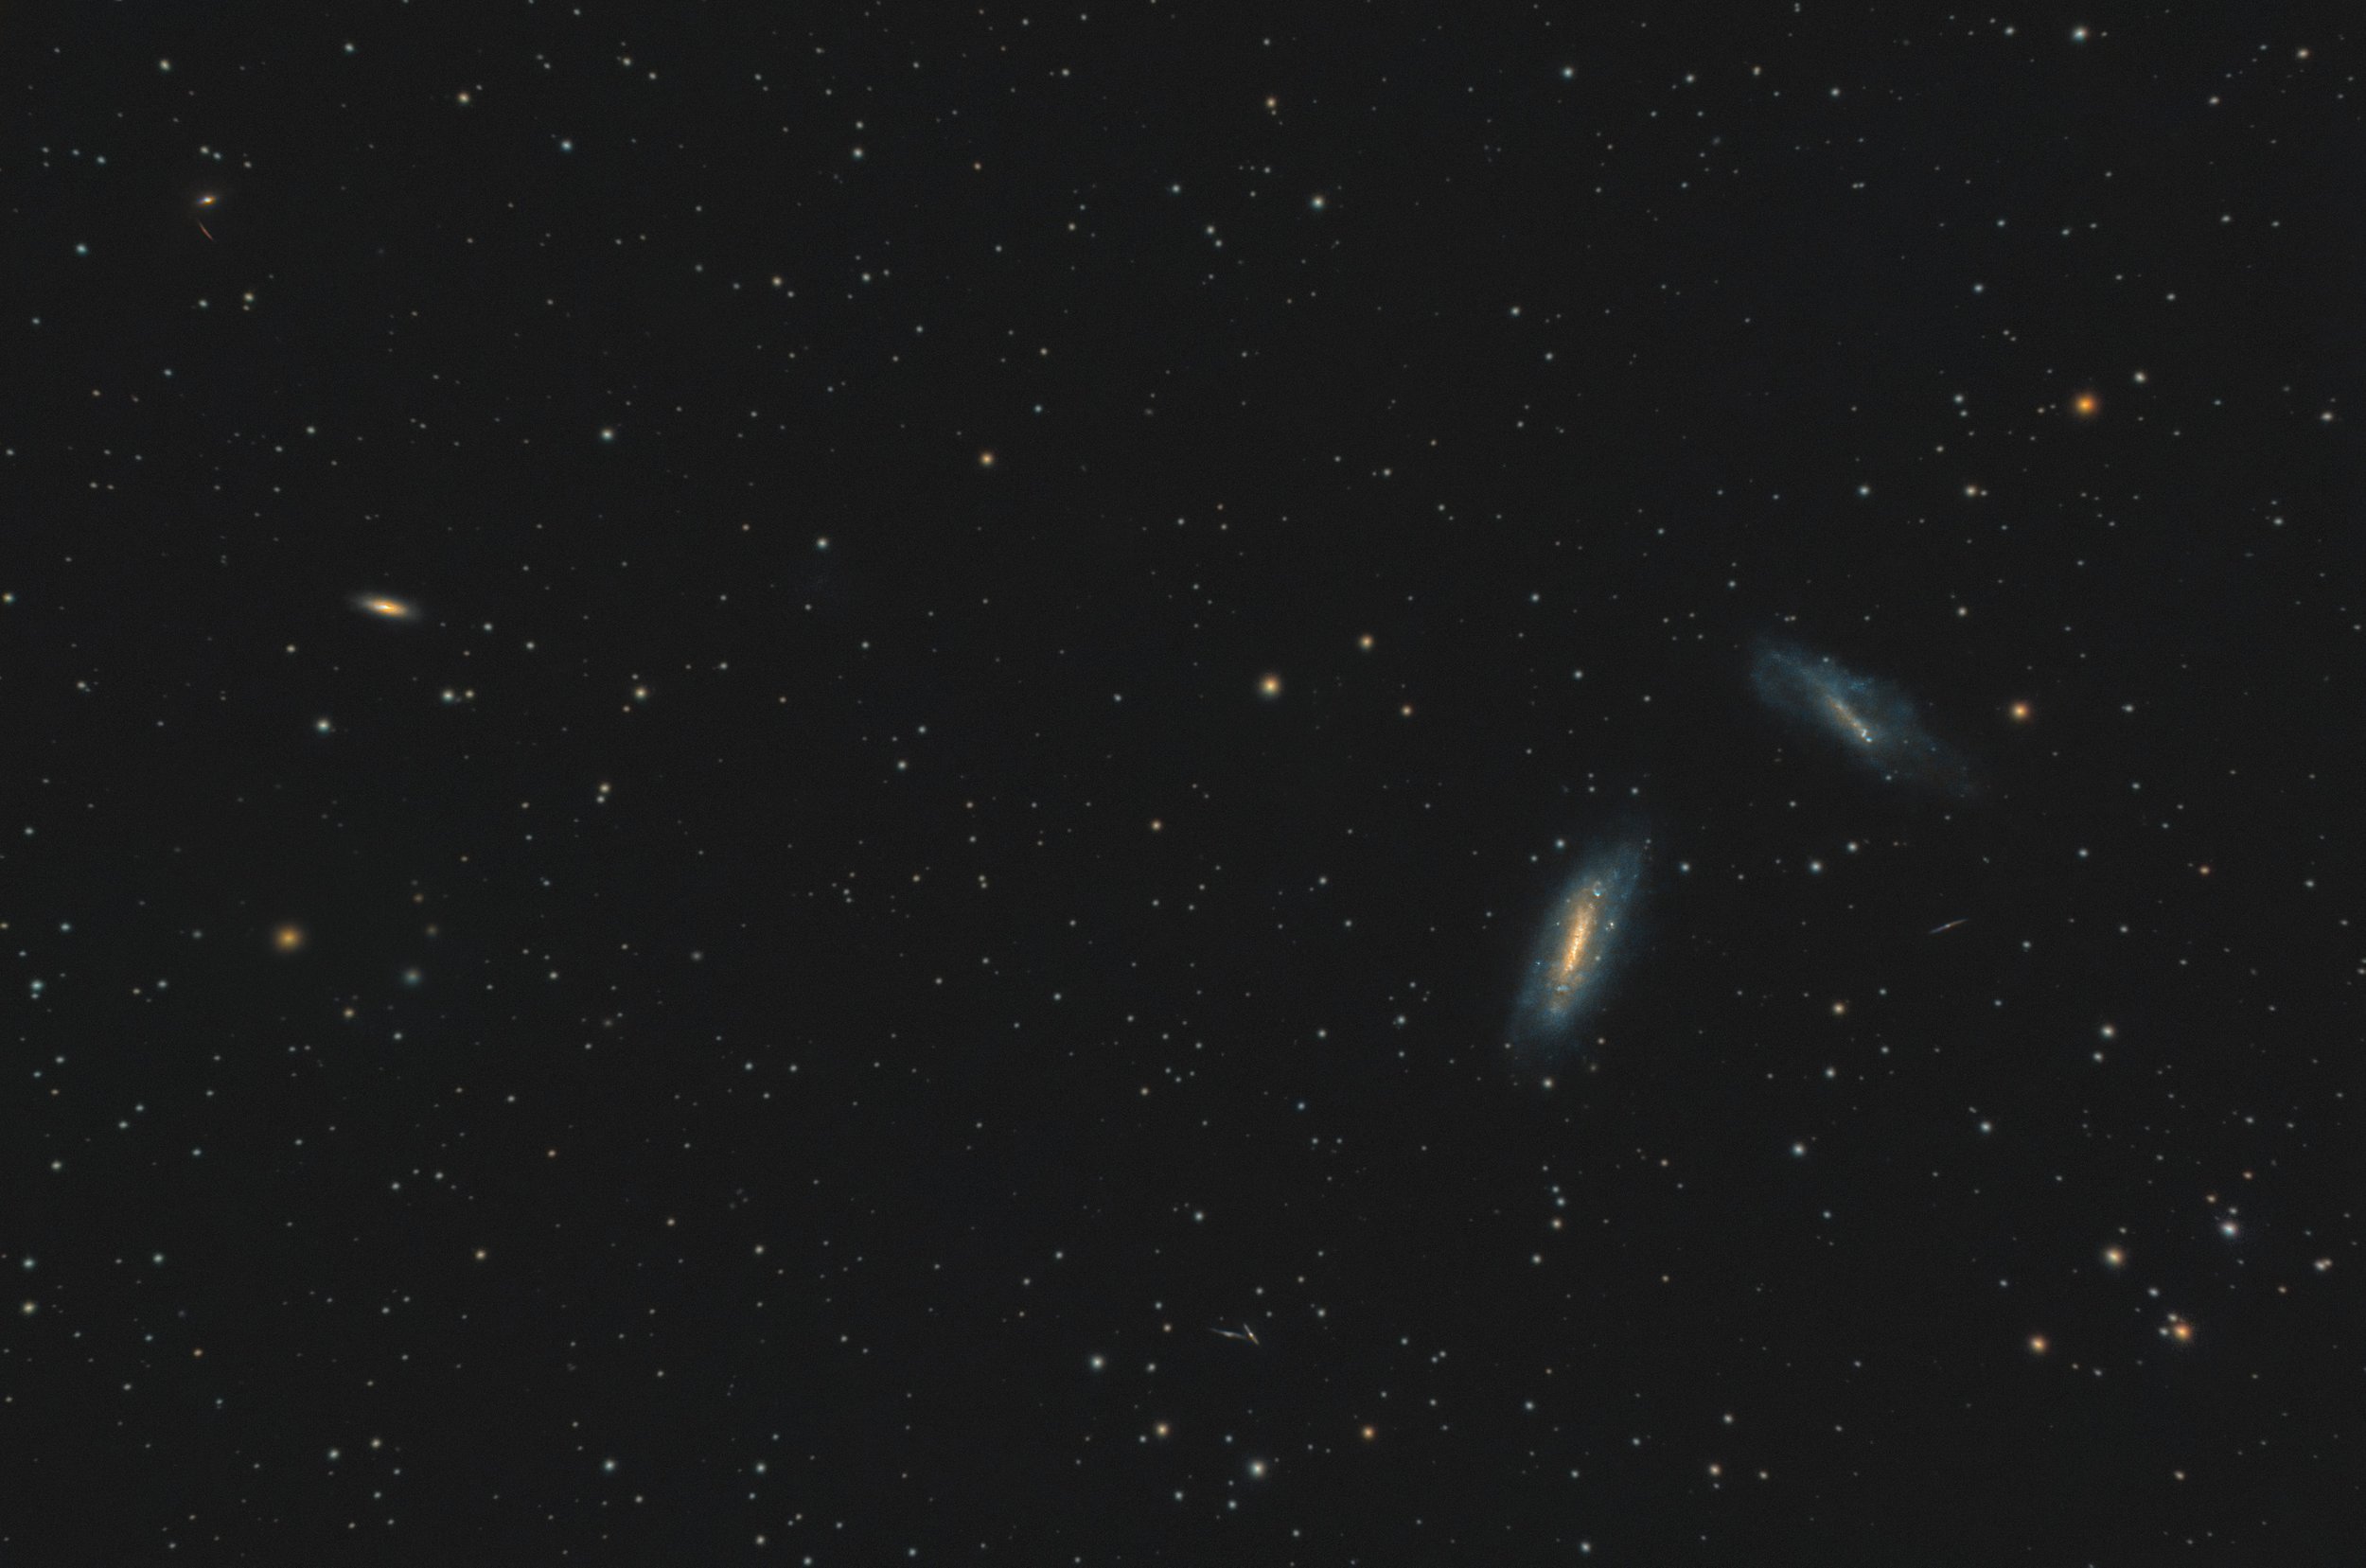
Regarding the star colors, there’s nothing that can really be done about this other than taking out the reducer. Without the reducer in place, stars look amazing and color is accurate across the board. My M100 and M64 images below were taken without the reducer in place and they are reflective of the quality you can get right out of the scope. The other broadband images all show varying amounts of discoloration in the stars, but otherwise look passable. I tend to have an innate desire to get my images as perfect as possible, and for me the reducer didn’t cut it. So, I’ve since sold the reducer and only image at native focal length. Some may say F10 is slow, but the aperture is large enough to let in a fair amount of light and not dramatically increase the imaging time.
Picking a CMOS camera to pair with the telescope
Last thing I’m going to touch on is the pairing of the main imaging camera with this telescope. There are a few factors that play into your choice here. One is image scale and your seeing, and the other is your guiding capability. Image scale is a function of focal length (with or without reducer), and pixel size of the camera with or without binning. Seeing for most places in North America are generally between 1.8-3. You can get higher in some areas and lower in others. Mine averages around 2-2.5. Using Astronomy.tools CCD Suitability Calculator, you can determine the image scale of your chosen equipment.

After plugging in my parameters you can see that my camera choice (ASI2600MM-Pro) with 2x2 binning gets me a resolution of 0.76°/pixel with average seeing between 2-4. Notice the indicator in the green area. You want to target a similar scale with your equipment, trying to keep the scale in that green area, too much below or above and you’re either under sampled or over sampled and wasting or losing resolution.
One thing to understand about your pixel scale and how it translates to guiding is this: your total guiding RMS error needs to be smaller than your pixel scale. Lets say you have an inexpensive telescope mount, and your average guiding RMS is around 1.2-2.0 RMS. If you chose this camera and telescope combination that RMS is way above the .76 resolution of your setup. This will directly translate to oval stars in your output, because the guiding capabilities of your mount are not good enough to handle the detail being imaged at this resolution. Conversely if your RMS was 0.5 on your mount, imaging at .76 pixel scale, your mount is good enough that your pixel scale can hide any guide errors that occur at .5 RMS. So you always want to have your guide RMS lower than your pixel scale while pairing your camera to achieve good detail for your average seeing conditions. Using binning and a reducer can help increase your pixel scale to overcome your mount limitations if a new mount is not in the cards for you to purchase.
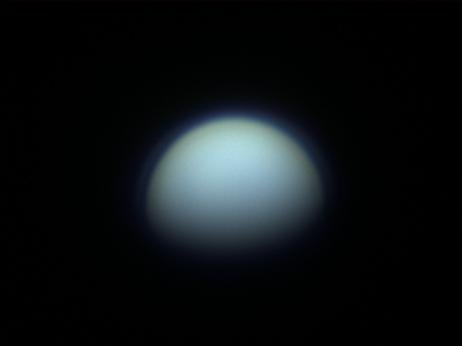
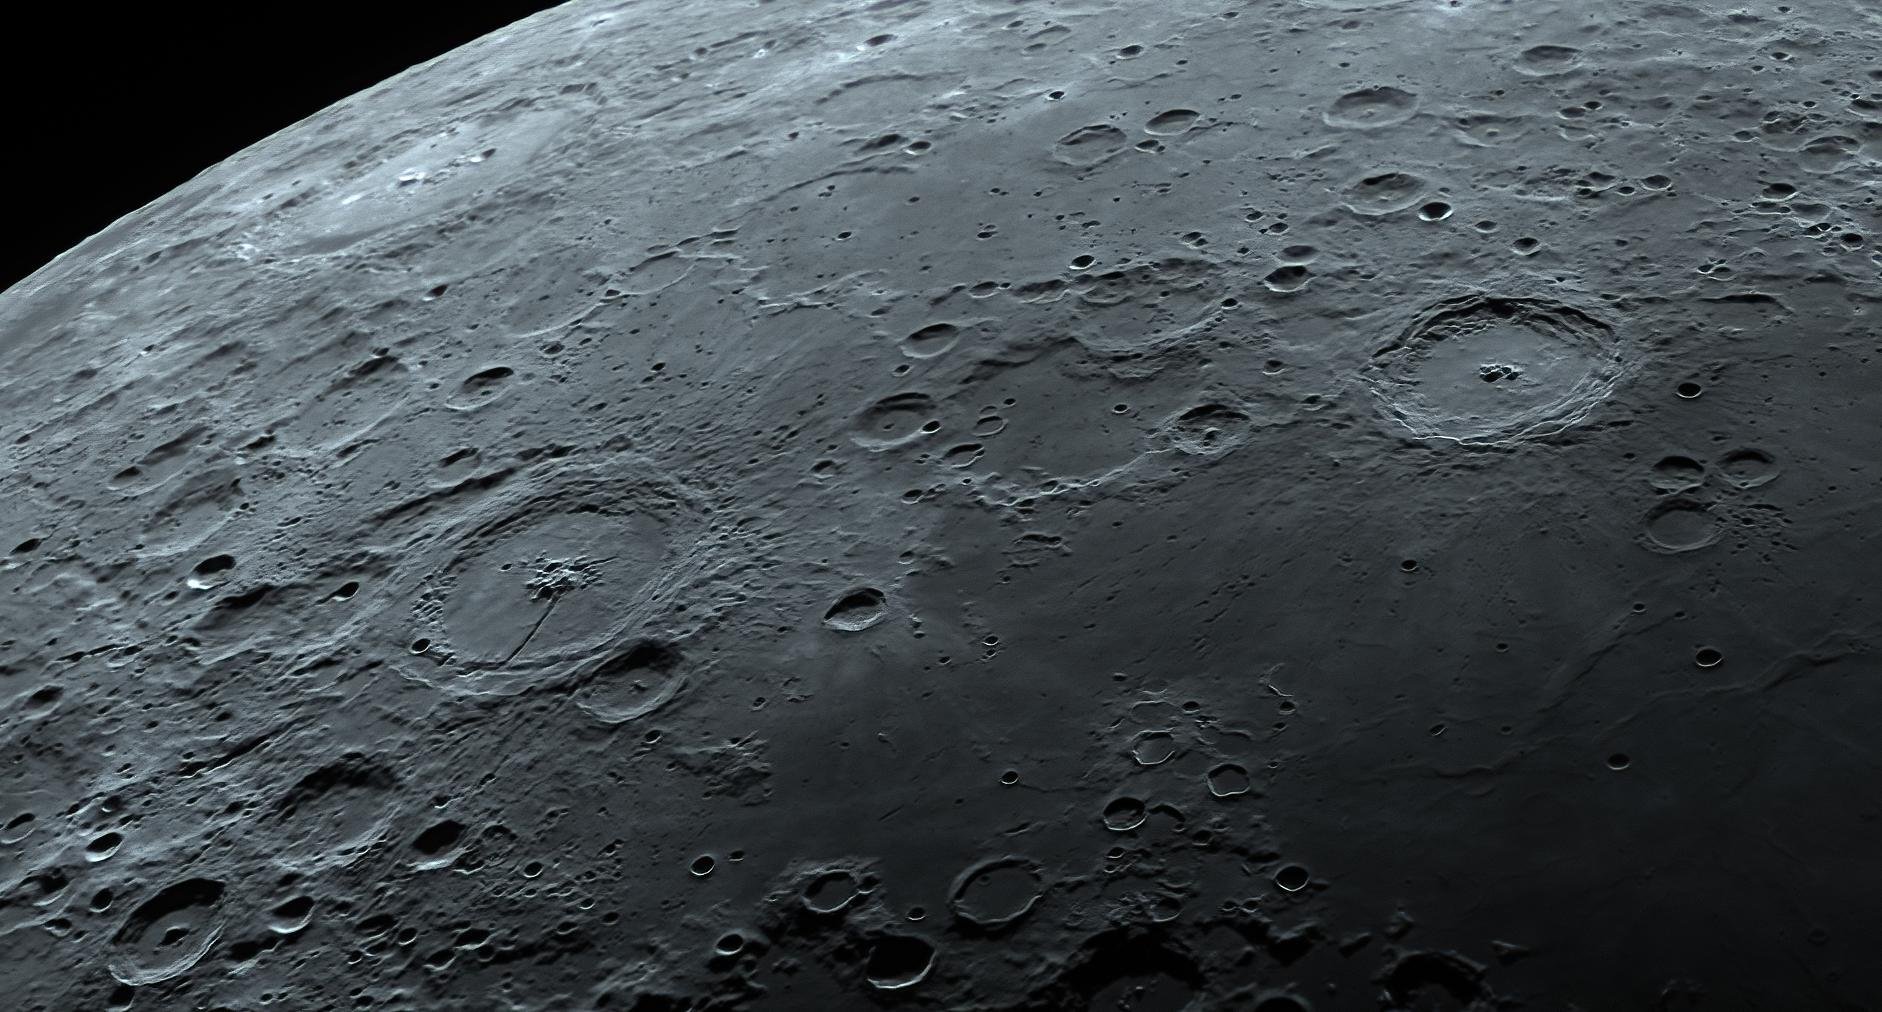
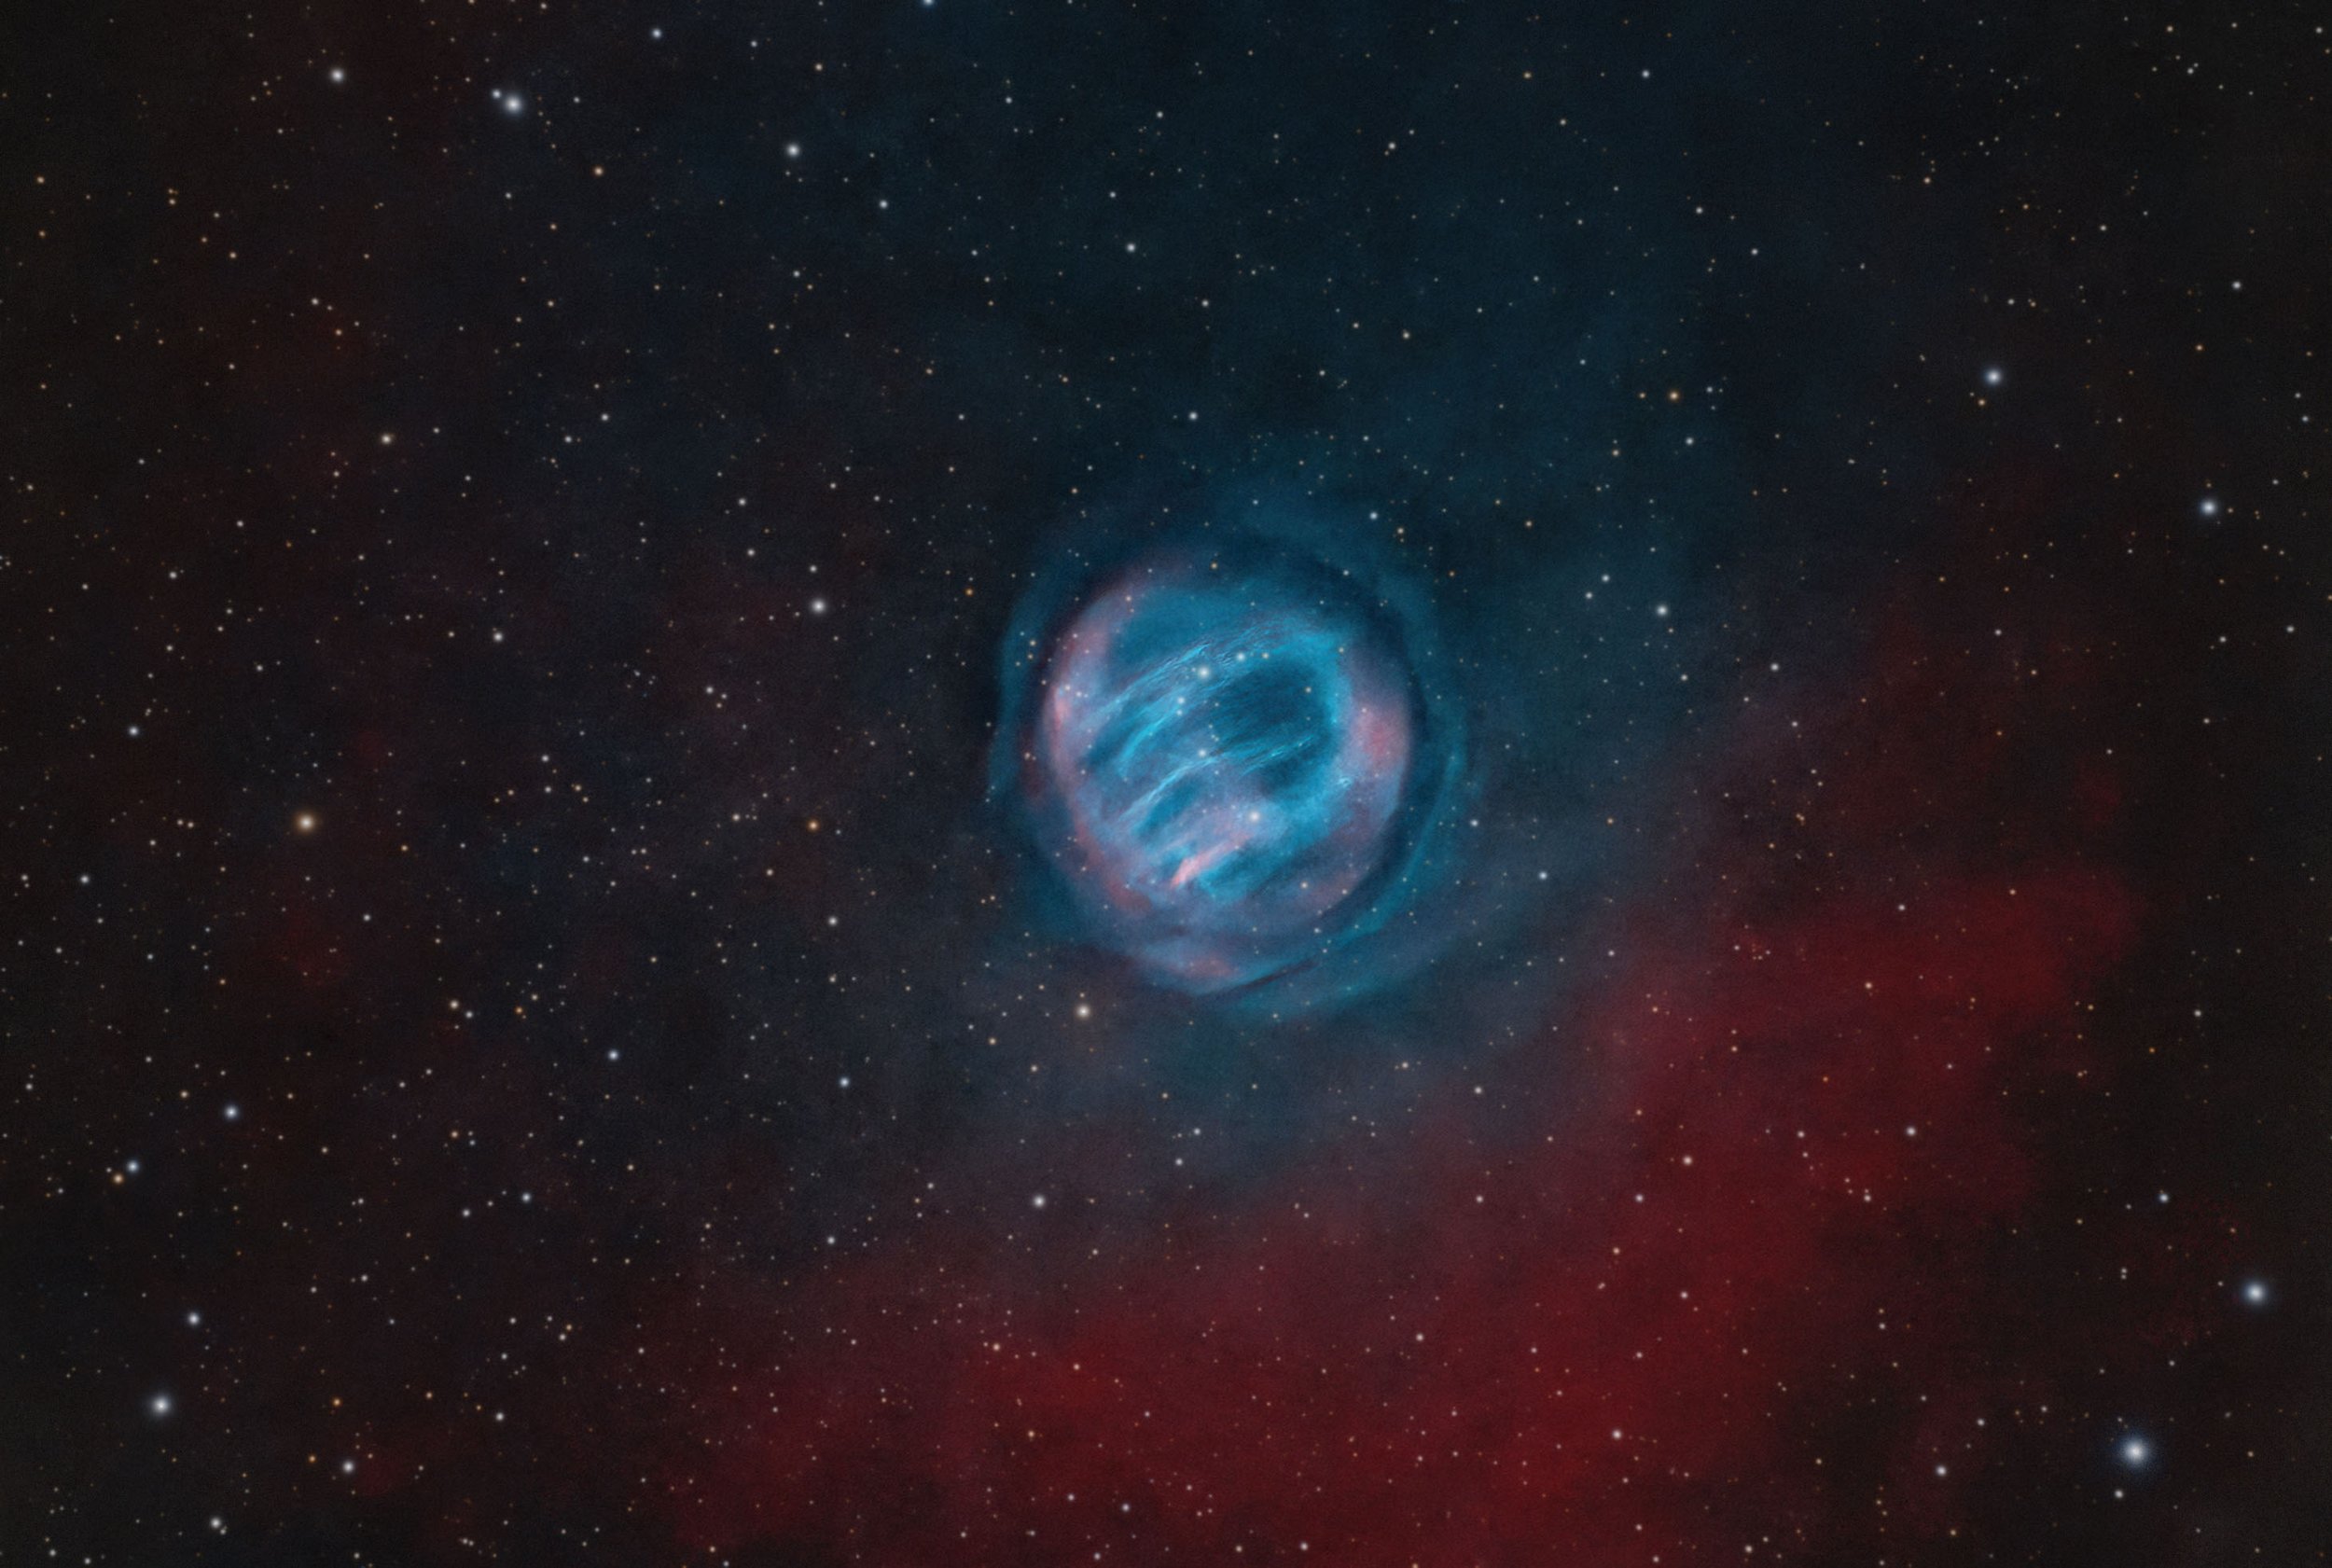
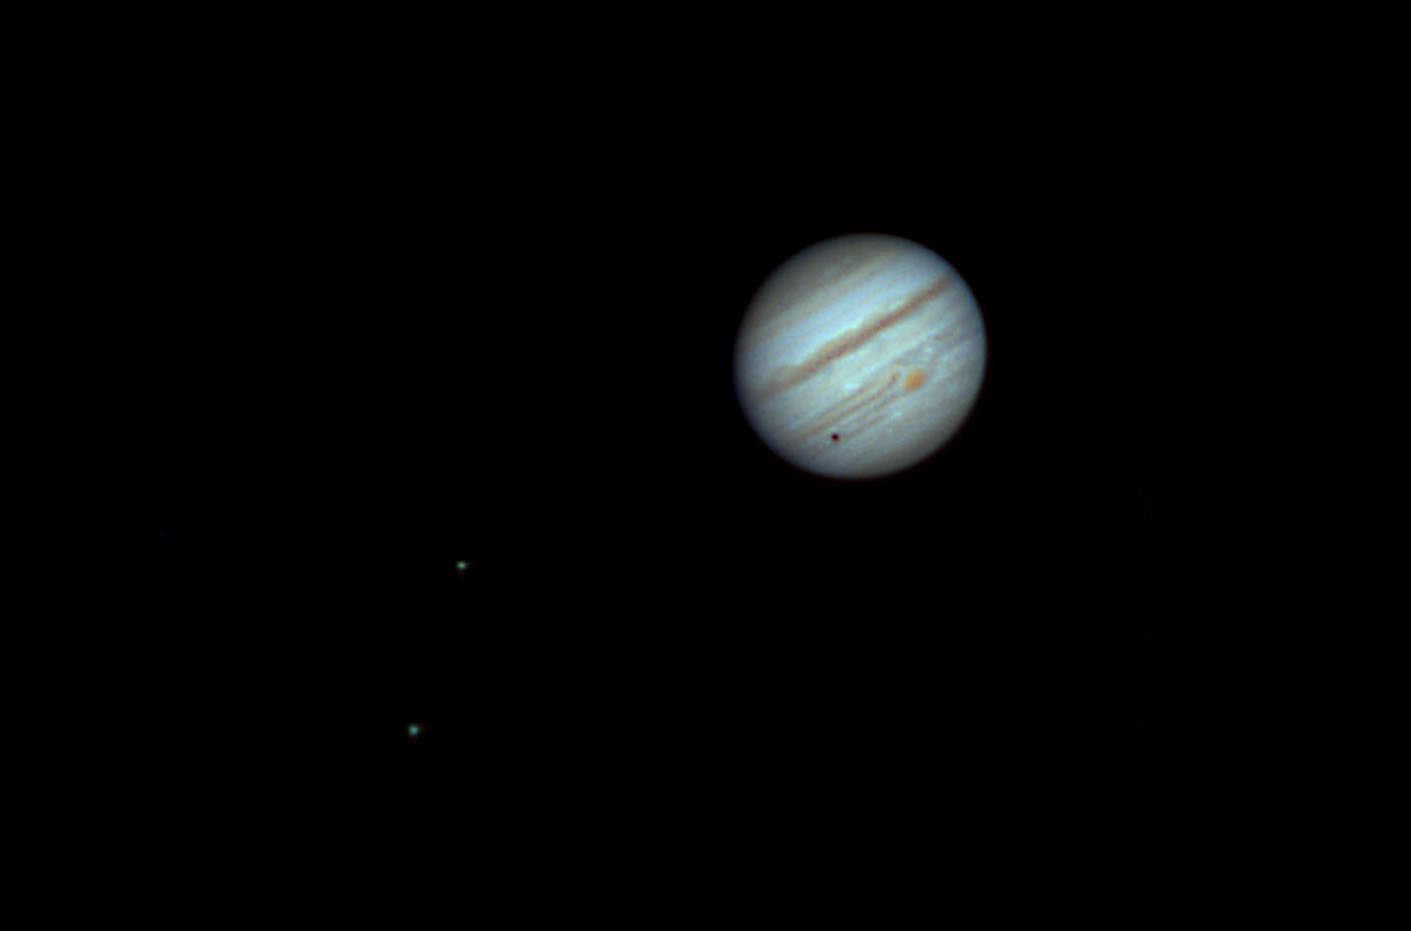
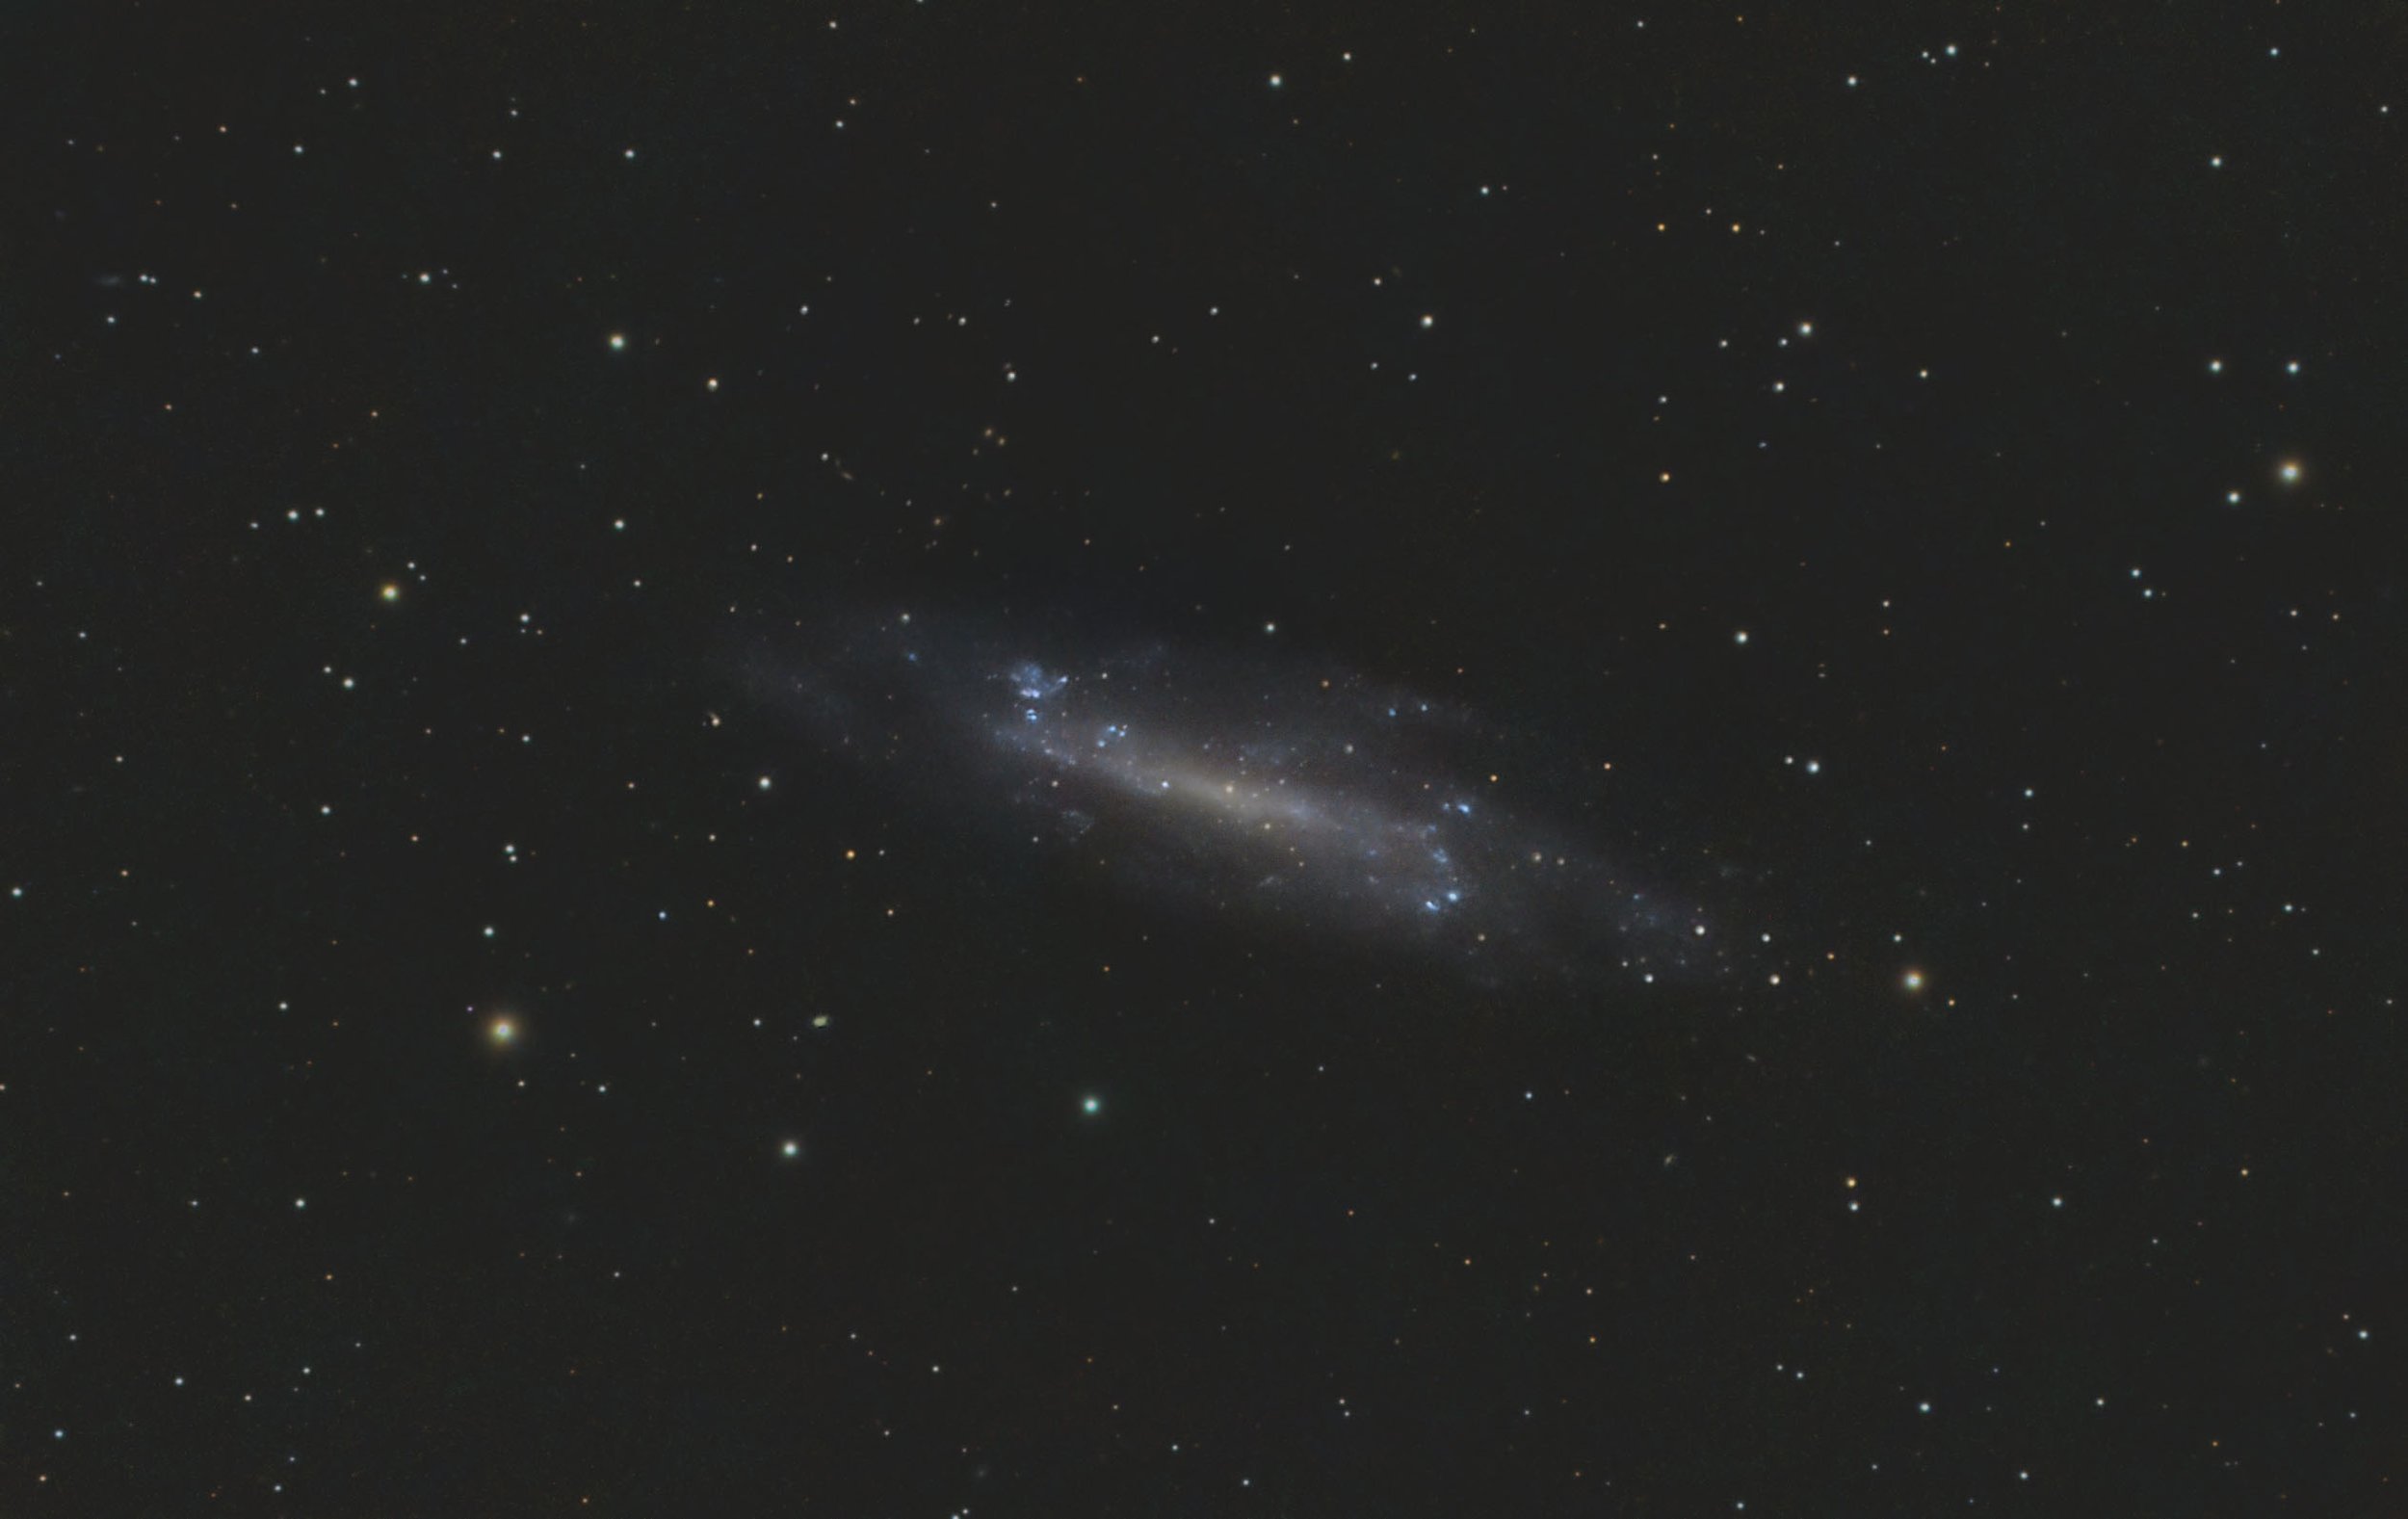
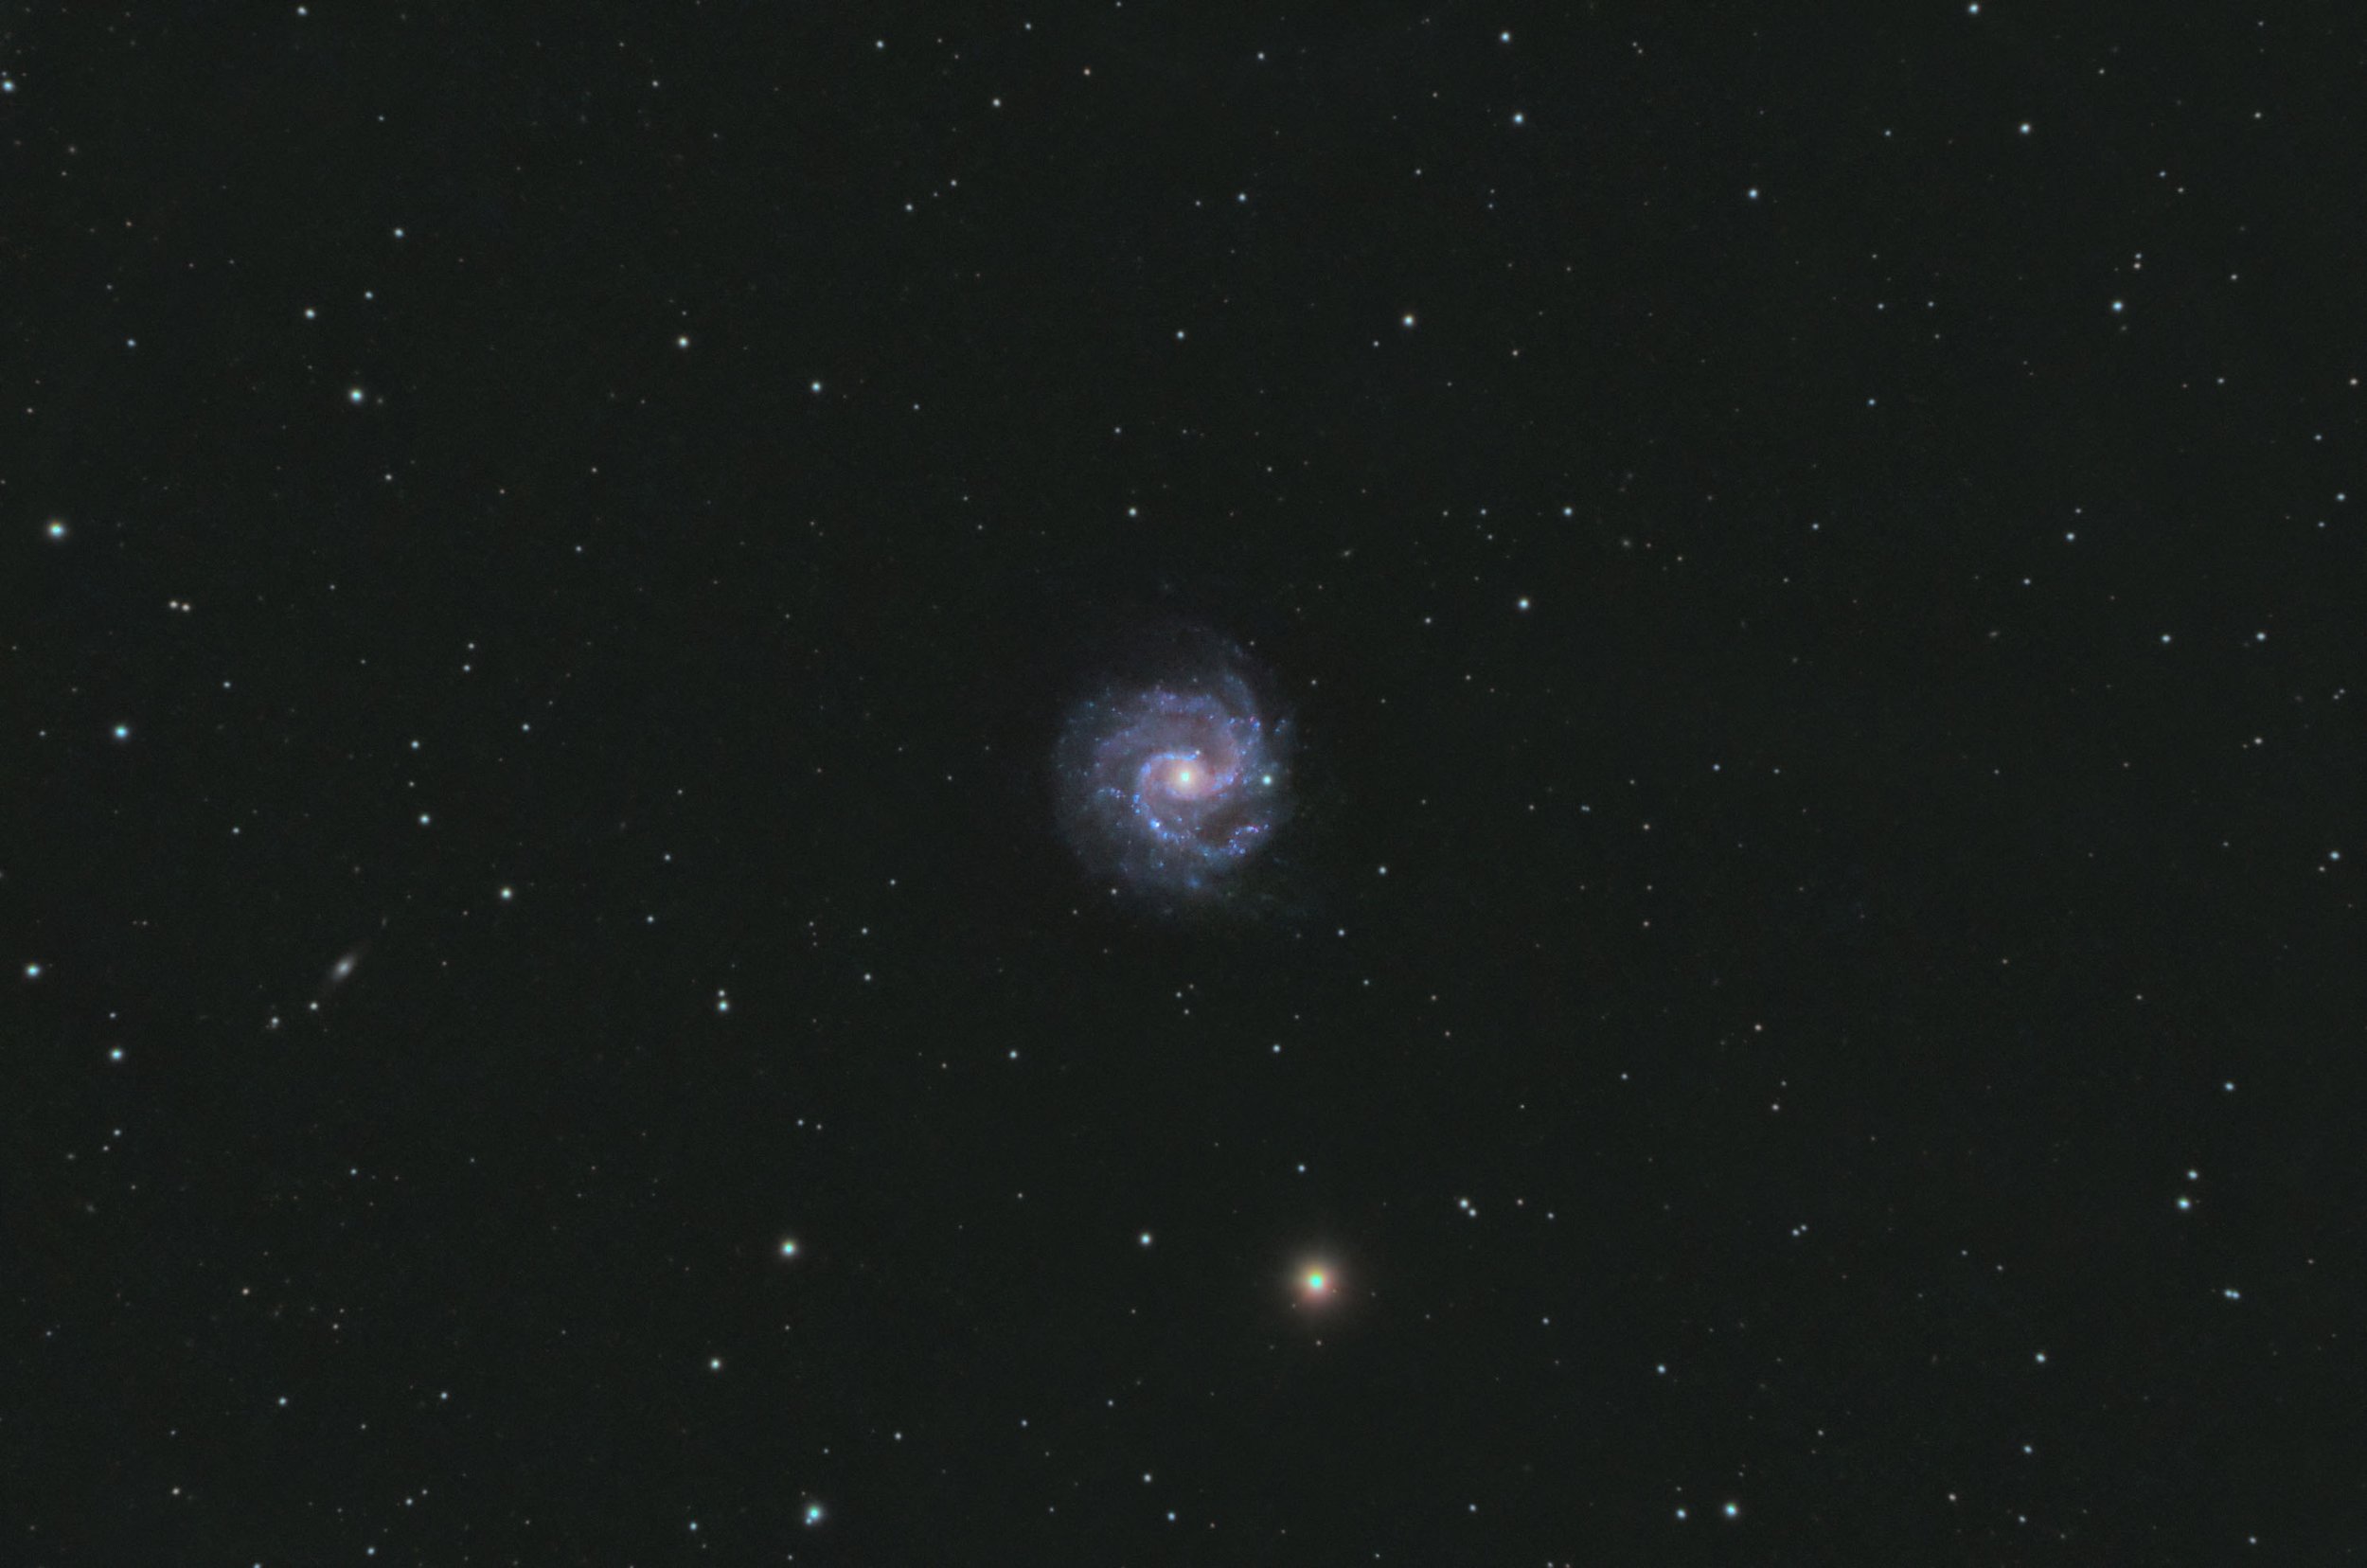
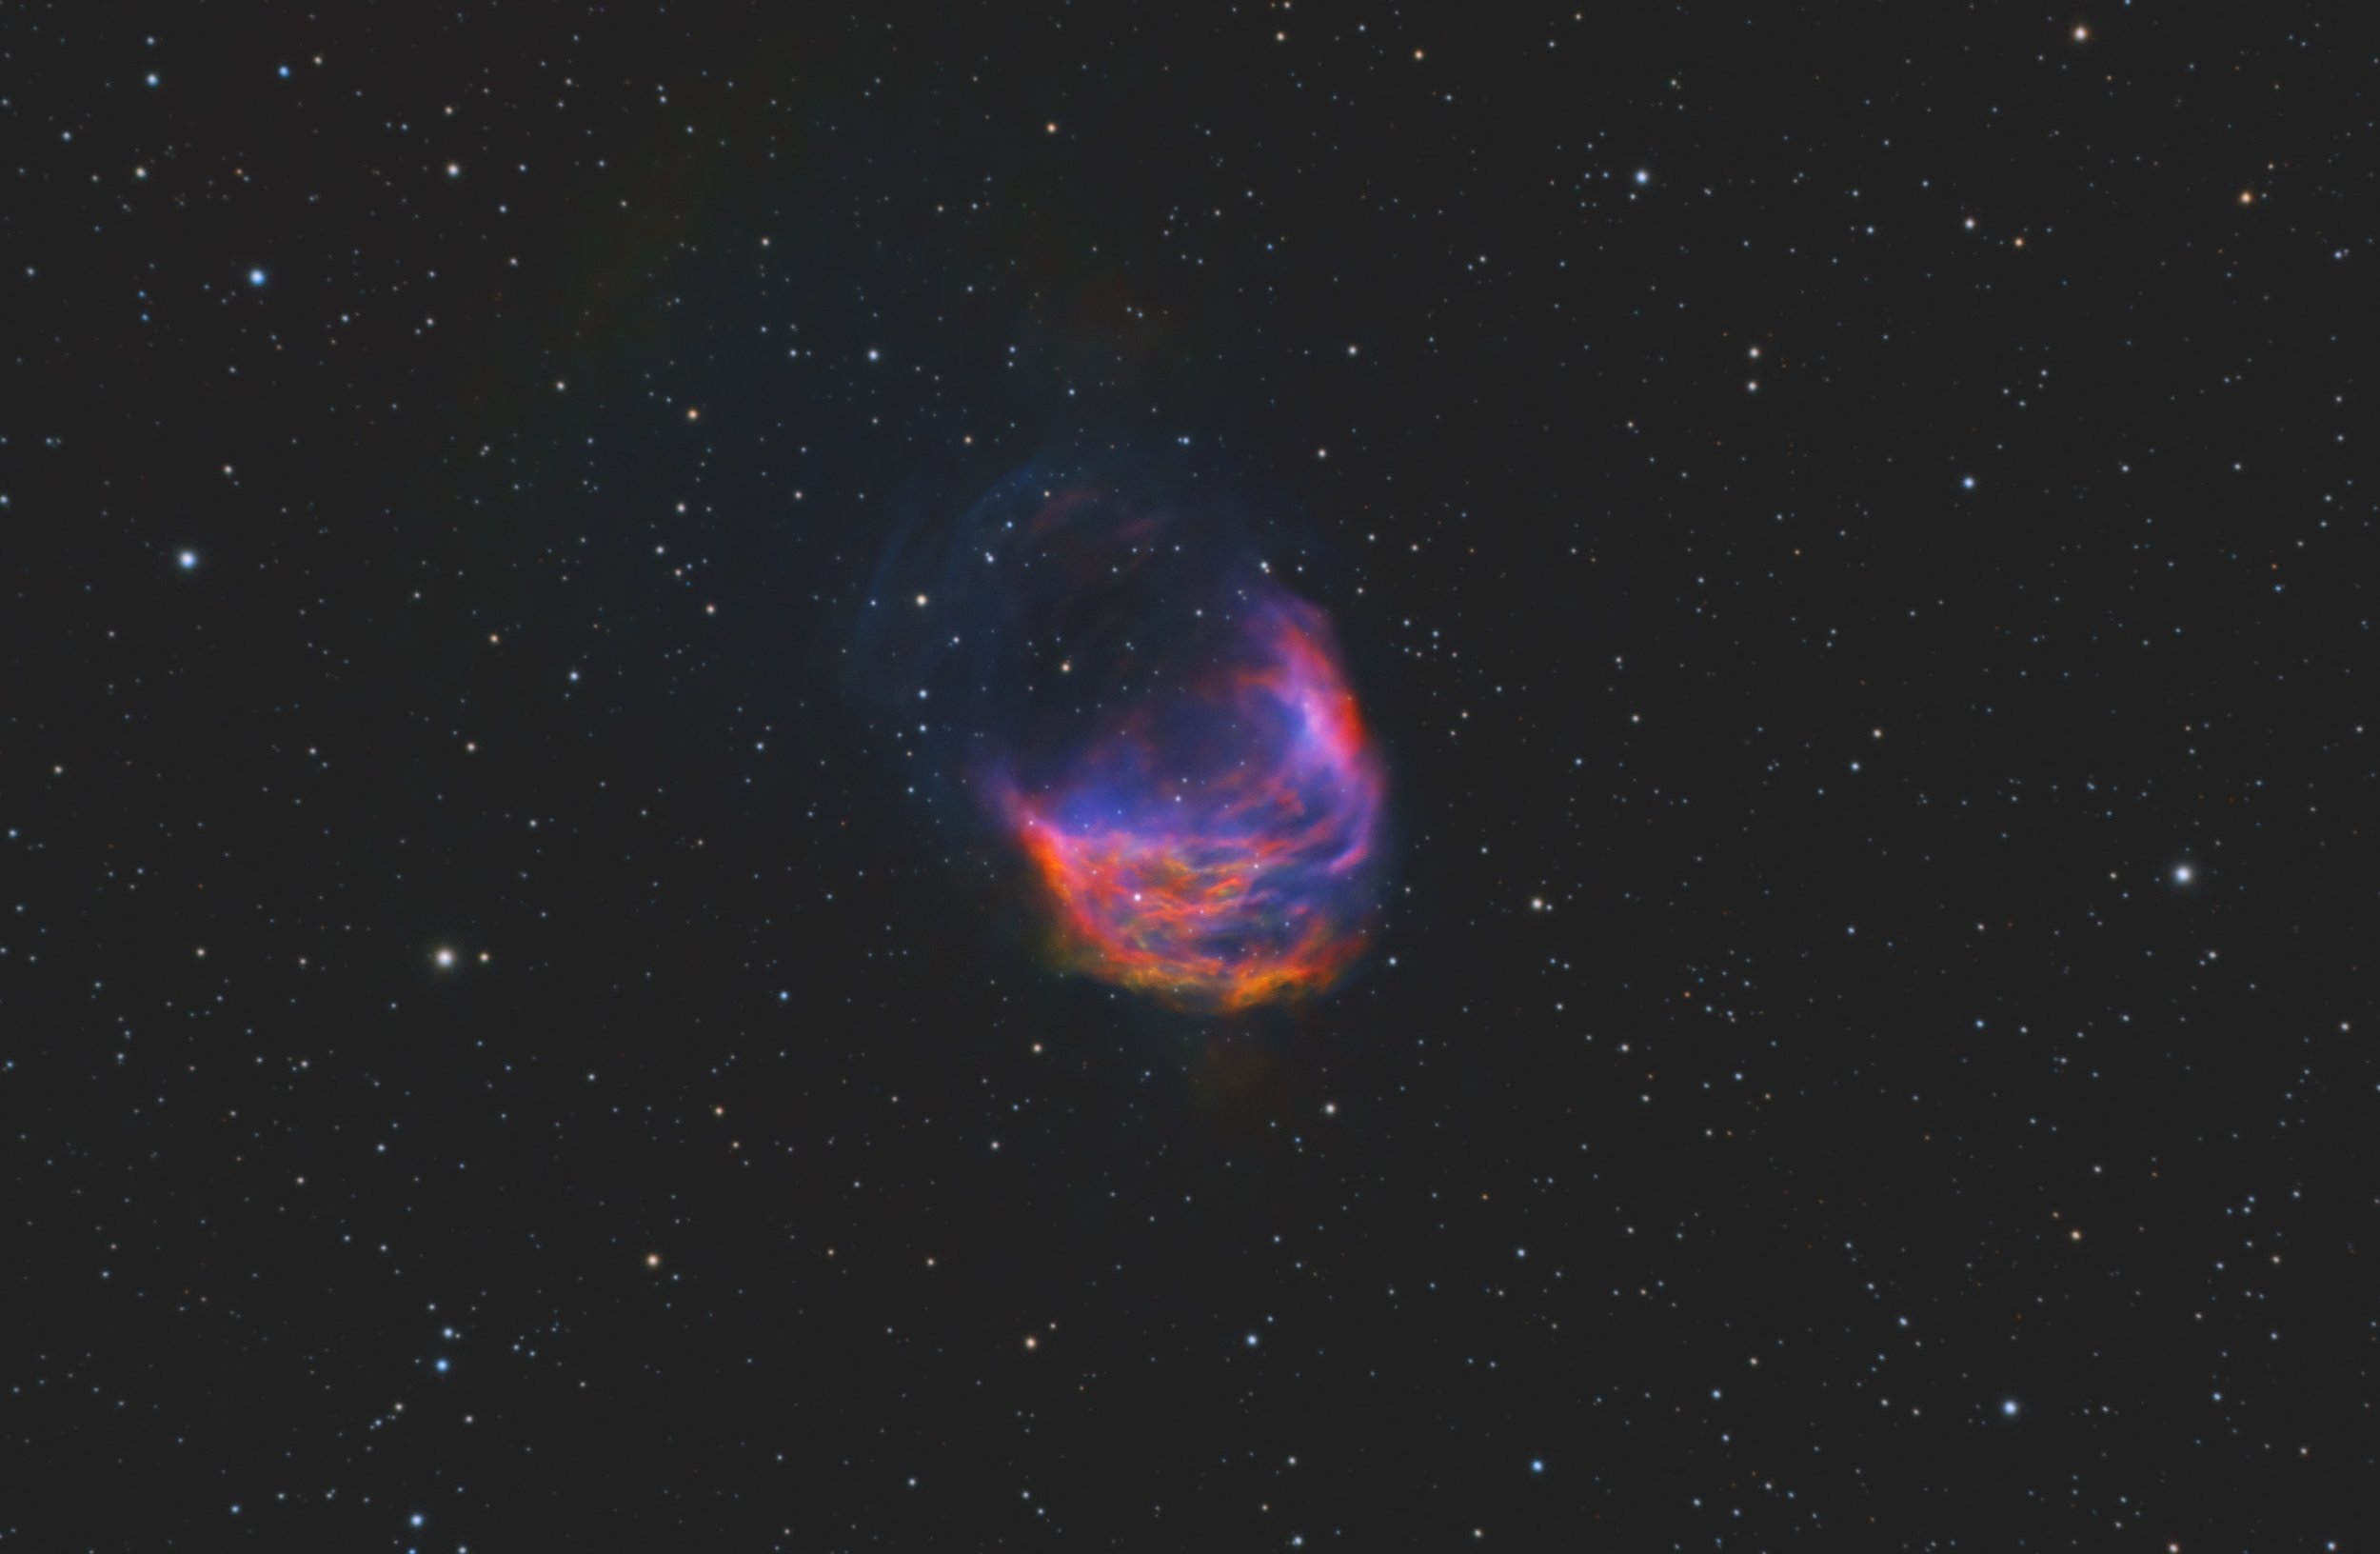
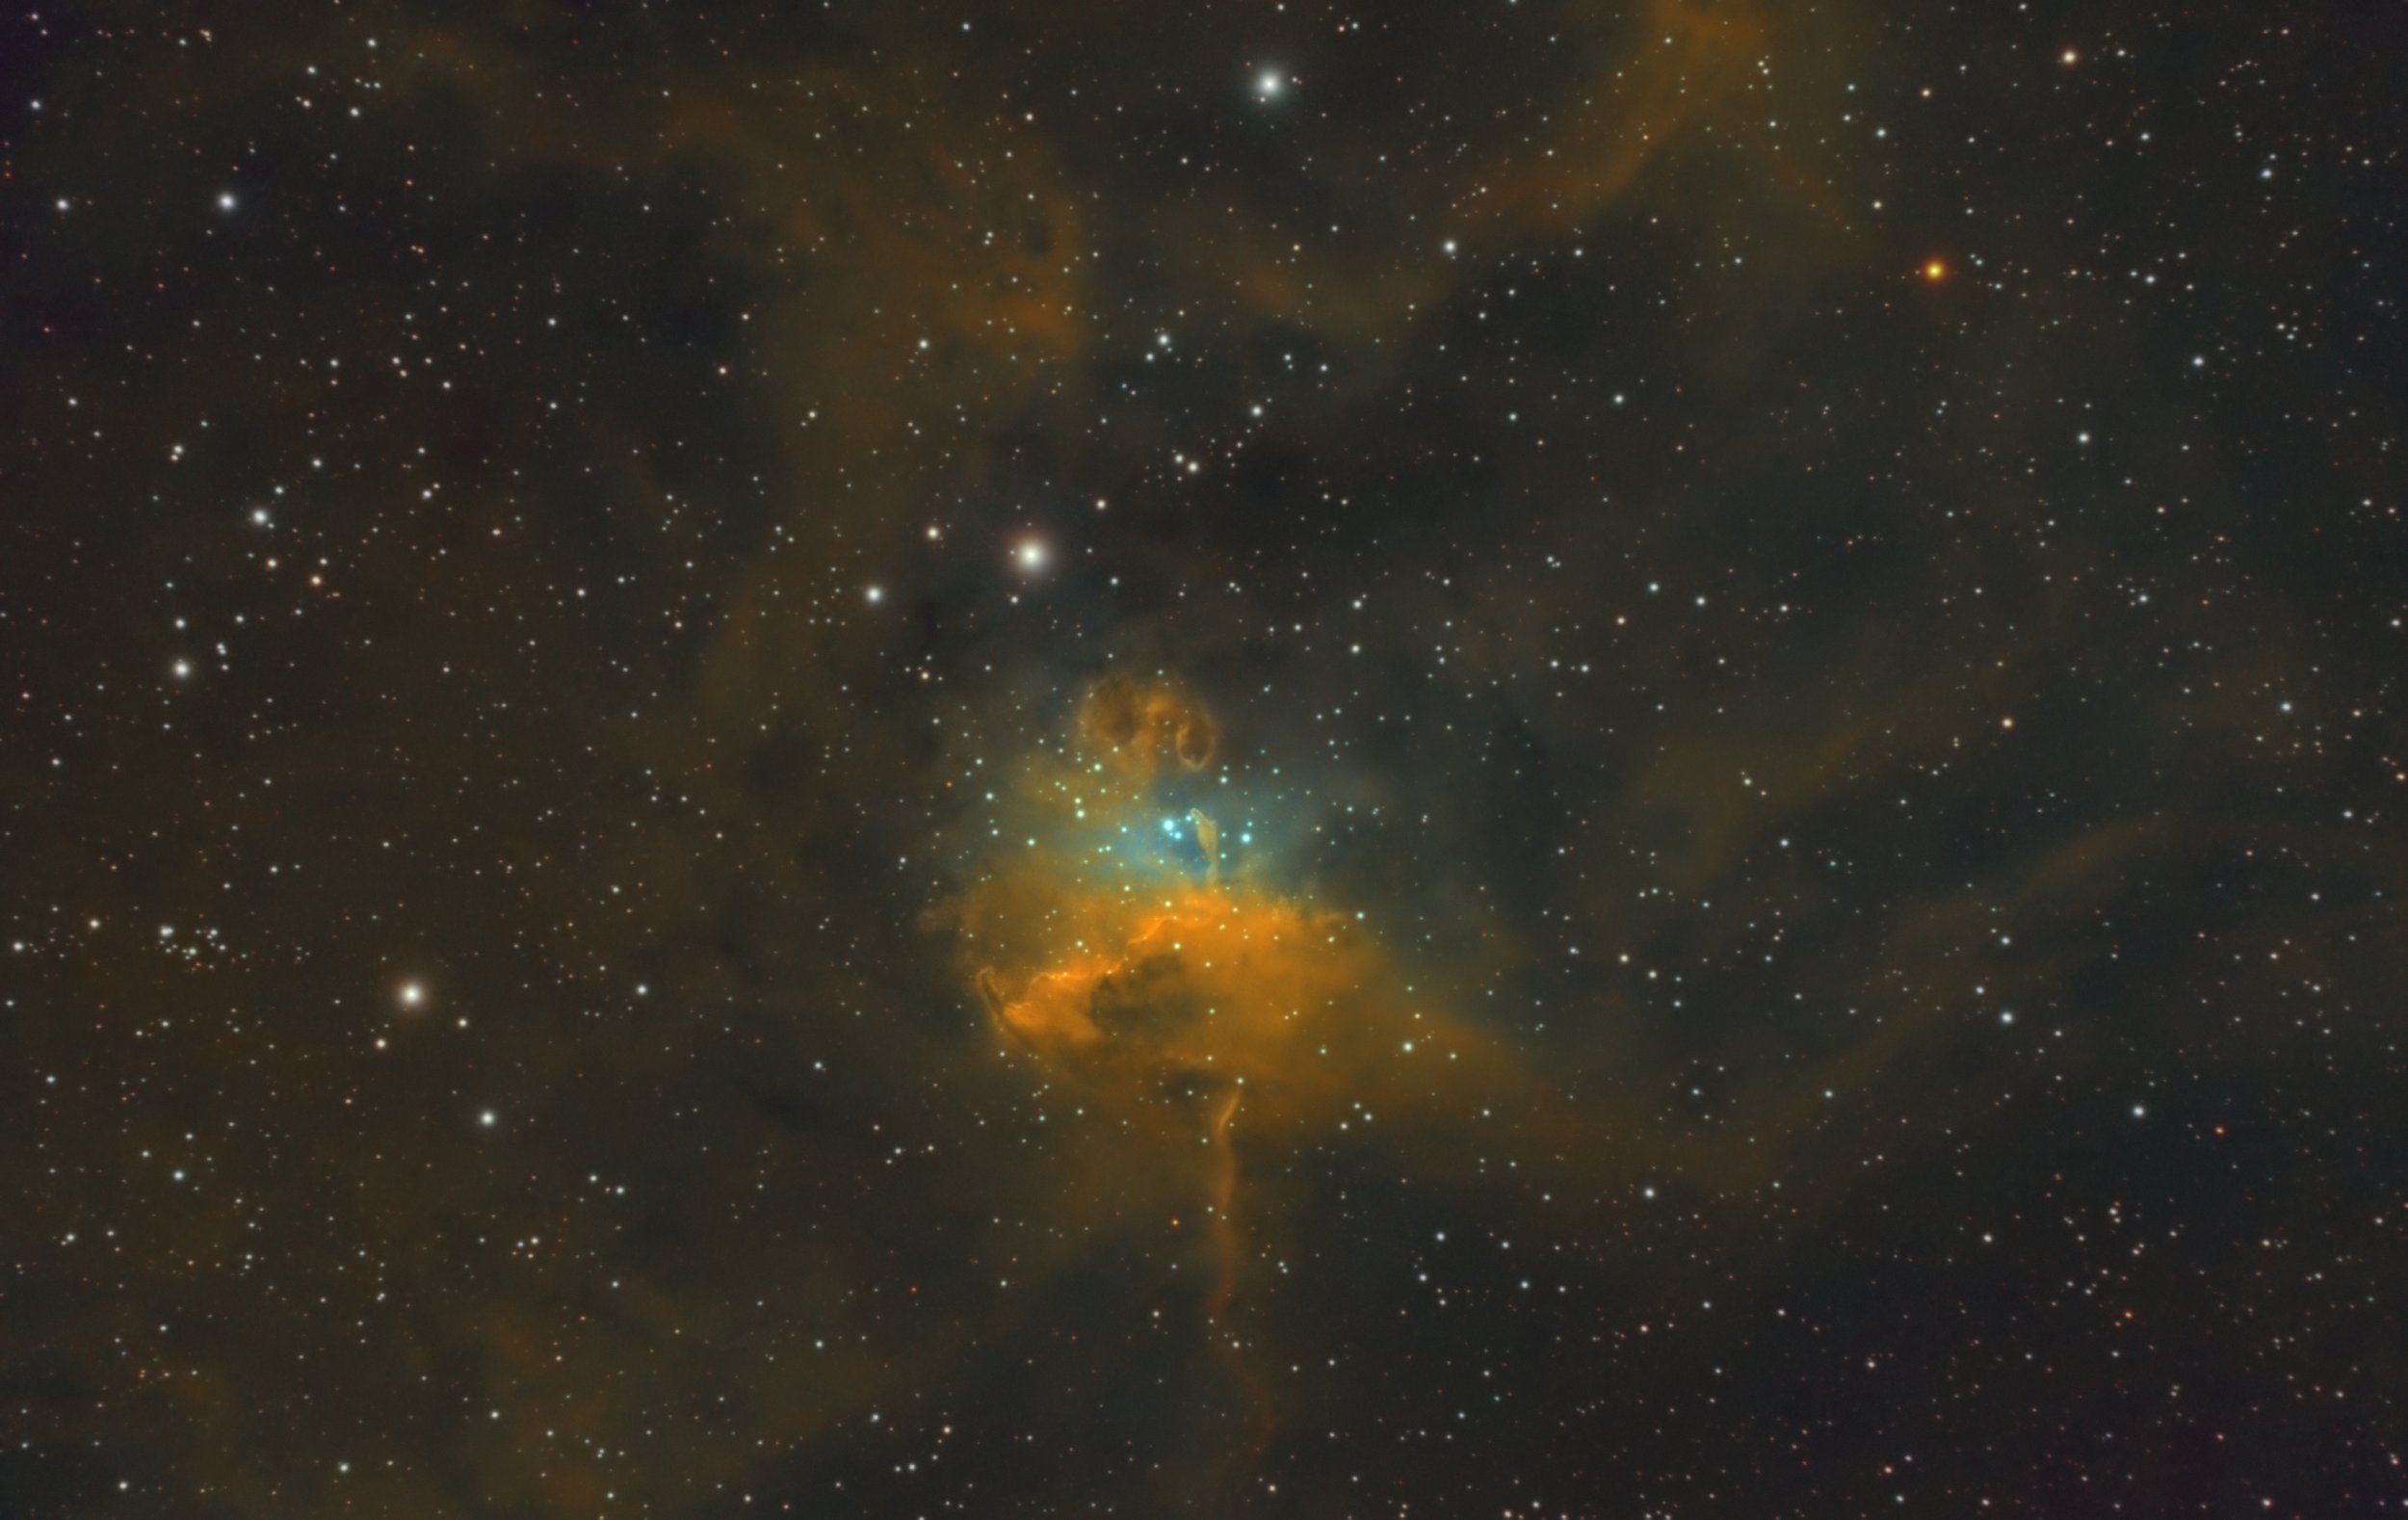
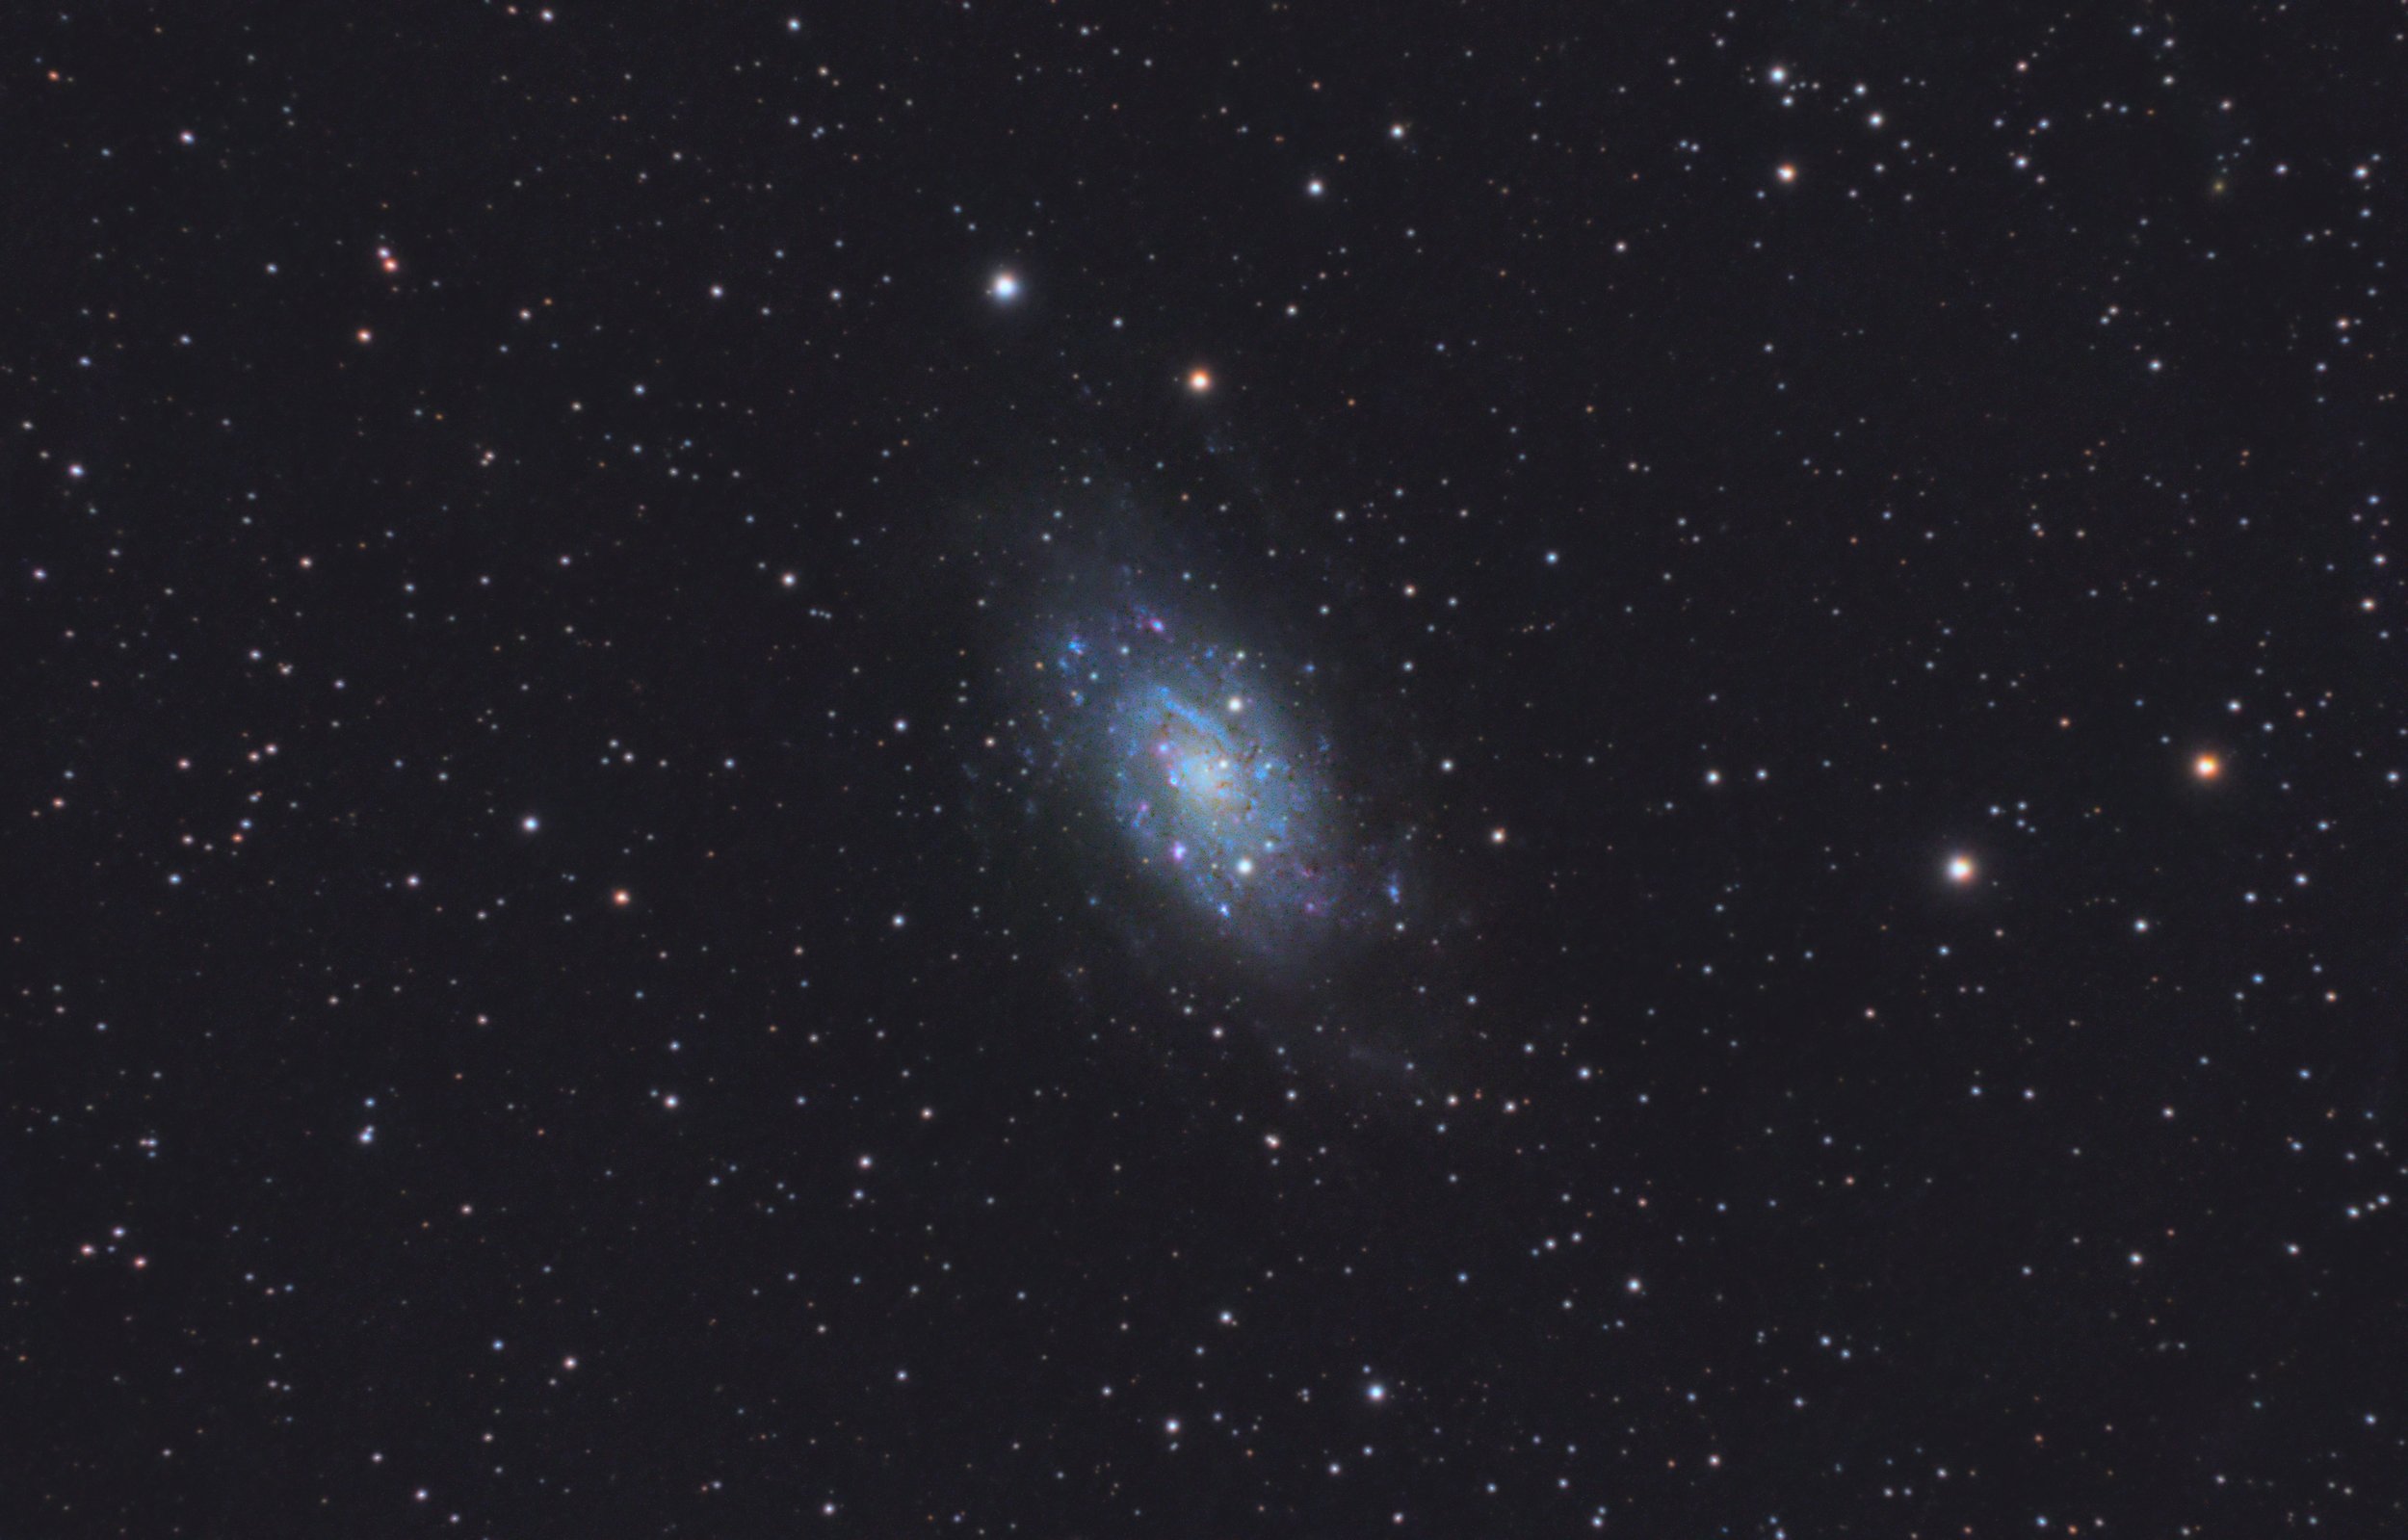
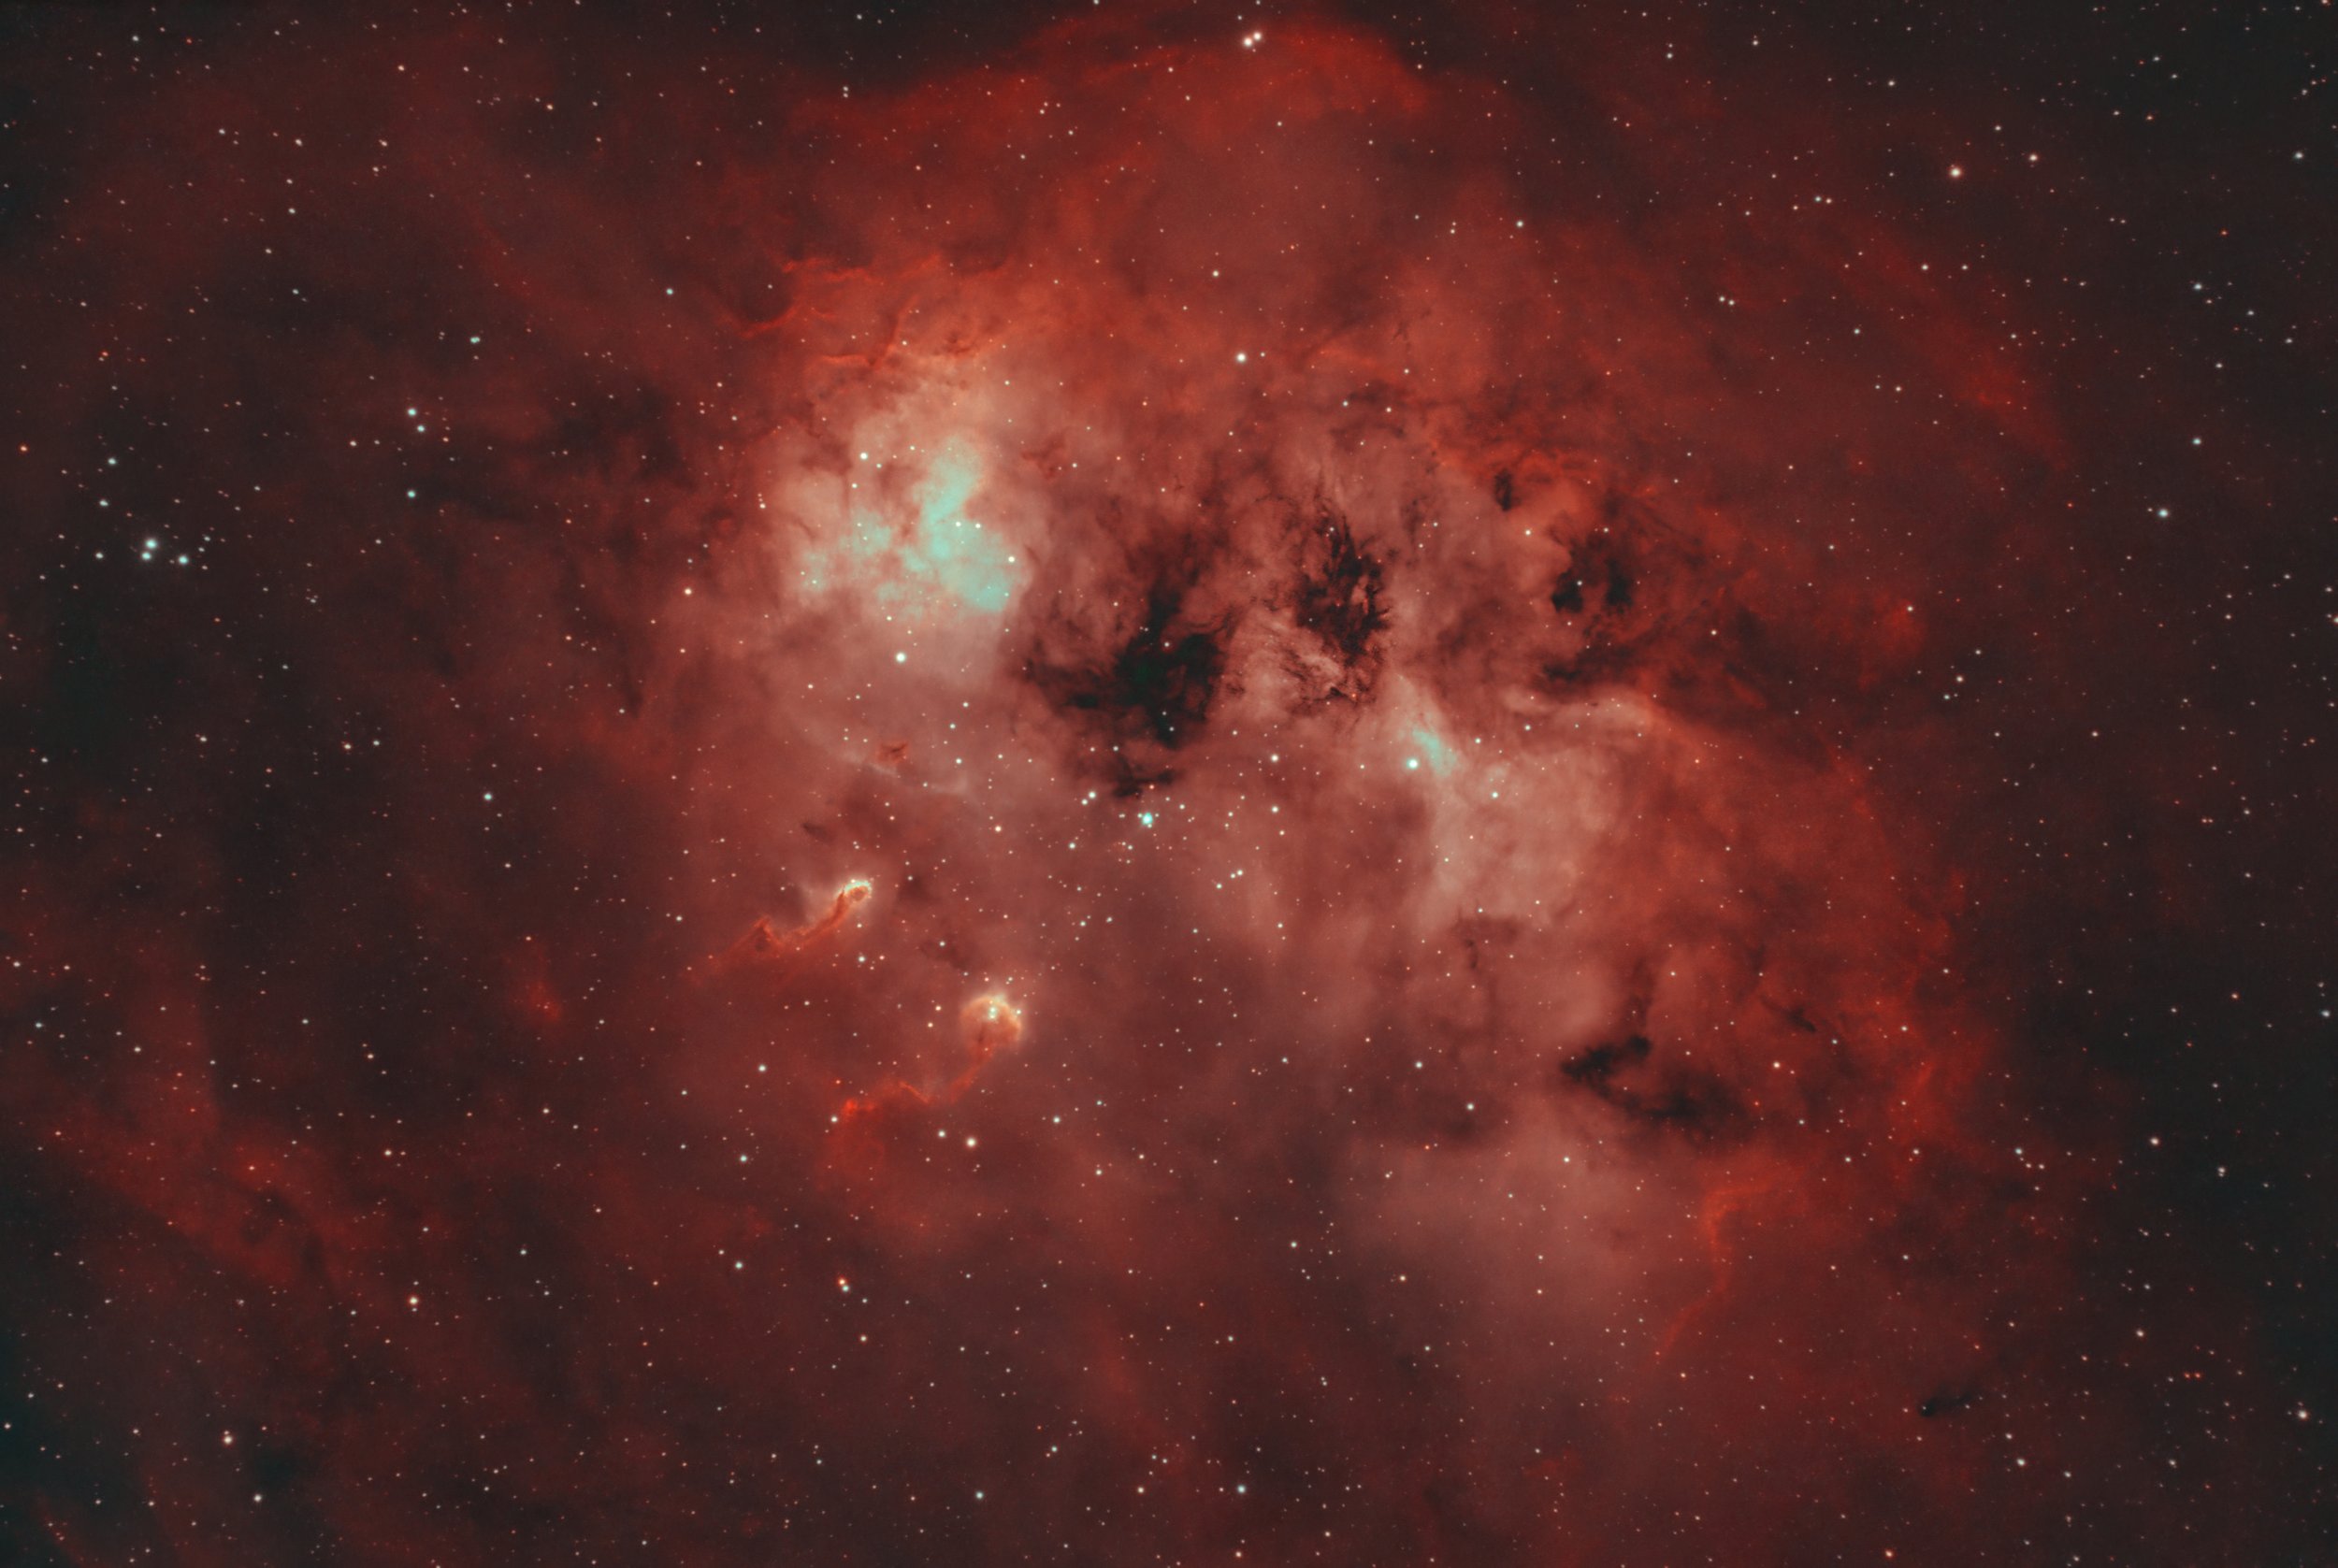
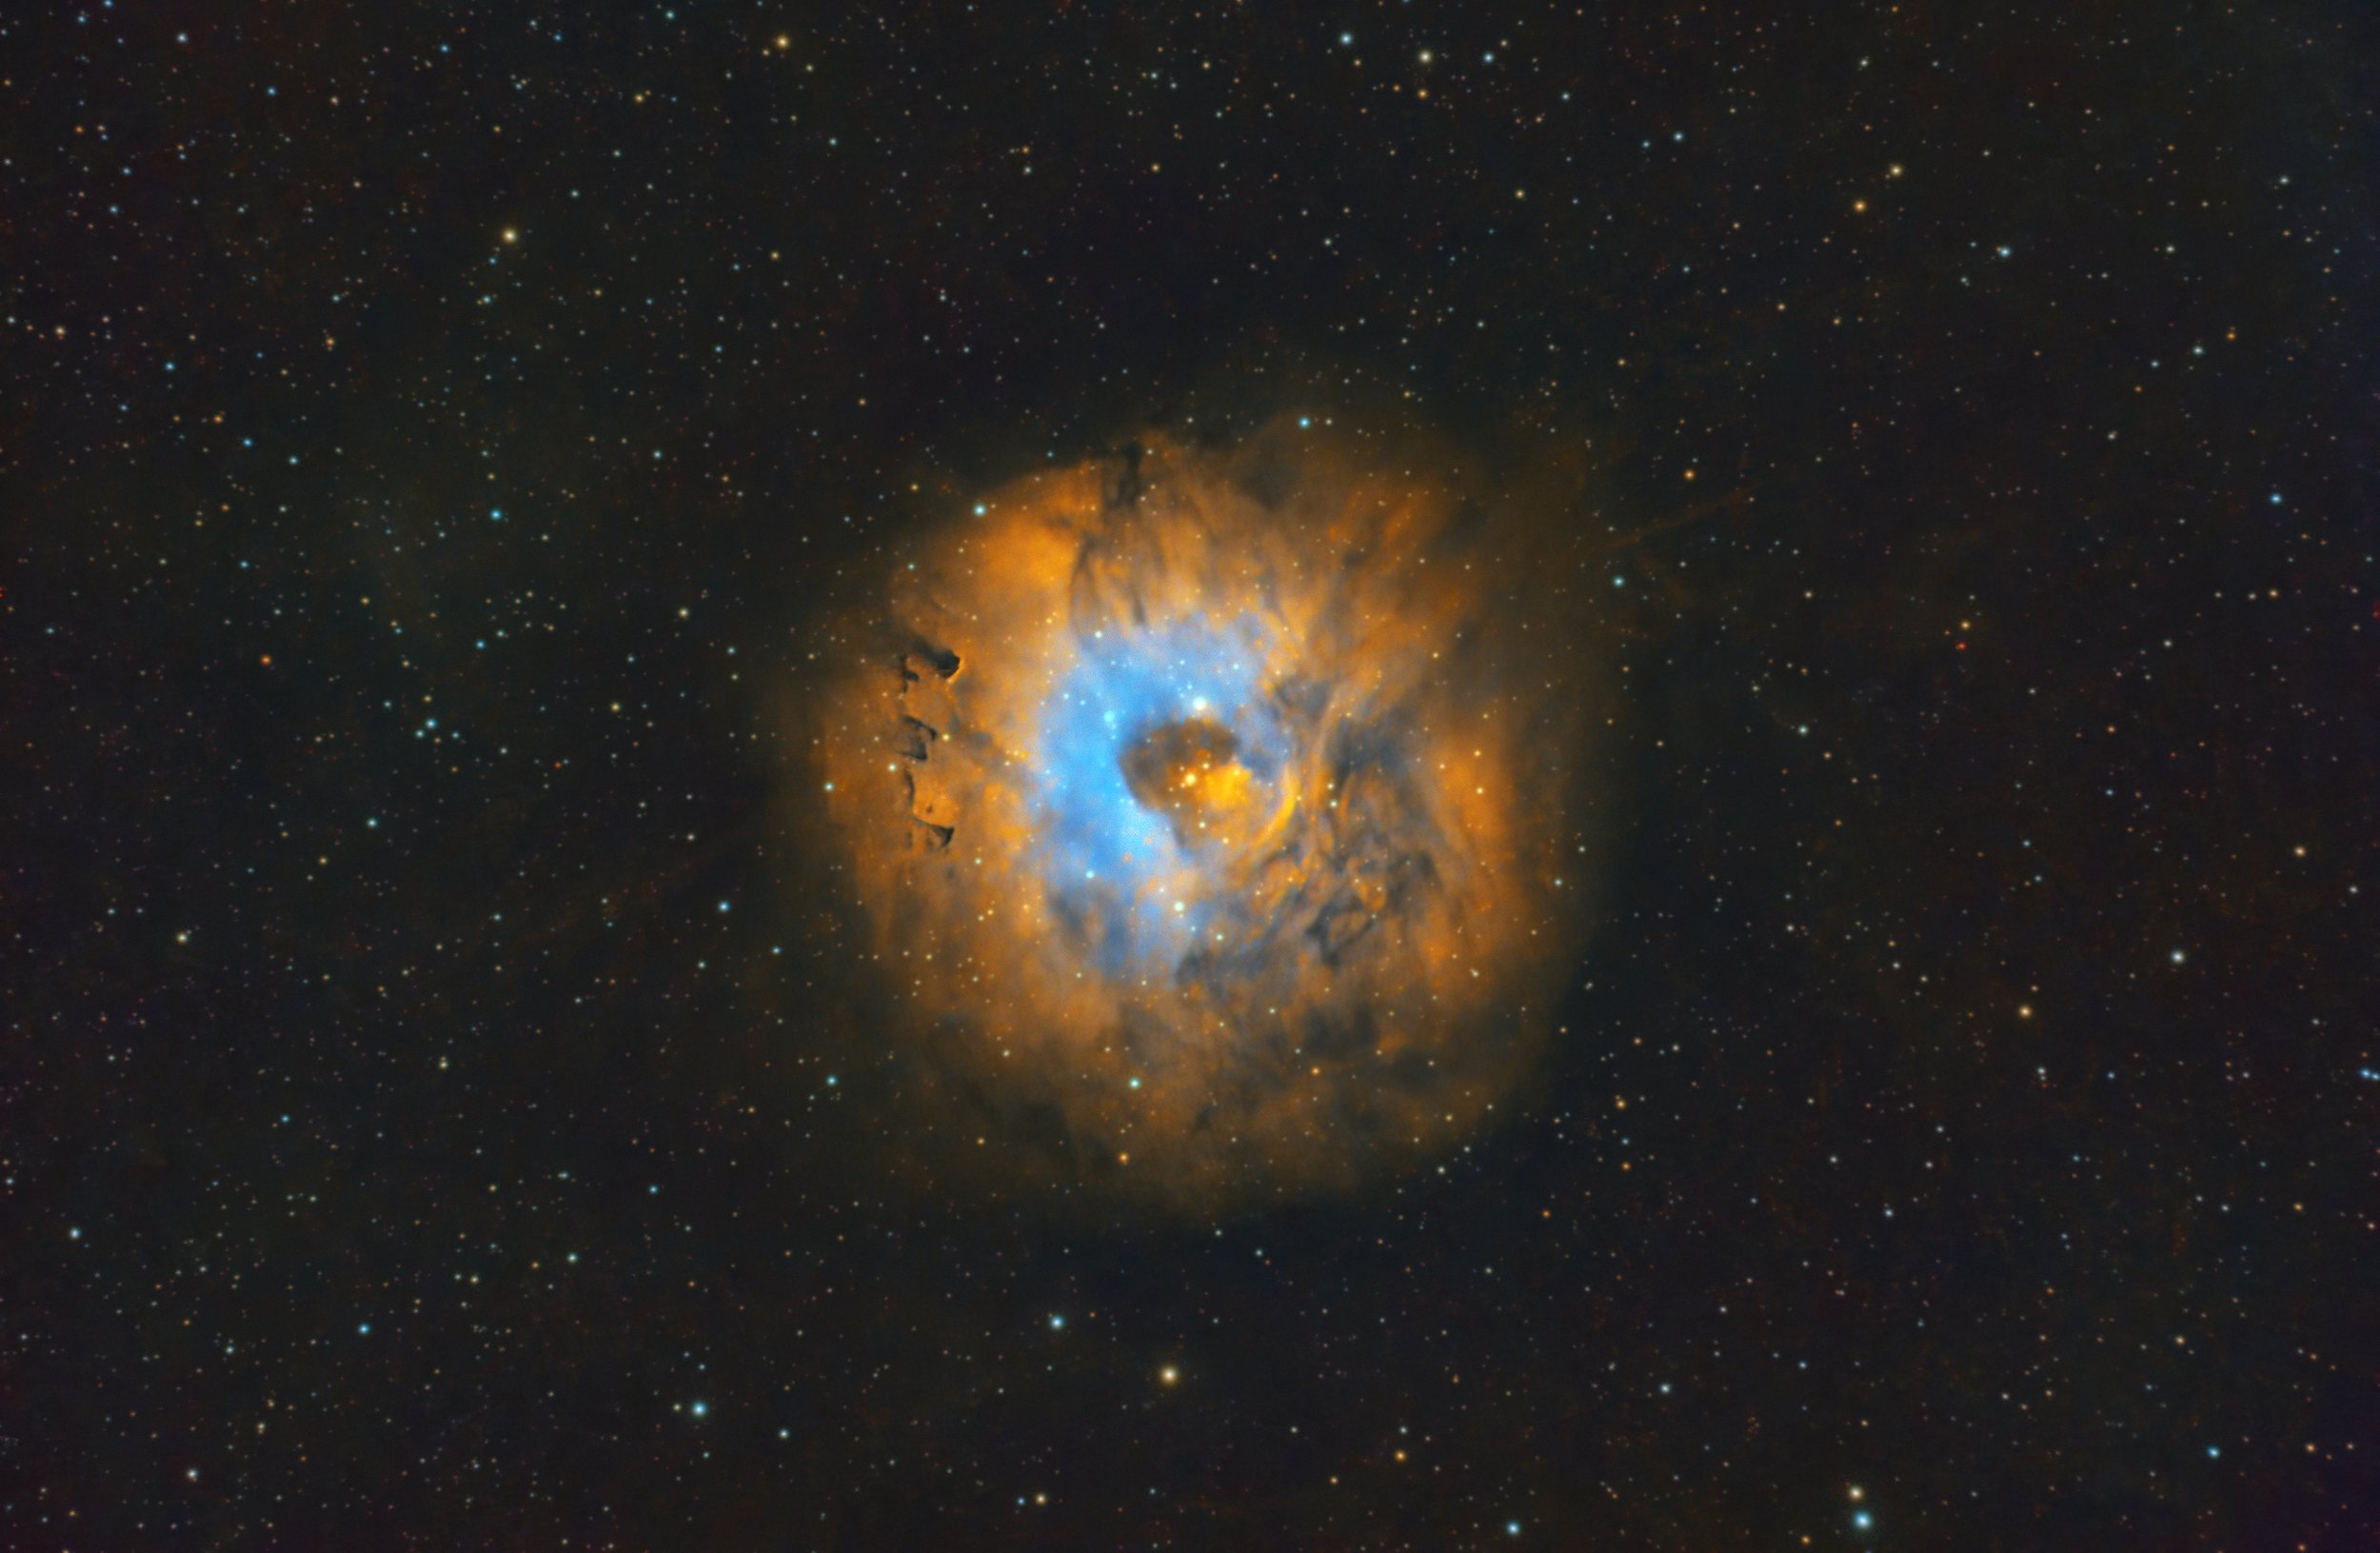
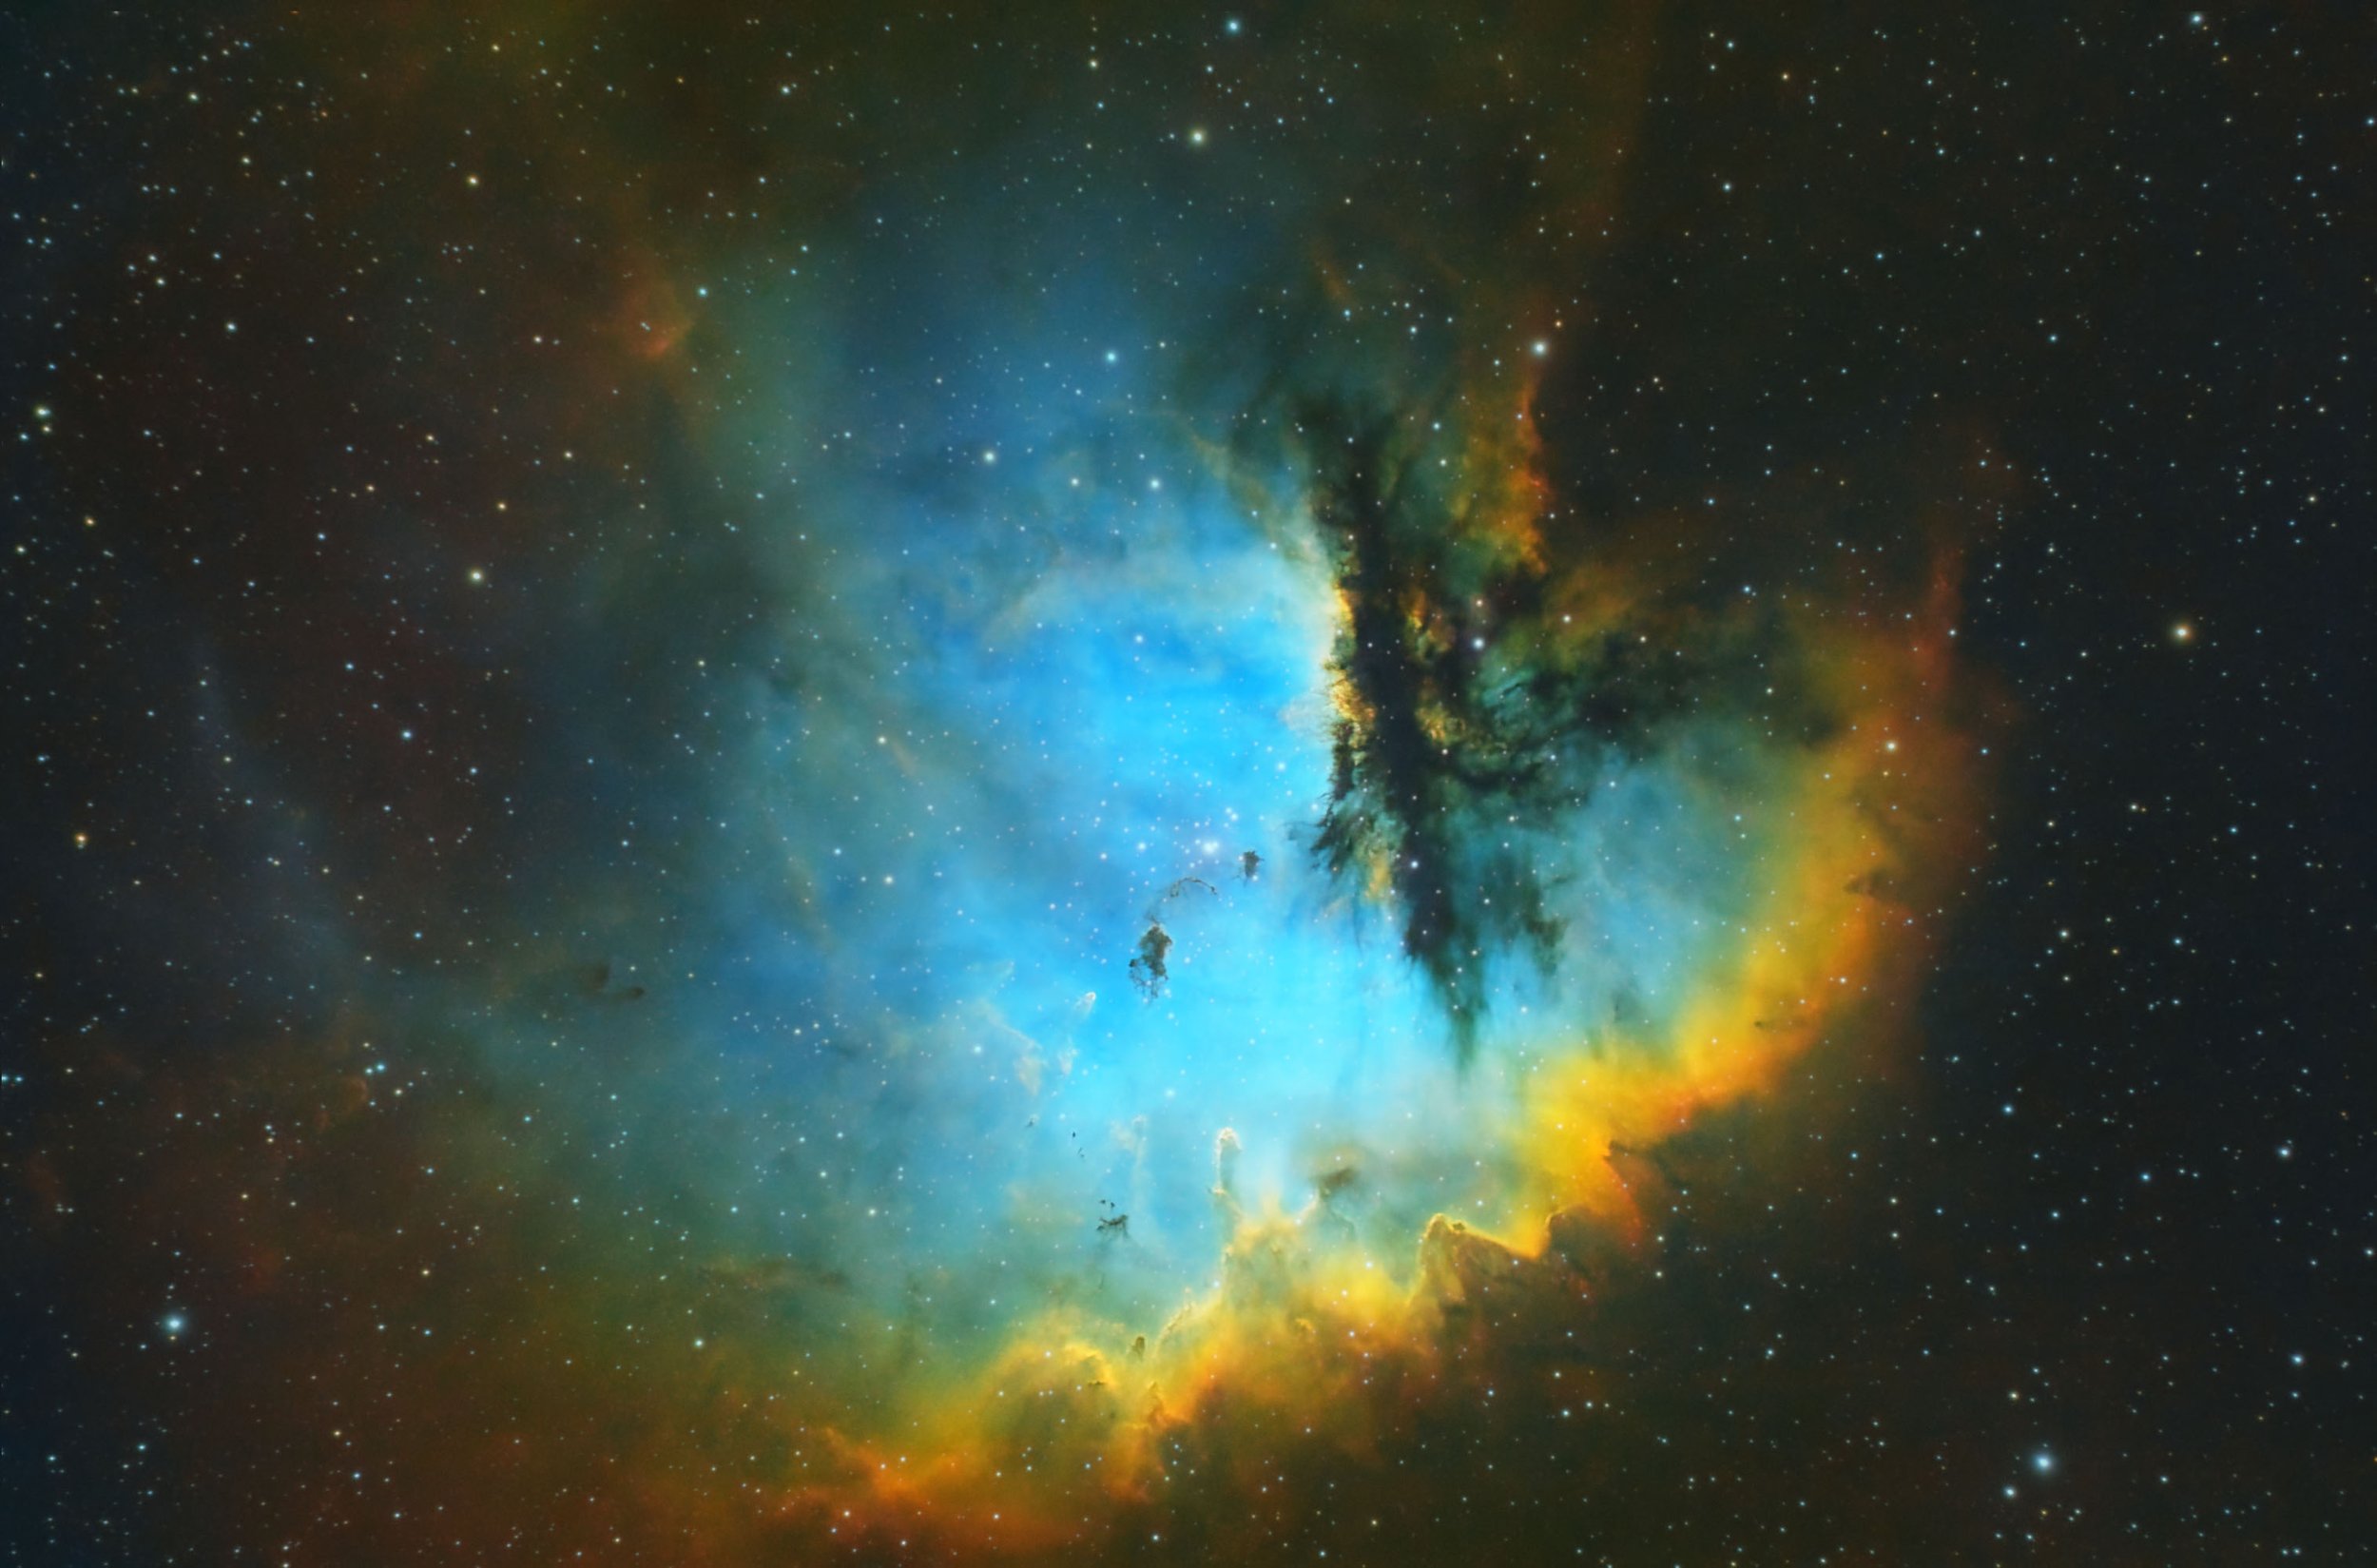
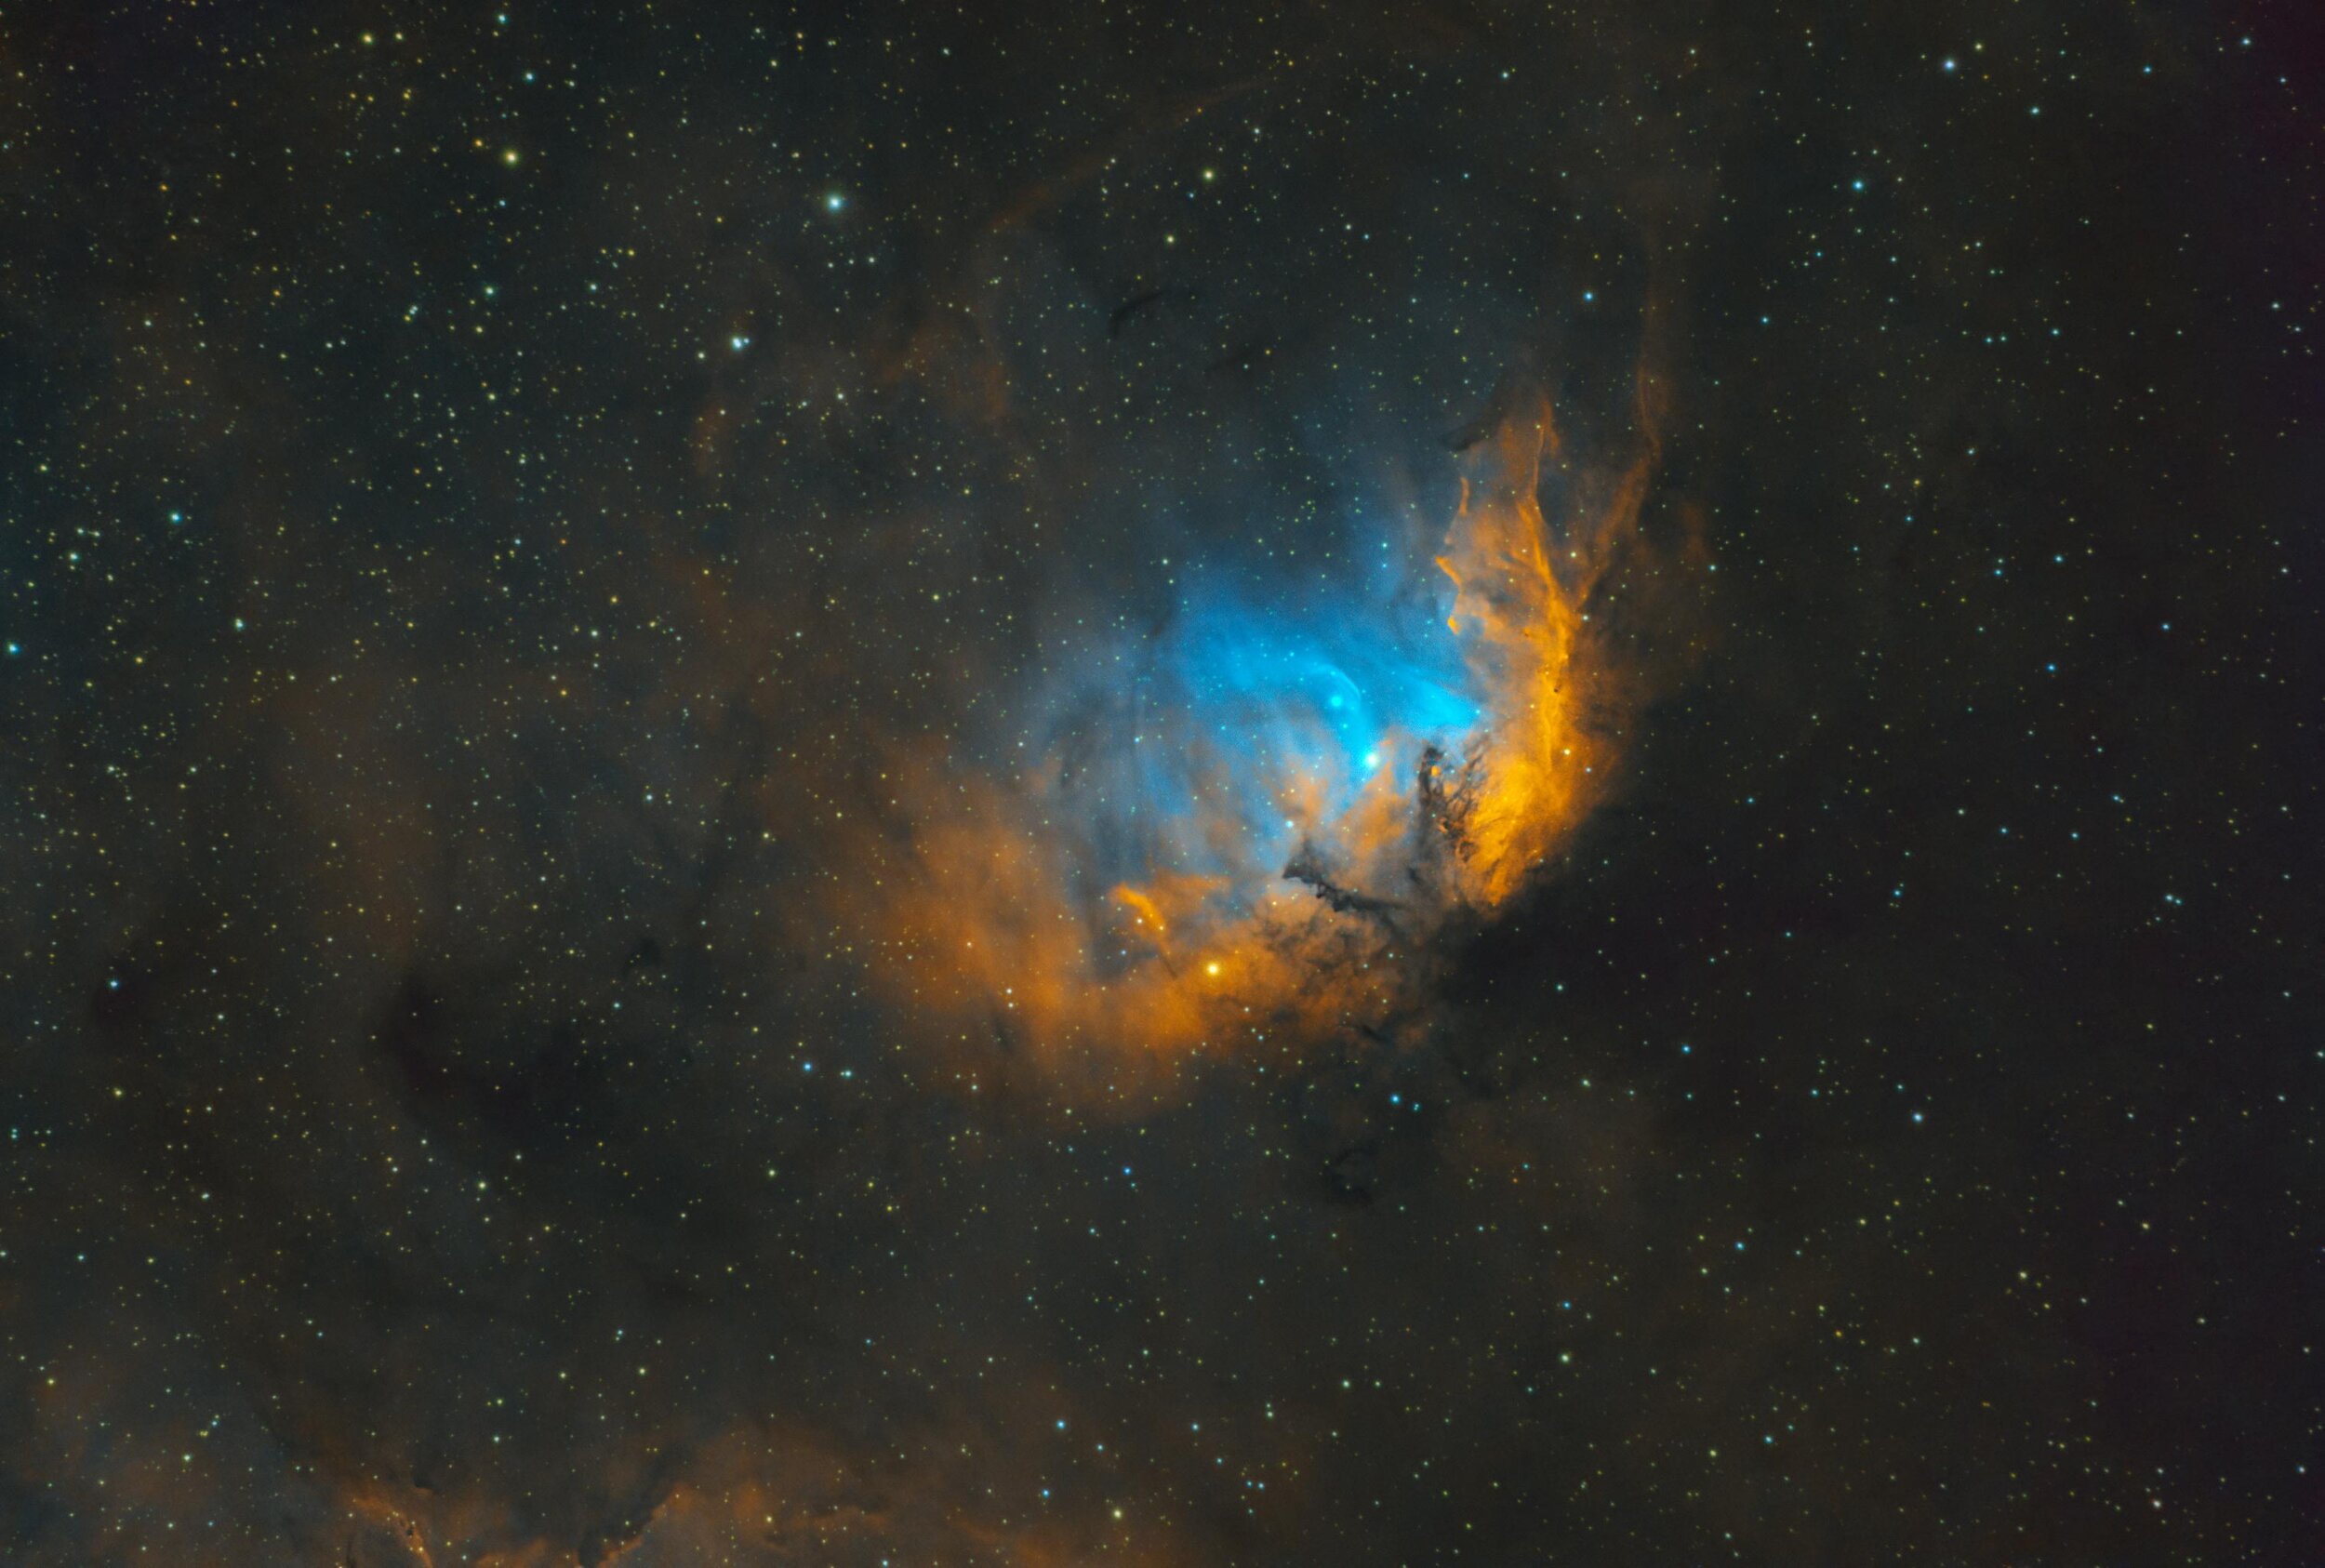
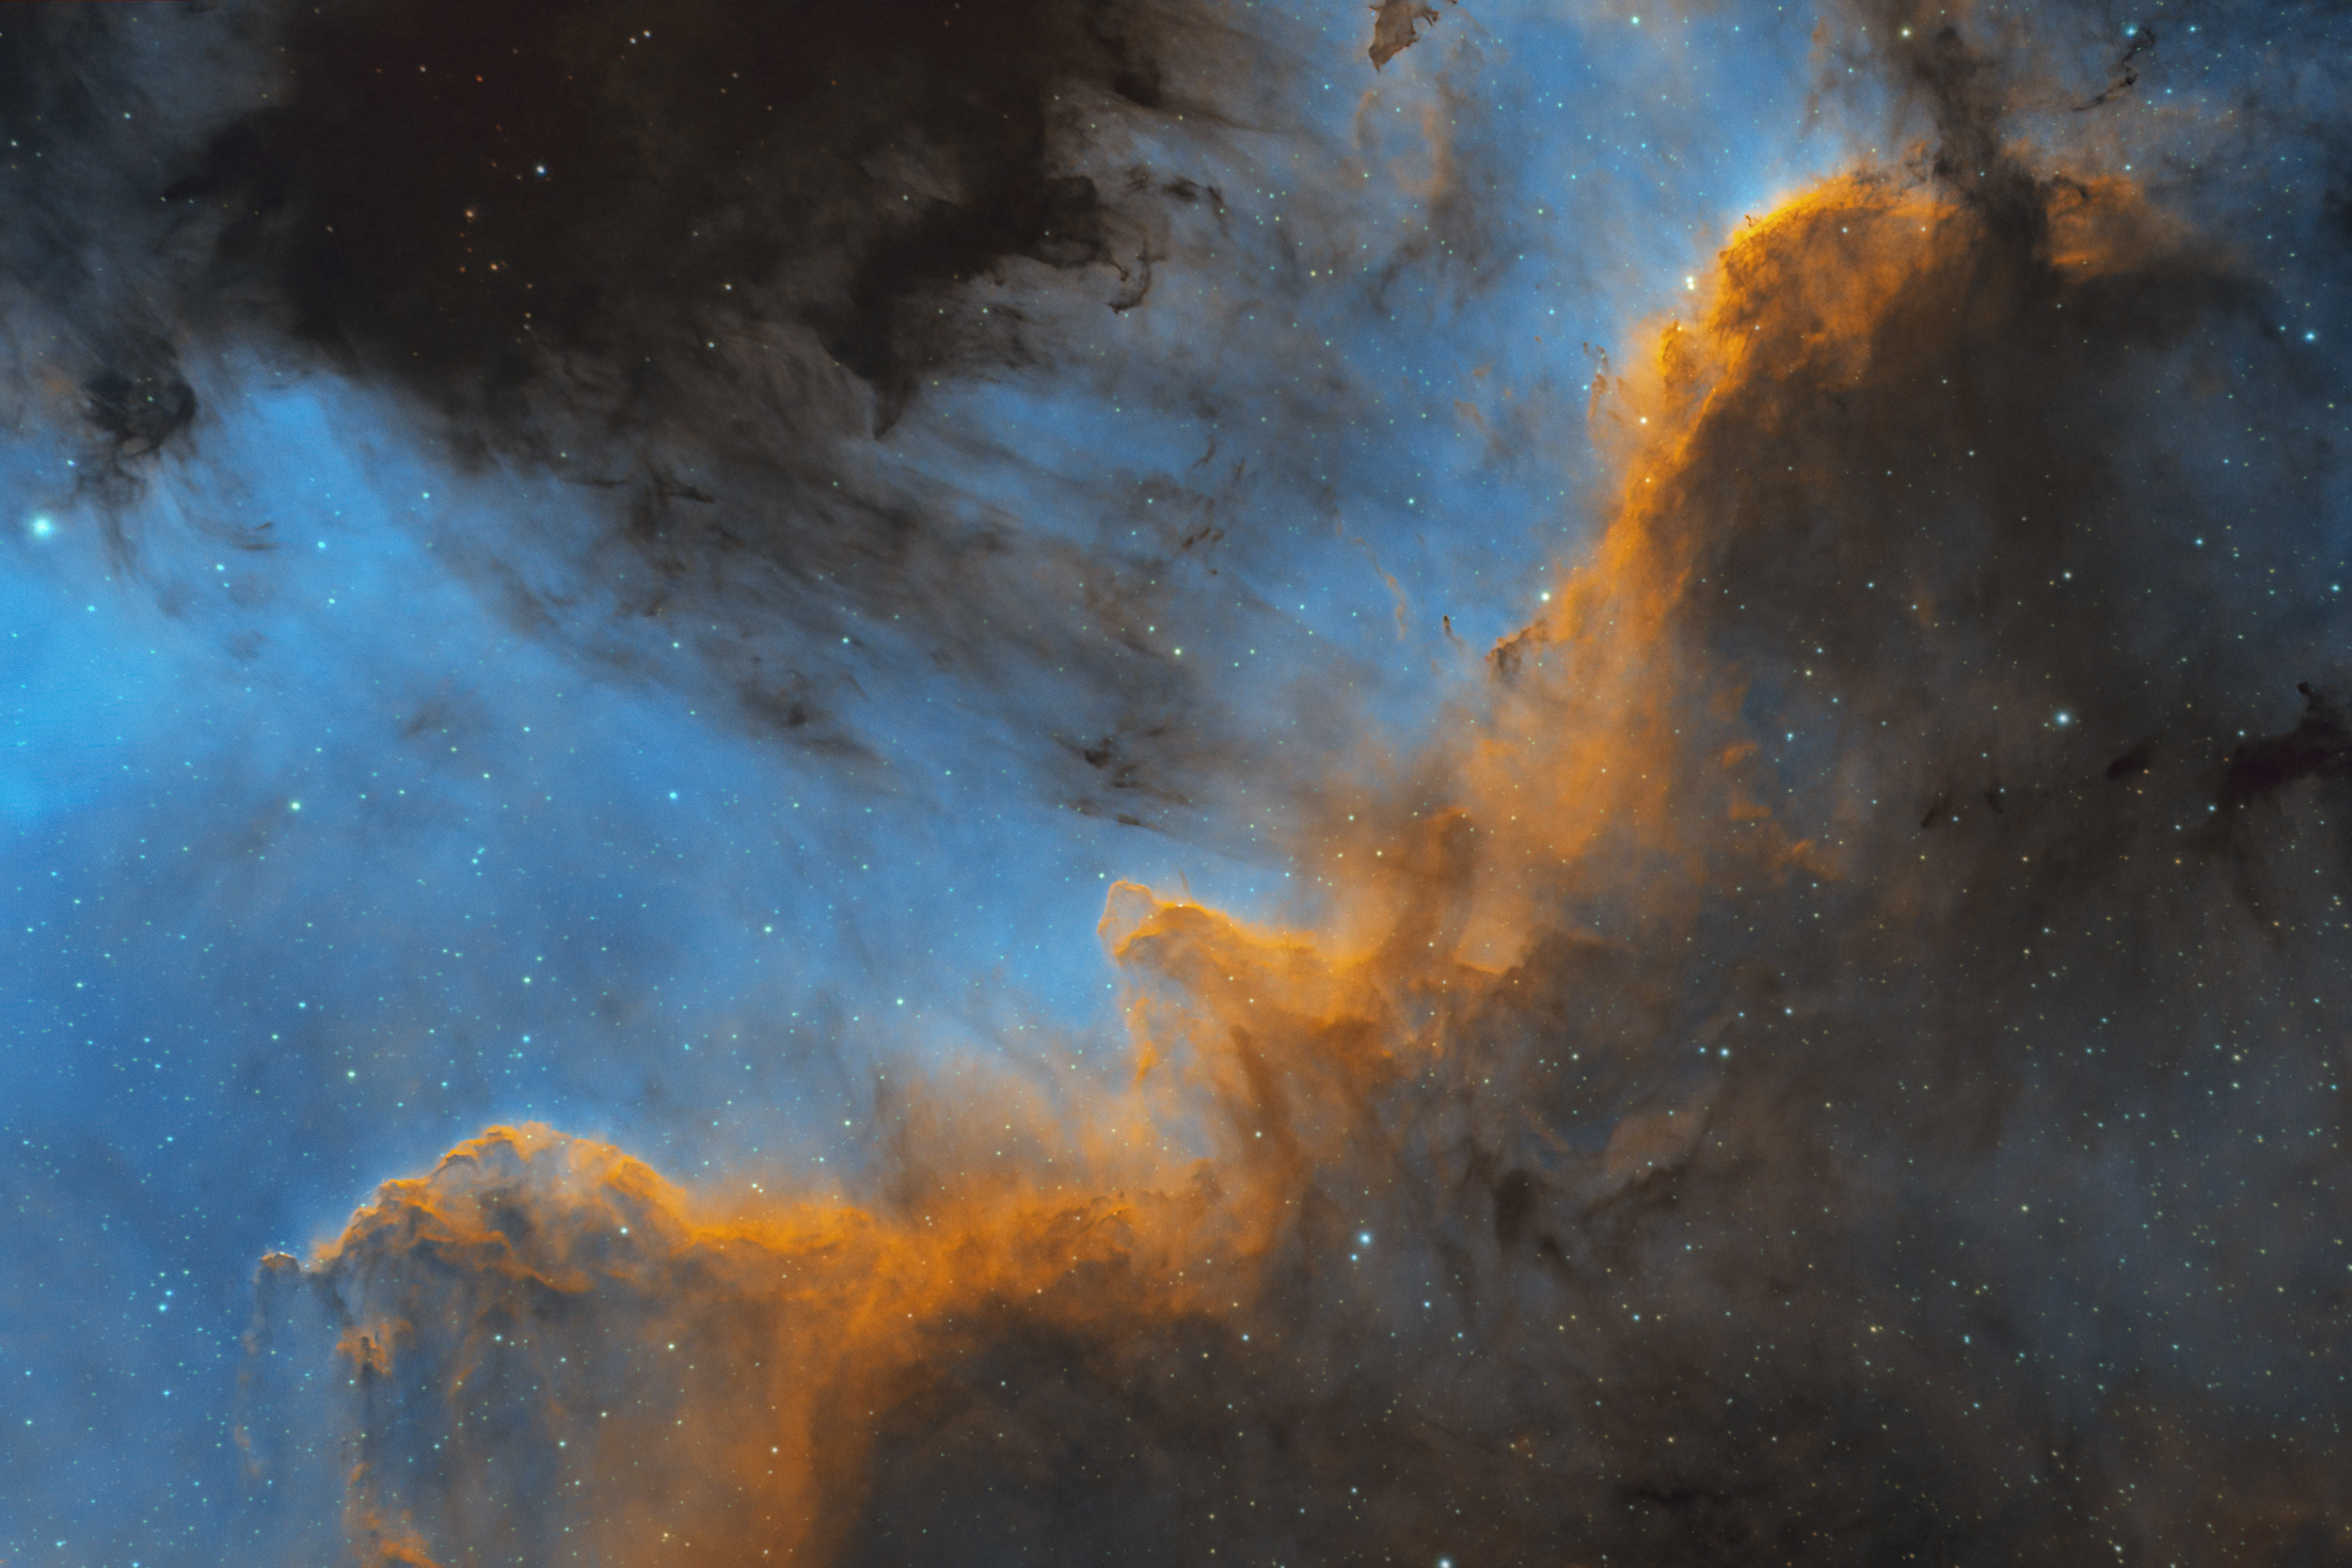
Gallery of Images shot with the EdgeHD 8”
I started imaging with a ZWO ASI294MM-Pro camera on this rig, but now use an ASI2600MM-Pro camera instead. This change was made to increase my pixel scale and account for more tracking error during poor seeing conditions. Here’s a complete rundown of the current hardware I’m using on this telescope: