

For some time now, I had been planning on taking my portable astrophotography rig to a dark site. During the Thanksgiving holiday, my family and I thought we would do the best kind of social distancing during this pandemic, and that was to rent a home in Santa Fe, New Mexico. This home bordered on the mountains and backed up to a forest preserve which gave us pretty dark skies. We weren’t in completely dark skies, as fortune would have it, this was during a full moon. But, the skies were still plenty dark so long as I could image far enough away from the moon as possible.
Travel preparation
To prepare for the trip, I wanted to see if I could get my entire setup inside a Pelican Air 1615 travel case. This would pack away nicely in the SUV, and double as a great air travel case. I had already purchased one for a trip I did to Hawaii a few years ago where I took my iOptron Cube Pro and Astro-Tech AT60ED for visual viewing of nebulas in a dark sky, but I had never done photography away from my back yard. To start the process, I reexamined my existing portable setup with the Moonlite focuser attached to it. It’s big and bulky, and I had a spotting scope on there too which was big and bulky. This setup also required a few additional power supplies and a StellarMate to control everything, plus a laptop to control the StellarMate.
Using the ASIAir Pro
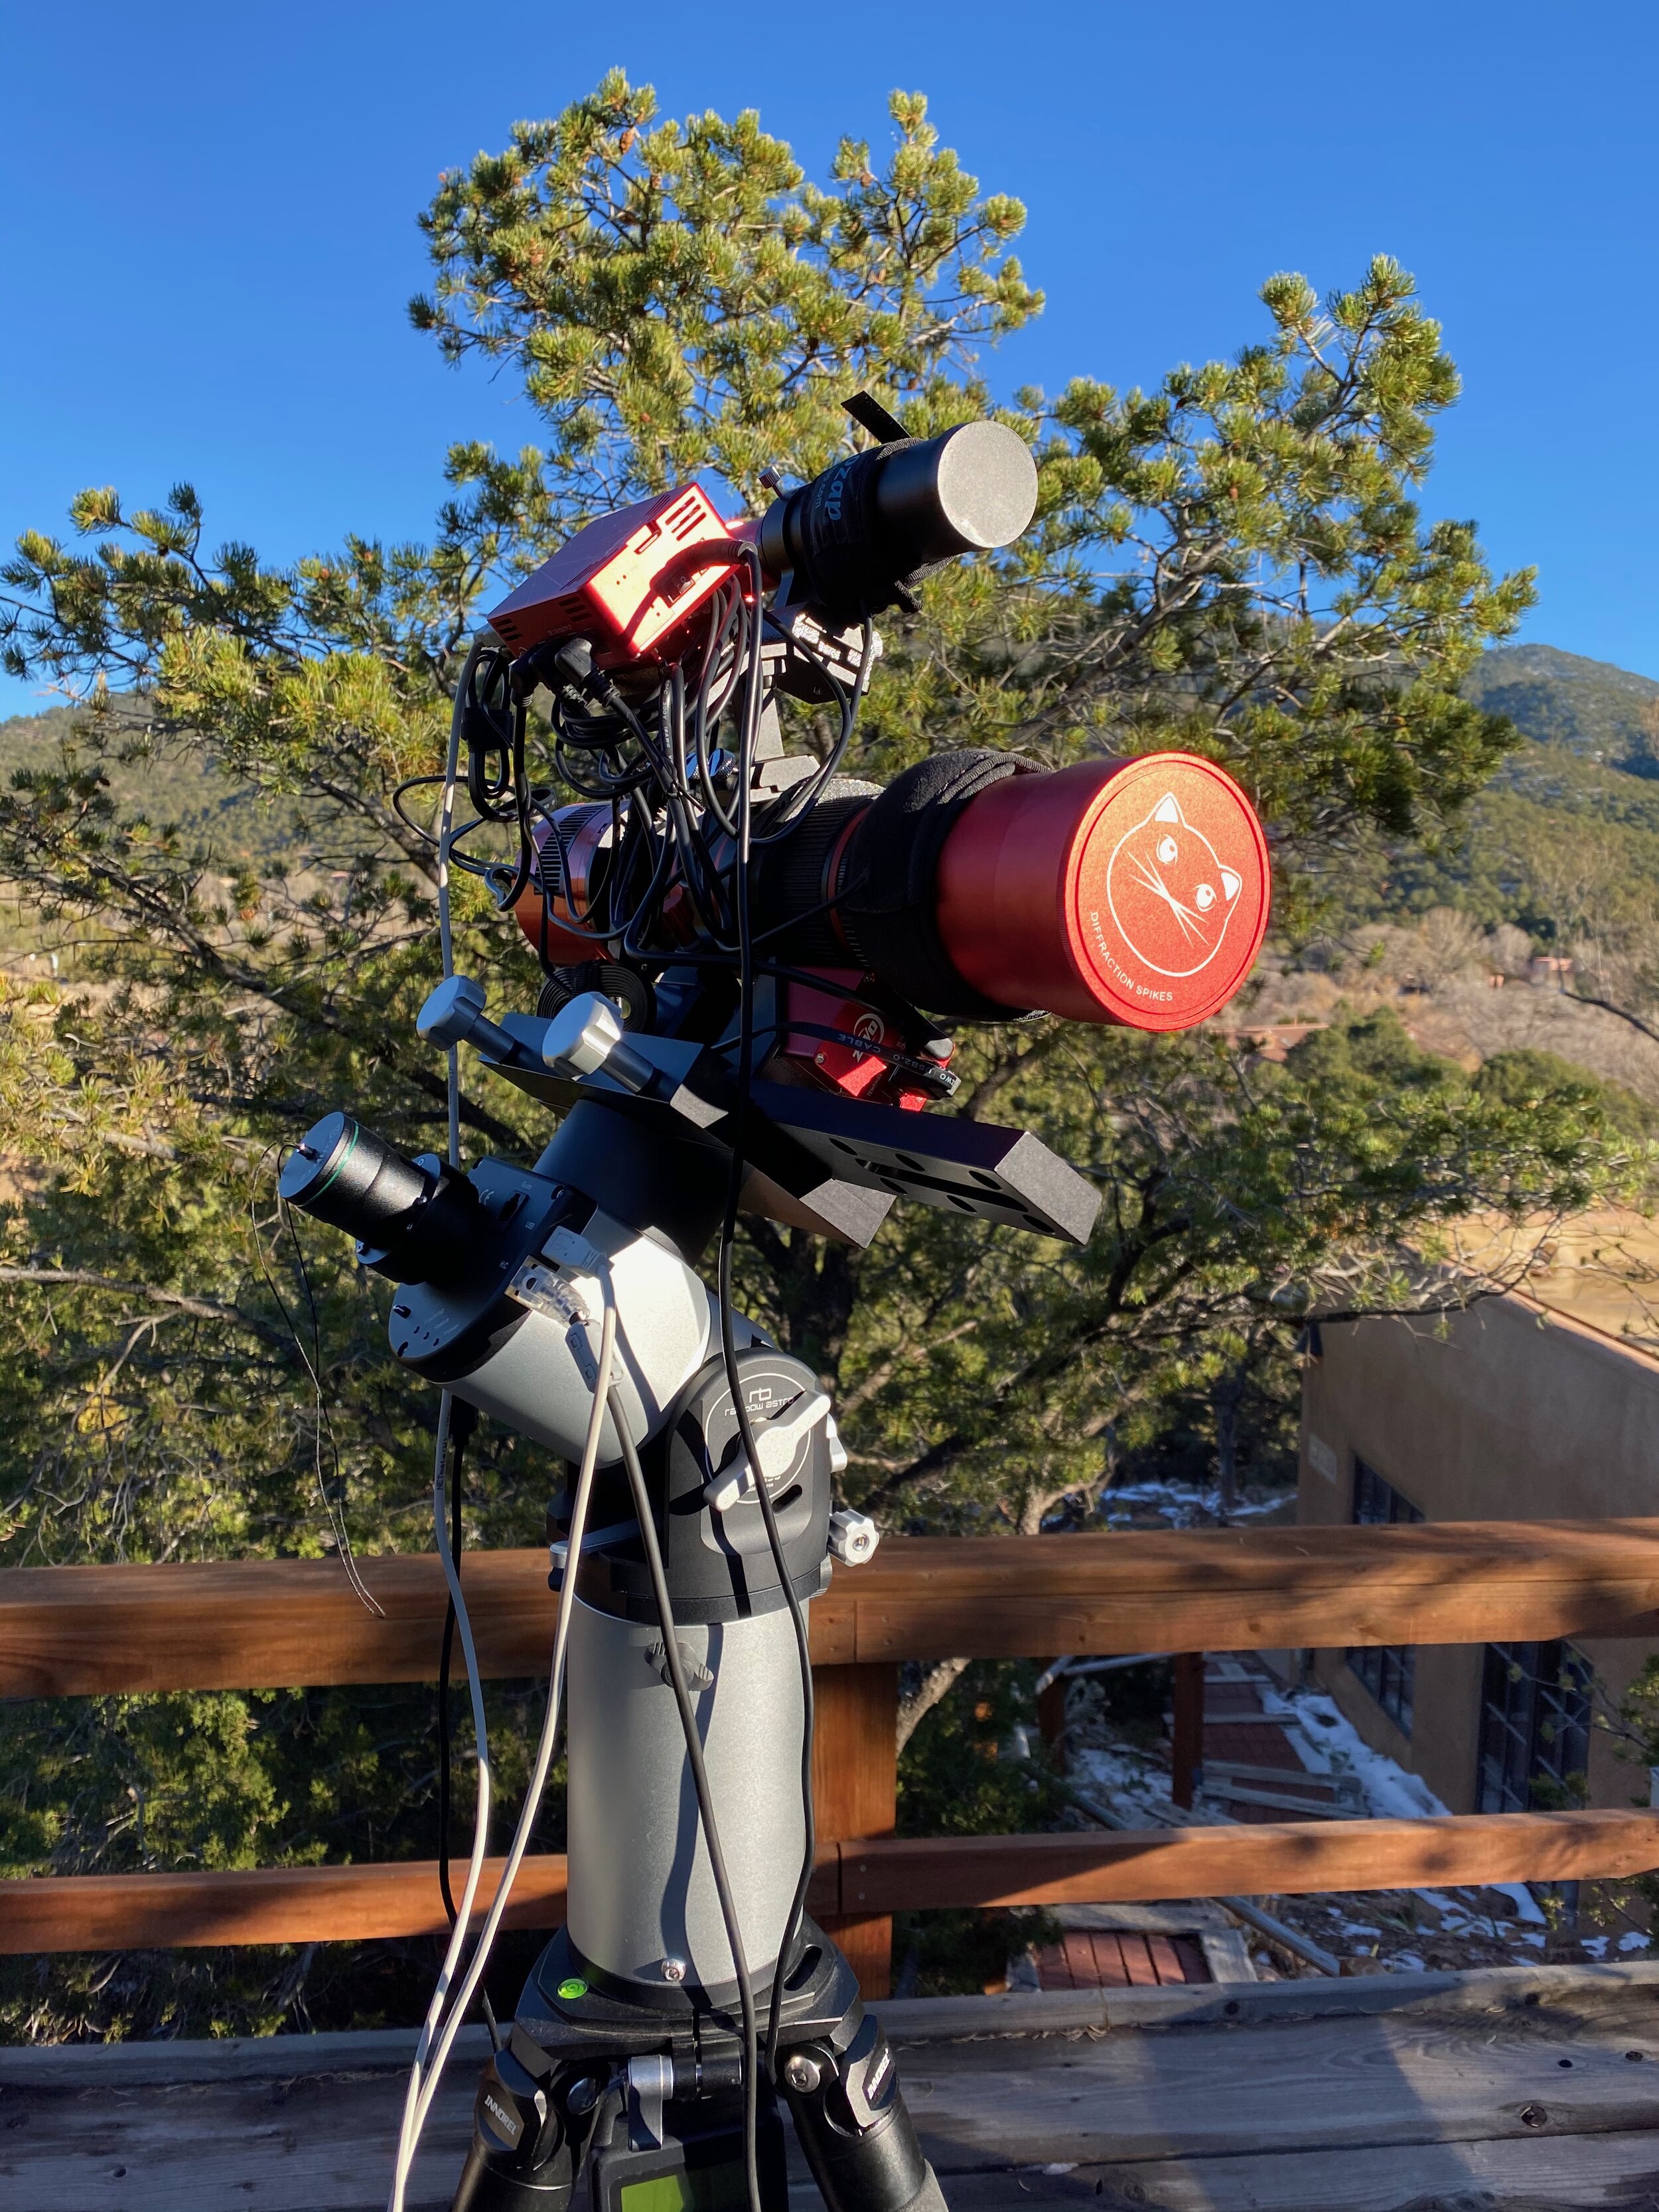
I decided to give the ASIAir Pro an opportunity here. The one down side to the ASIAir, is you have to have all ZWO accessories (camera, filter wheel, focuser, etc) in order to make that type of setup work. Since I was ditching the Moonlite, I replaced it with a ZWO focuser, and the Deep Sky Dad mounting kit for the Redcat 51. This allowed me to mount everything in a very compact way, and I can control the entire kit from my iPhone or iPad, and only require a single power brick to power everything.
Testing the new astrophotography travel kit with the ASIAir Pro
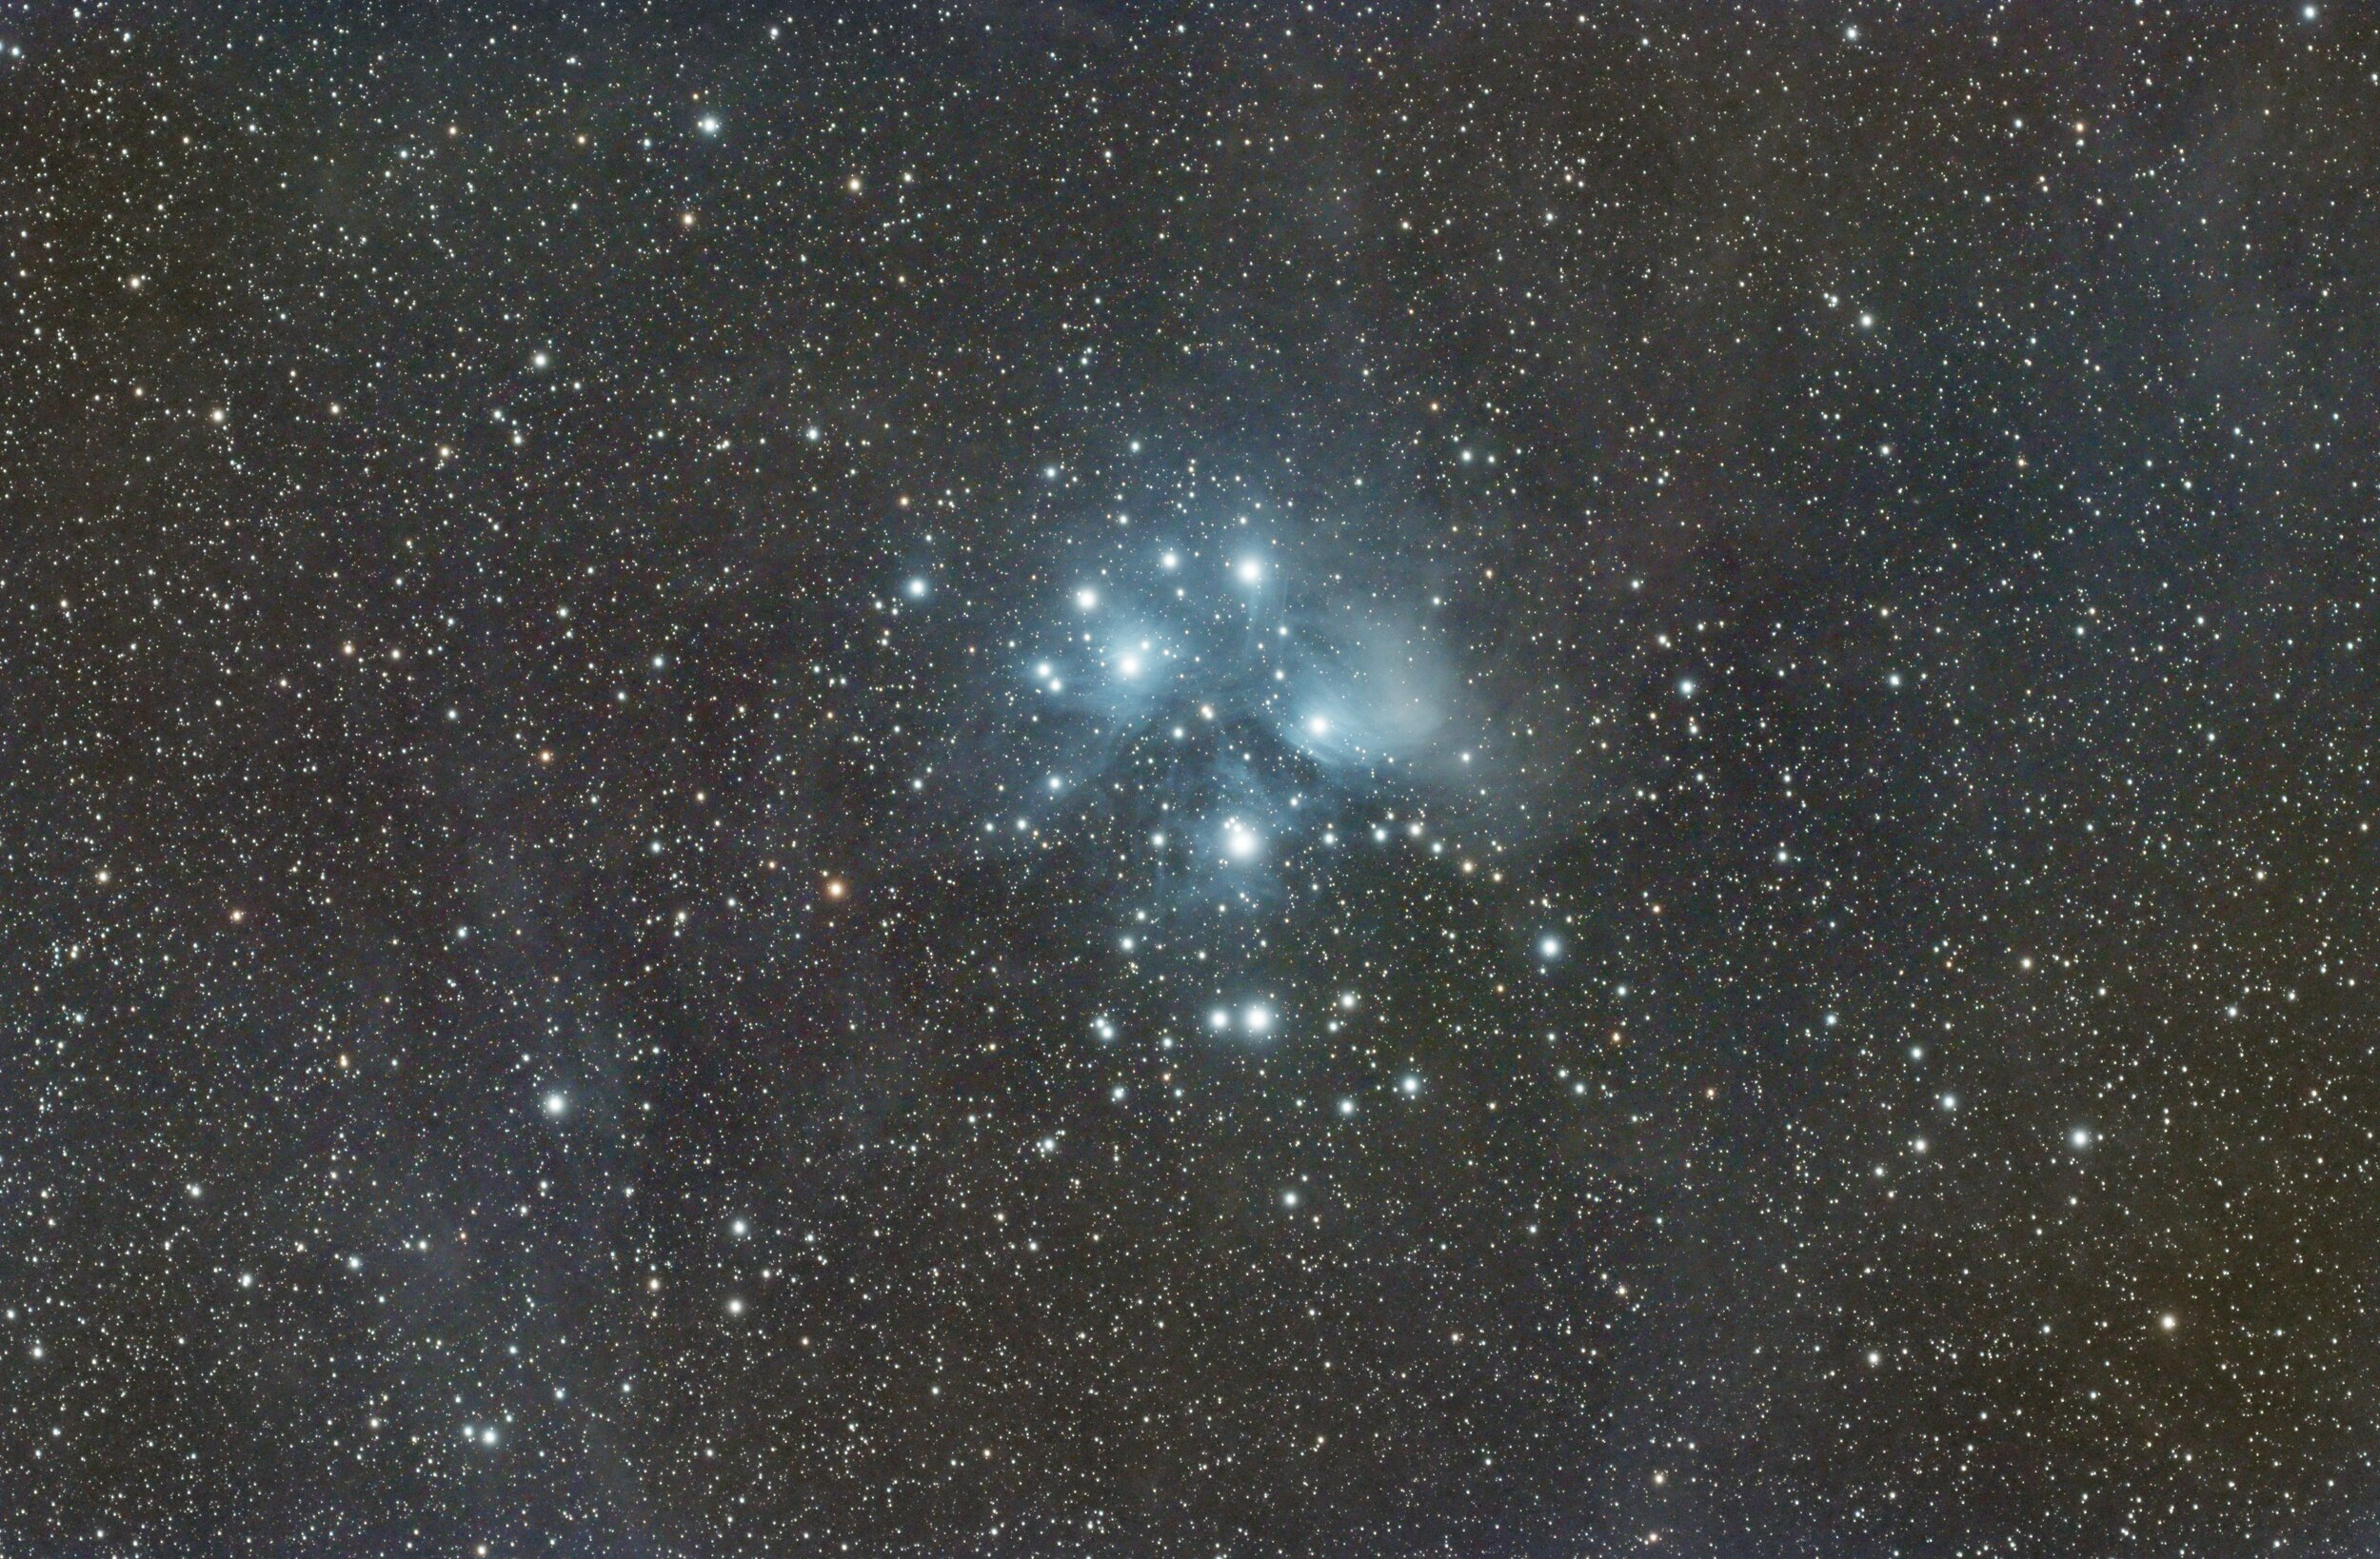
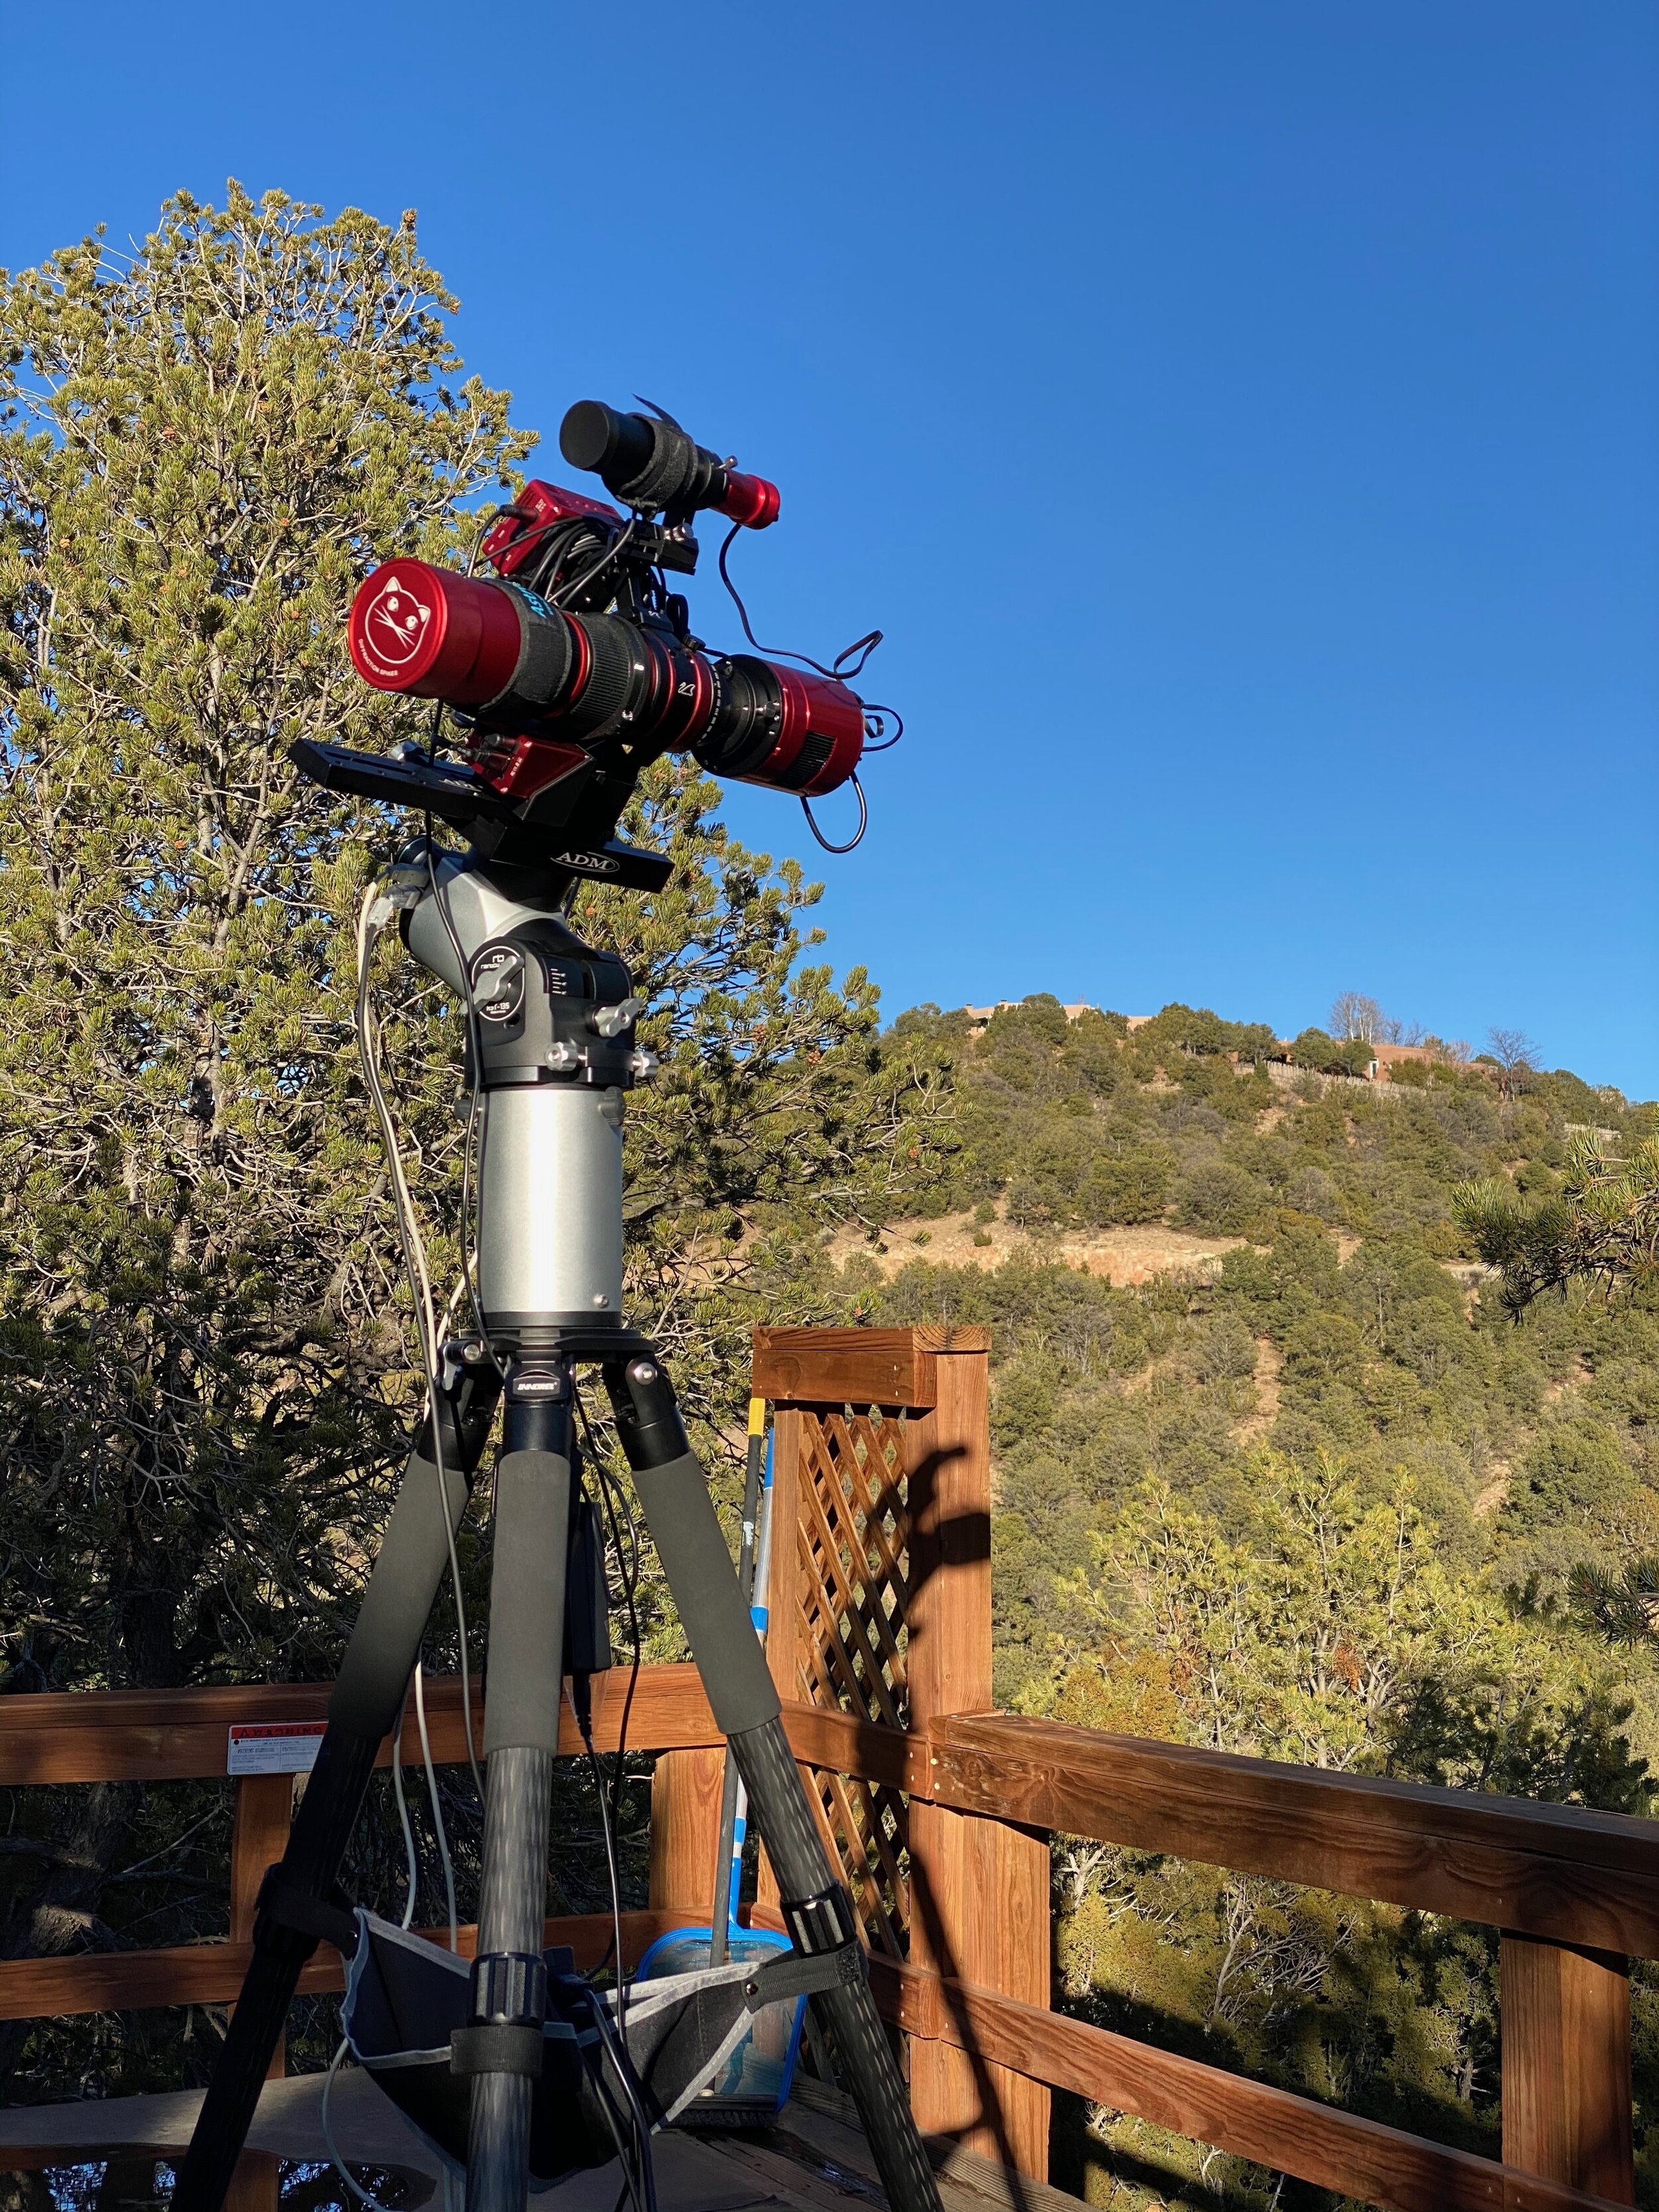
I had all this equipment now, and needed to make sure it would work well before I took it out in the field, so I set it up in the back yard and imaged M45 one night before the trip.
This setup turned out the be really nice. I do have a few issues with the ASIAir itself. It’s far from perfect, but it was extremely easy to set up and get going my first night with no instructions. The whole system was fairly intuitive. I used my iPad to set it up and get it imaging. Then you can walk away from it and it’s fully automated from that point forward. You only need to be in WIFI range to check its progress or pick another target.

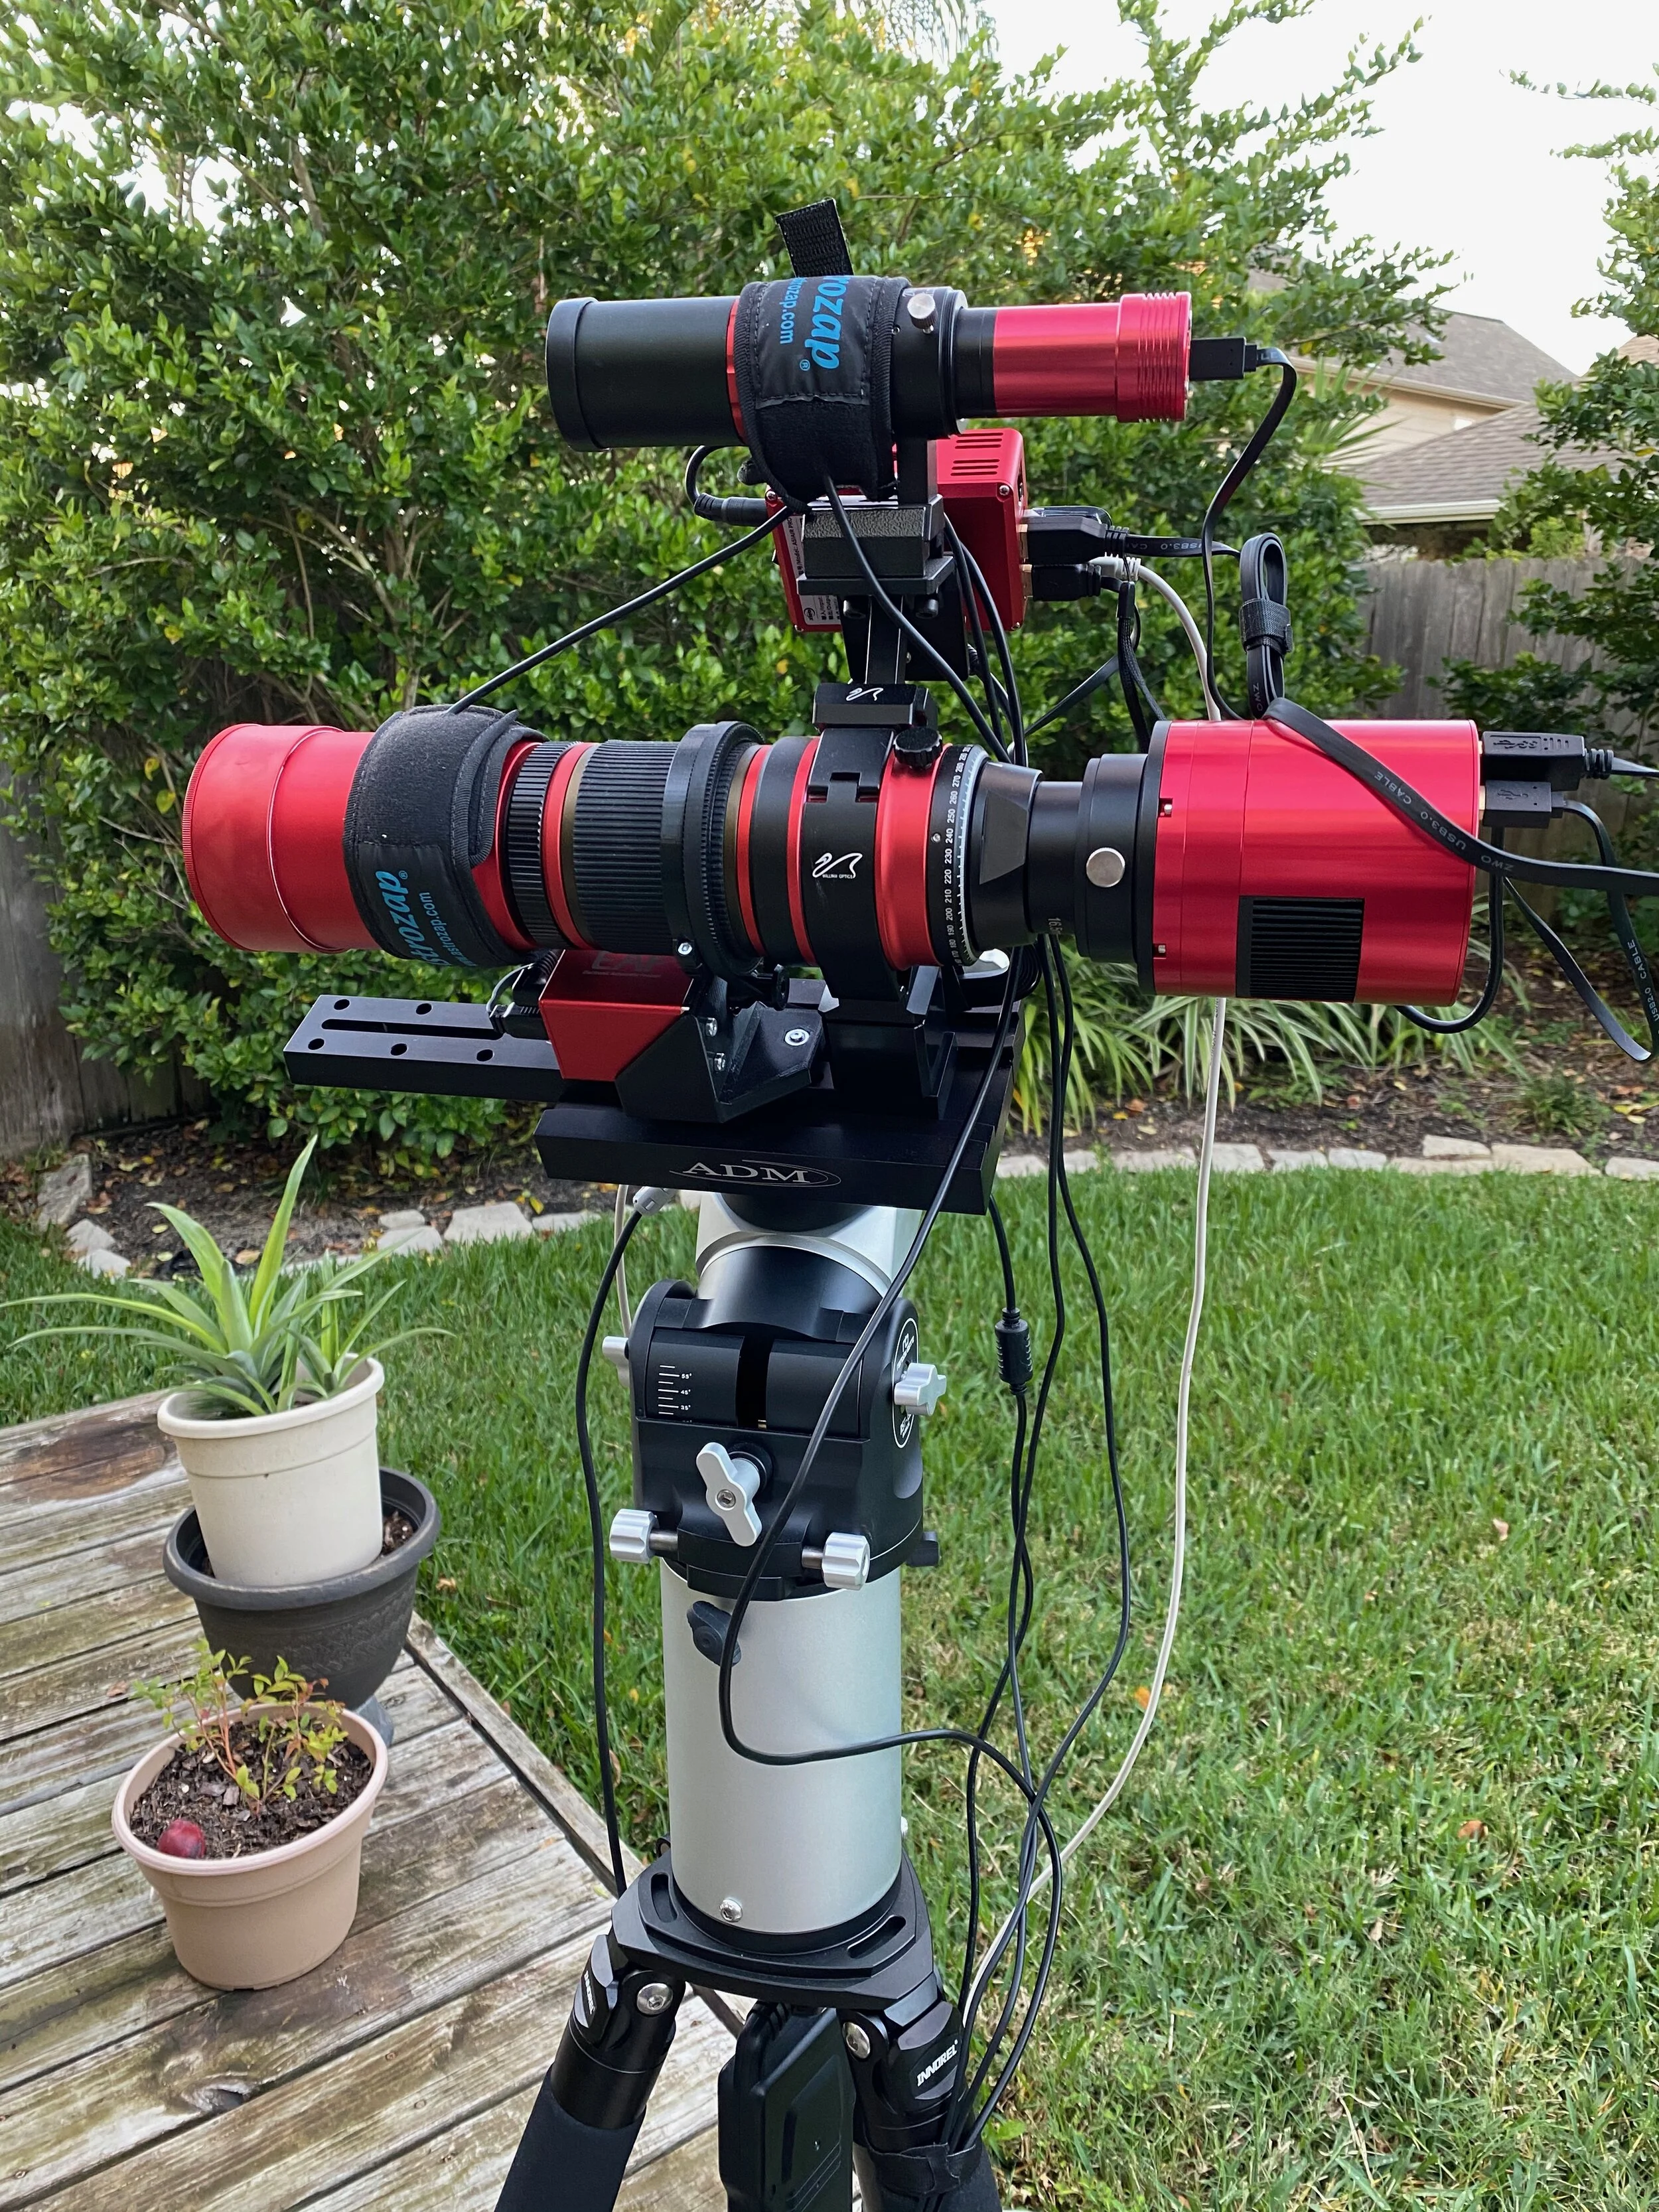
Here’s the entire setup, mount, tripod, telescope, electrical cables, usb cables, guide scope with camera, and ASIAir Pro.
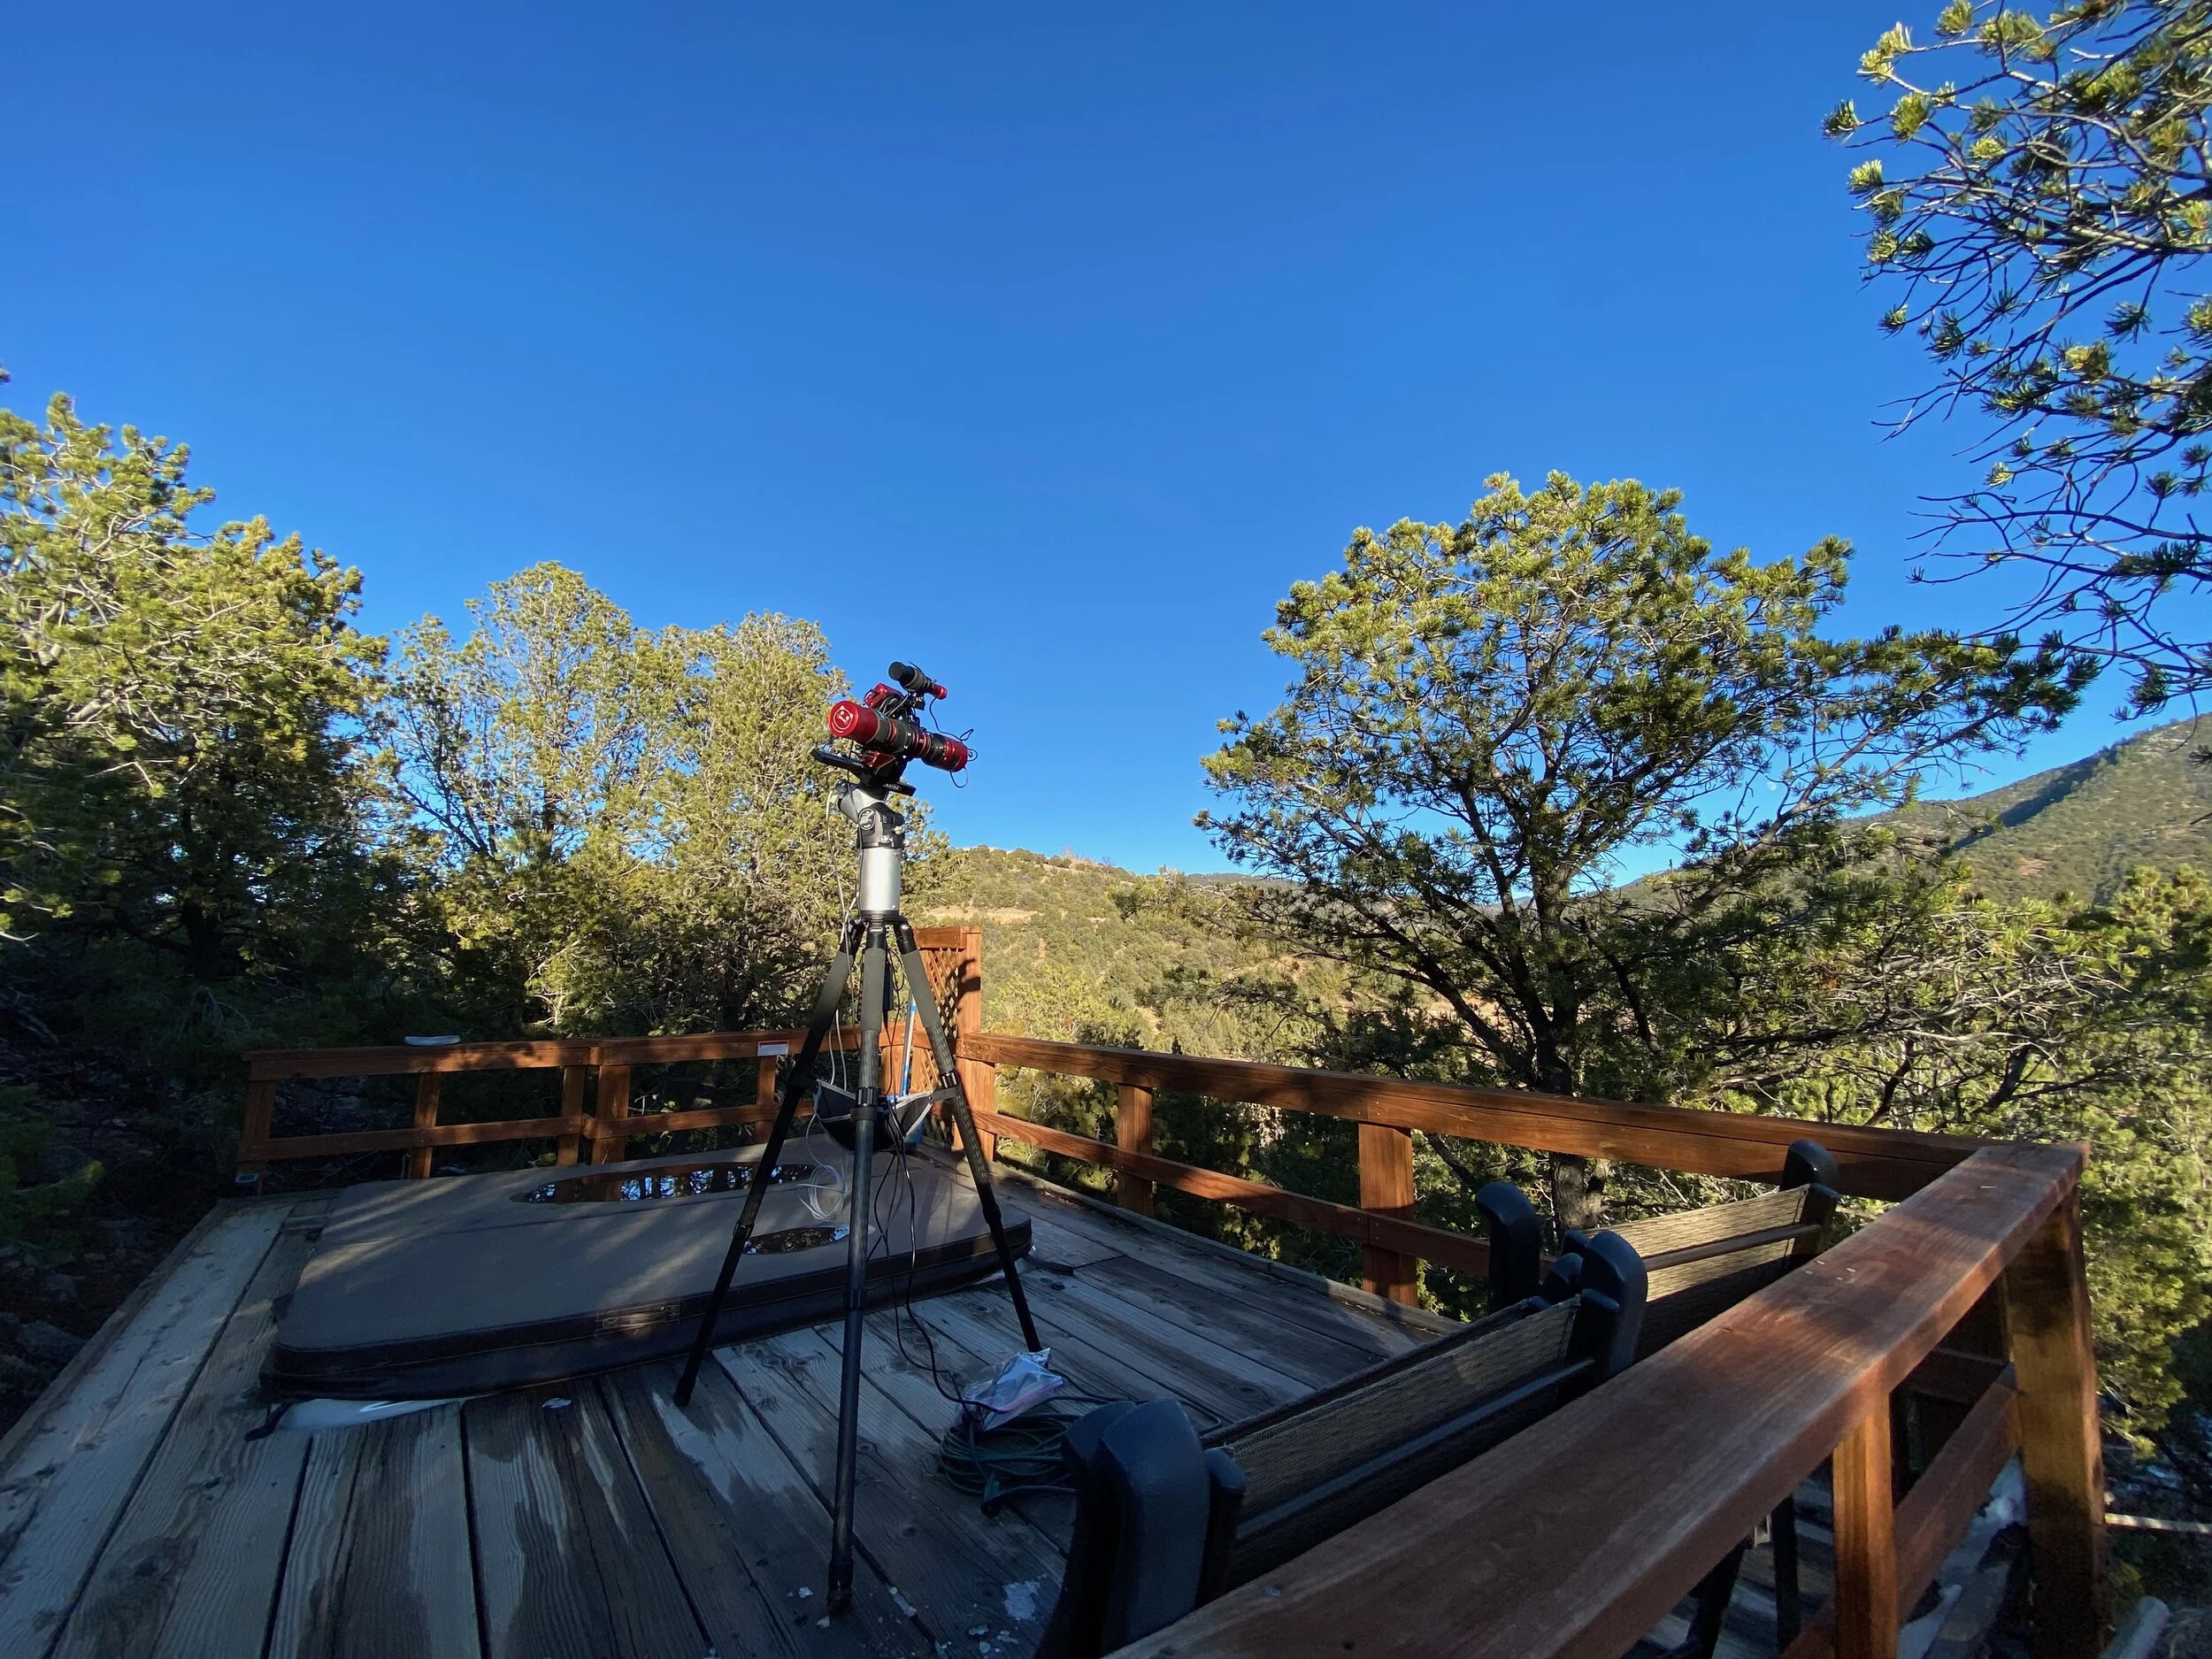
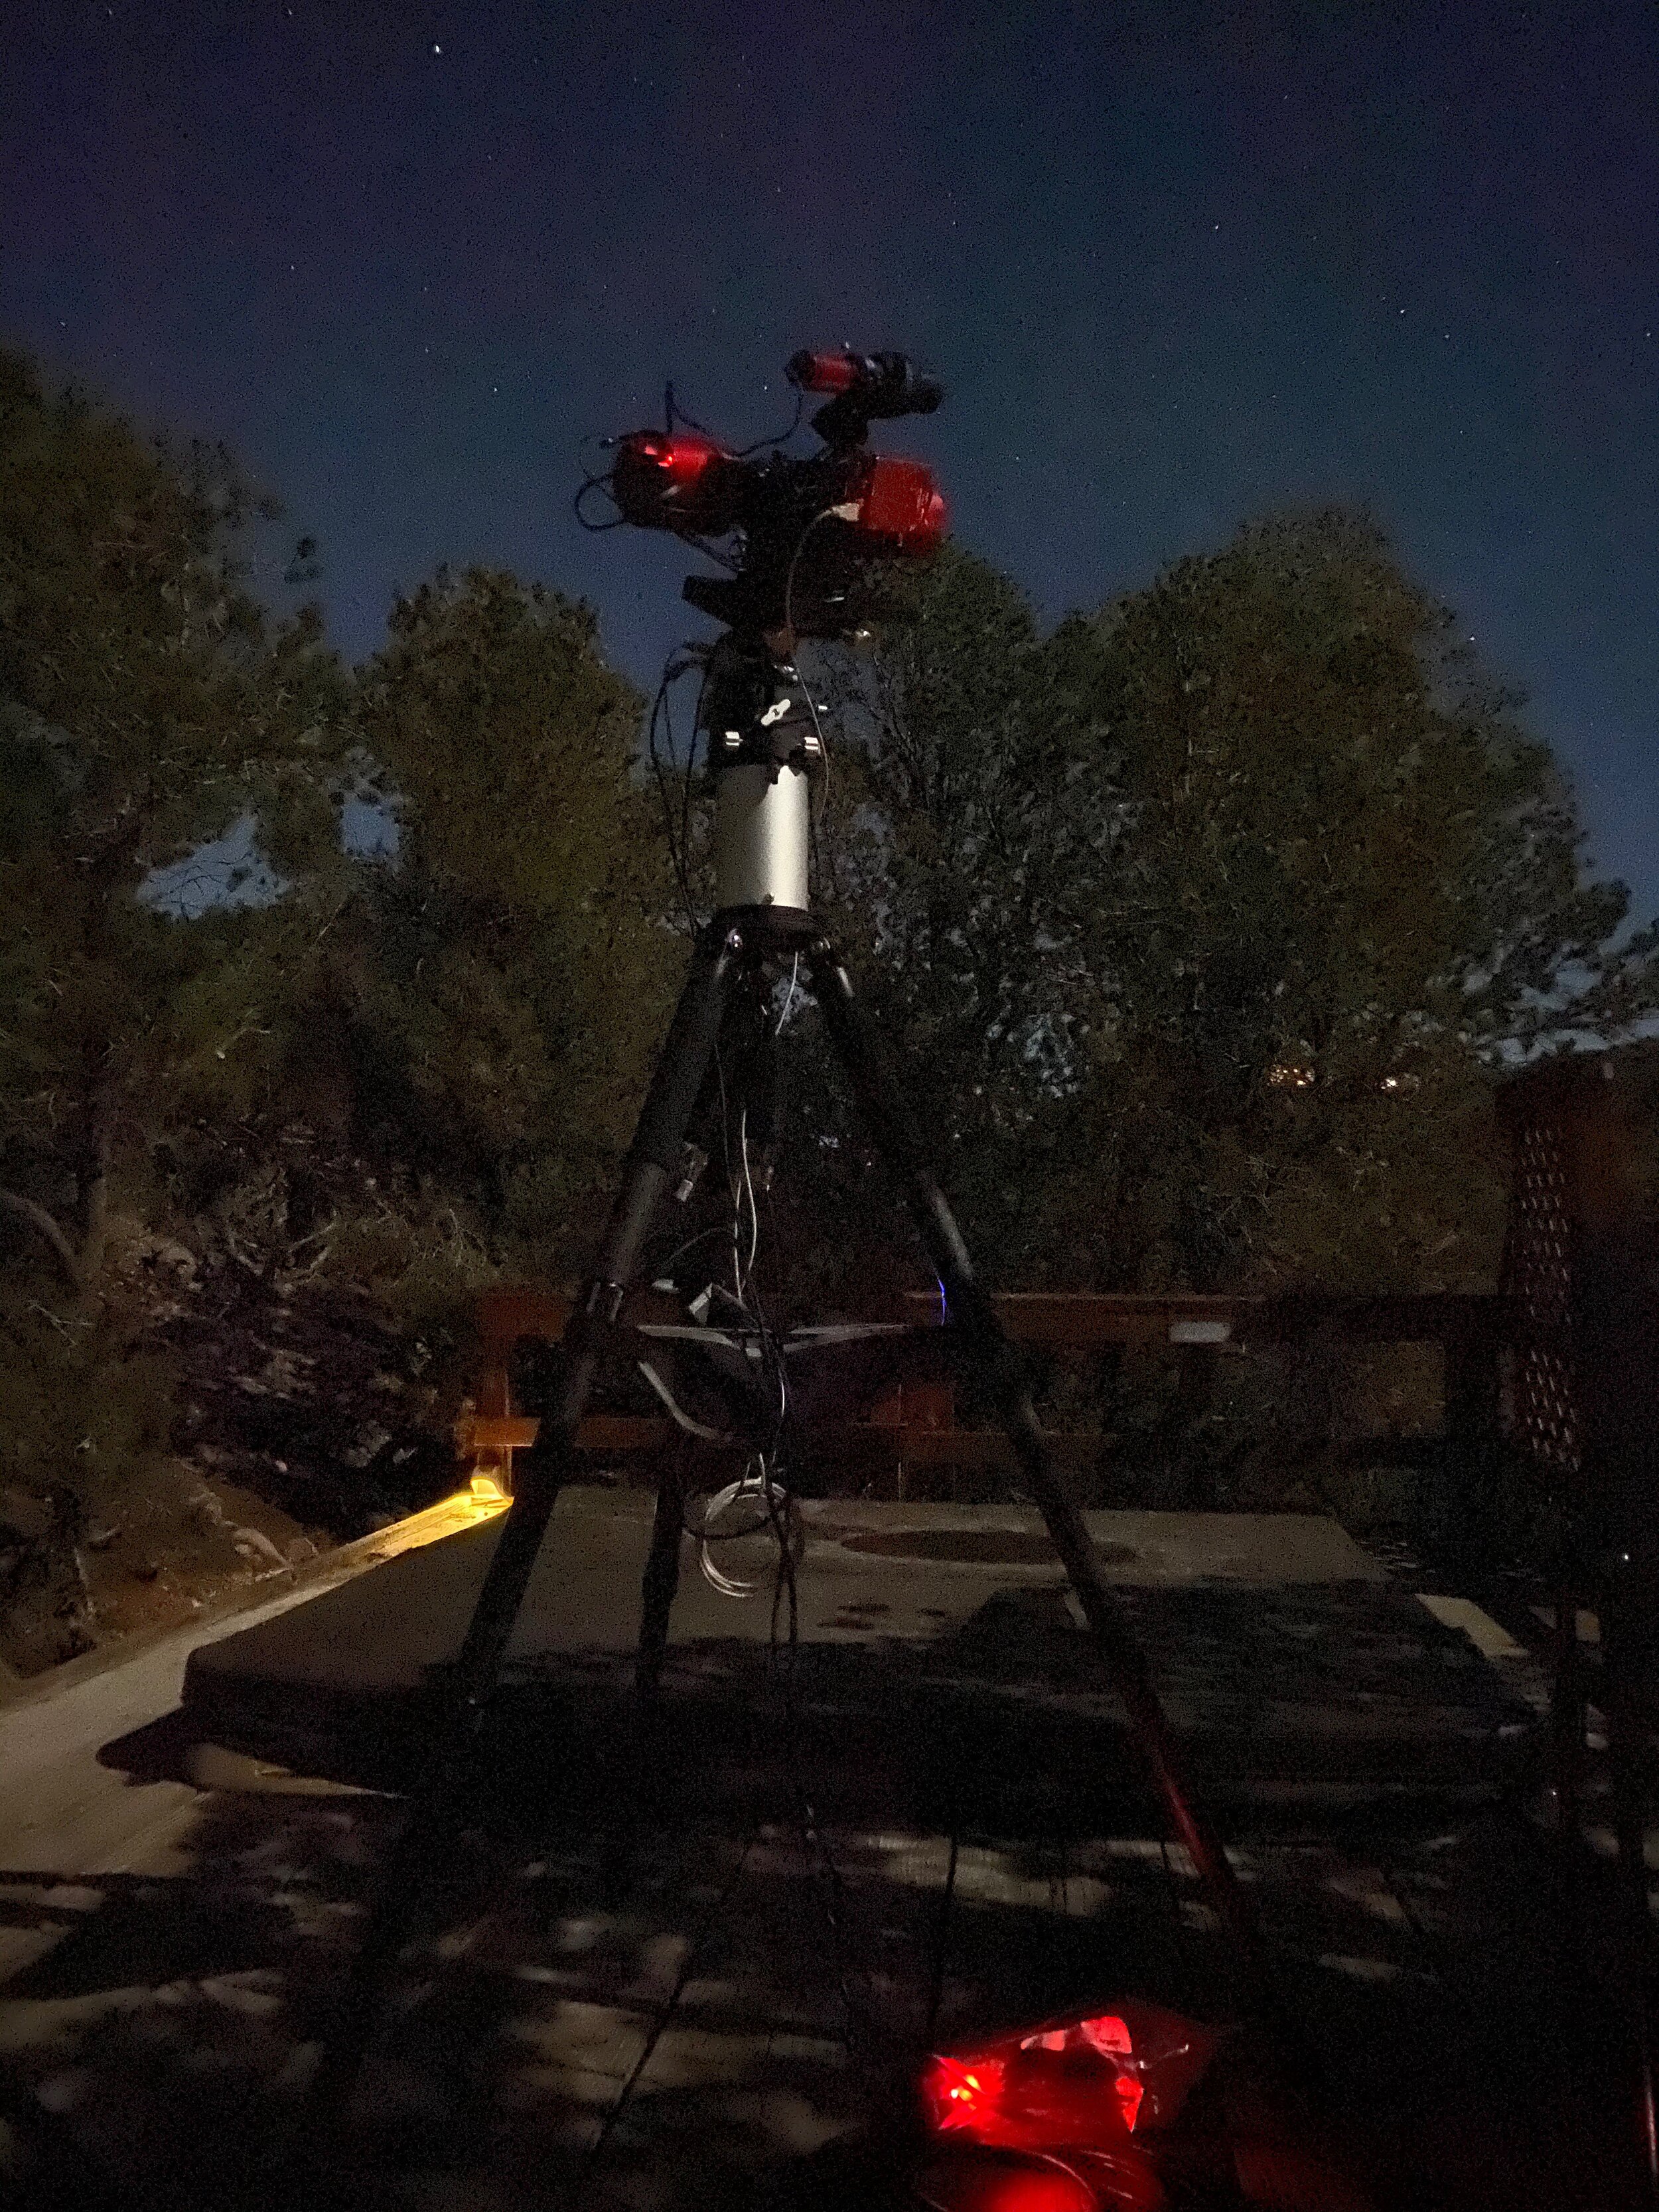
The Dark Site
I had always known that imaging from a dark site was preferred. Imaging time can be cut dramatically because the skies are so dark you are able to pick up very faint detail in just a few images. In light polluted skies like I have at home (bortle 7/8 suburbs), it easily takes 10 hours of imaging to start to get a respectable image. I was not even close to being prepared for this difference.
The first night out actually took me quite a while to get polar aligned as I played with the ASIAir polar alignment feature. Since my mount doesn’t point at Polaris, but instead points due west, it took me a few tries to figure out I needed to rotate the mount to 90 degrees from where it was, rather than trying to use the GOTO to aim at Polaris (leading to some weird issues). Once I got set up, I only ended up with 45 minutes before snow and clouds rolled in, so I picked an easy target: The Andromeda Galaxy, M31.
This is 42 minutes at a dark site.

WOW! I could not believe this. In my back yard, it takes me 10+ hours to achieve this level of detail and color, but in only 42 minutes, I could achieve some amazing results. This result had me so hyped for the rest of the nights in Santa Fe. The weather report was showing me I would have at least two more fully clear nights to image.
Dark Sky Astrophotography is awesome.
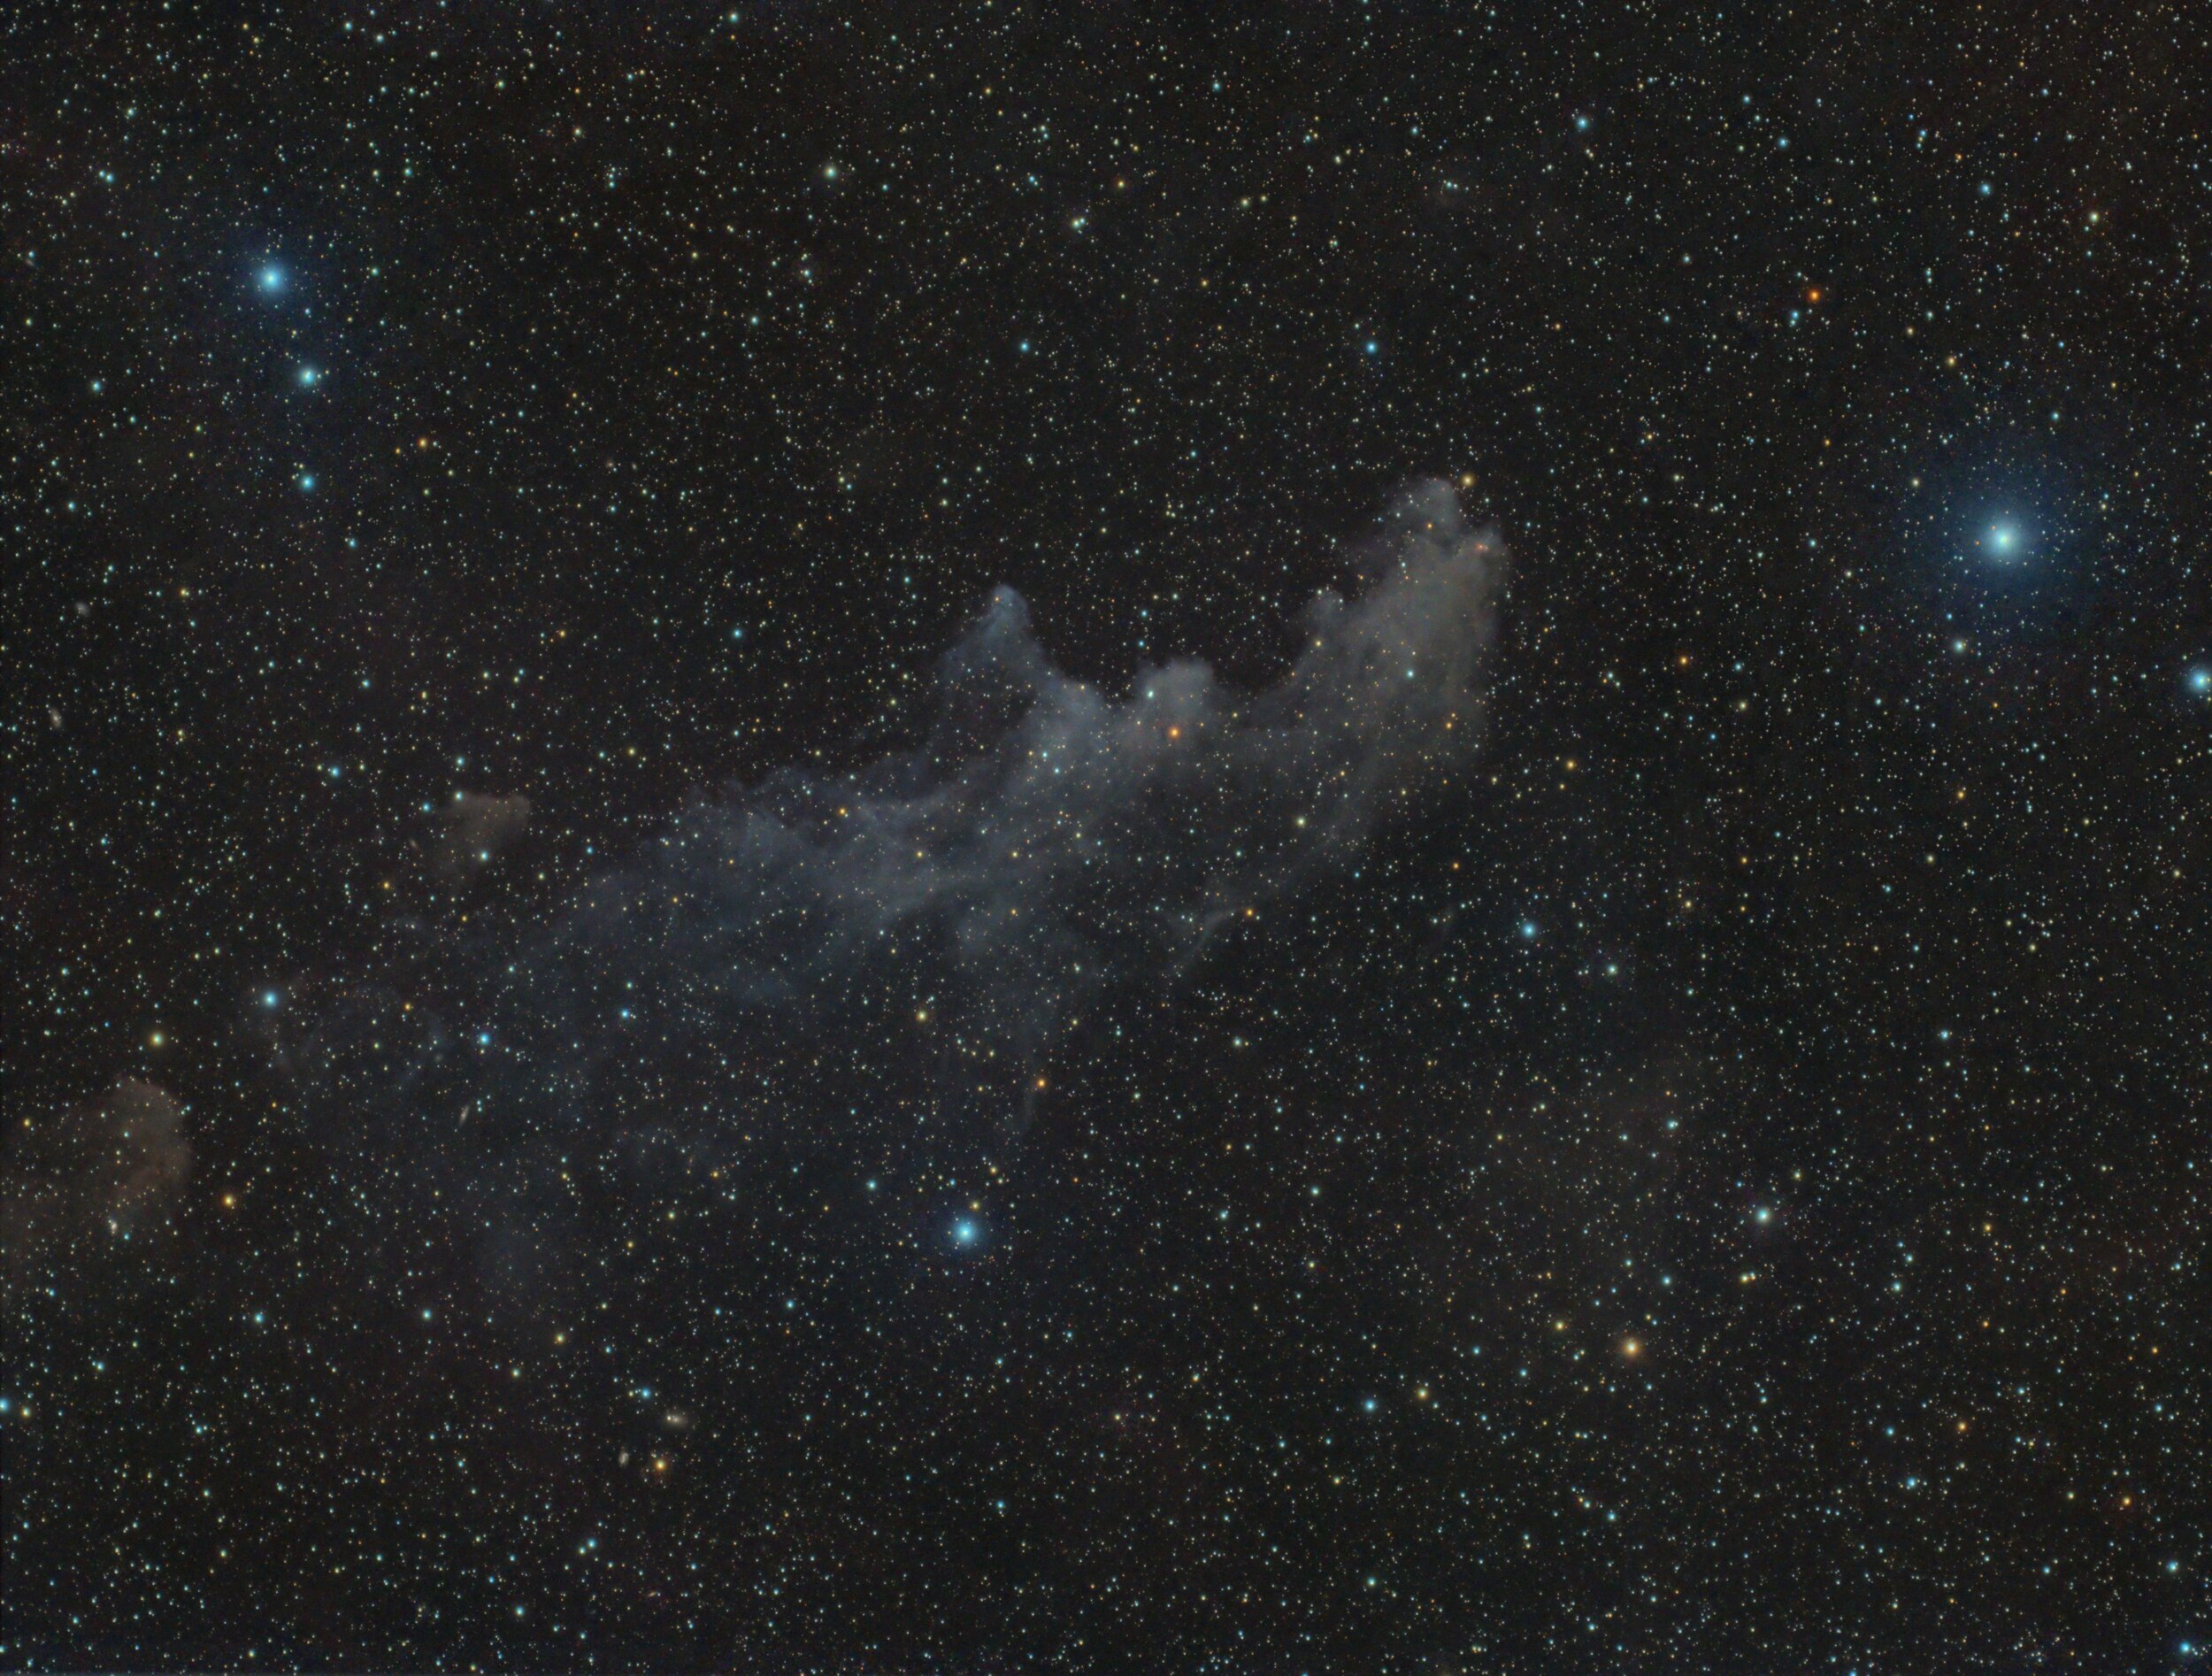
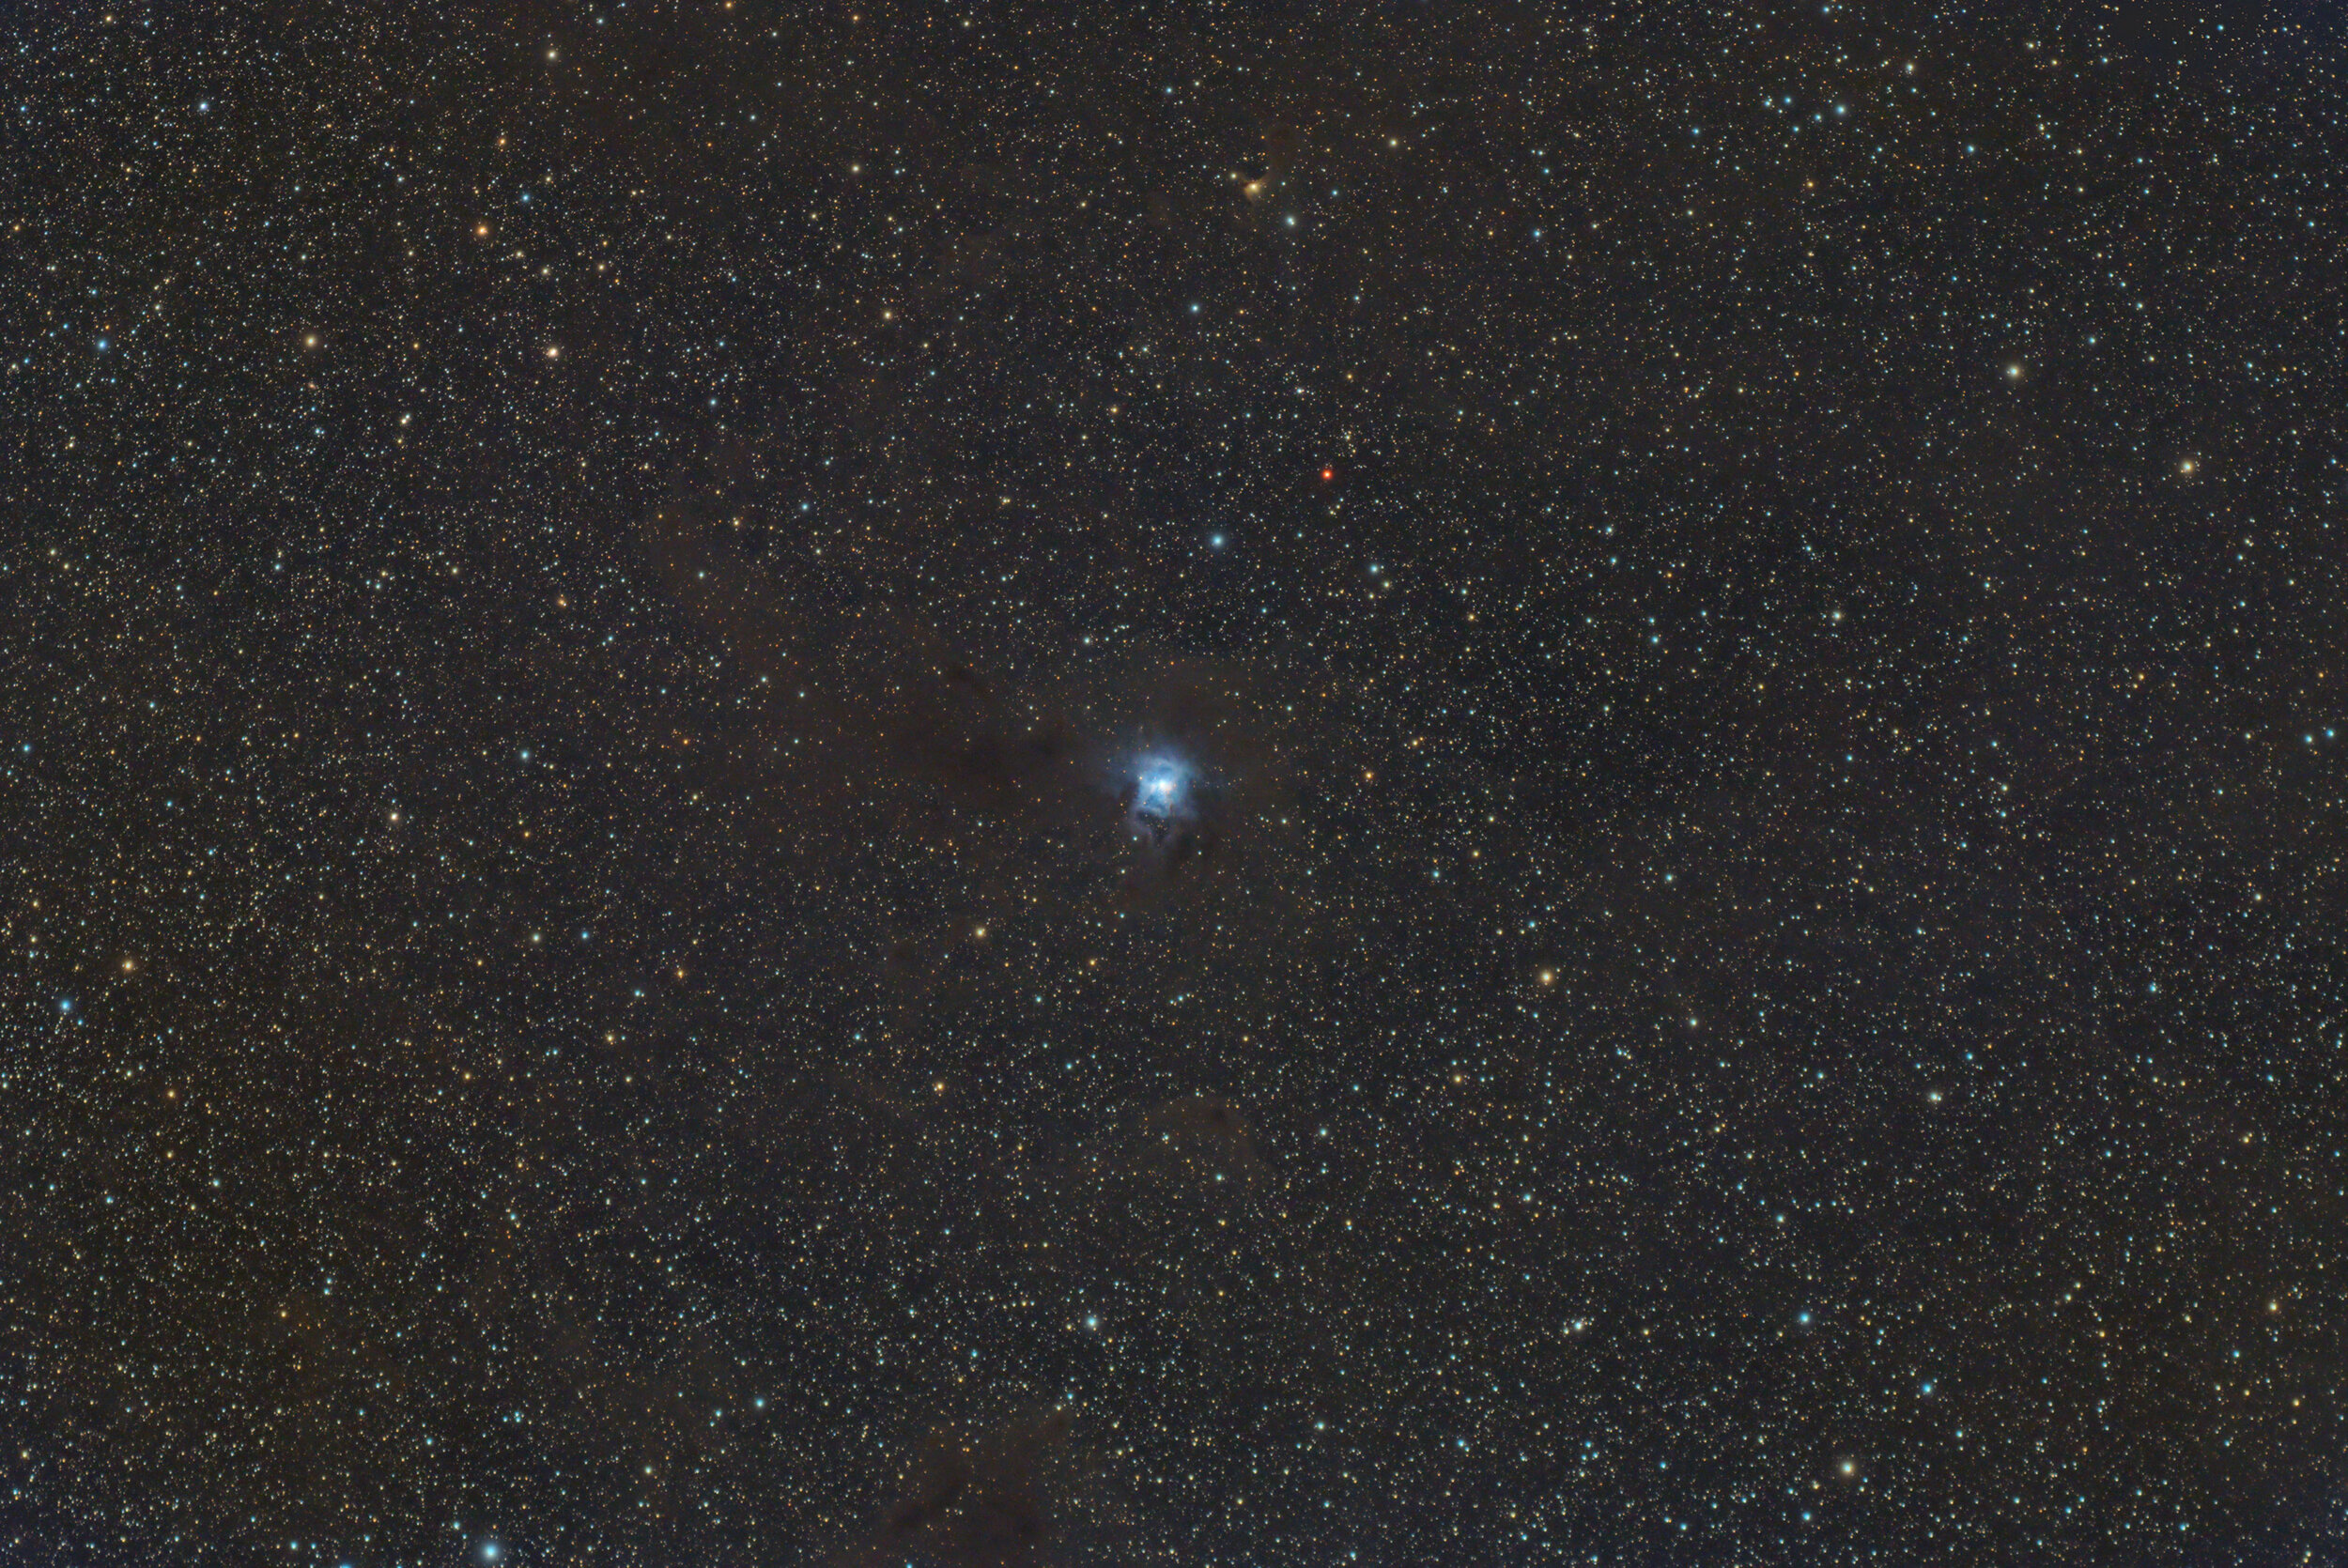
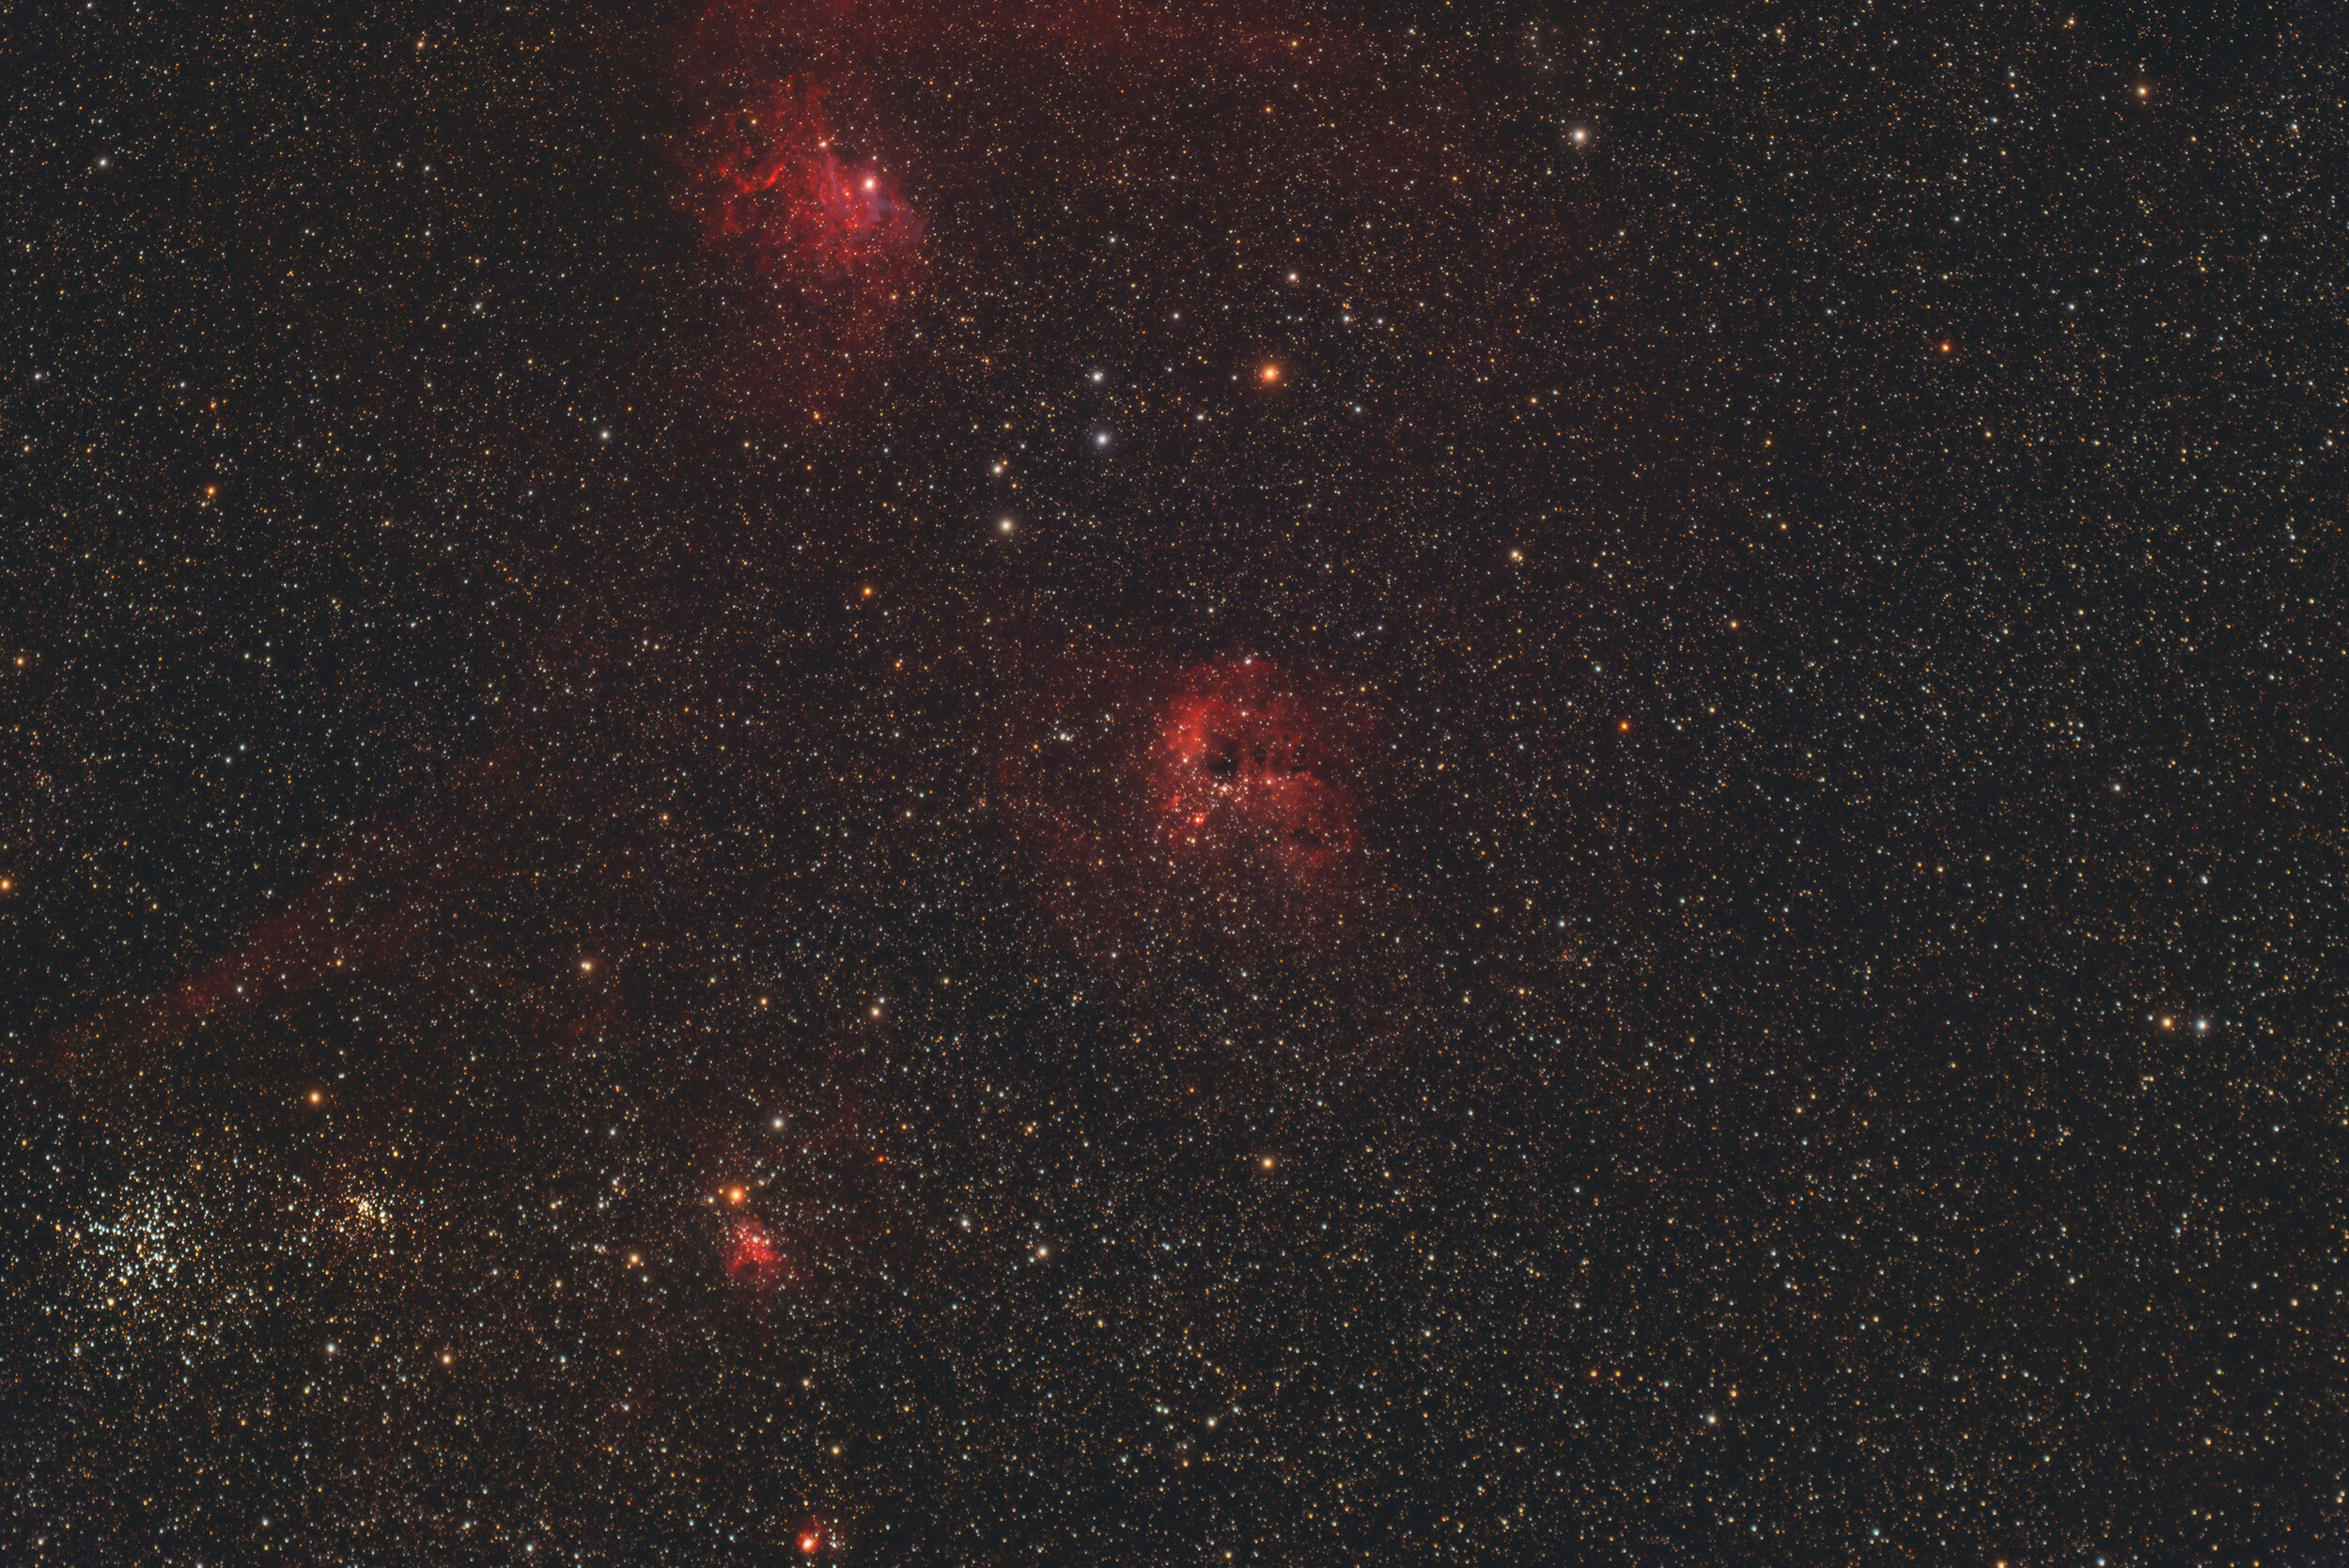
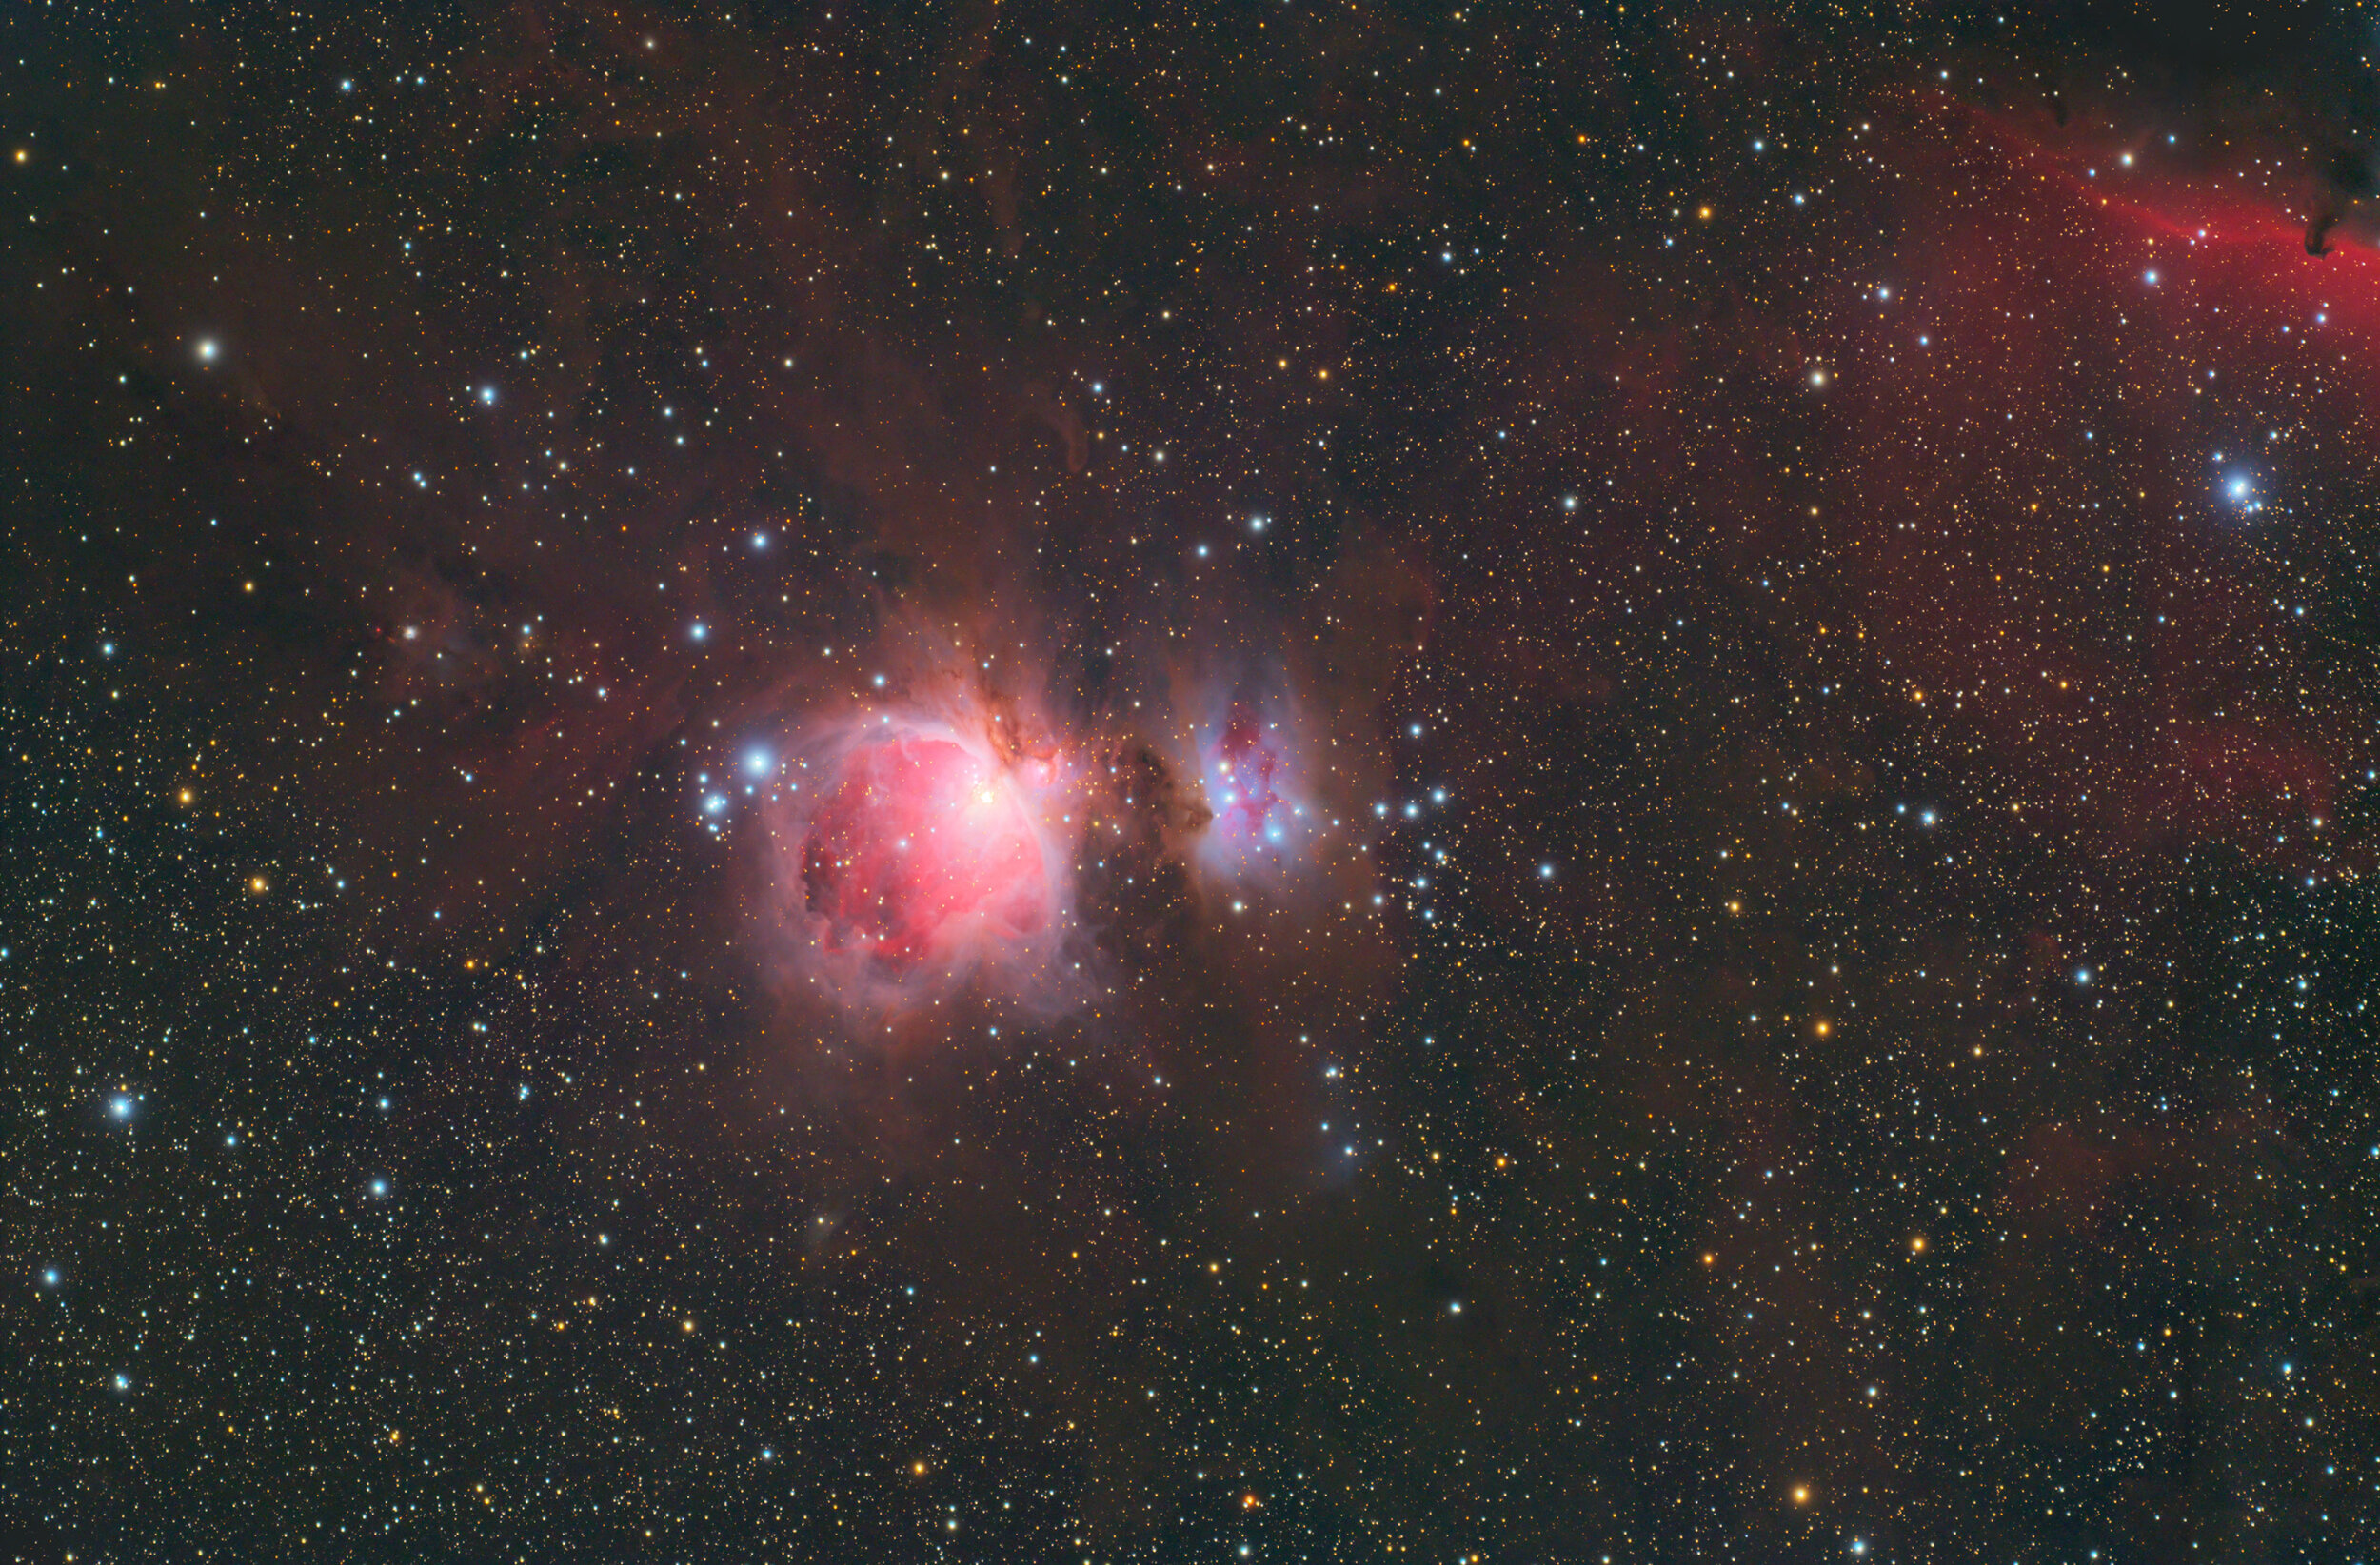
With two nights left, I planned my targets. I wanted some objects I couldn’t get from home without tons and tons of hours of integration time, so I picked the Witch Head nebula, the Iris Nebula, a cluster of nebulas in the constellation Auriga, and because I’ve never done it justice yet, the Orion Nebula.
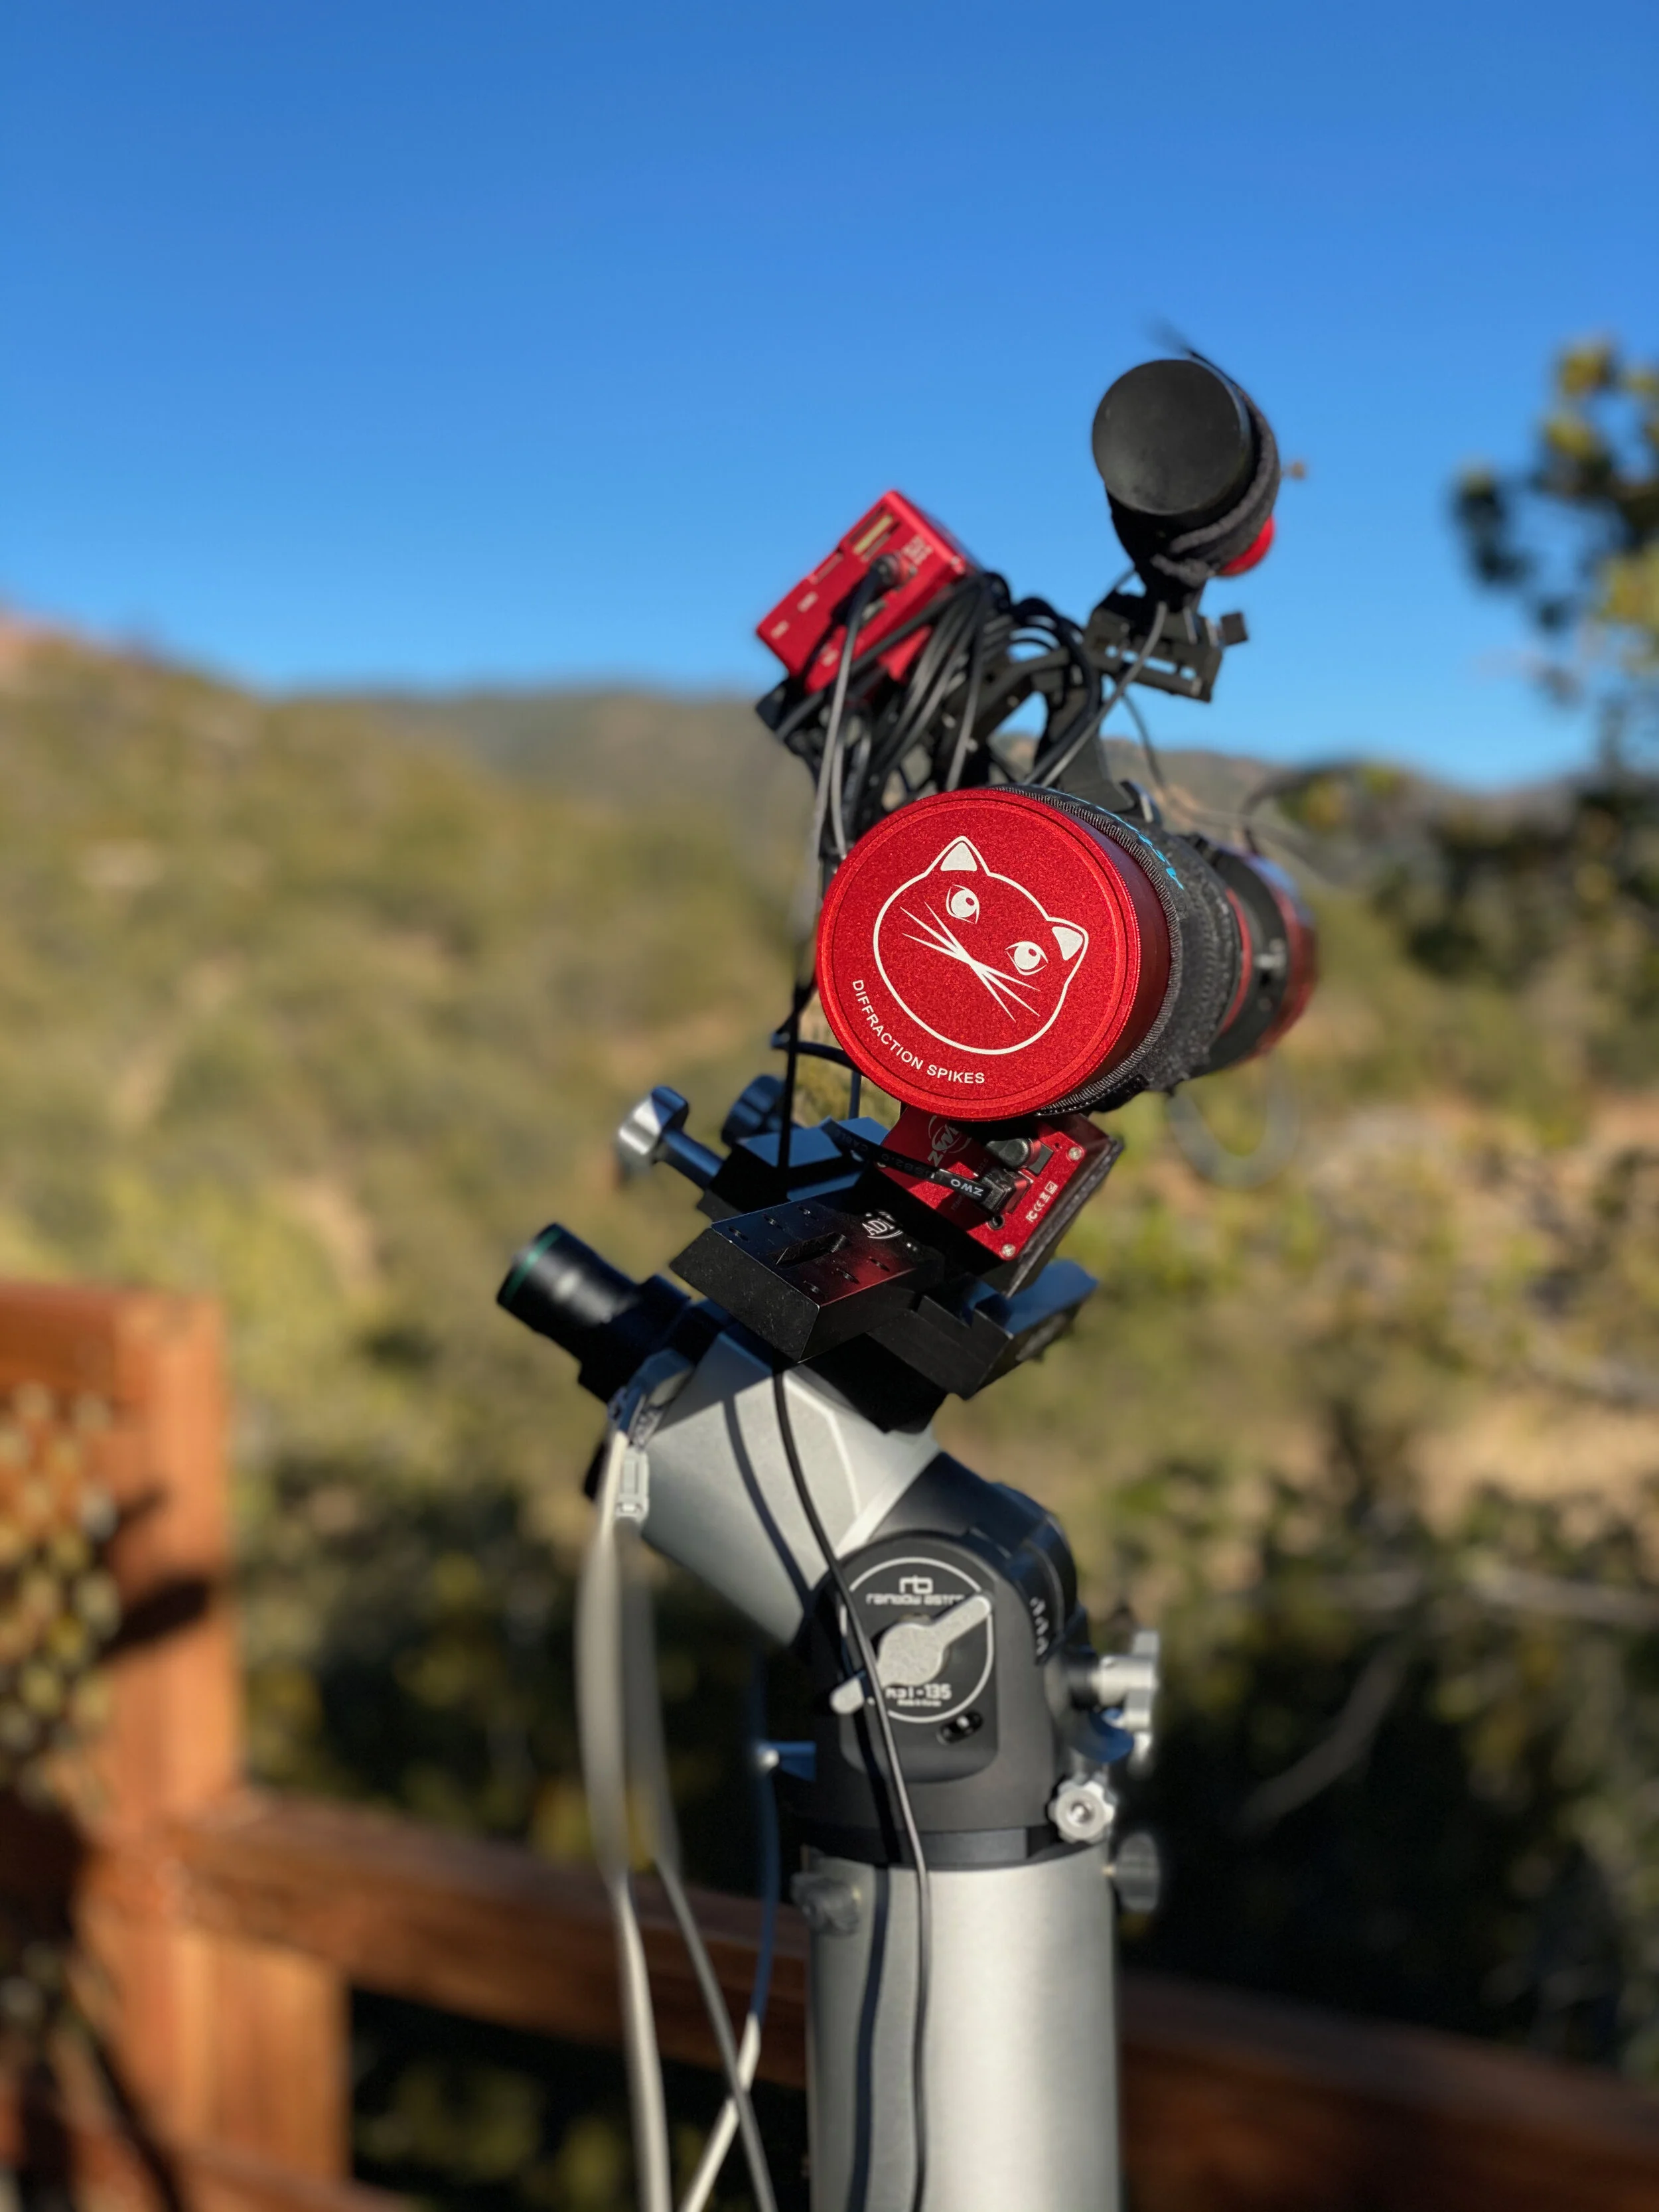
What a cool experience. Now that I have a working system for this type of work. I hope to get out more often to dark skies. The final equipment setup was as follows: