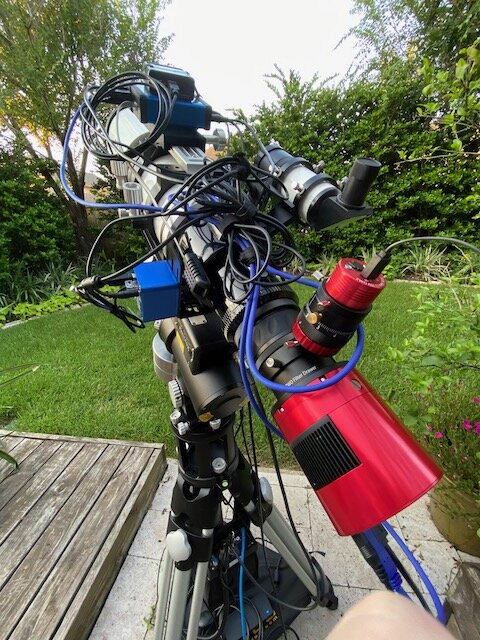
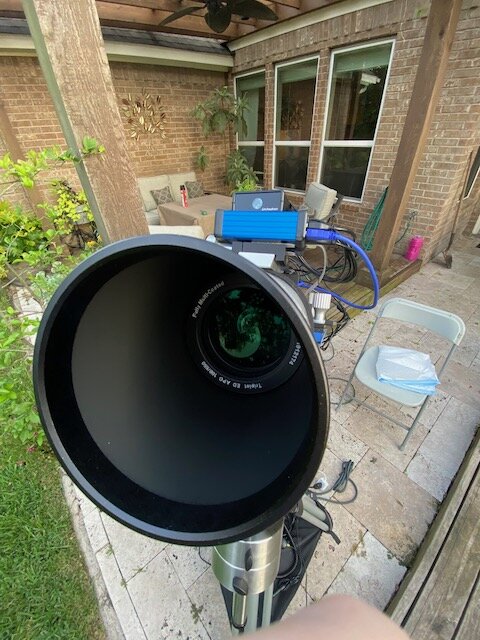
Wow, look at that jumble of wires. I did my best to tie everything up, but it still looks like quite a mess.
Imaging Full Frame
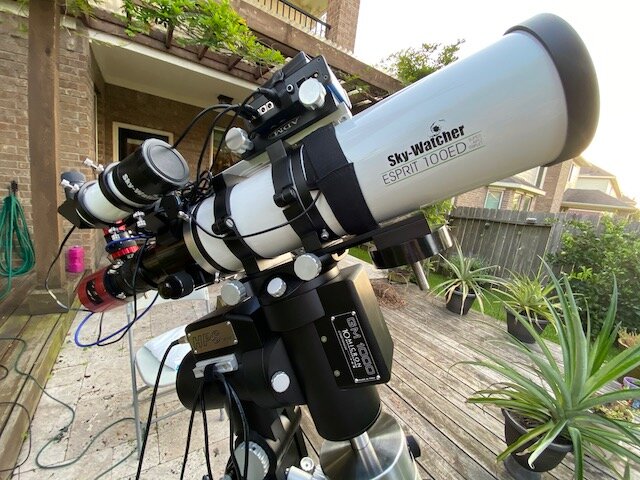
I recently decided to start imaging with a full frame sensor. The ZWO ASI6200MM-Pro. Previously I had been using a ZWO ASI1600MM-Pro, while still an incredible camera, I’ve always been bothered by the micro lens effect of that specific chip. Apparently the best way to accomplish using a full frame sensor is to identify all the telescopes that I own, that don’t support a full frame sensor, and sell them. So, that’s what I’ve been doing. I sold my 8” RC telescope, as well as my workhorse imager the Explore Scientific 102CF FCD-100. My EdgeHD 11 and William Optics Redcat 51 both support full frame, but I needed a focal length in-between these two scopes that supported full frame too. I looked long and hard at a Takahashi FSQ-106EDX4, but could not justify the cost for the large imaging circle it provides. It supports up to an 80mm wide imaging circle, and since full frame cameras are around 43-44mm in size, I could never take advantage of that telescope, so I went for a telescope that’s had some high praise for a mass produced scope, and ended up with the Sky-Watcher Esprit 100ED.
Accessories
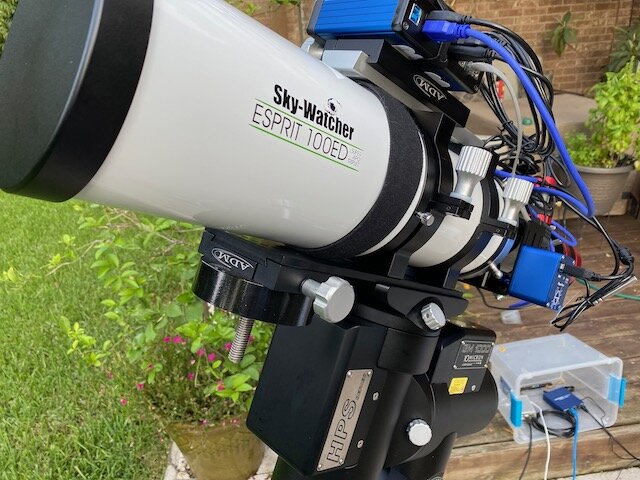
One thing I wanted to avoid this time around was purchasing a 3rd party focuser. The built in Esprit focuser is a large 3 inch diameter focuser, and is fairly robust. With a 3” clear path, it should have no issues supporting a full frame sensor. I’m using the stock field flattener that came with the telescope, also sized for full frame. This means the telescope operates at F/5.5 and 550mm focal length. The speed is moderately quick, and any faster in my light pollution and I would have to take a lot of very short frames, so I think the speed is pretty good. You can attach a Massimo Riccardi .75x reducer to this scope and still image at full frame with an even wider, faster view. But I don’t think I’ll go that route unless I can get to some really dark skies. In order to operate with full automation through the night, I needed to consider a focus motor. The ZWO EAF motor would have been ideal, but it has a 5kg limit pulling weight, and the new camera with 2” filter wheel, is right at that limit. So that left me with two options, the PrimaLuceLab Sesto Senso 2, or the Pegasus Astro FocusCube 2. I went with the latter since I already have some very nice Pegasus Astro gear that I’m happy with.
With the focuser squared away now, I needed to figure out how to connect up the ZWO ASI6200. To keep that large diameter opening all the way to the camera, I needed to consider a different adapter than the one included with the telescope. The telescope comes with a DSLR Canon adapter, or a CMOS M42 adapter. M42 is a 2” diameter, and limits the light cone traveling through the optical train to the camera. The stock back focus is 66mm for the field flattener, and the CMOS adapter is 8mm, leaving 55mm for the ZWO ASI6200, ZWO M68 OAG, and ZWO 2” filter wheel. I got a set of 2” Chroma 3nm narrowband filters and a set of LRGB Chroma filters to fit into the filter wheel. That equipment takes up 55mm exactly. However, due to the 3mm thickness of the Chroma filters, it extends the back focus requirement by 1mm making it 56mm. To accommodate this extra millimeter, I ordered a Precise Parts adapter that was 9mm thick with threading for the M66 flattener on one side, and threading for the M68 tilt adapter from ZWO. This keeps the open aperture just under 3” until the light hits the 2” filters and finally the camera.

The Precise Parts setting I used for this new adapter.
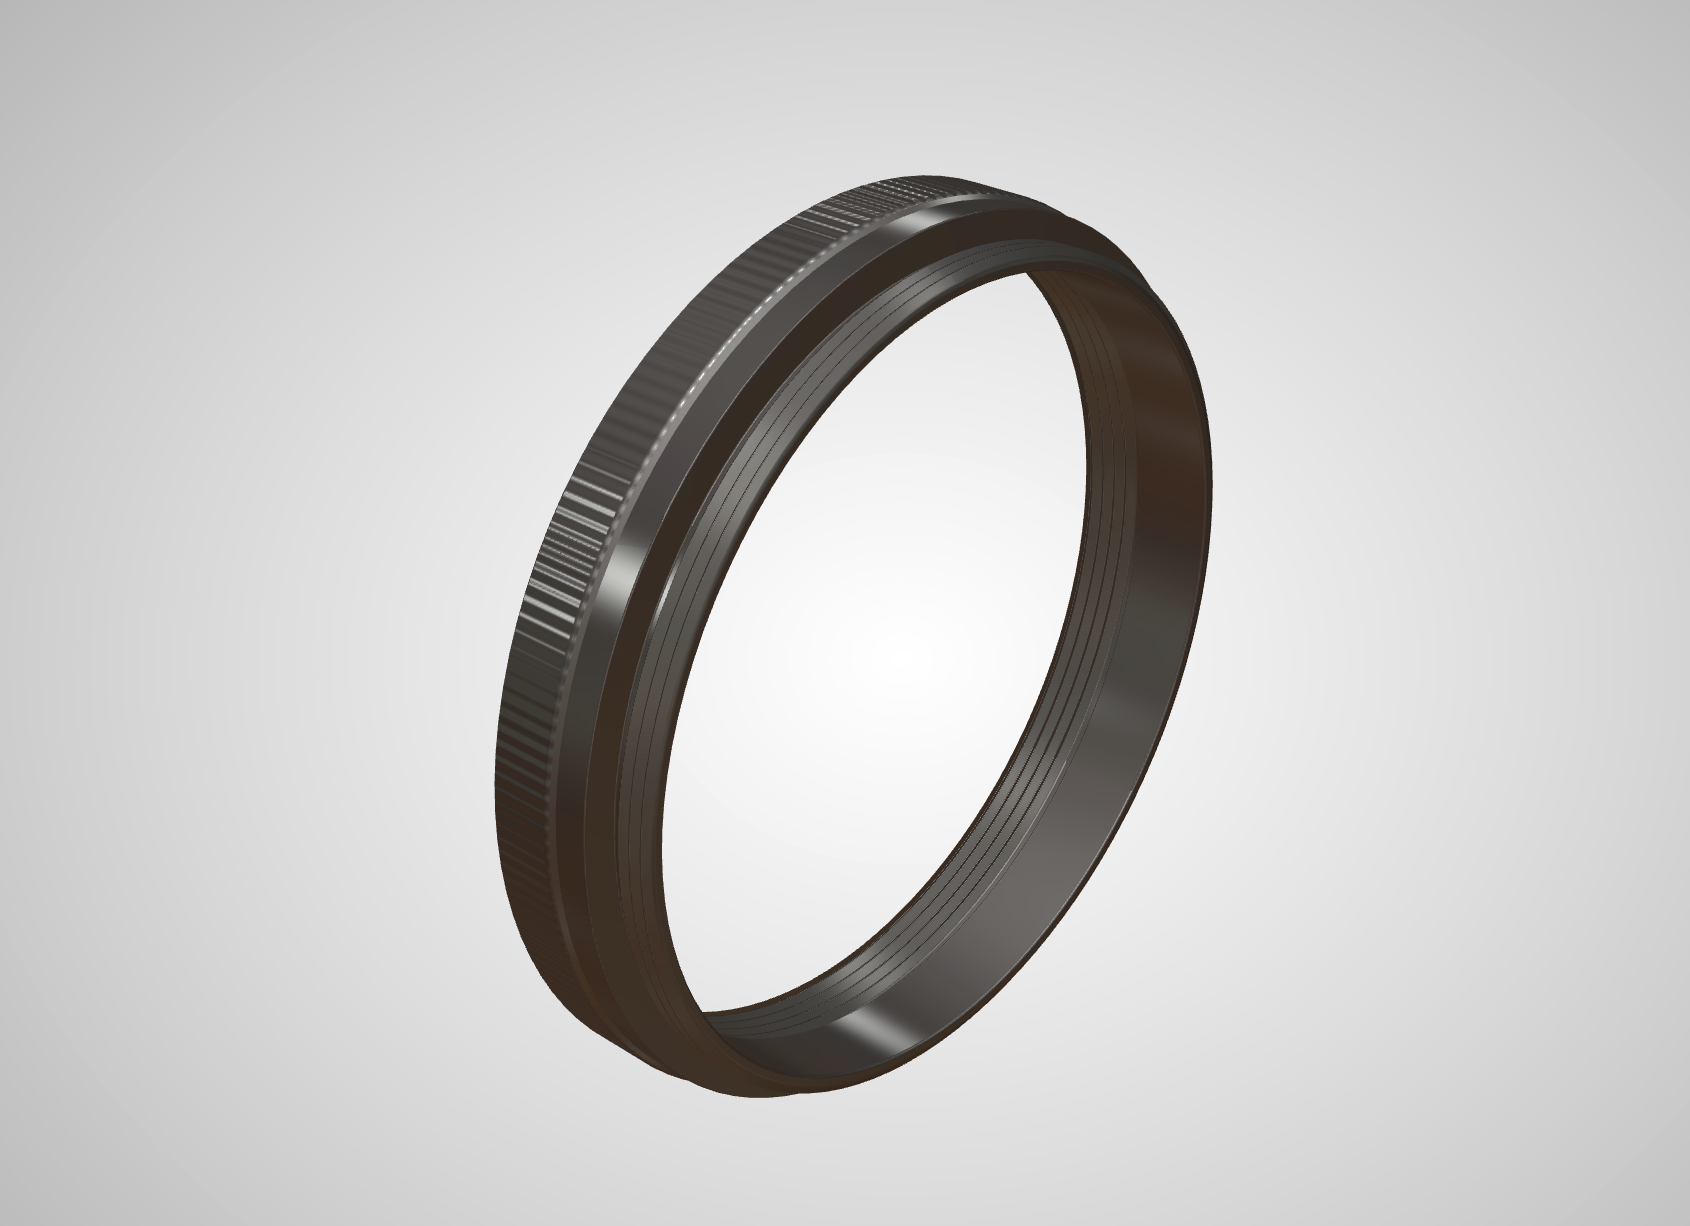
The Precise Parts M66-M68 9mm adapter.
First Light—Not Full Frame…
Unfortunately due to the pandemic, there’s a delay of about a month to get the Precise Parts adapter. Therefore, I can’t get first light with the new camera, and opted instead to use my ZWO ASI2600MC-Pro color camera for first light. I used the stock CMOS adapter that came with the telescope to connect up the ZWO OAG, and camera.
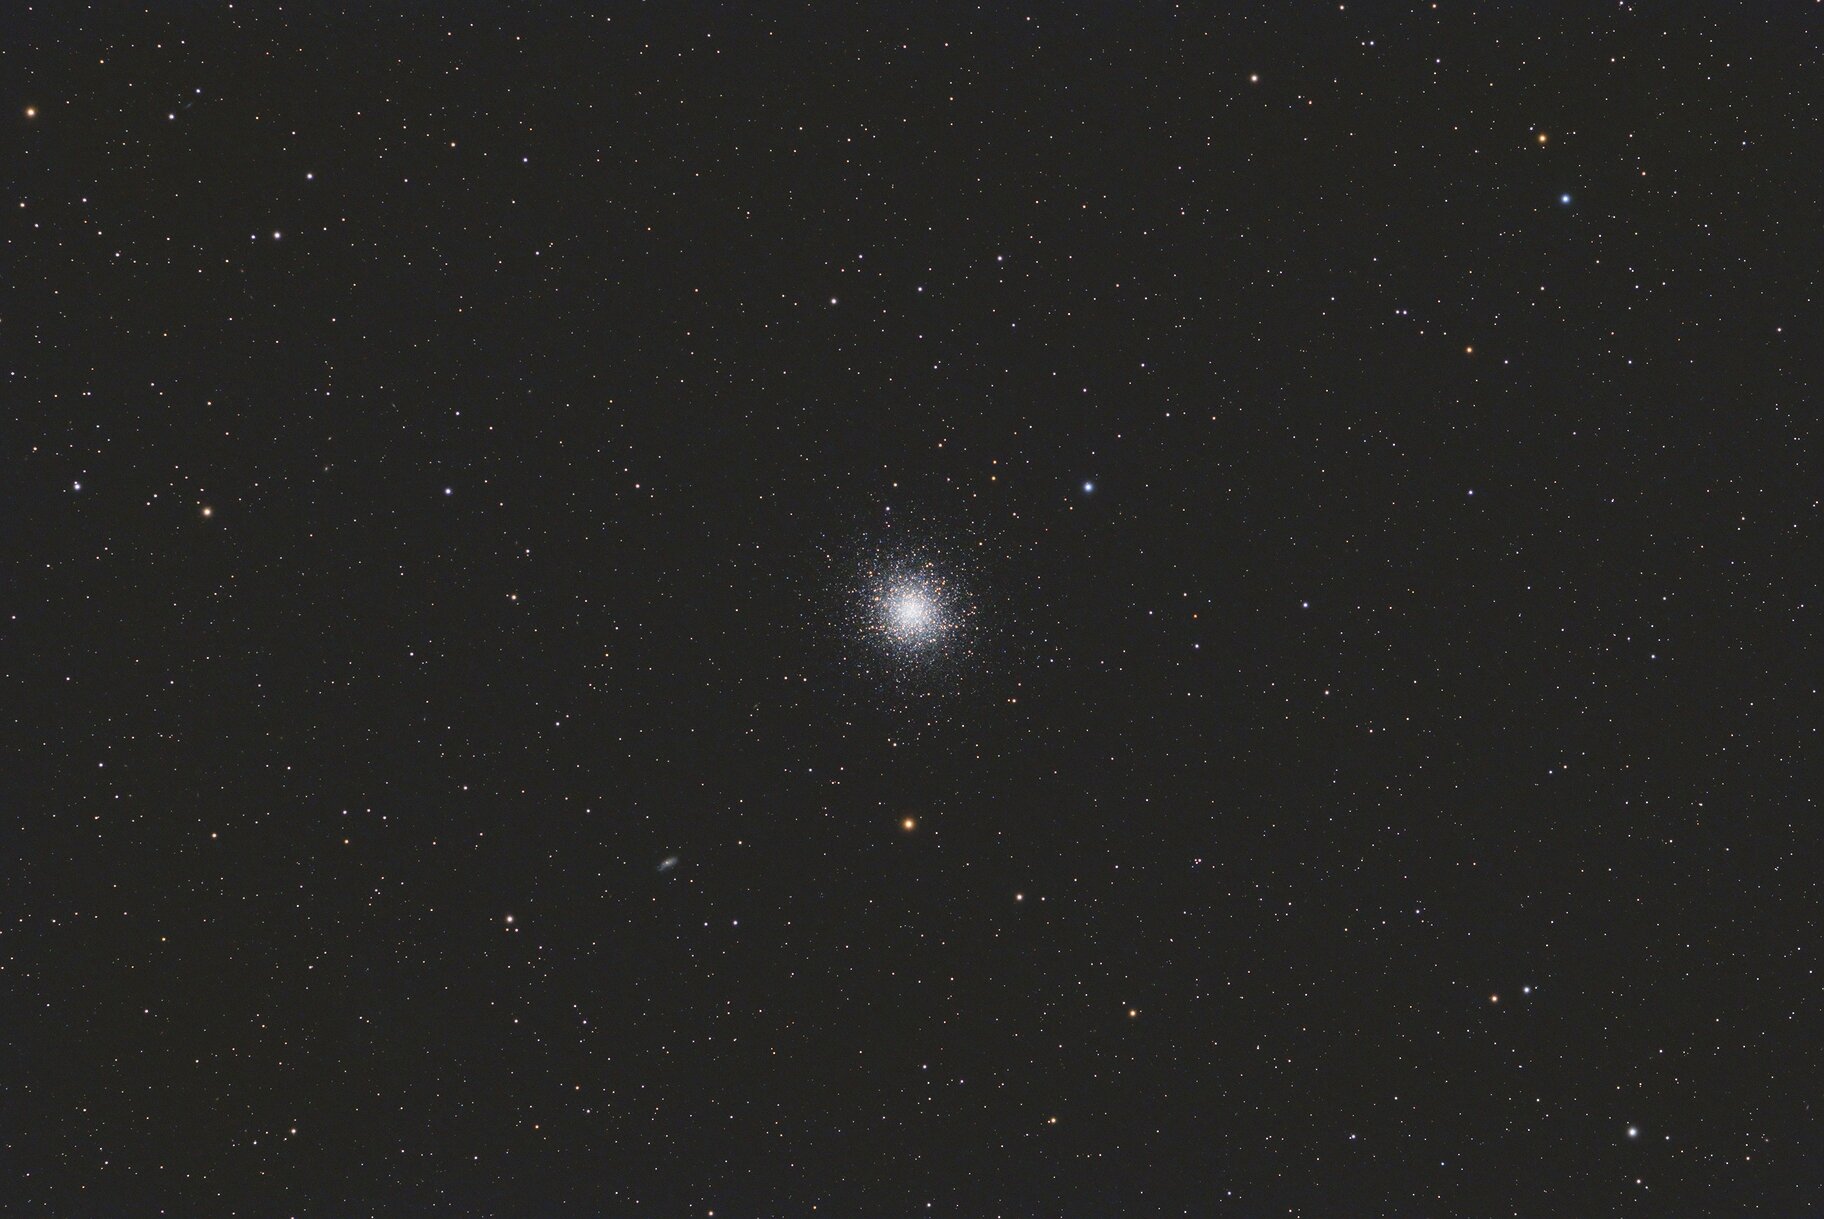
With the focuser installed, and camera attached, I was ready to get out for a night of imaging. I picked a few easy RGB targets that didn’t require a ton of integration time so that I could see how clean and flat the field of view would be. First target up was M13. A lovely globular cluster, with good color. M13 was about 75° altitude. I shot it for an hour while waiting for another easy target to rise up.

One hour of M13 images taken with the Esprit 100 and the ZWO ASI2600MC-Pro.
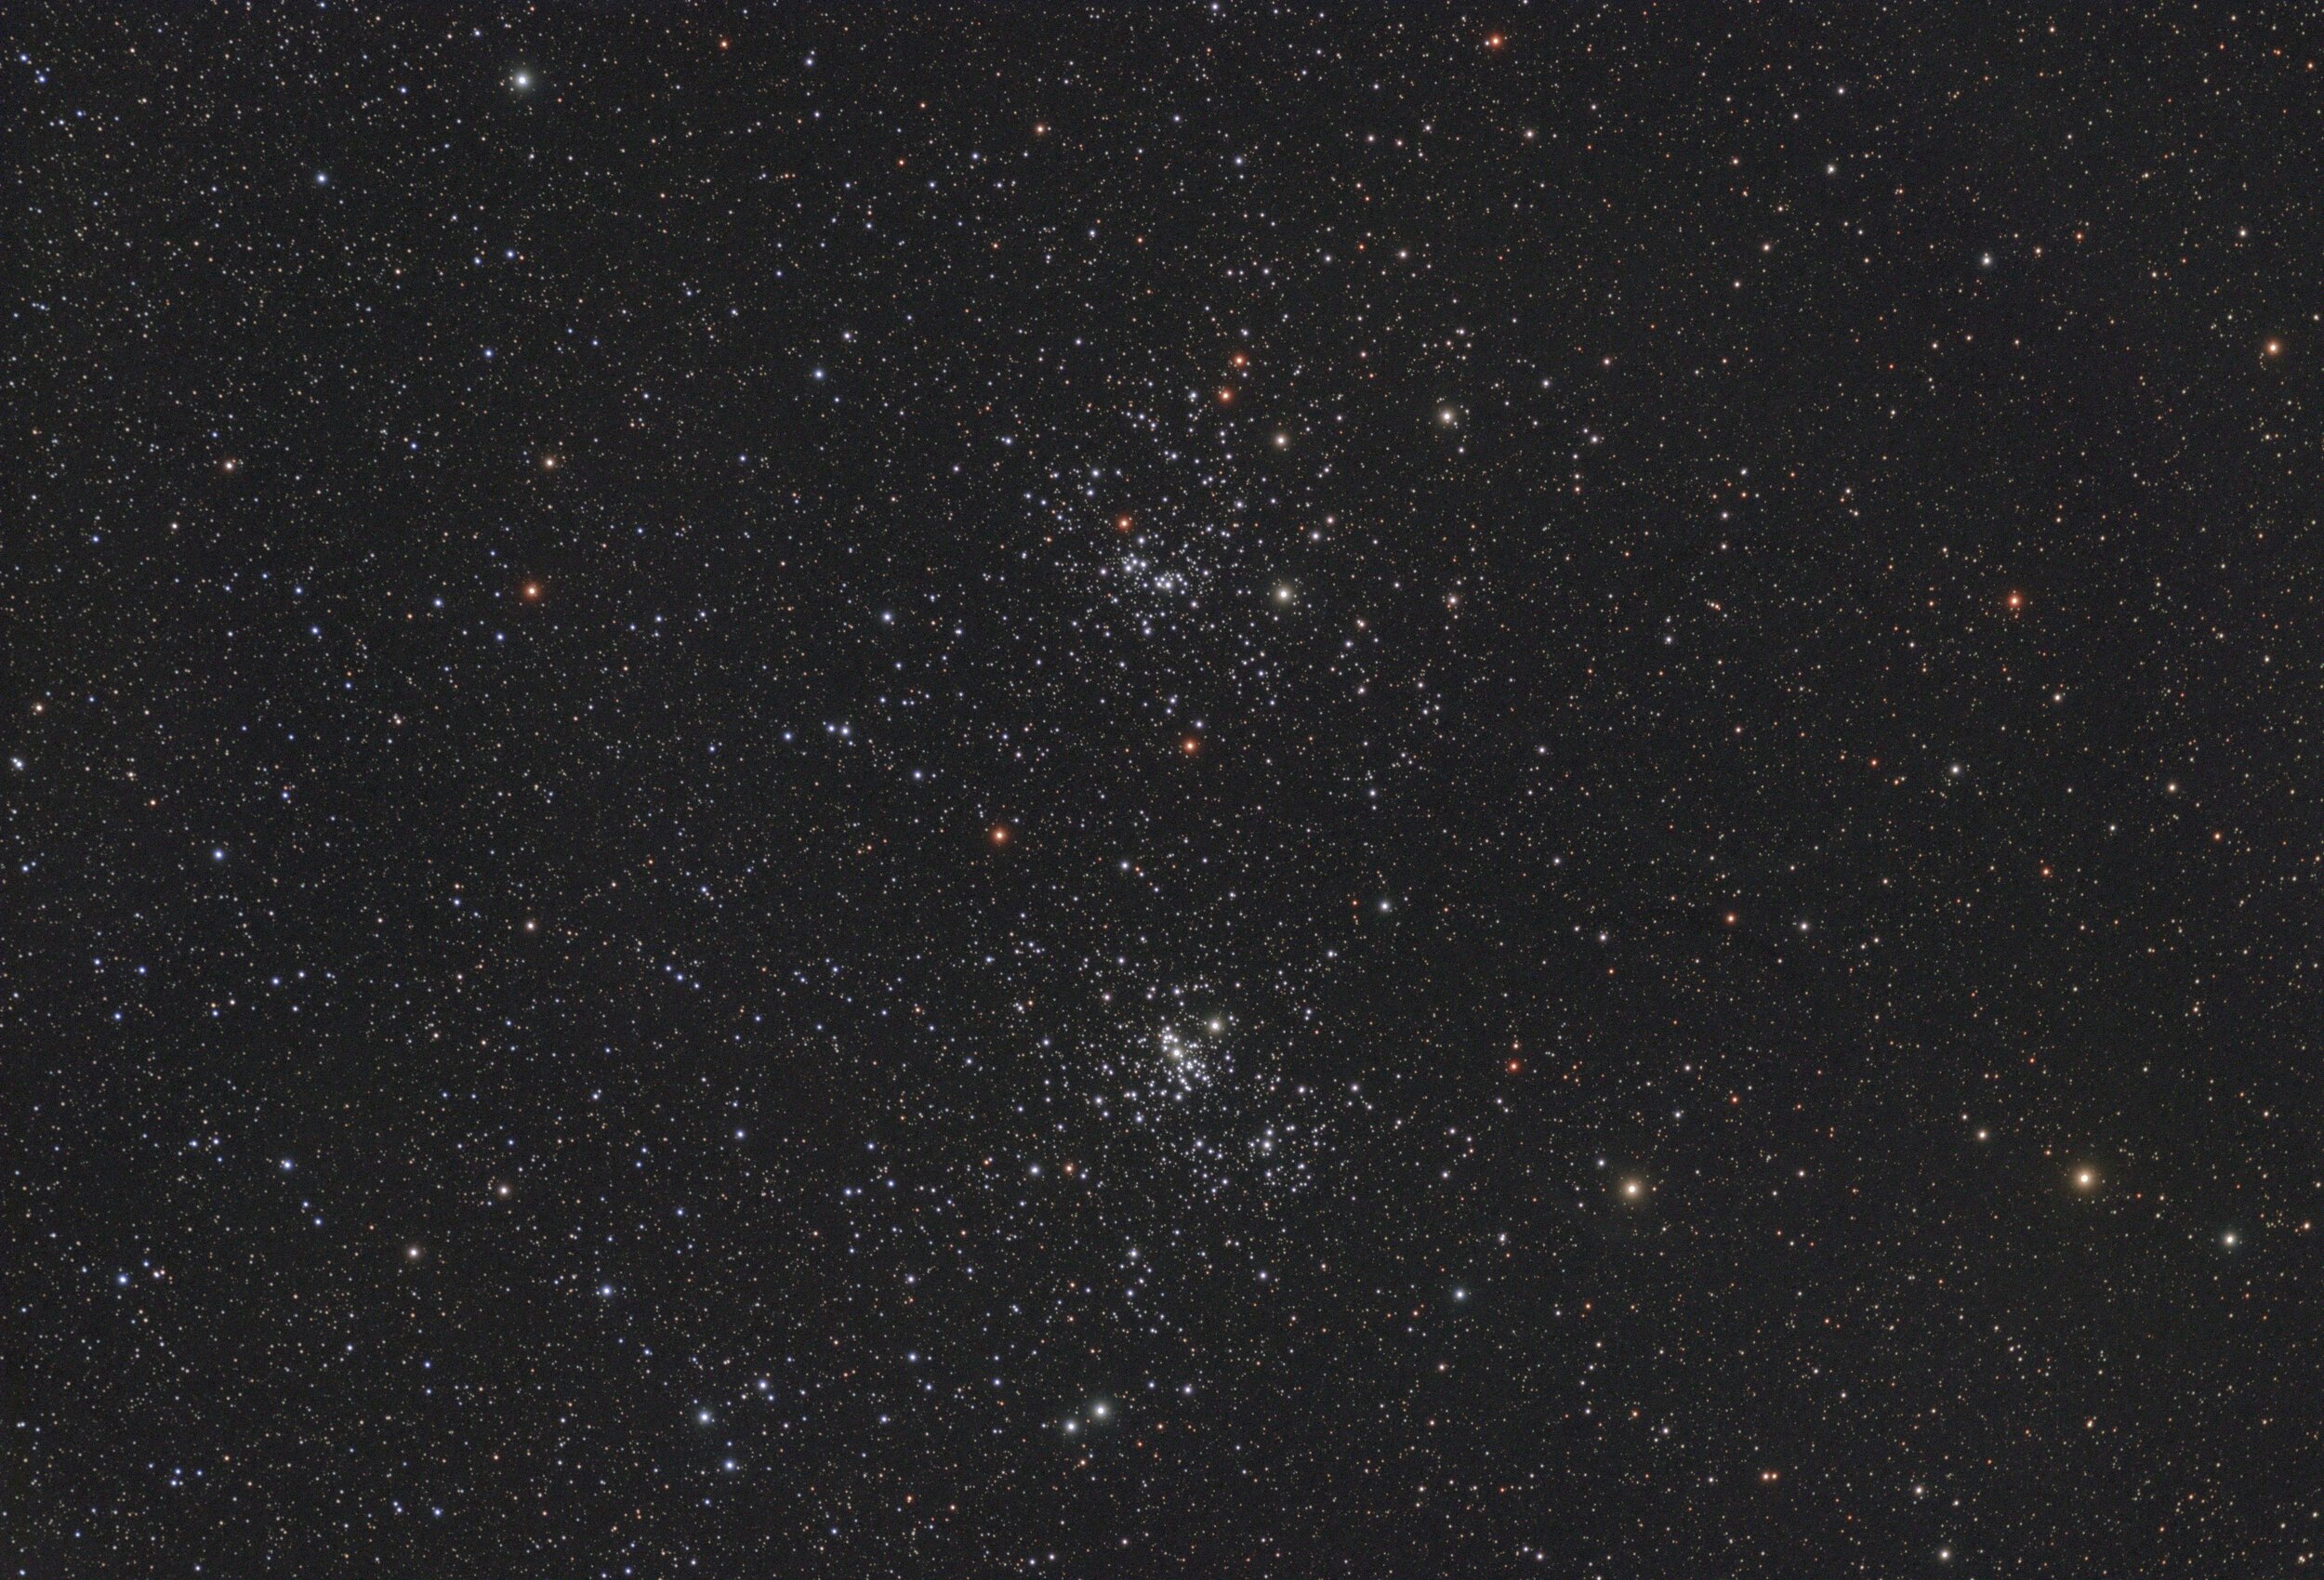
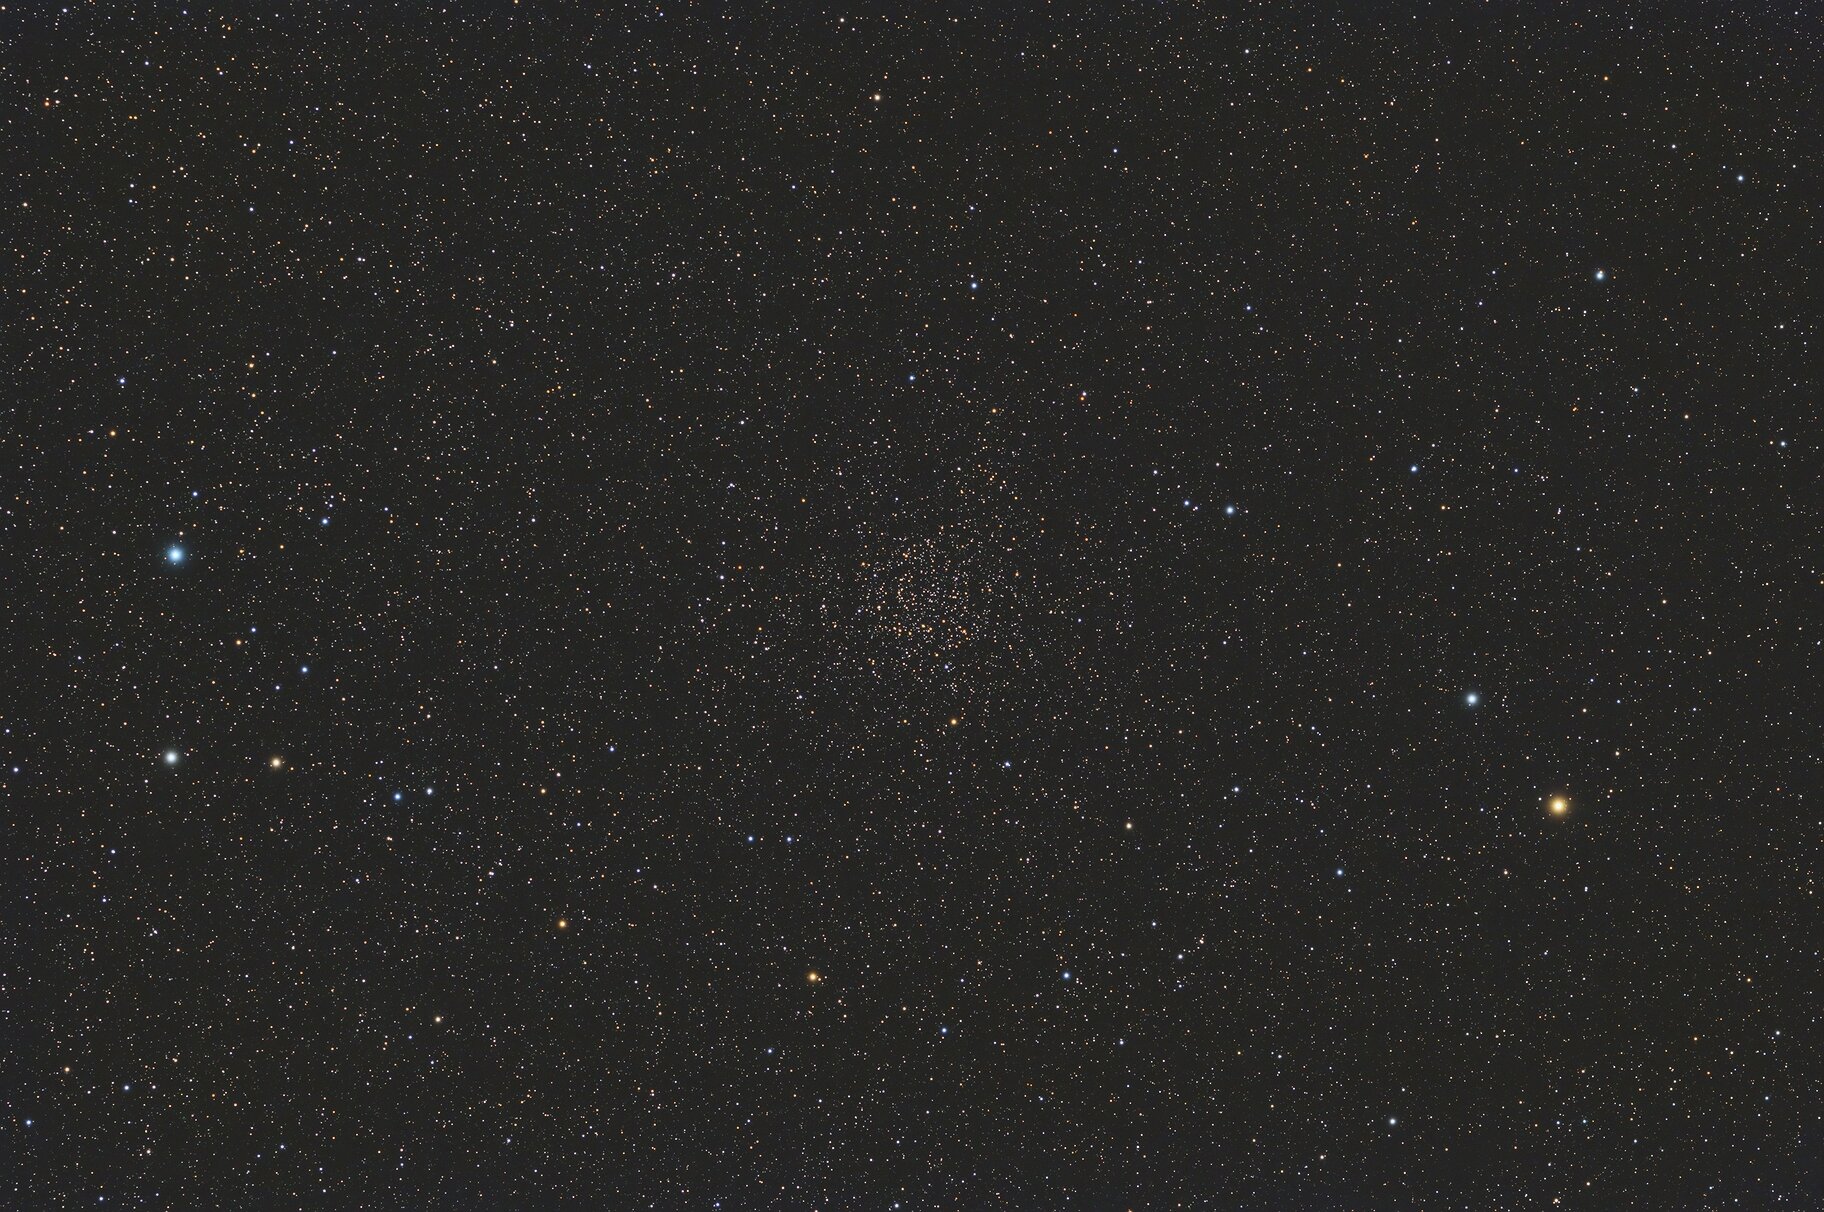
Second target came up about 50° altitude before I started to image. This was NGC 7789, Caroline’s Rose open cluster. Lots of stars in this one allowed me to see how flat the field of view was, and it’s extremely flat. Some very slight tilt on the left side, easily corrected with the built in ZWO tilt corrector plate. This target got around 3.7 hours of images.

Caroline’s Rose, 3.7 hours imaged with the Esprit 100 and ZWO ASI2600MC-Pro.
I’m extremely impressed with the results. The results here required no finessing during processing, and came out clean and beautiful. The real test will be with the full frame sensor, hopefully not too long from now. My only complaint with the telescope was the horribly small dovetail which barely fit between the dovetail clamps on my 10Micron mount. They need a dovetail that’s at least 7”, and I ended up getting an ADM 11” universal Losmandy dovetail to replace it.
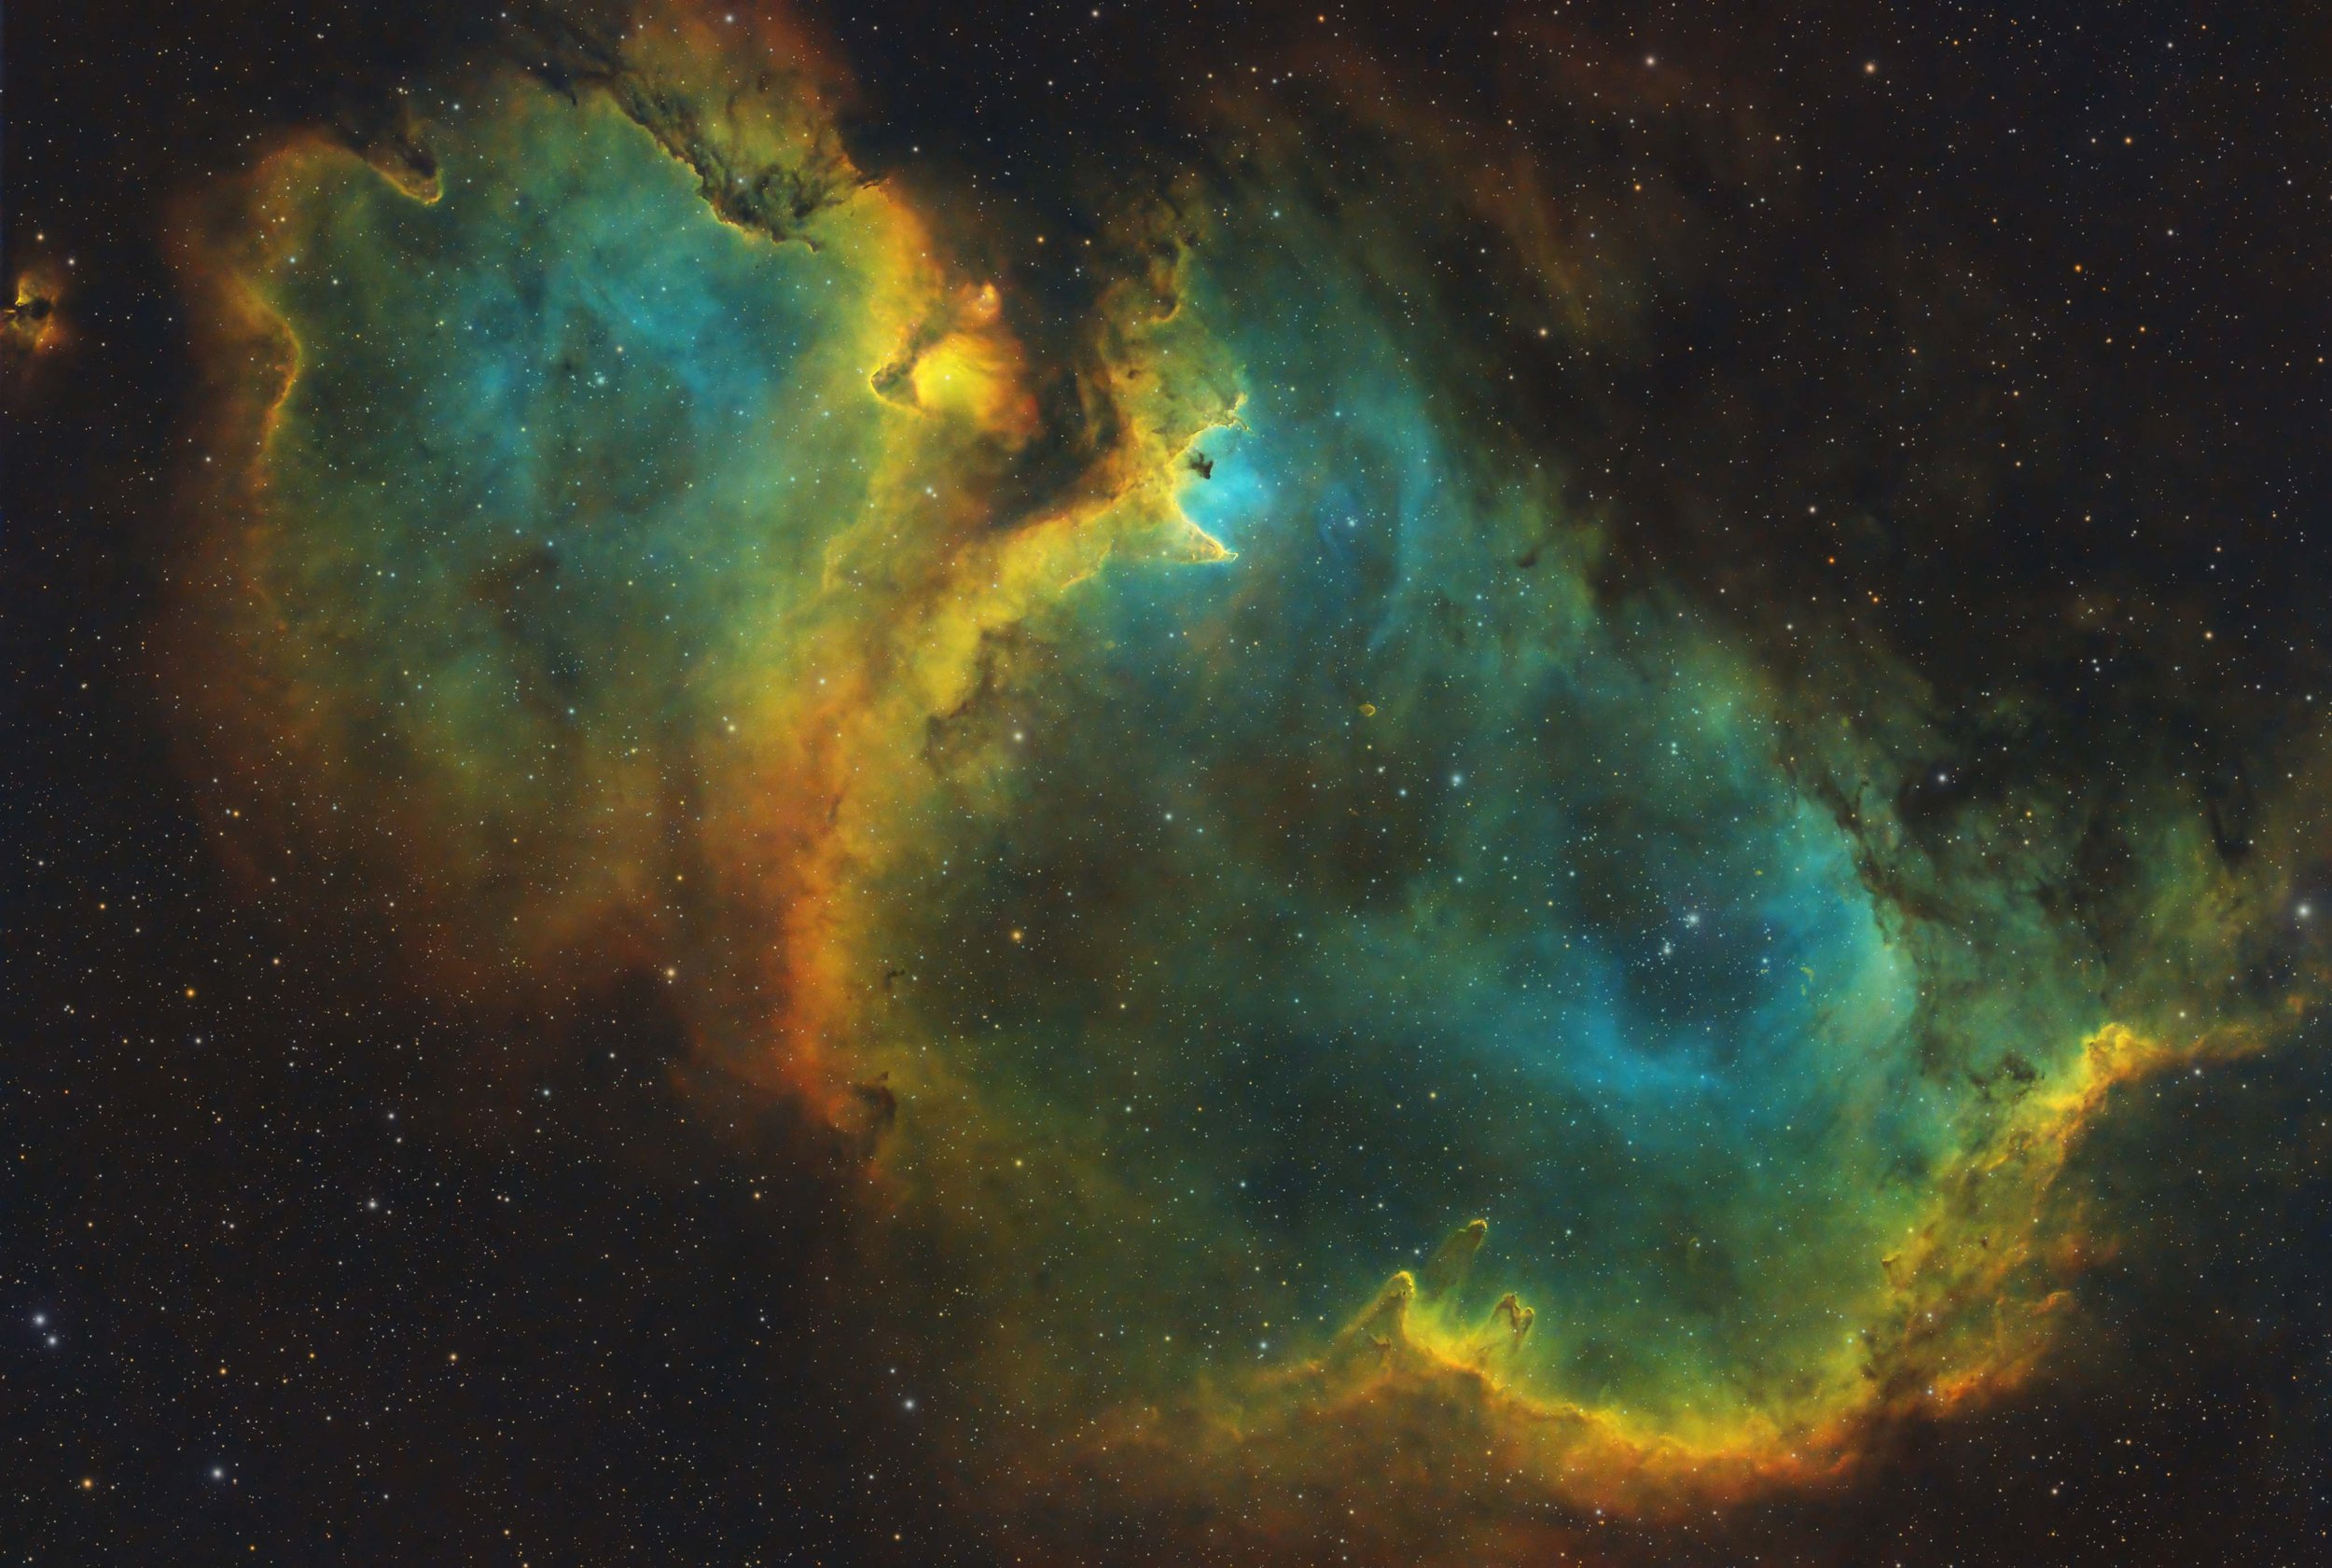
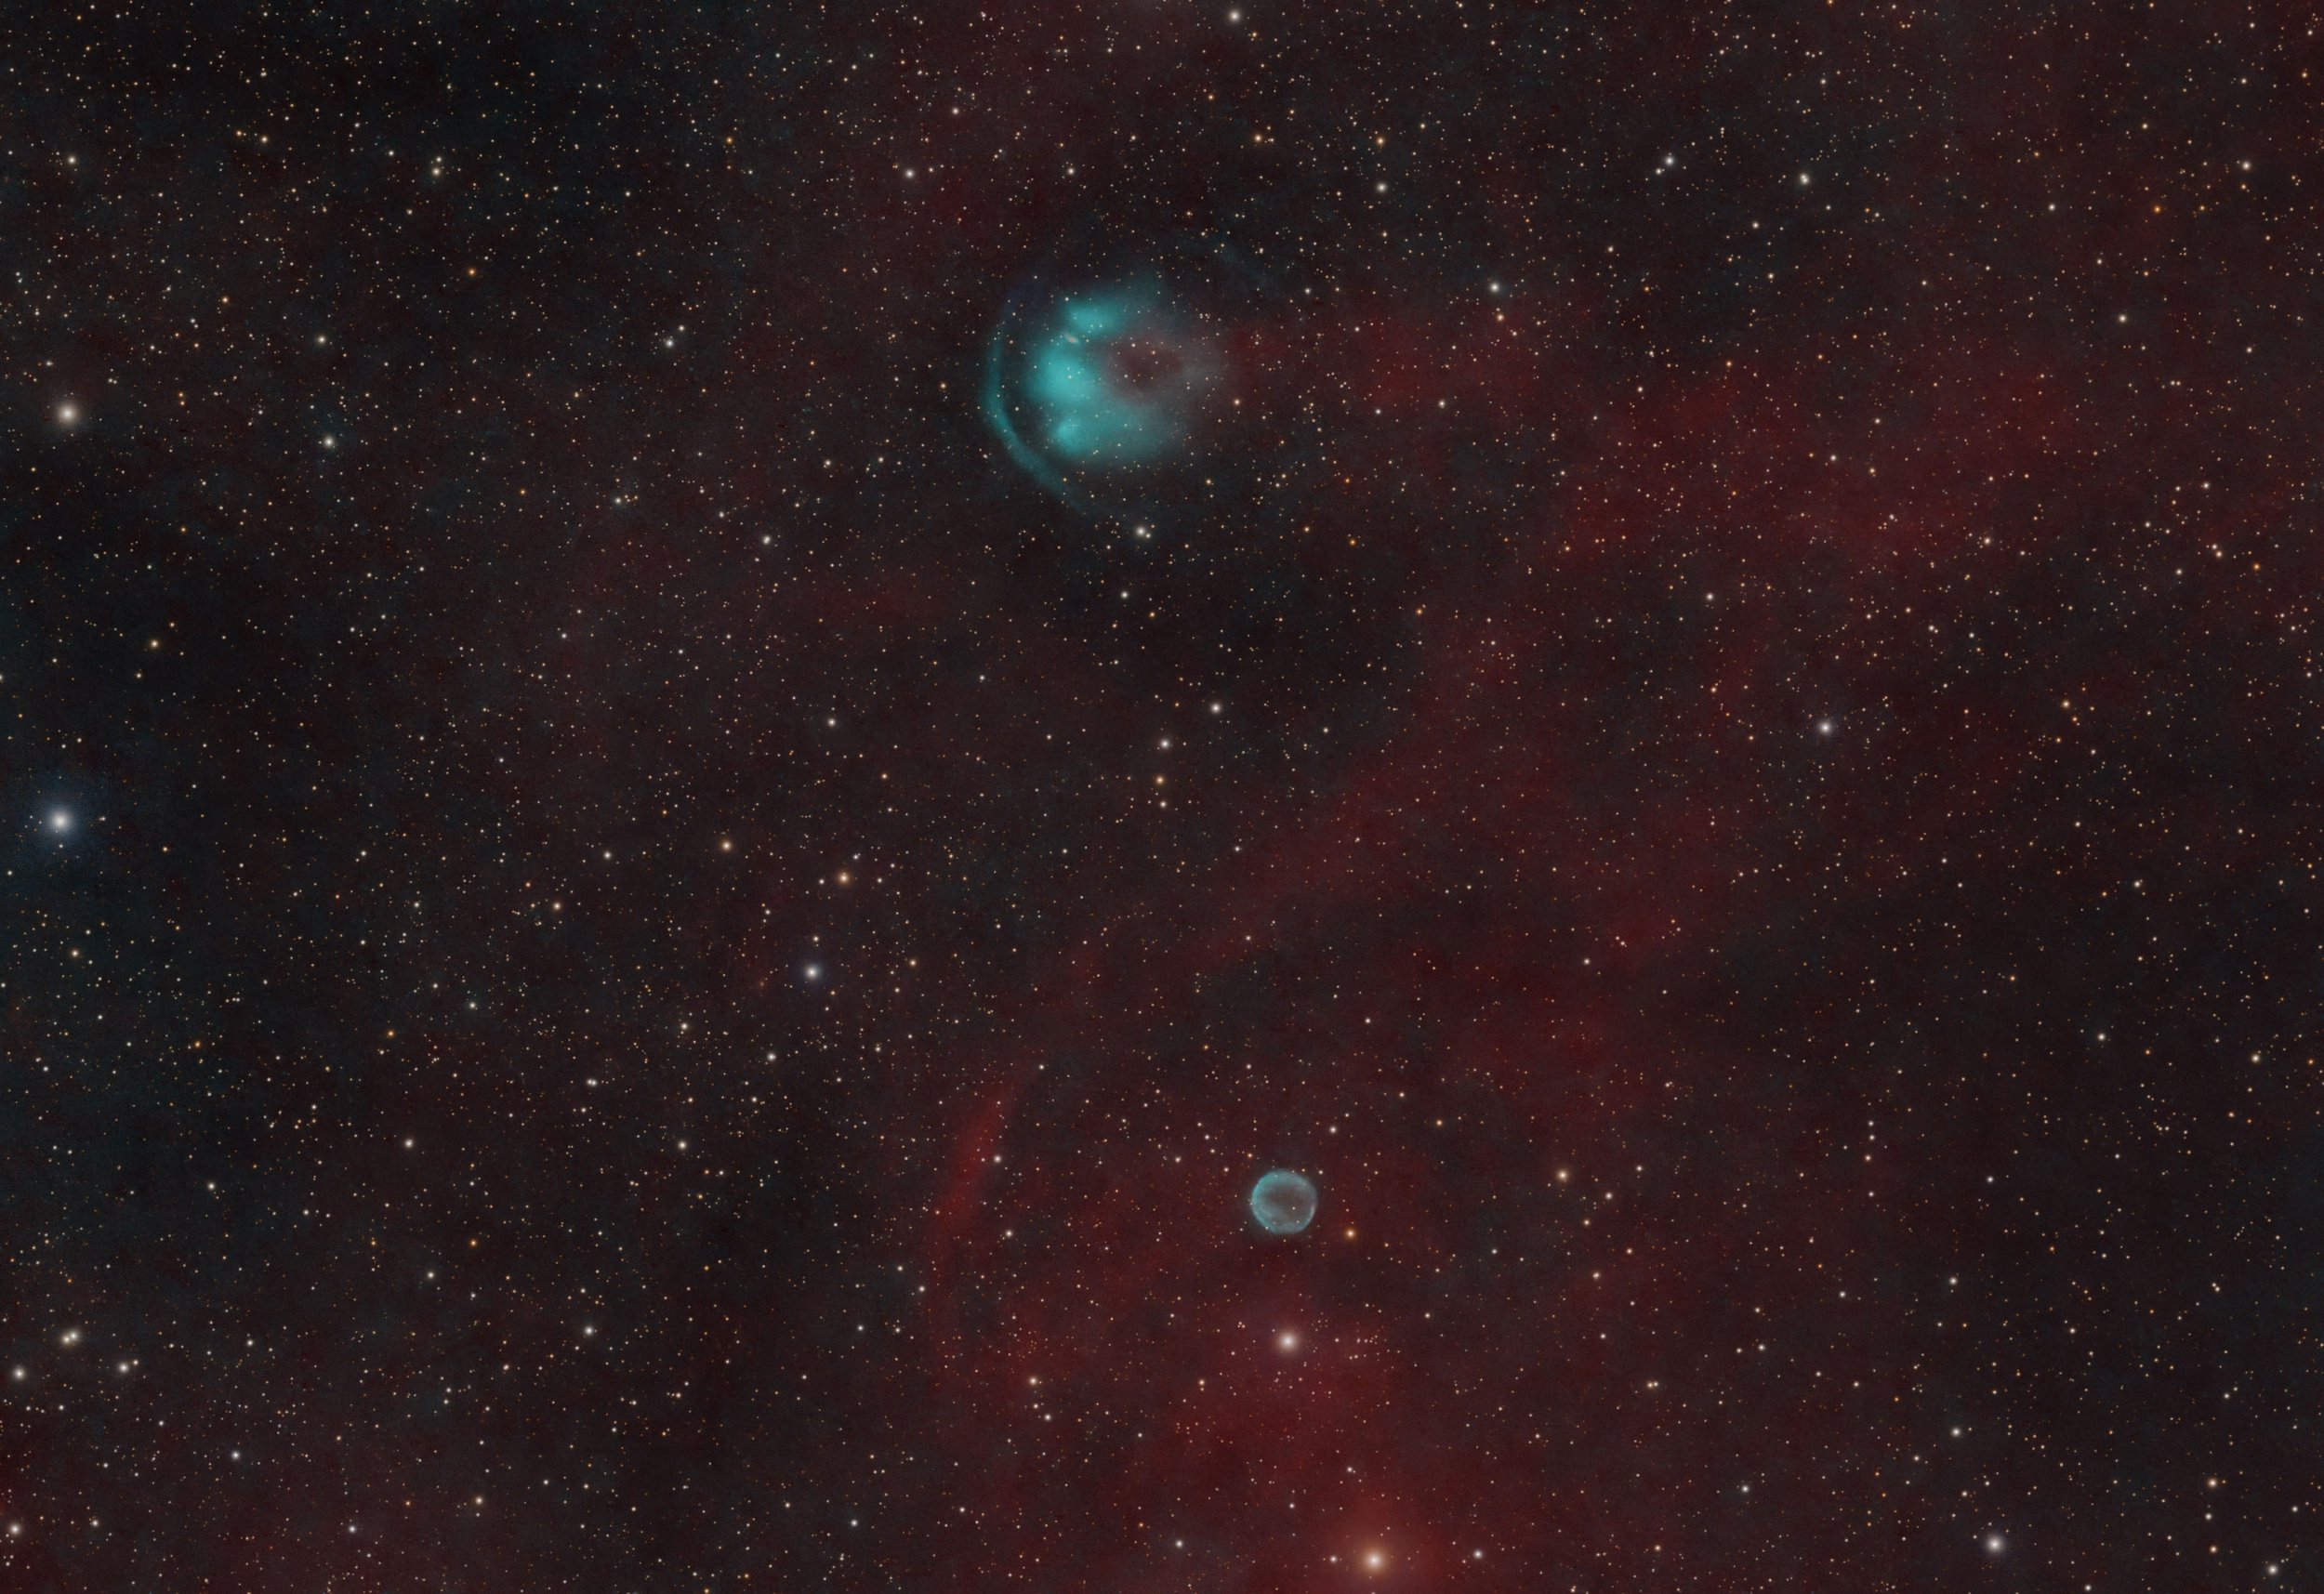
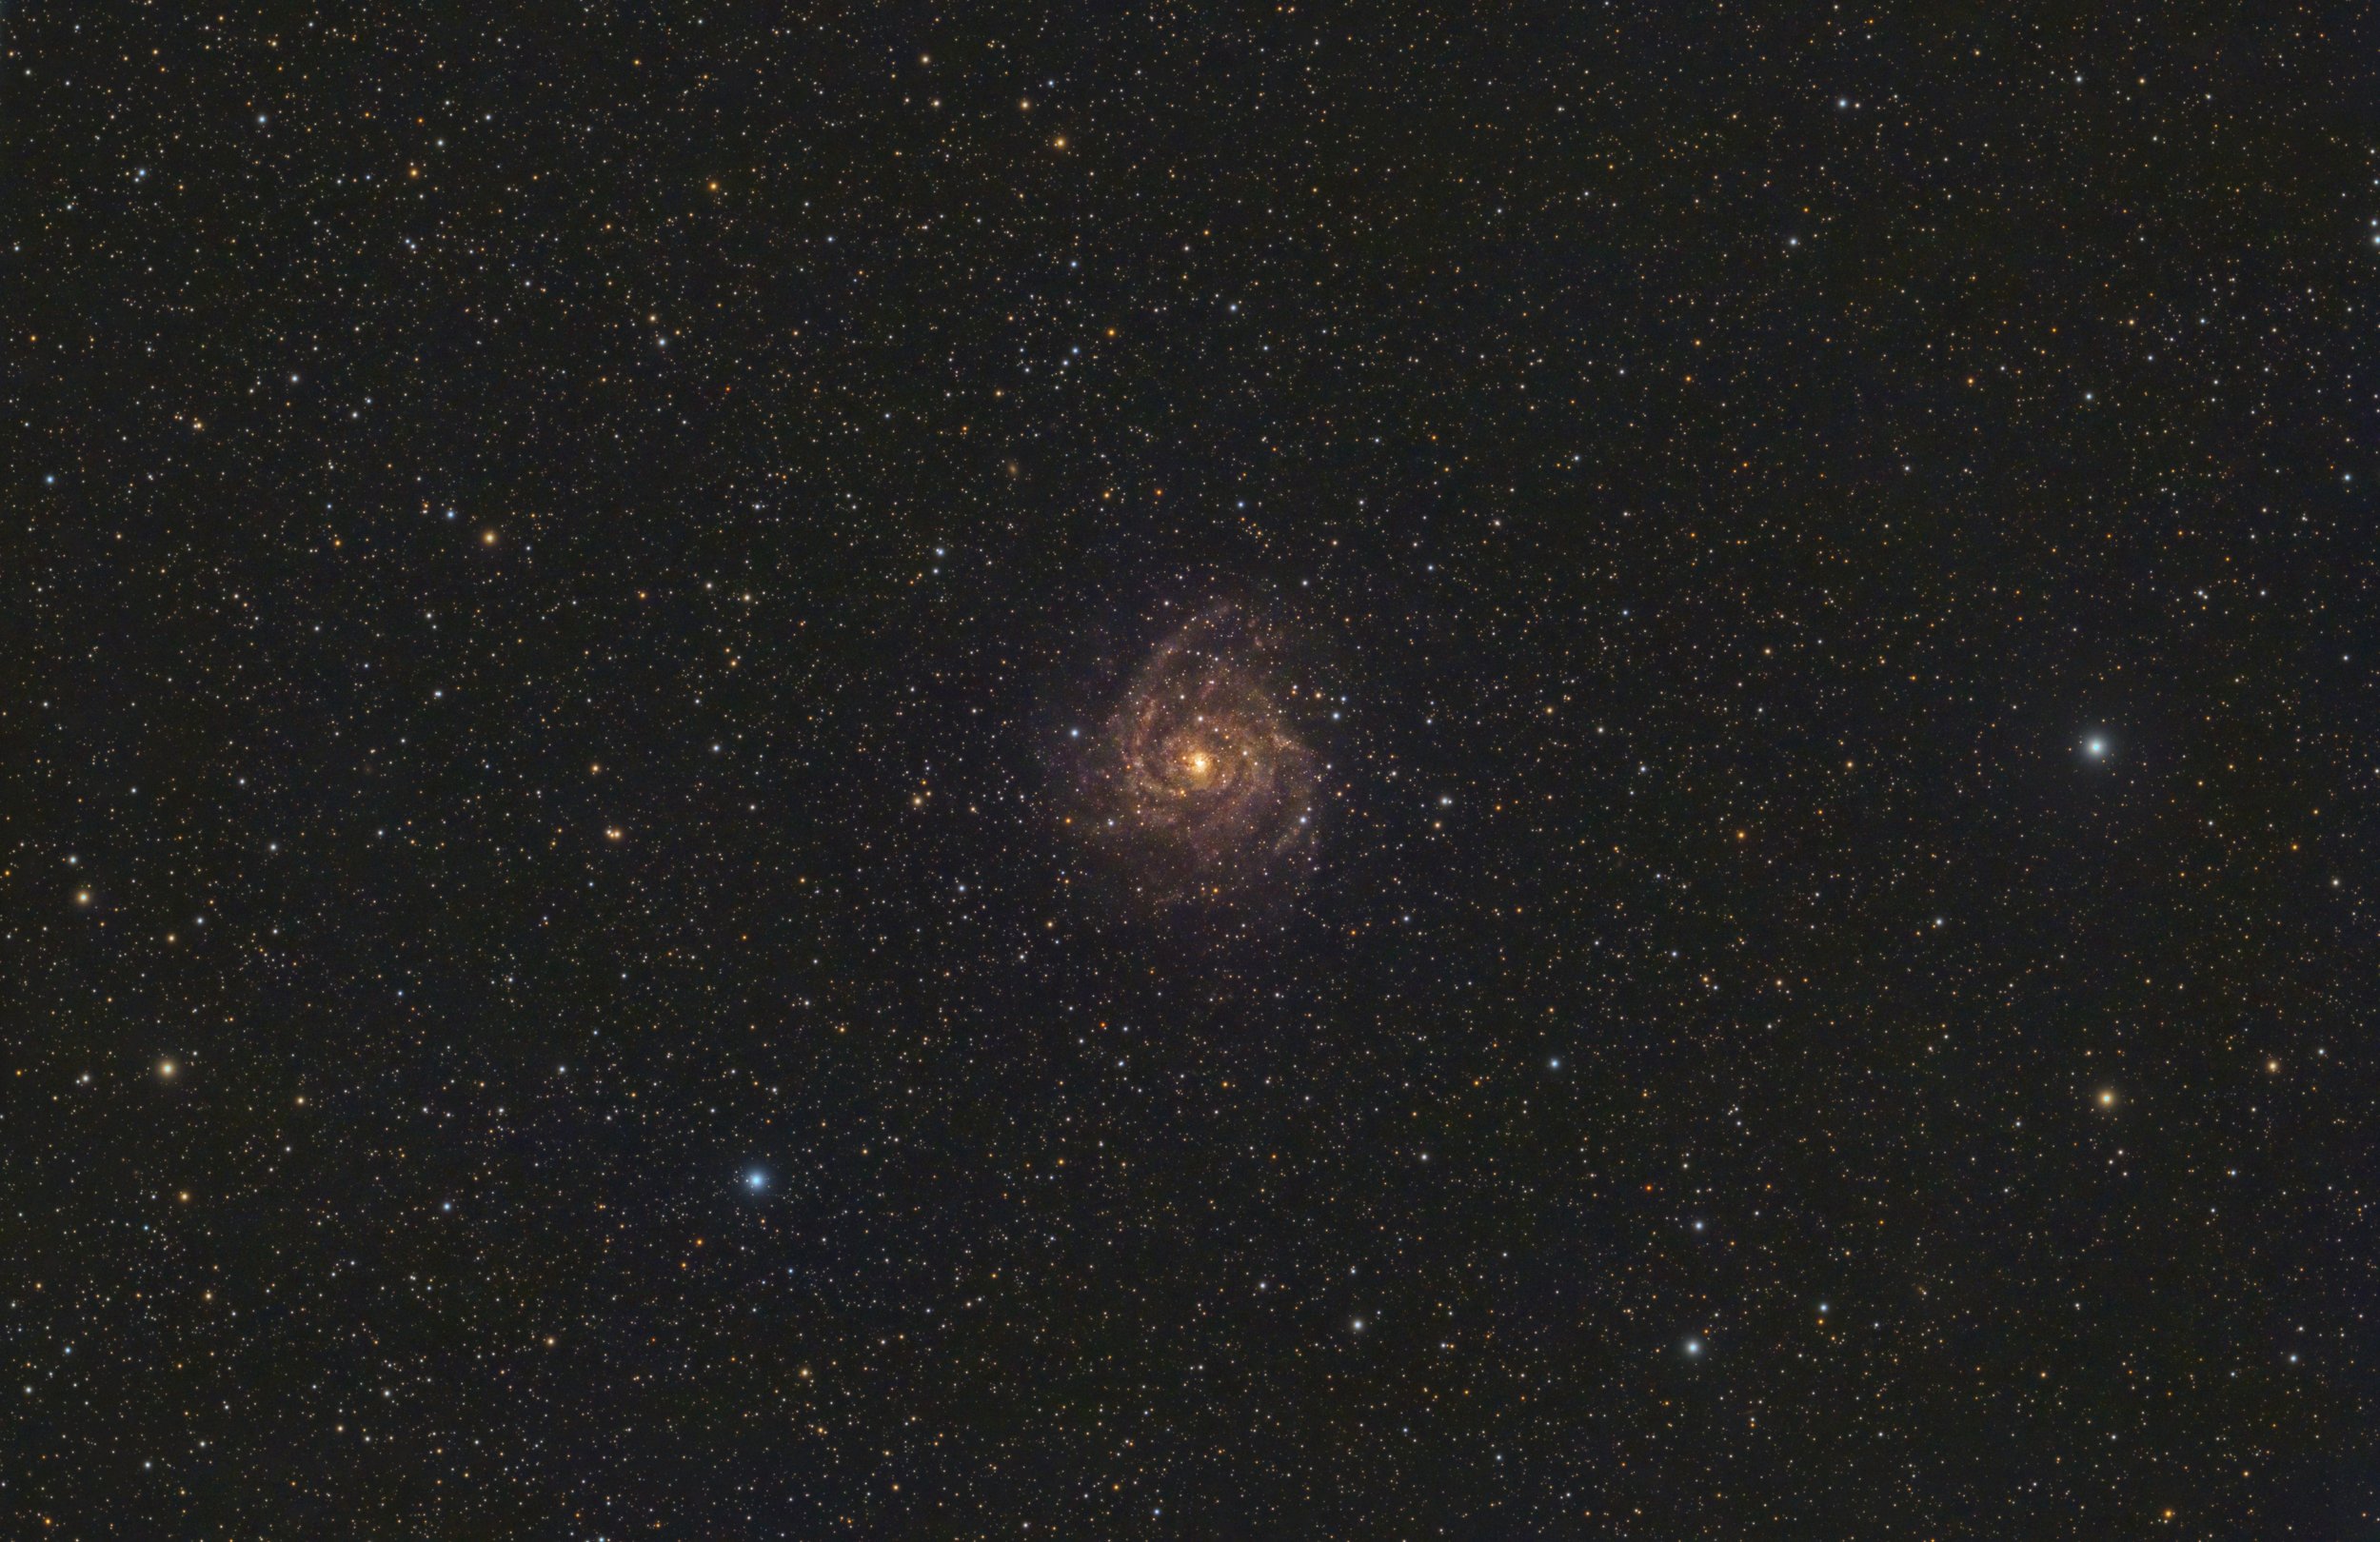
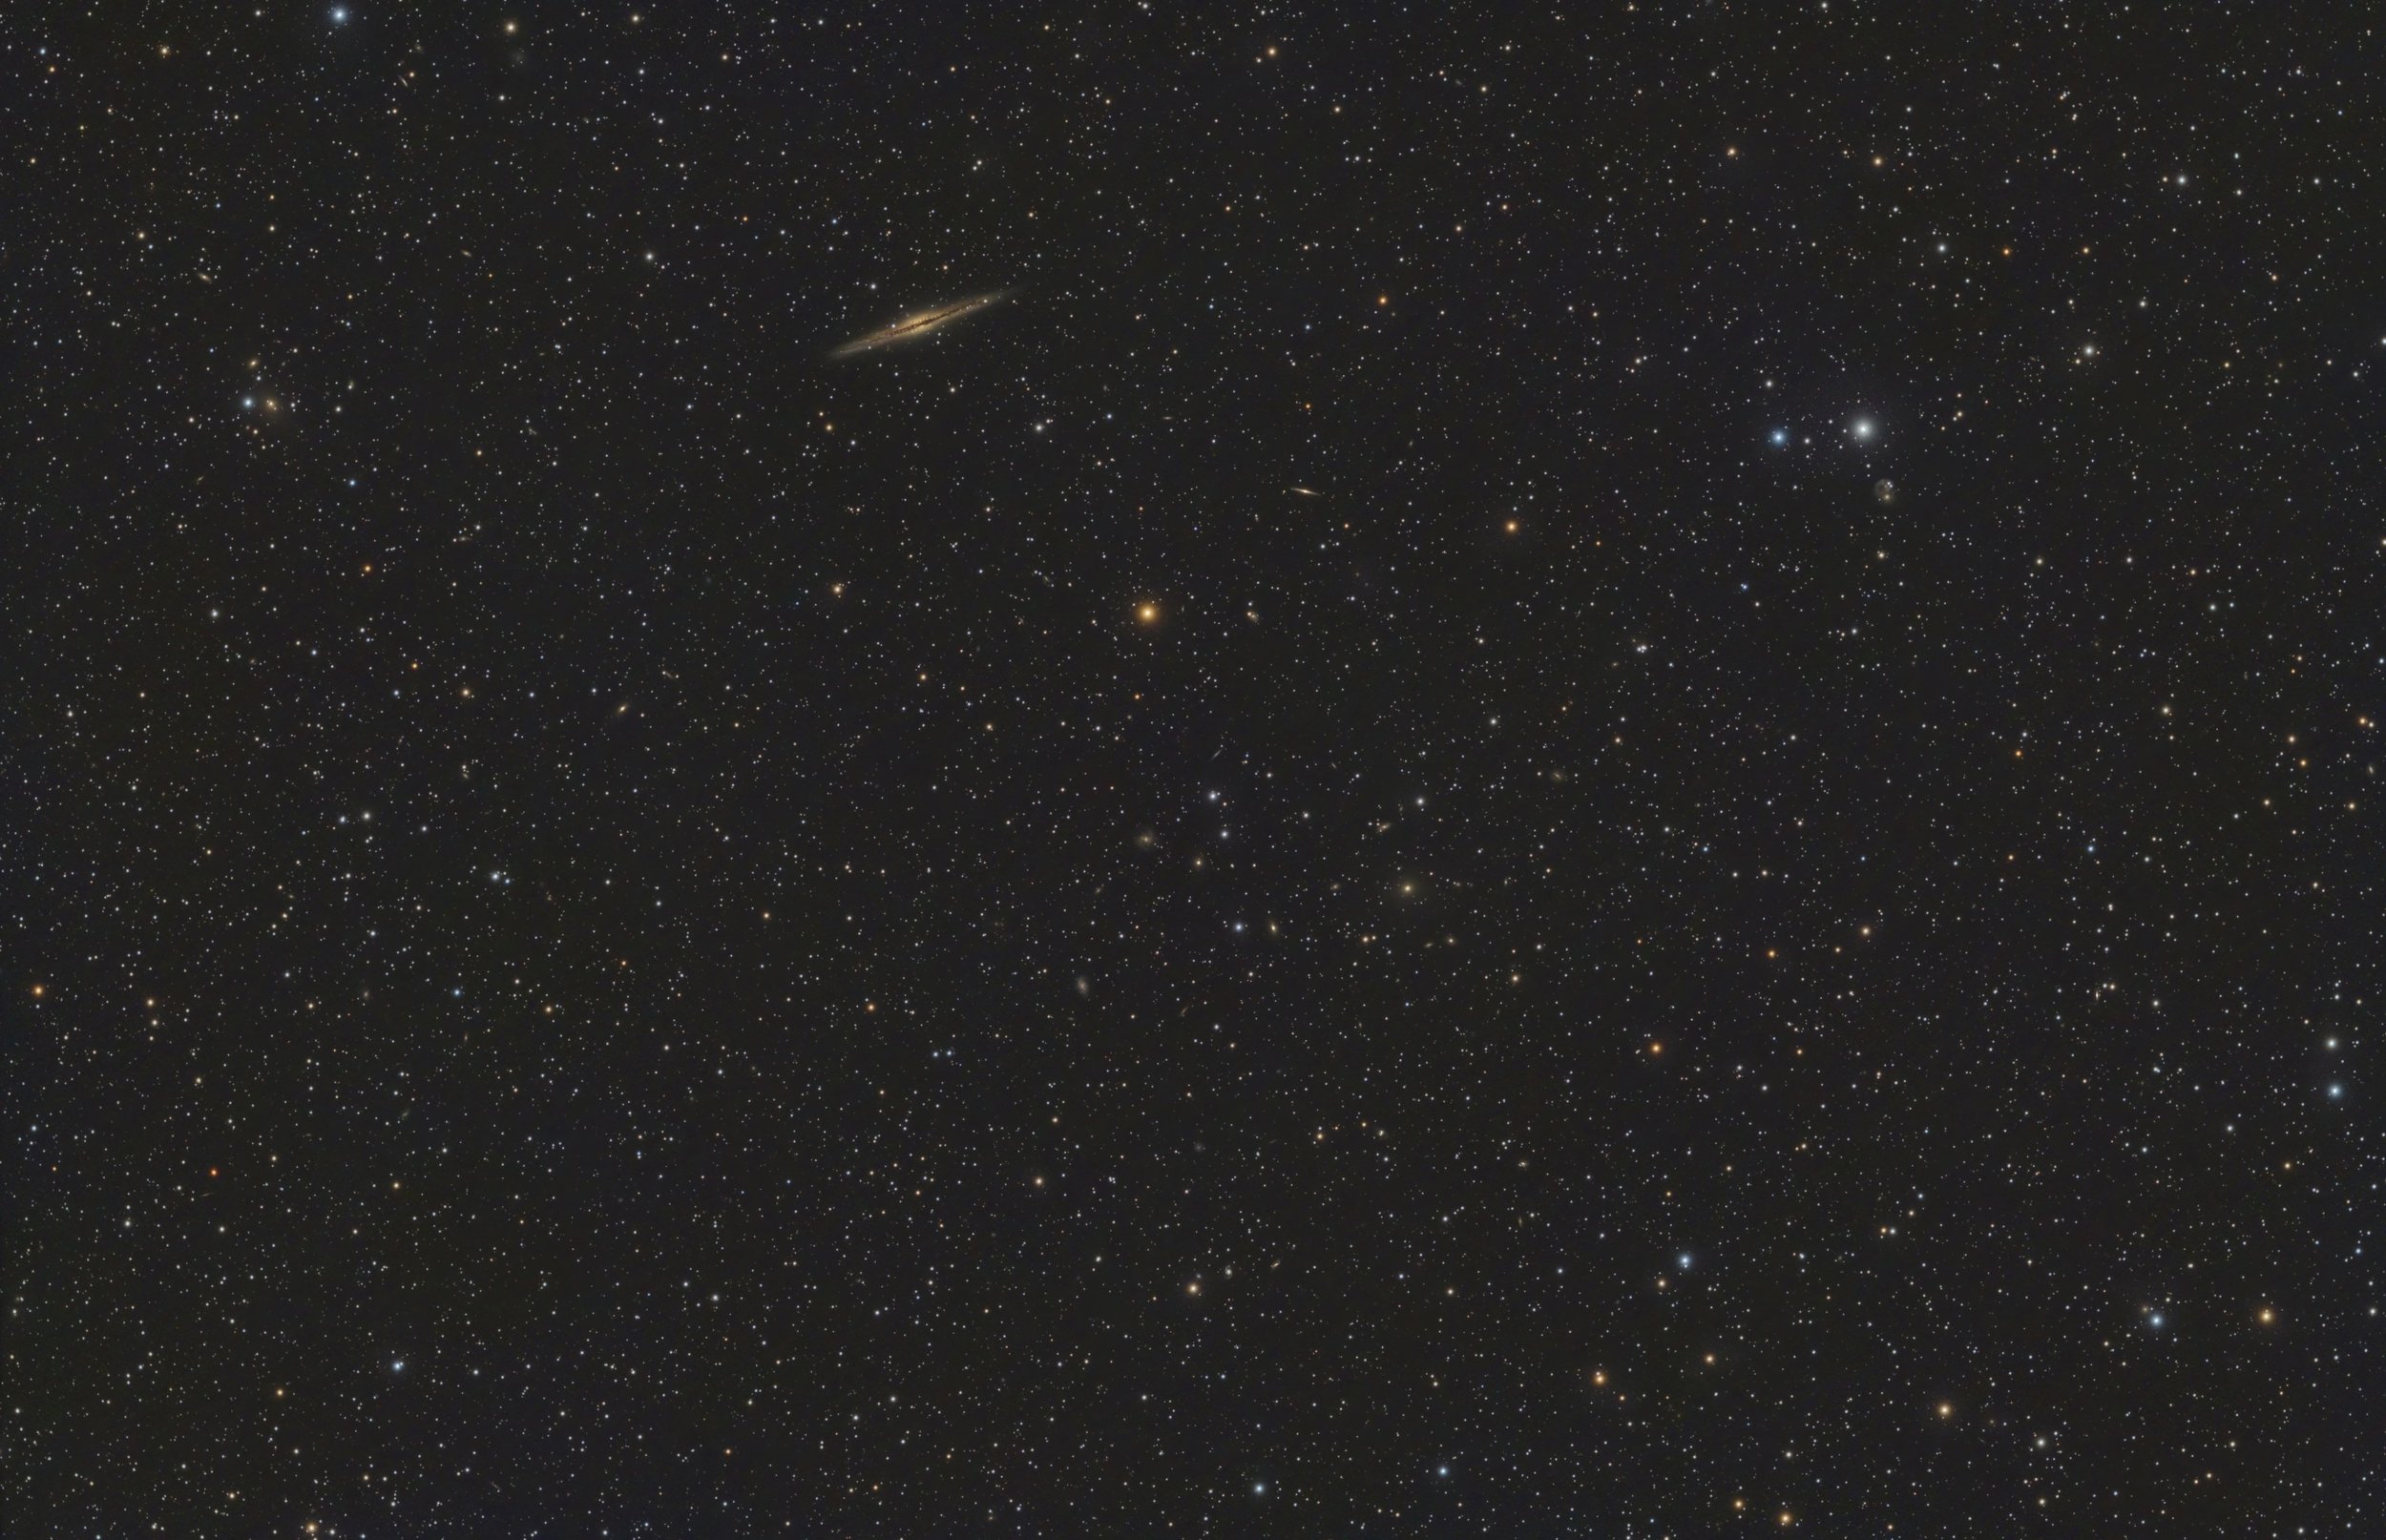
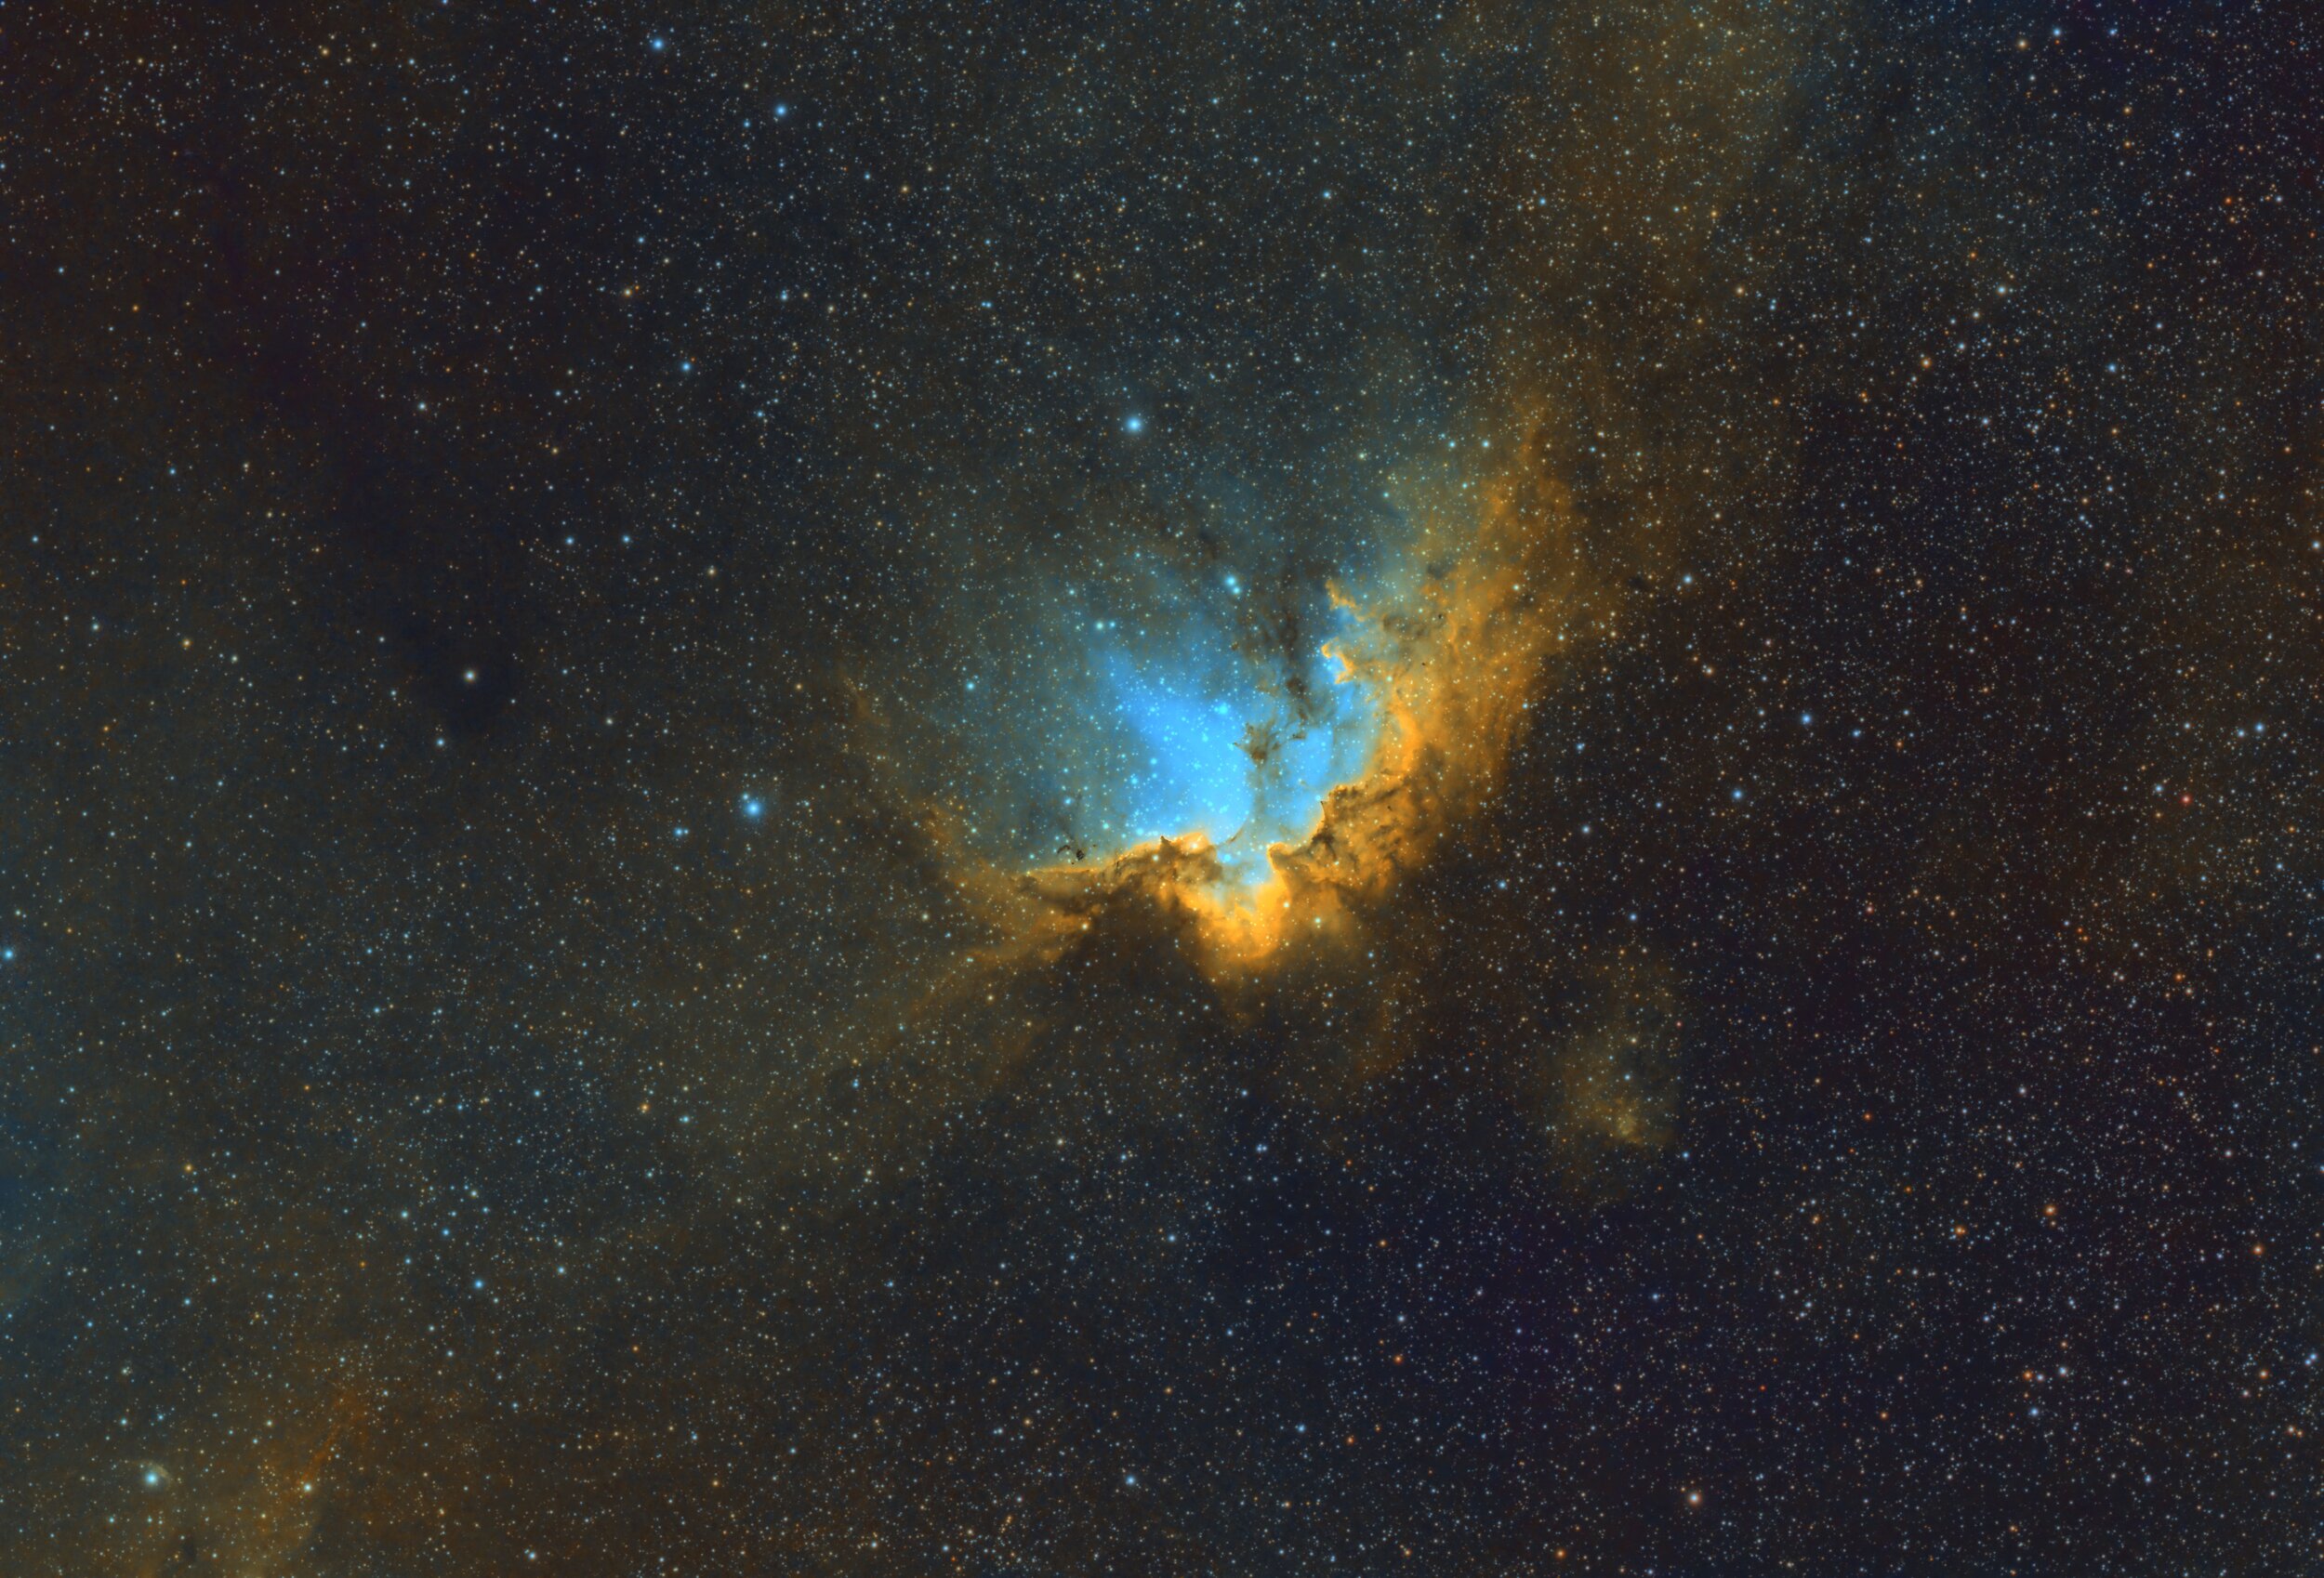
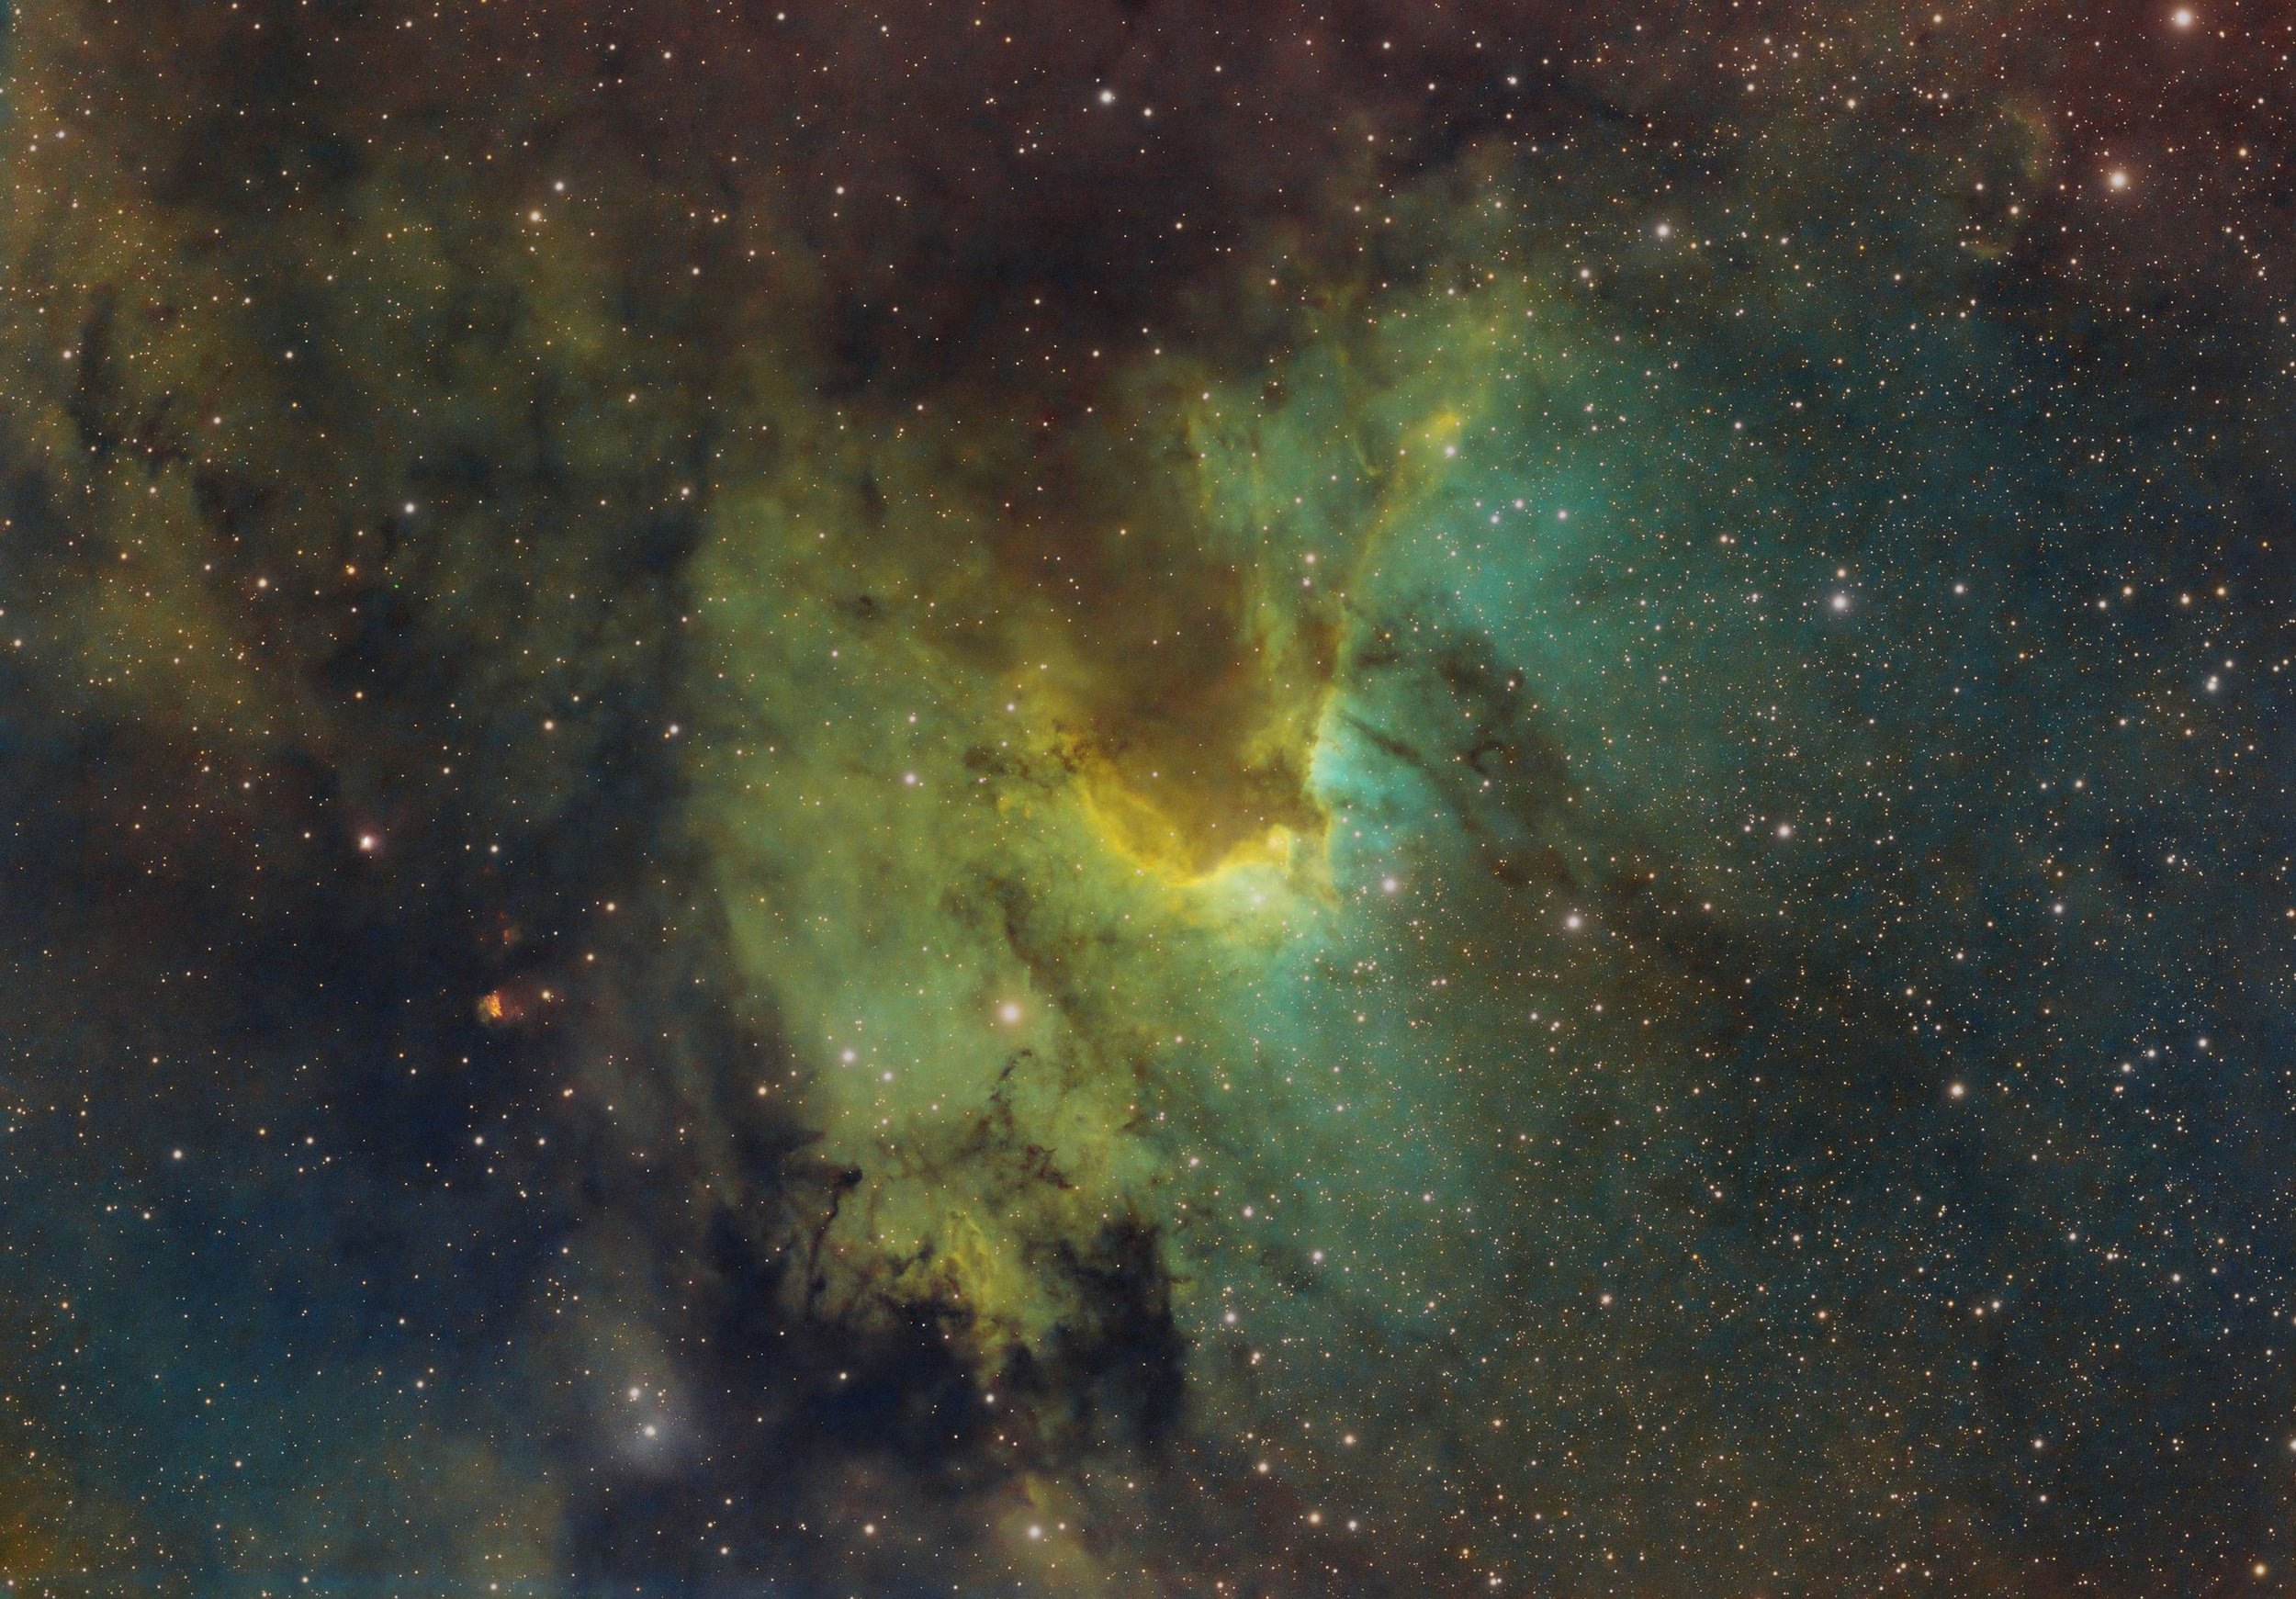
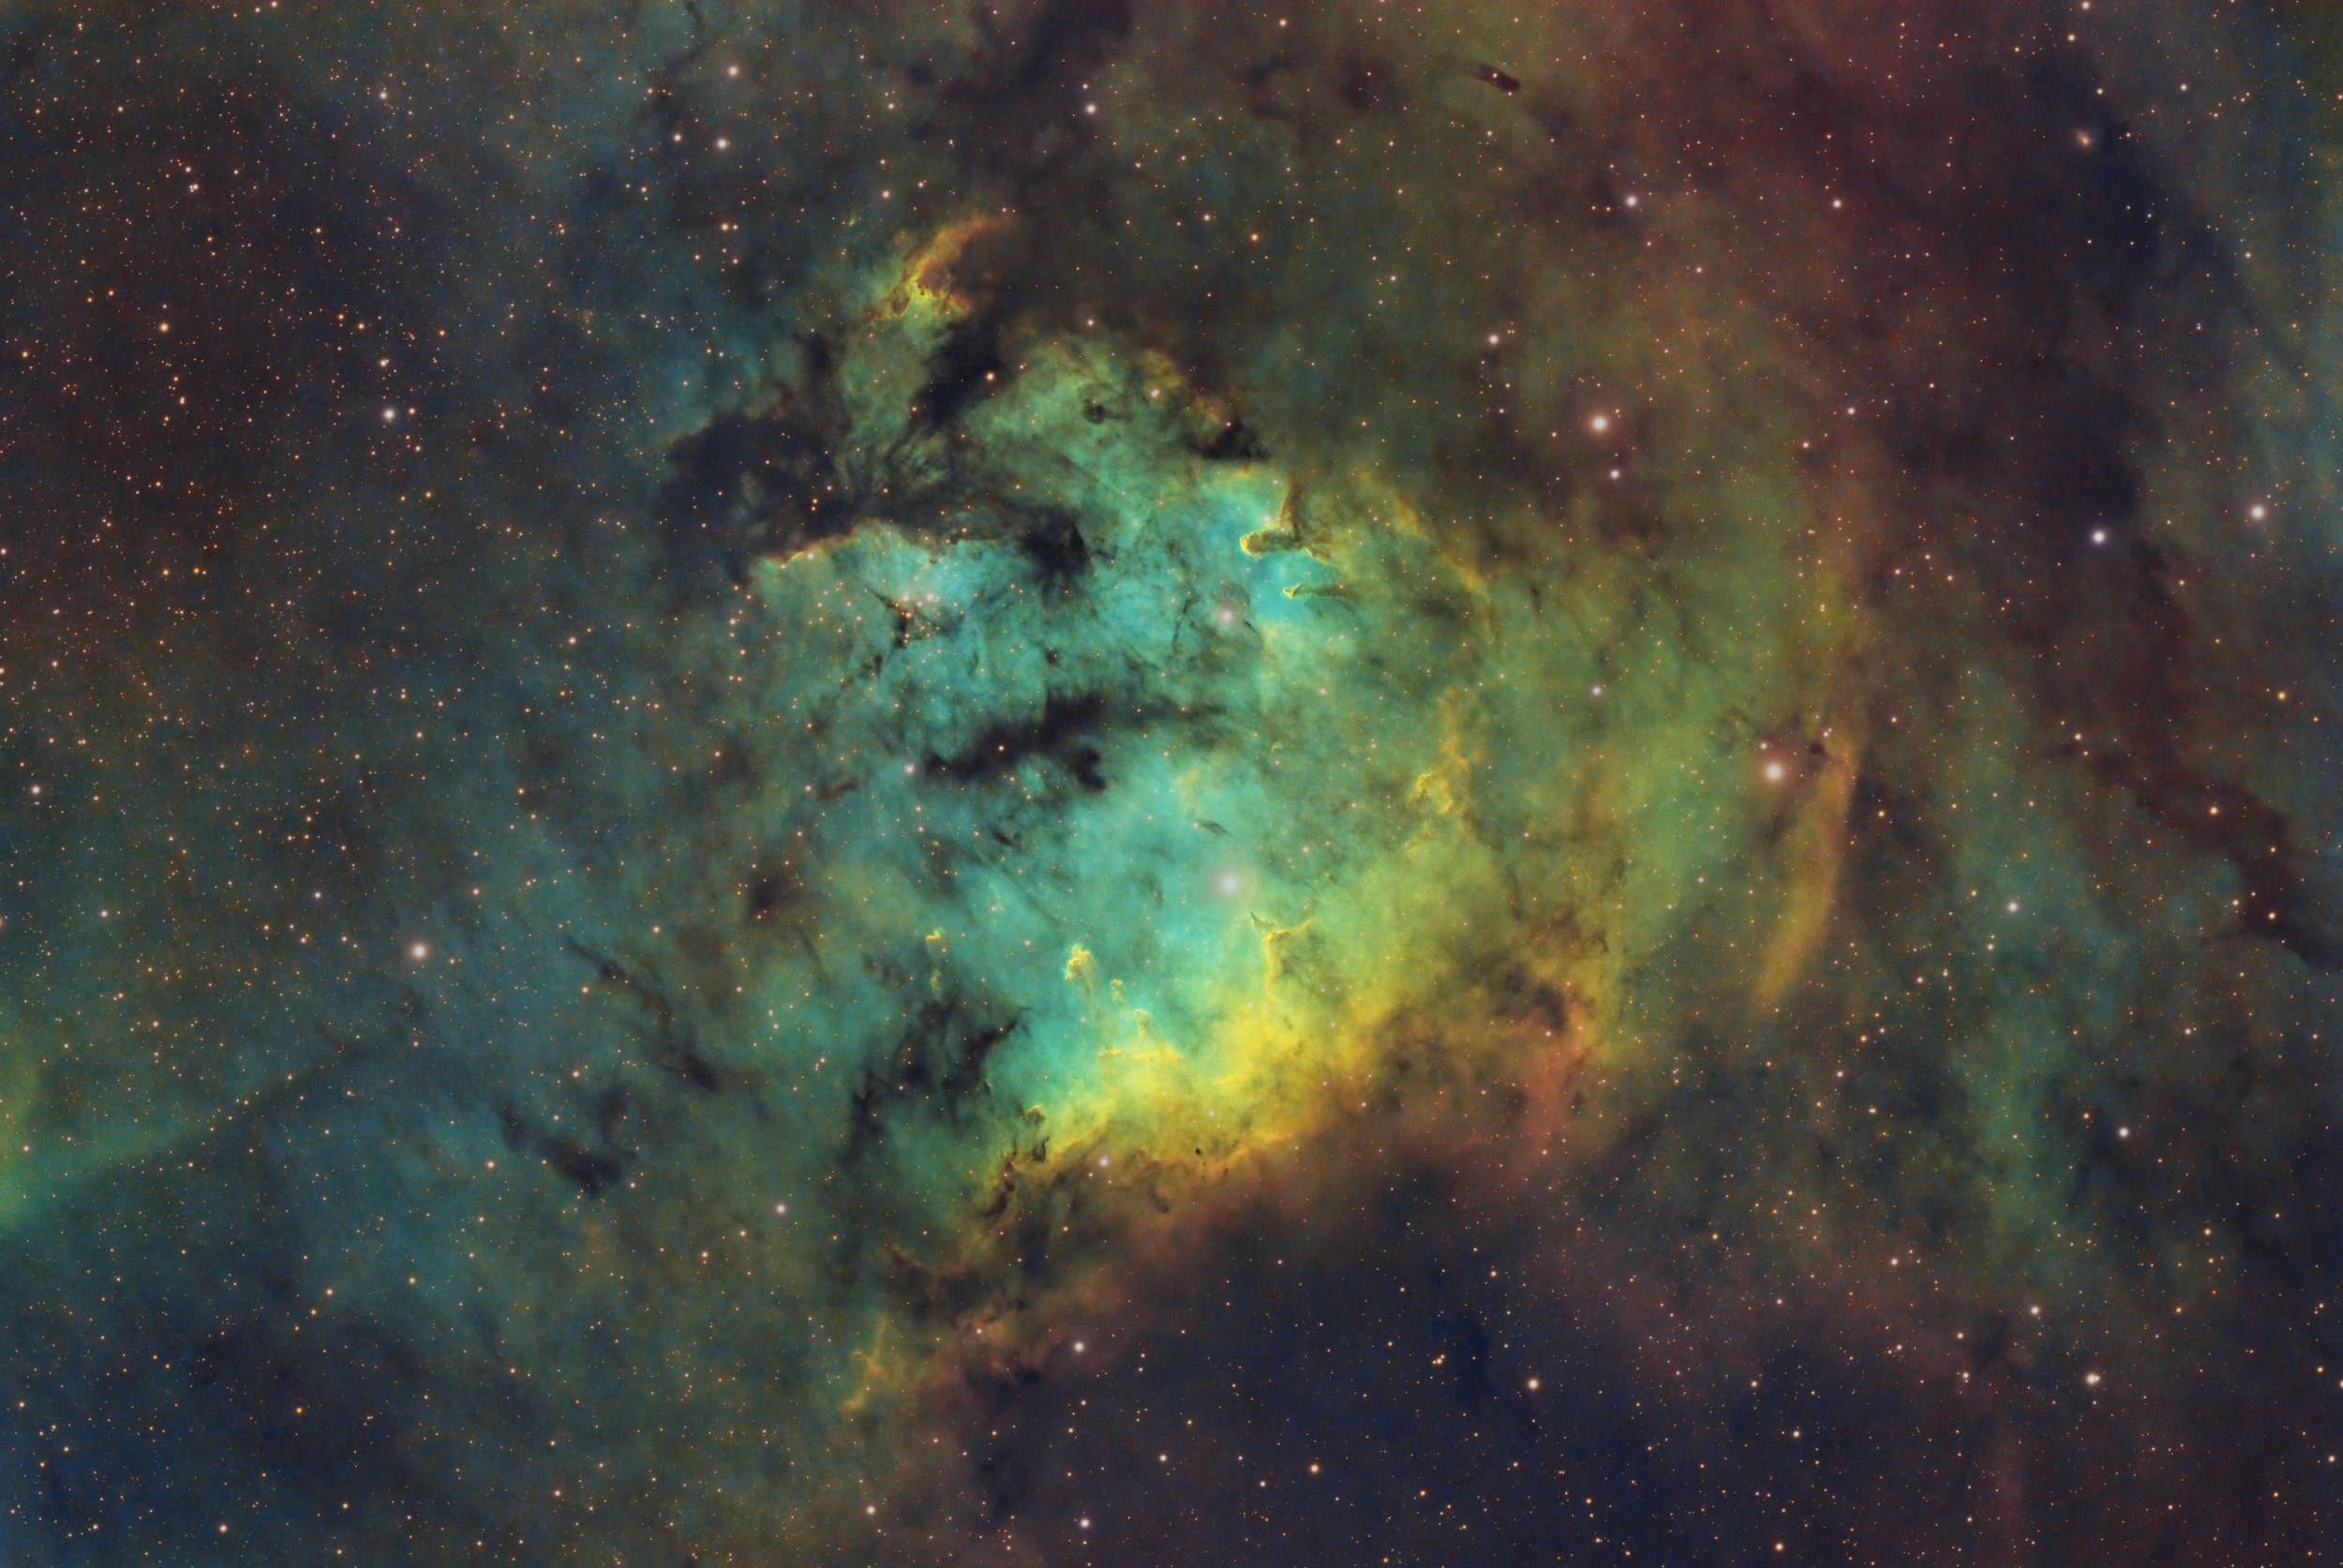
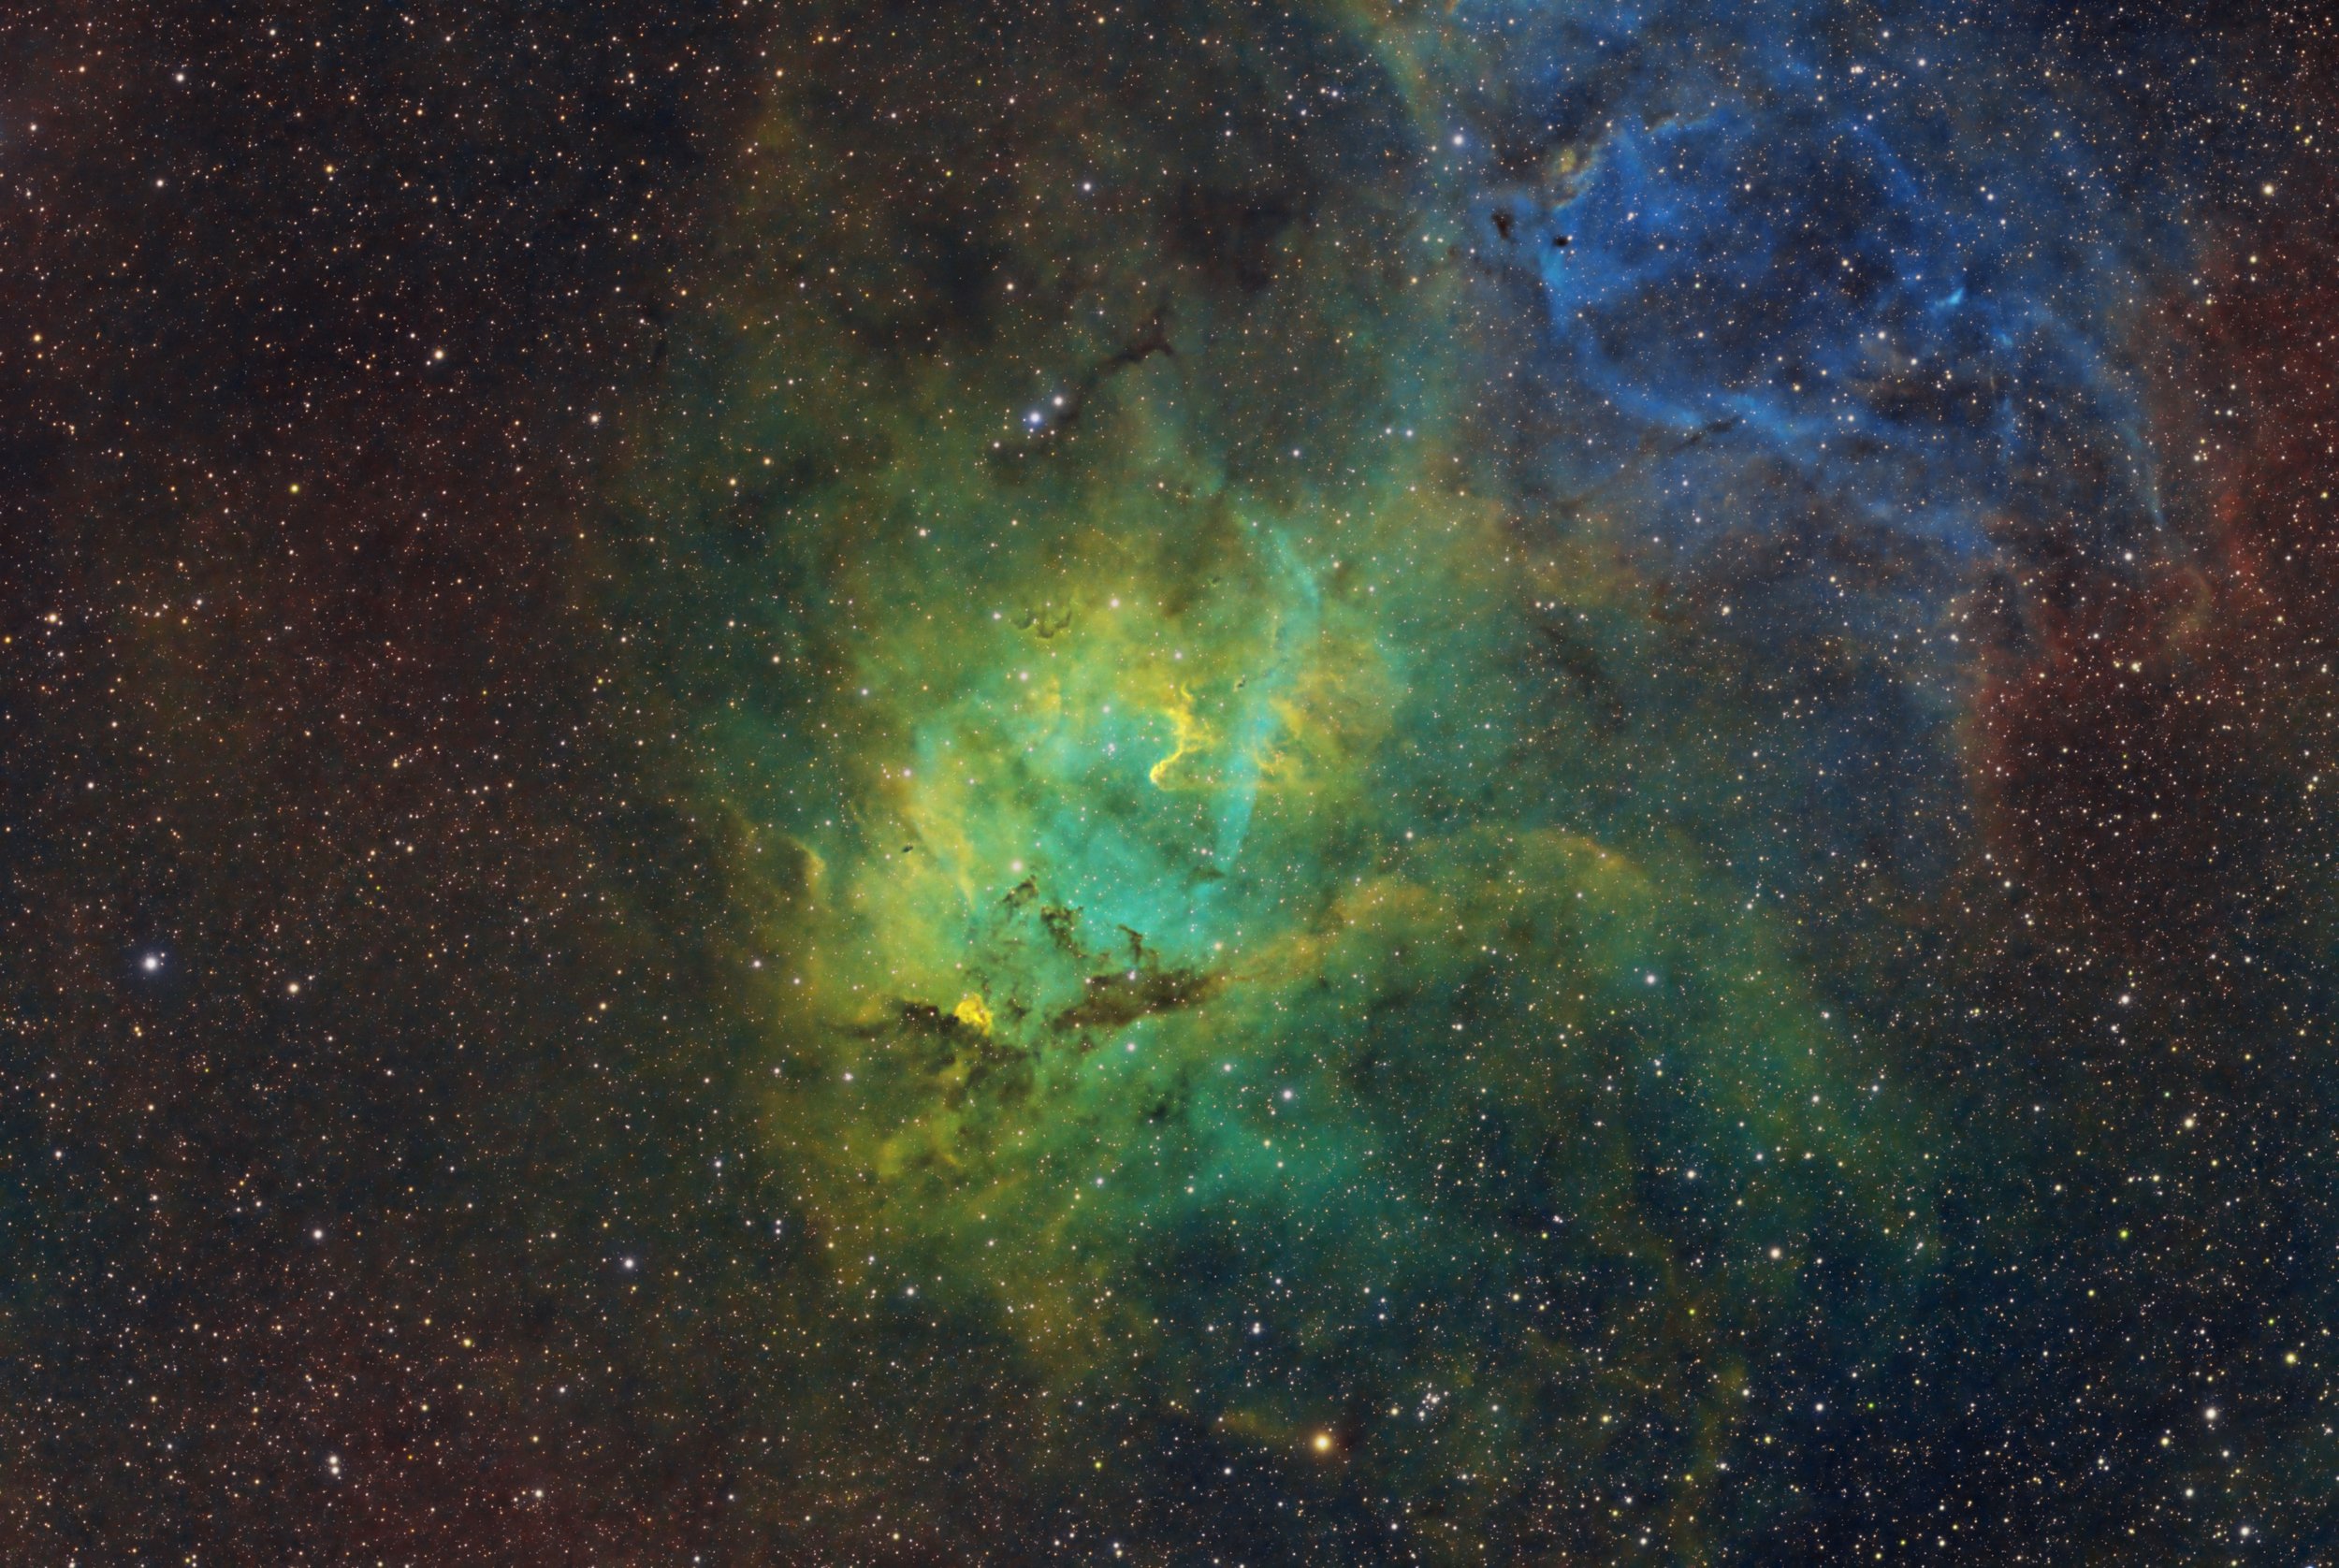
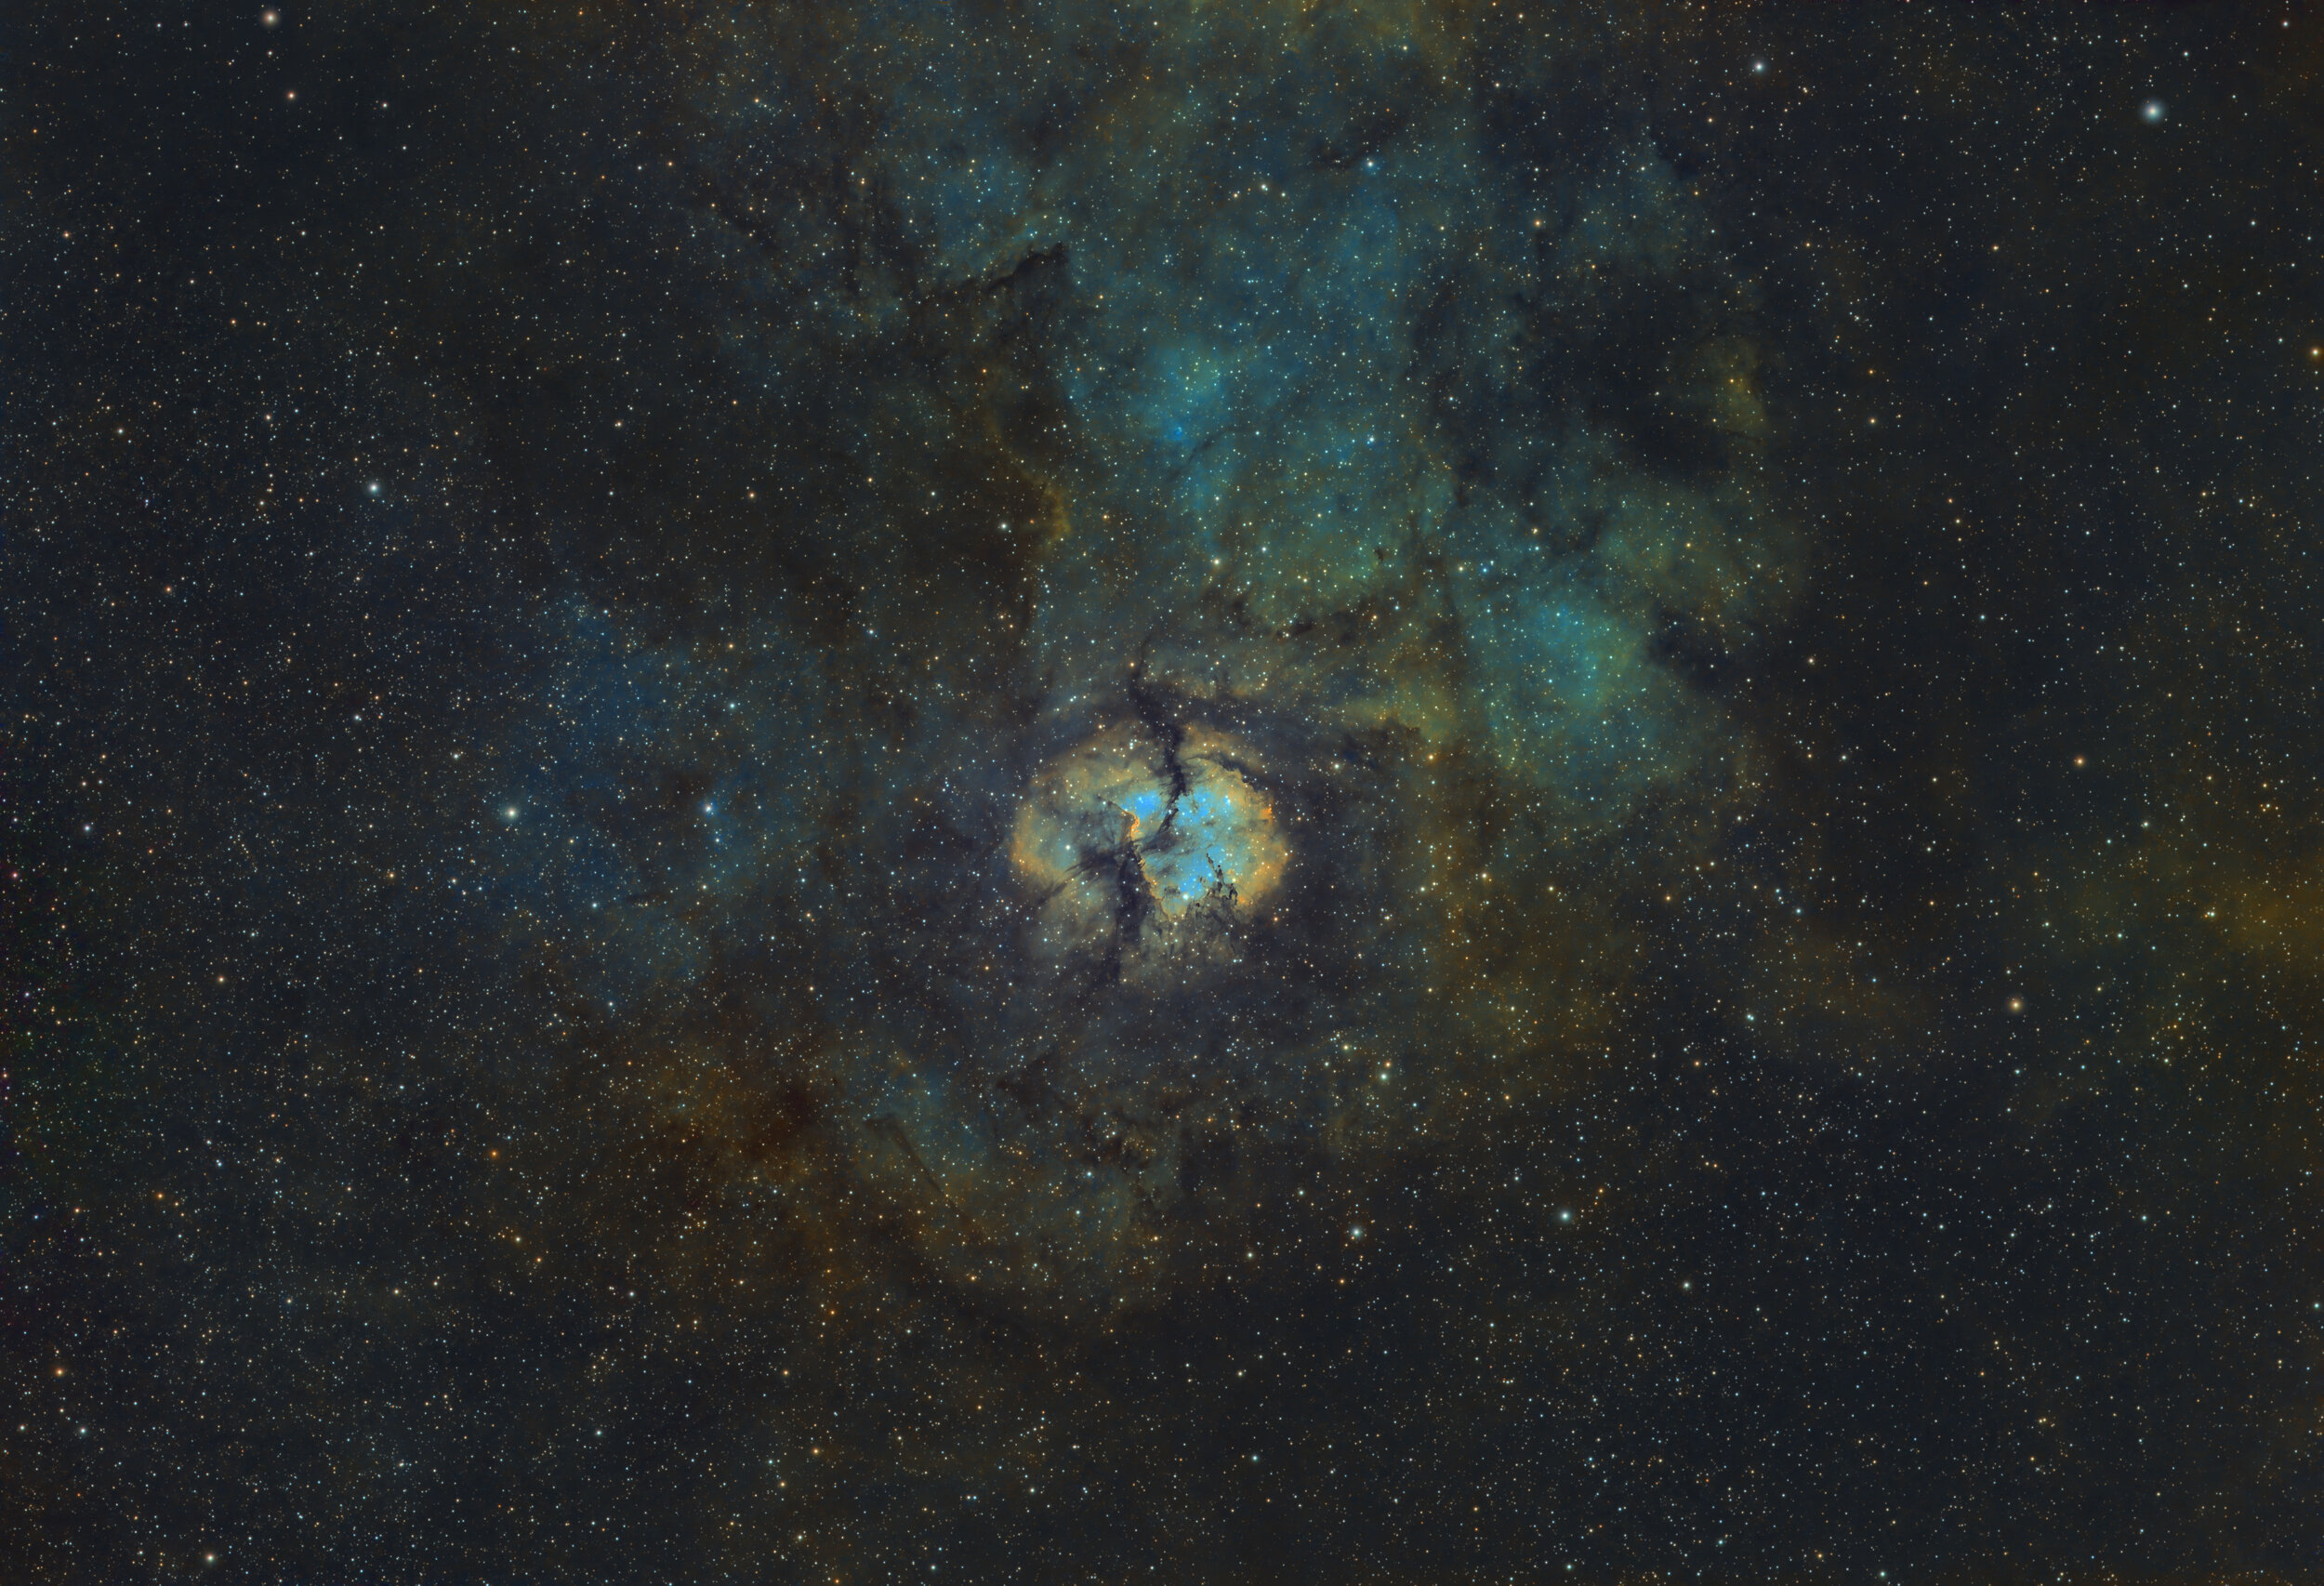
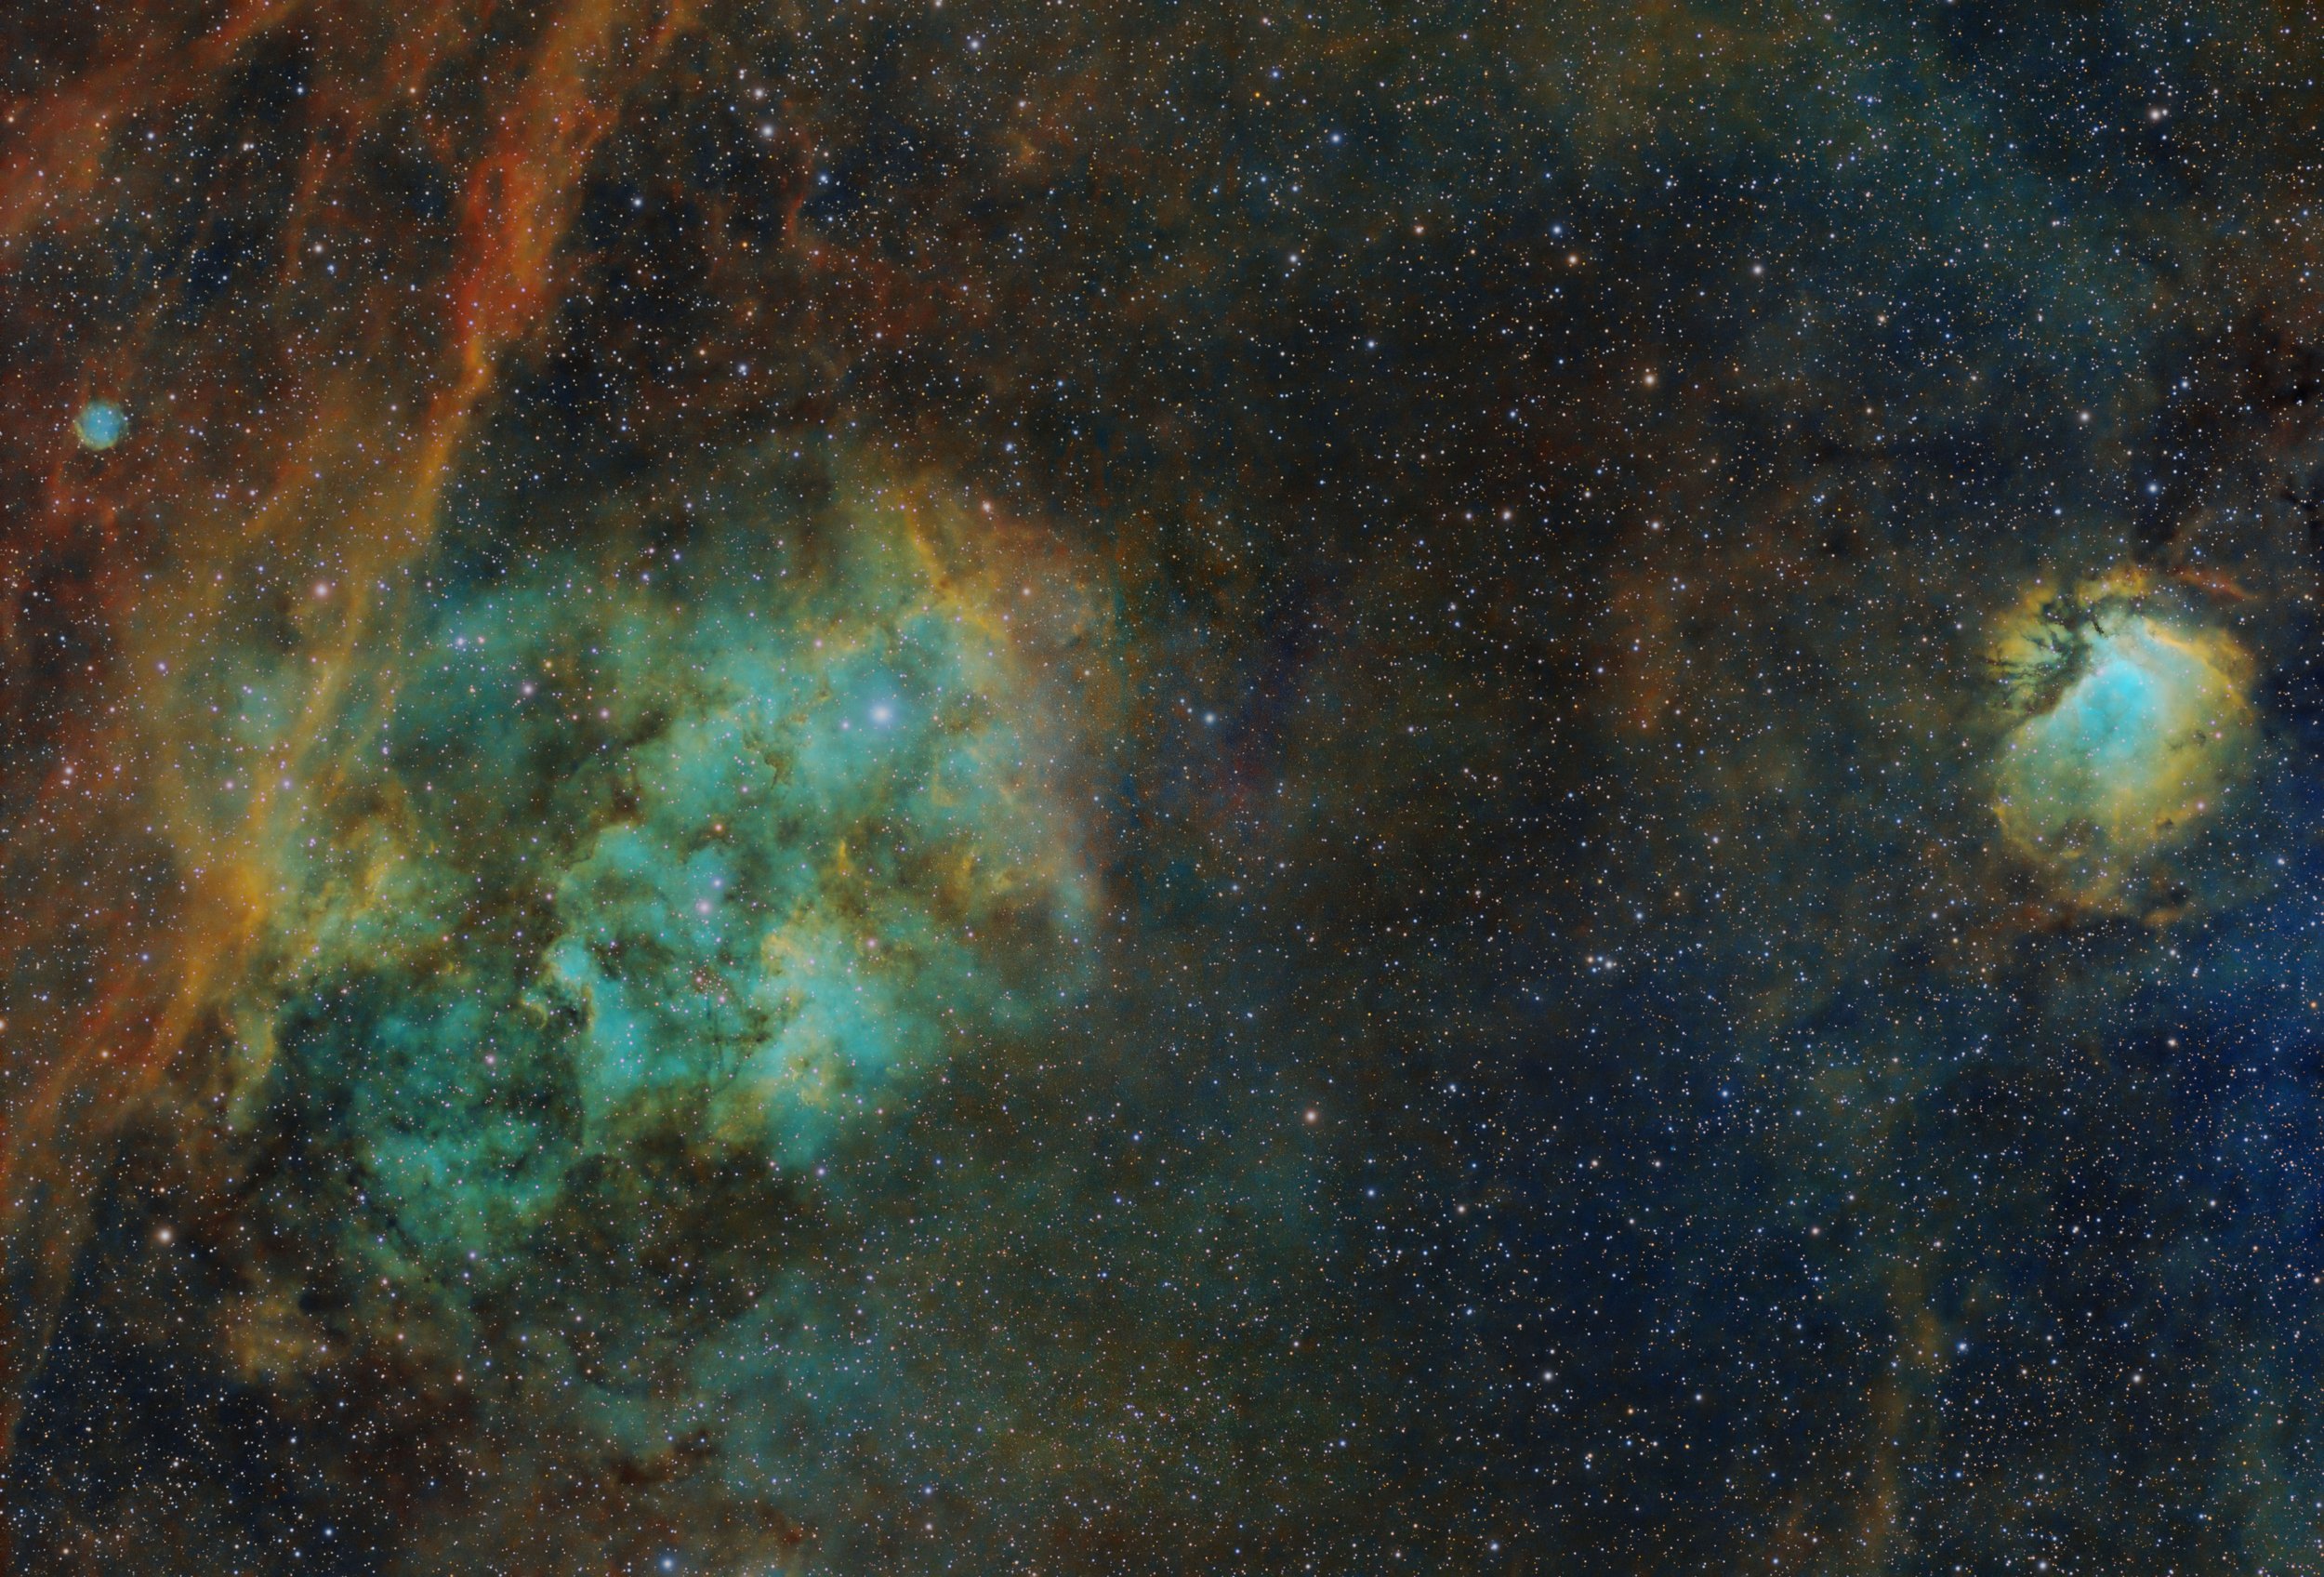
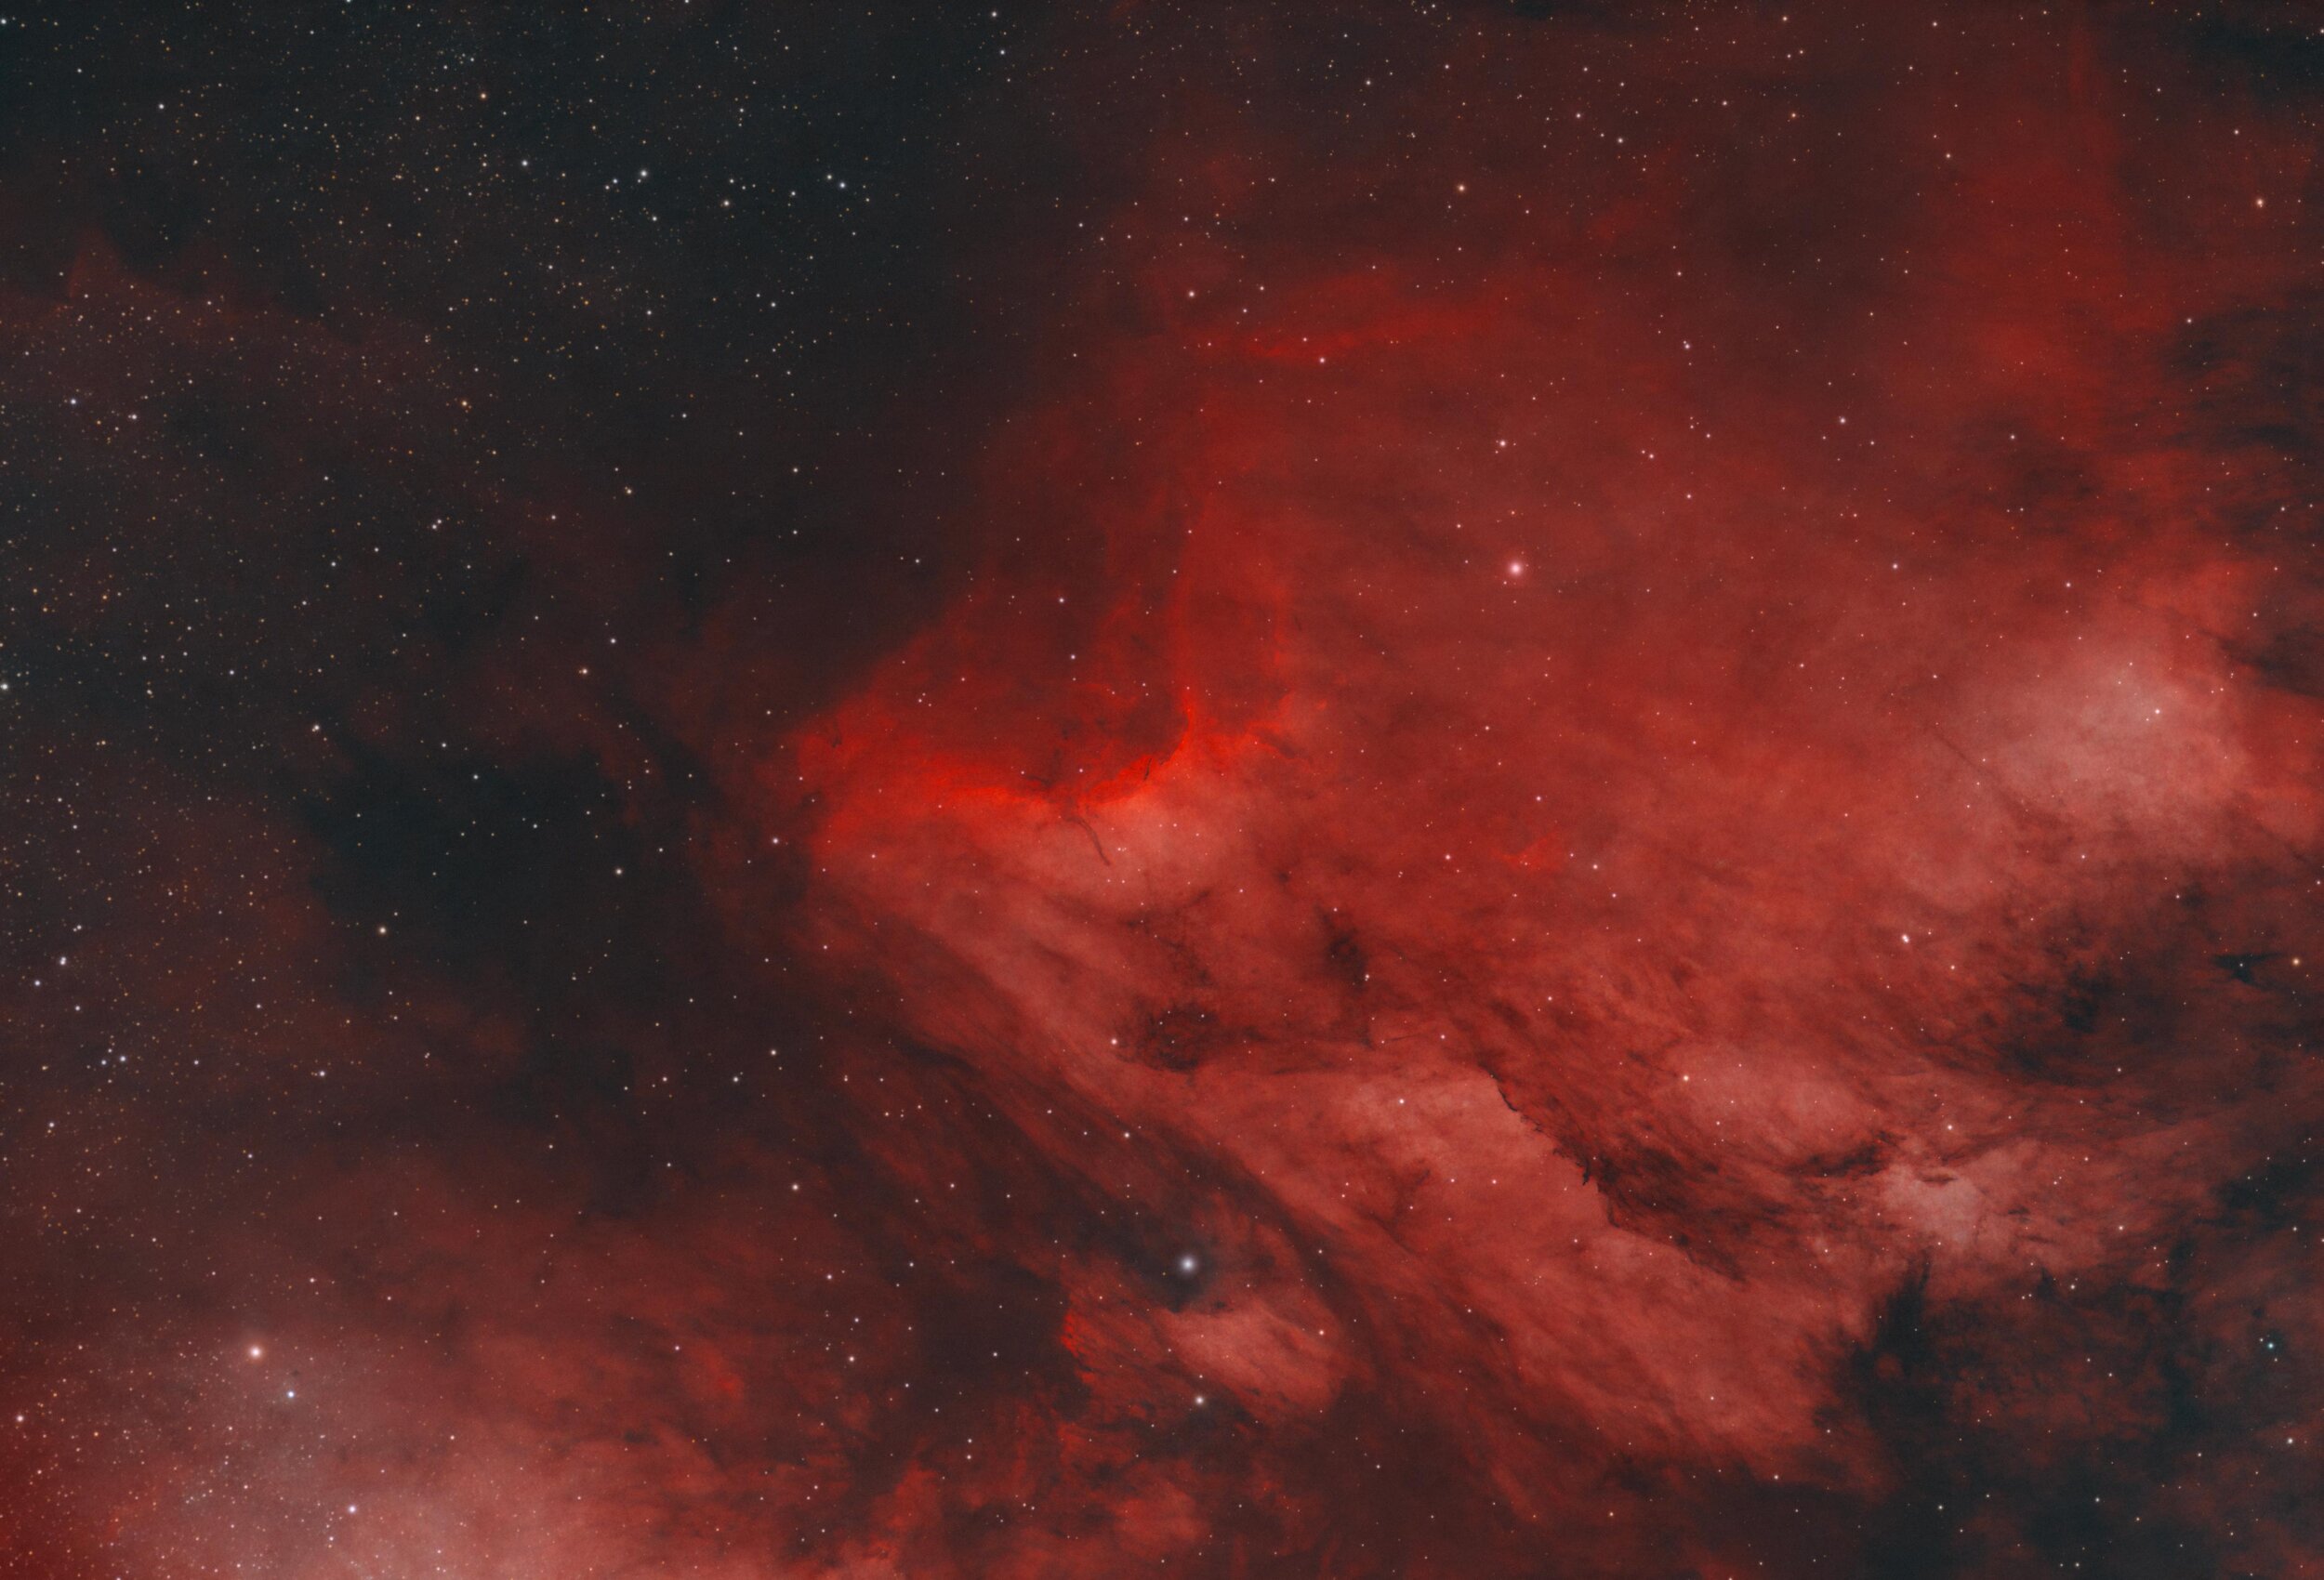
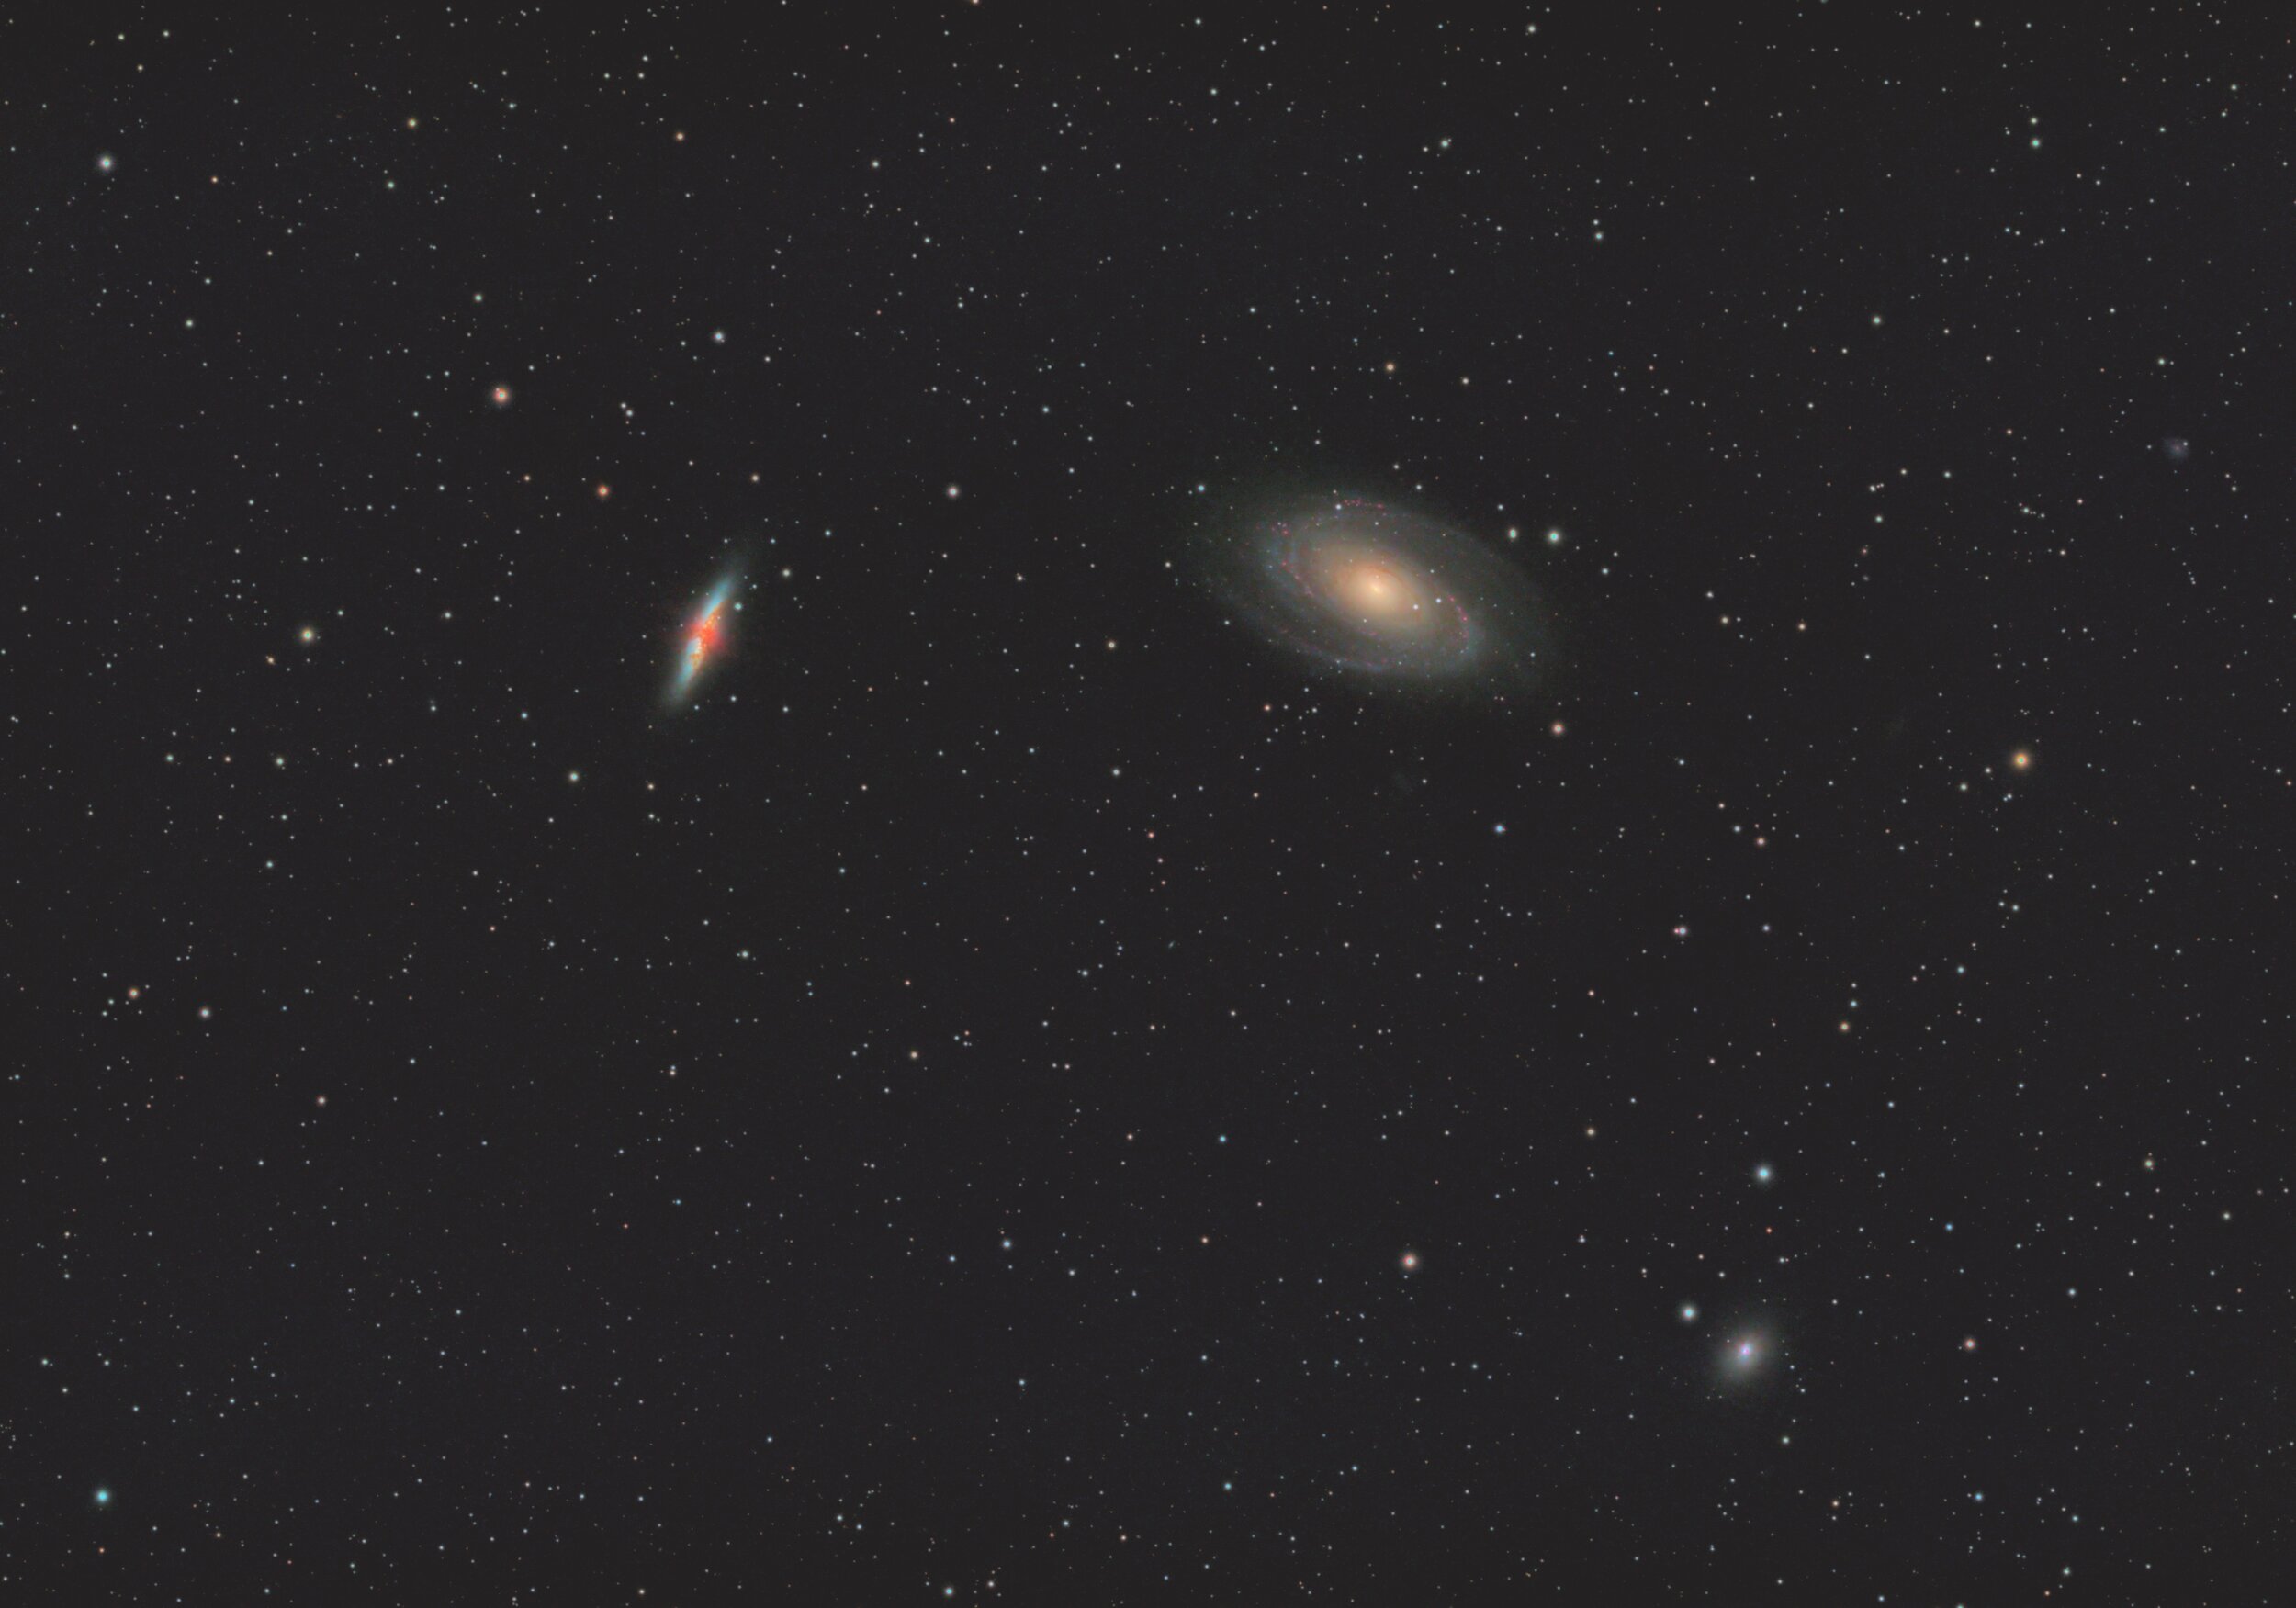
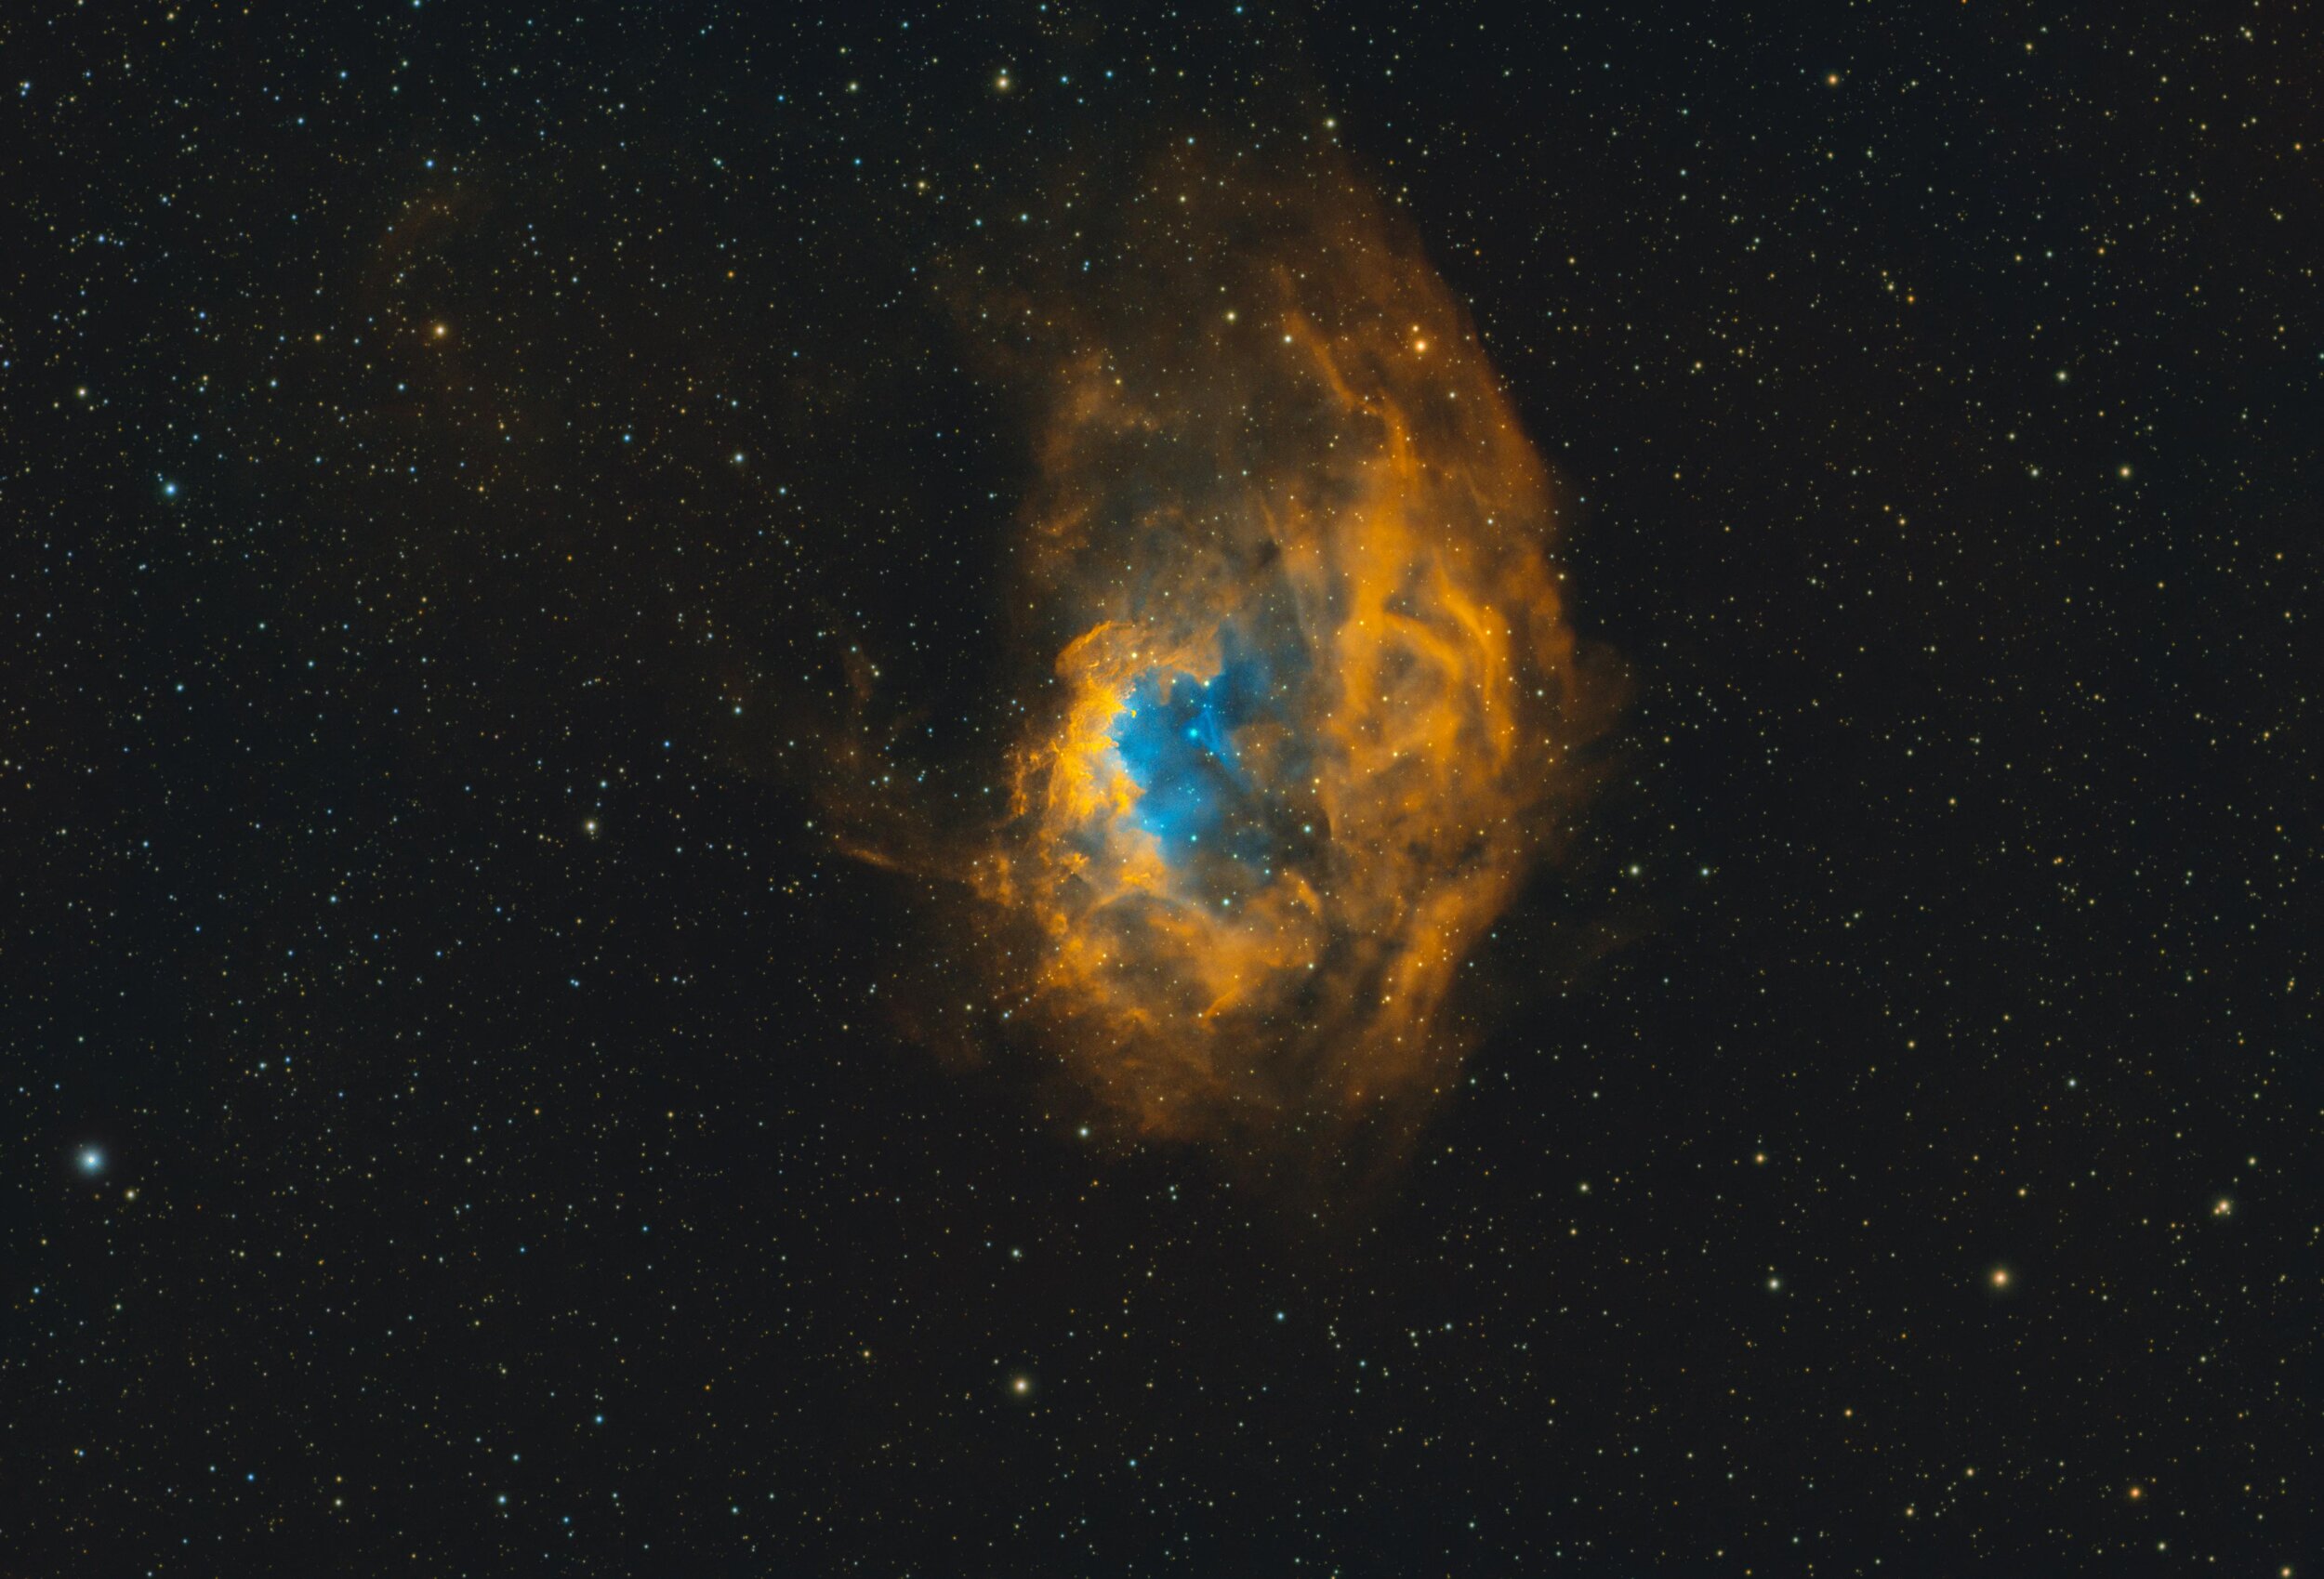
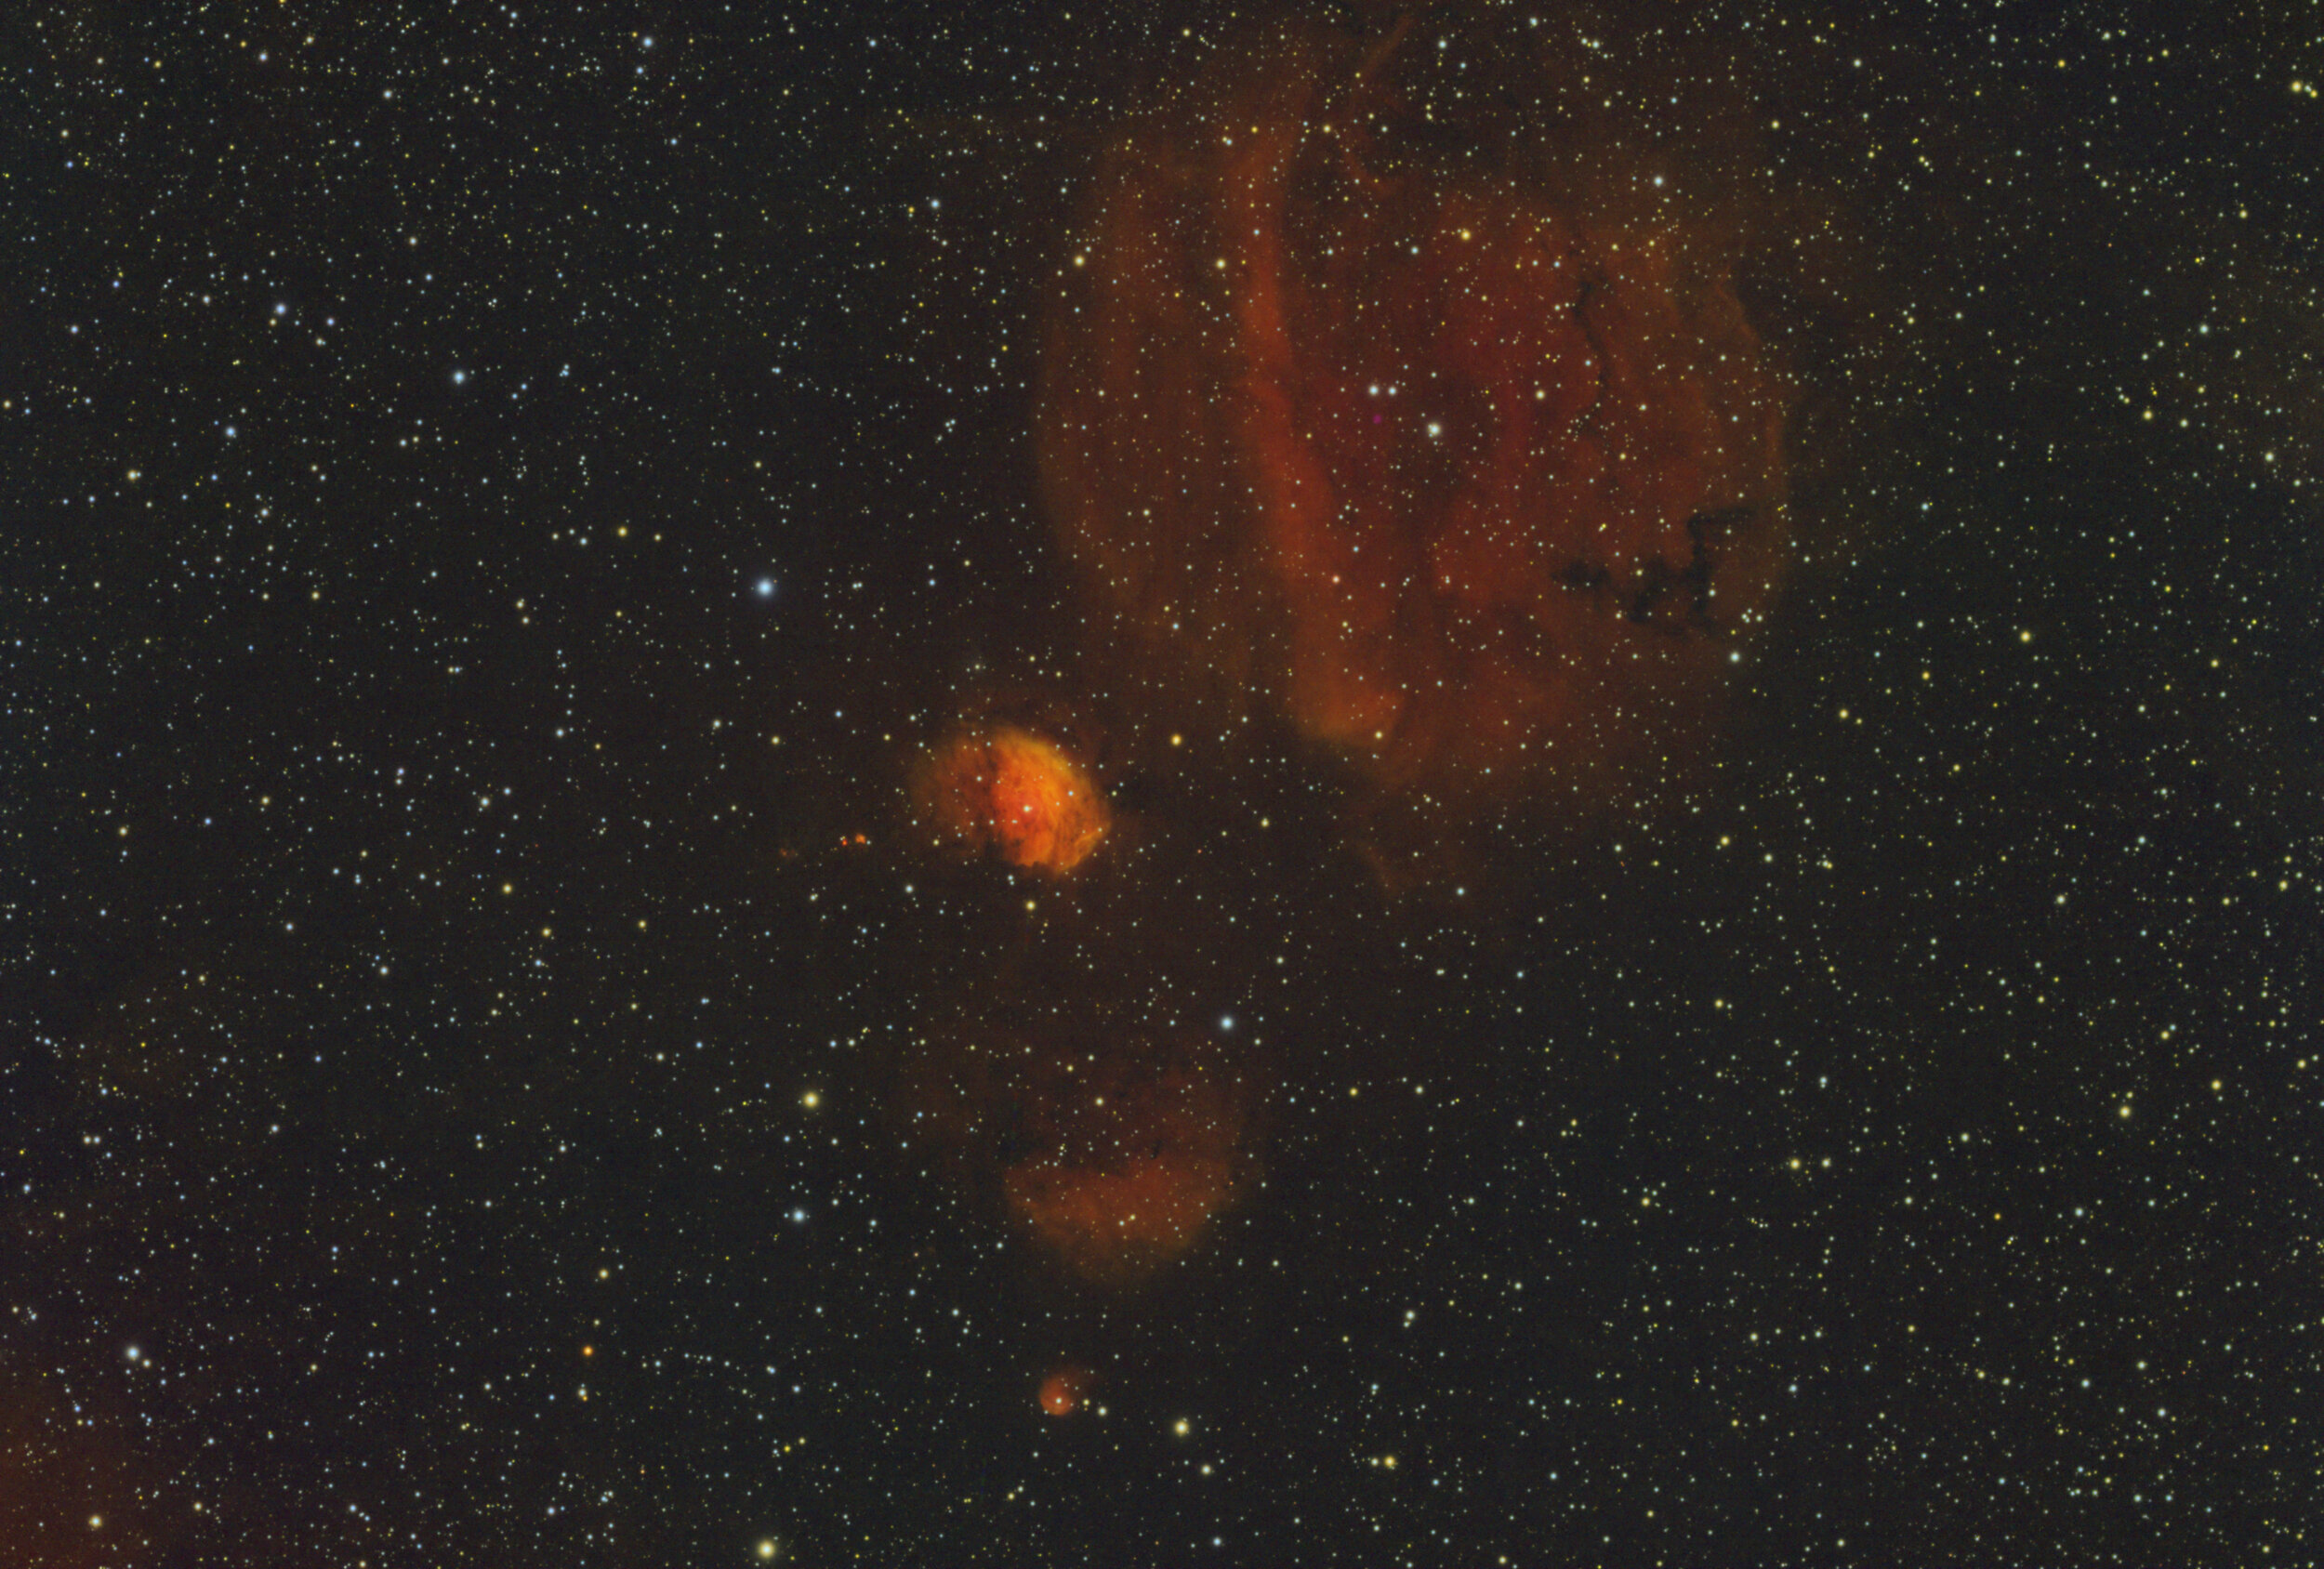
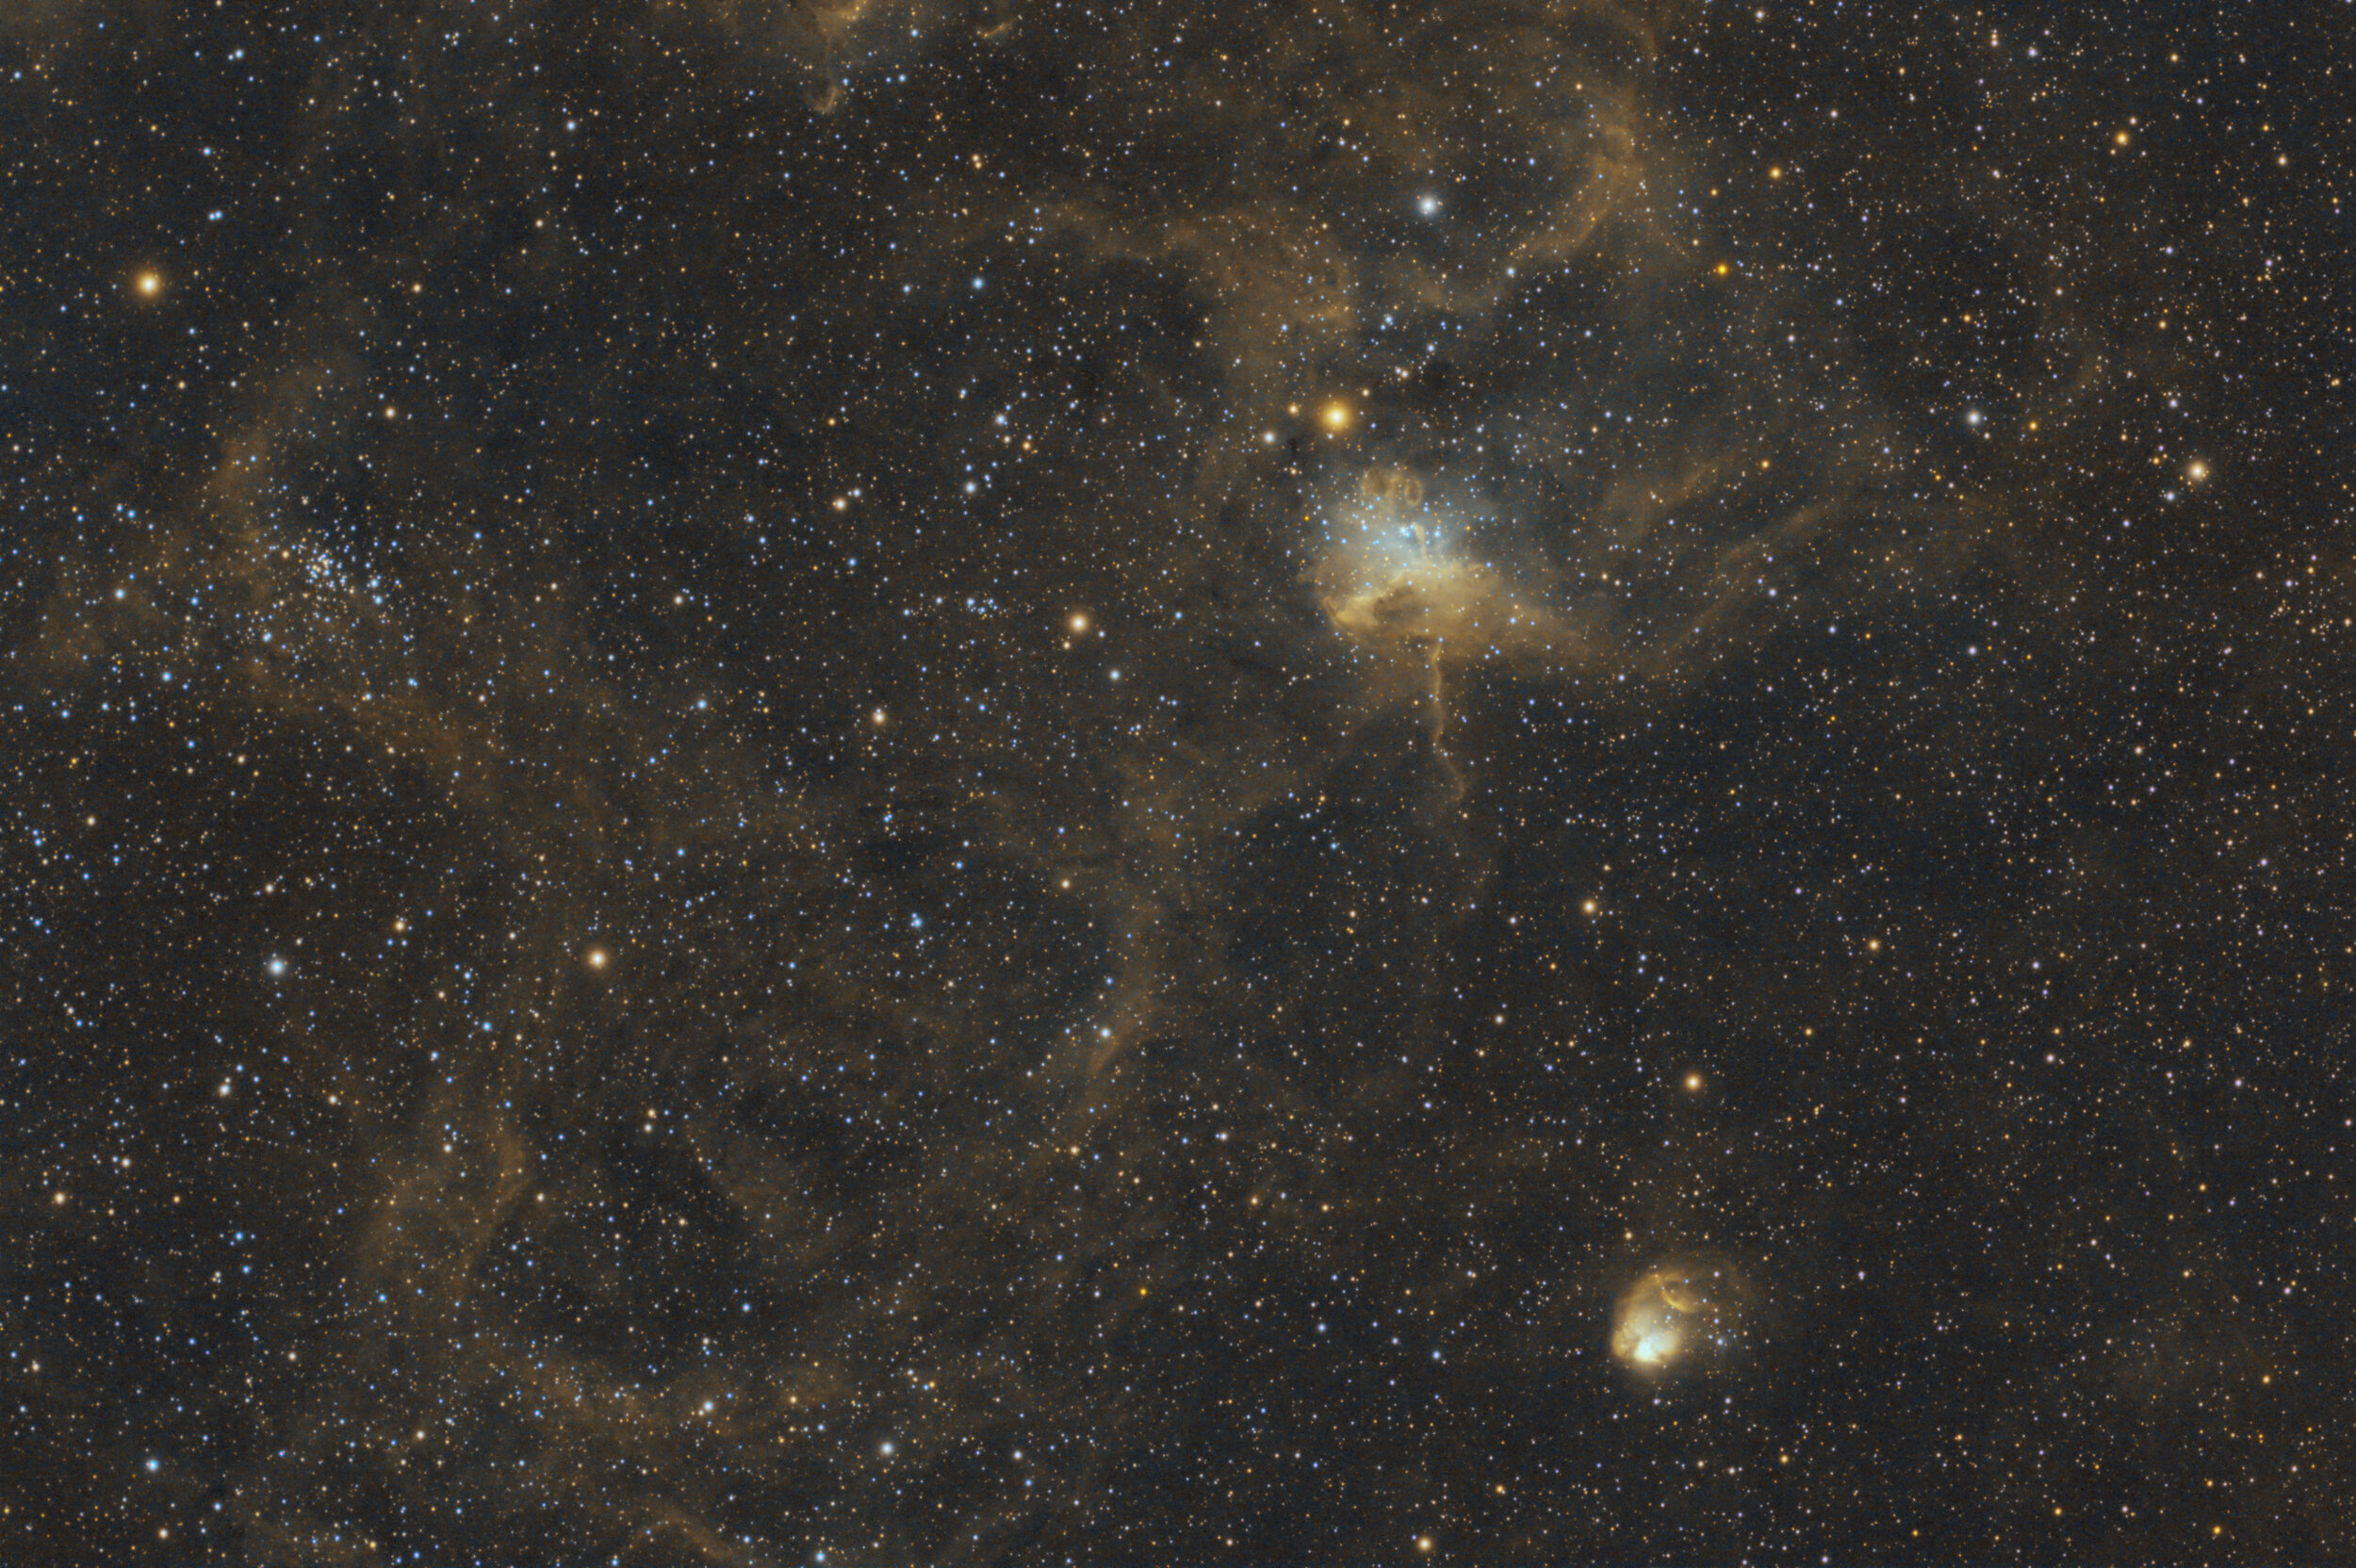
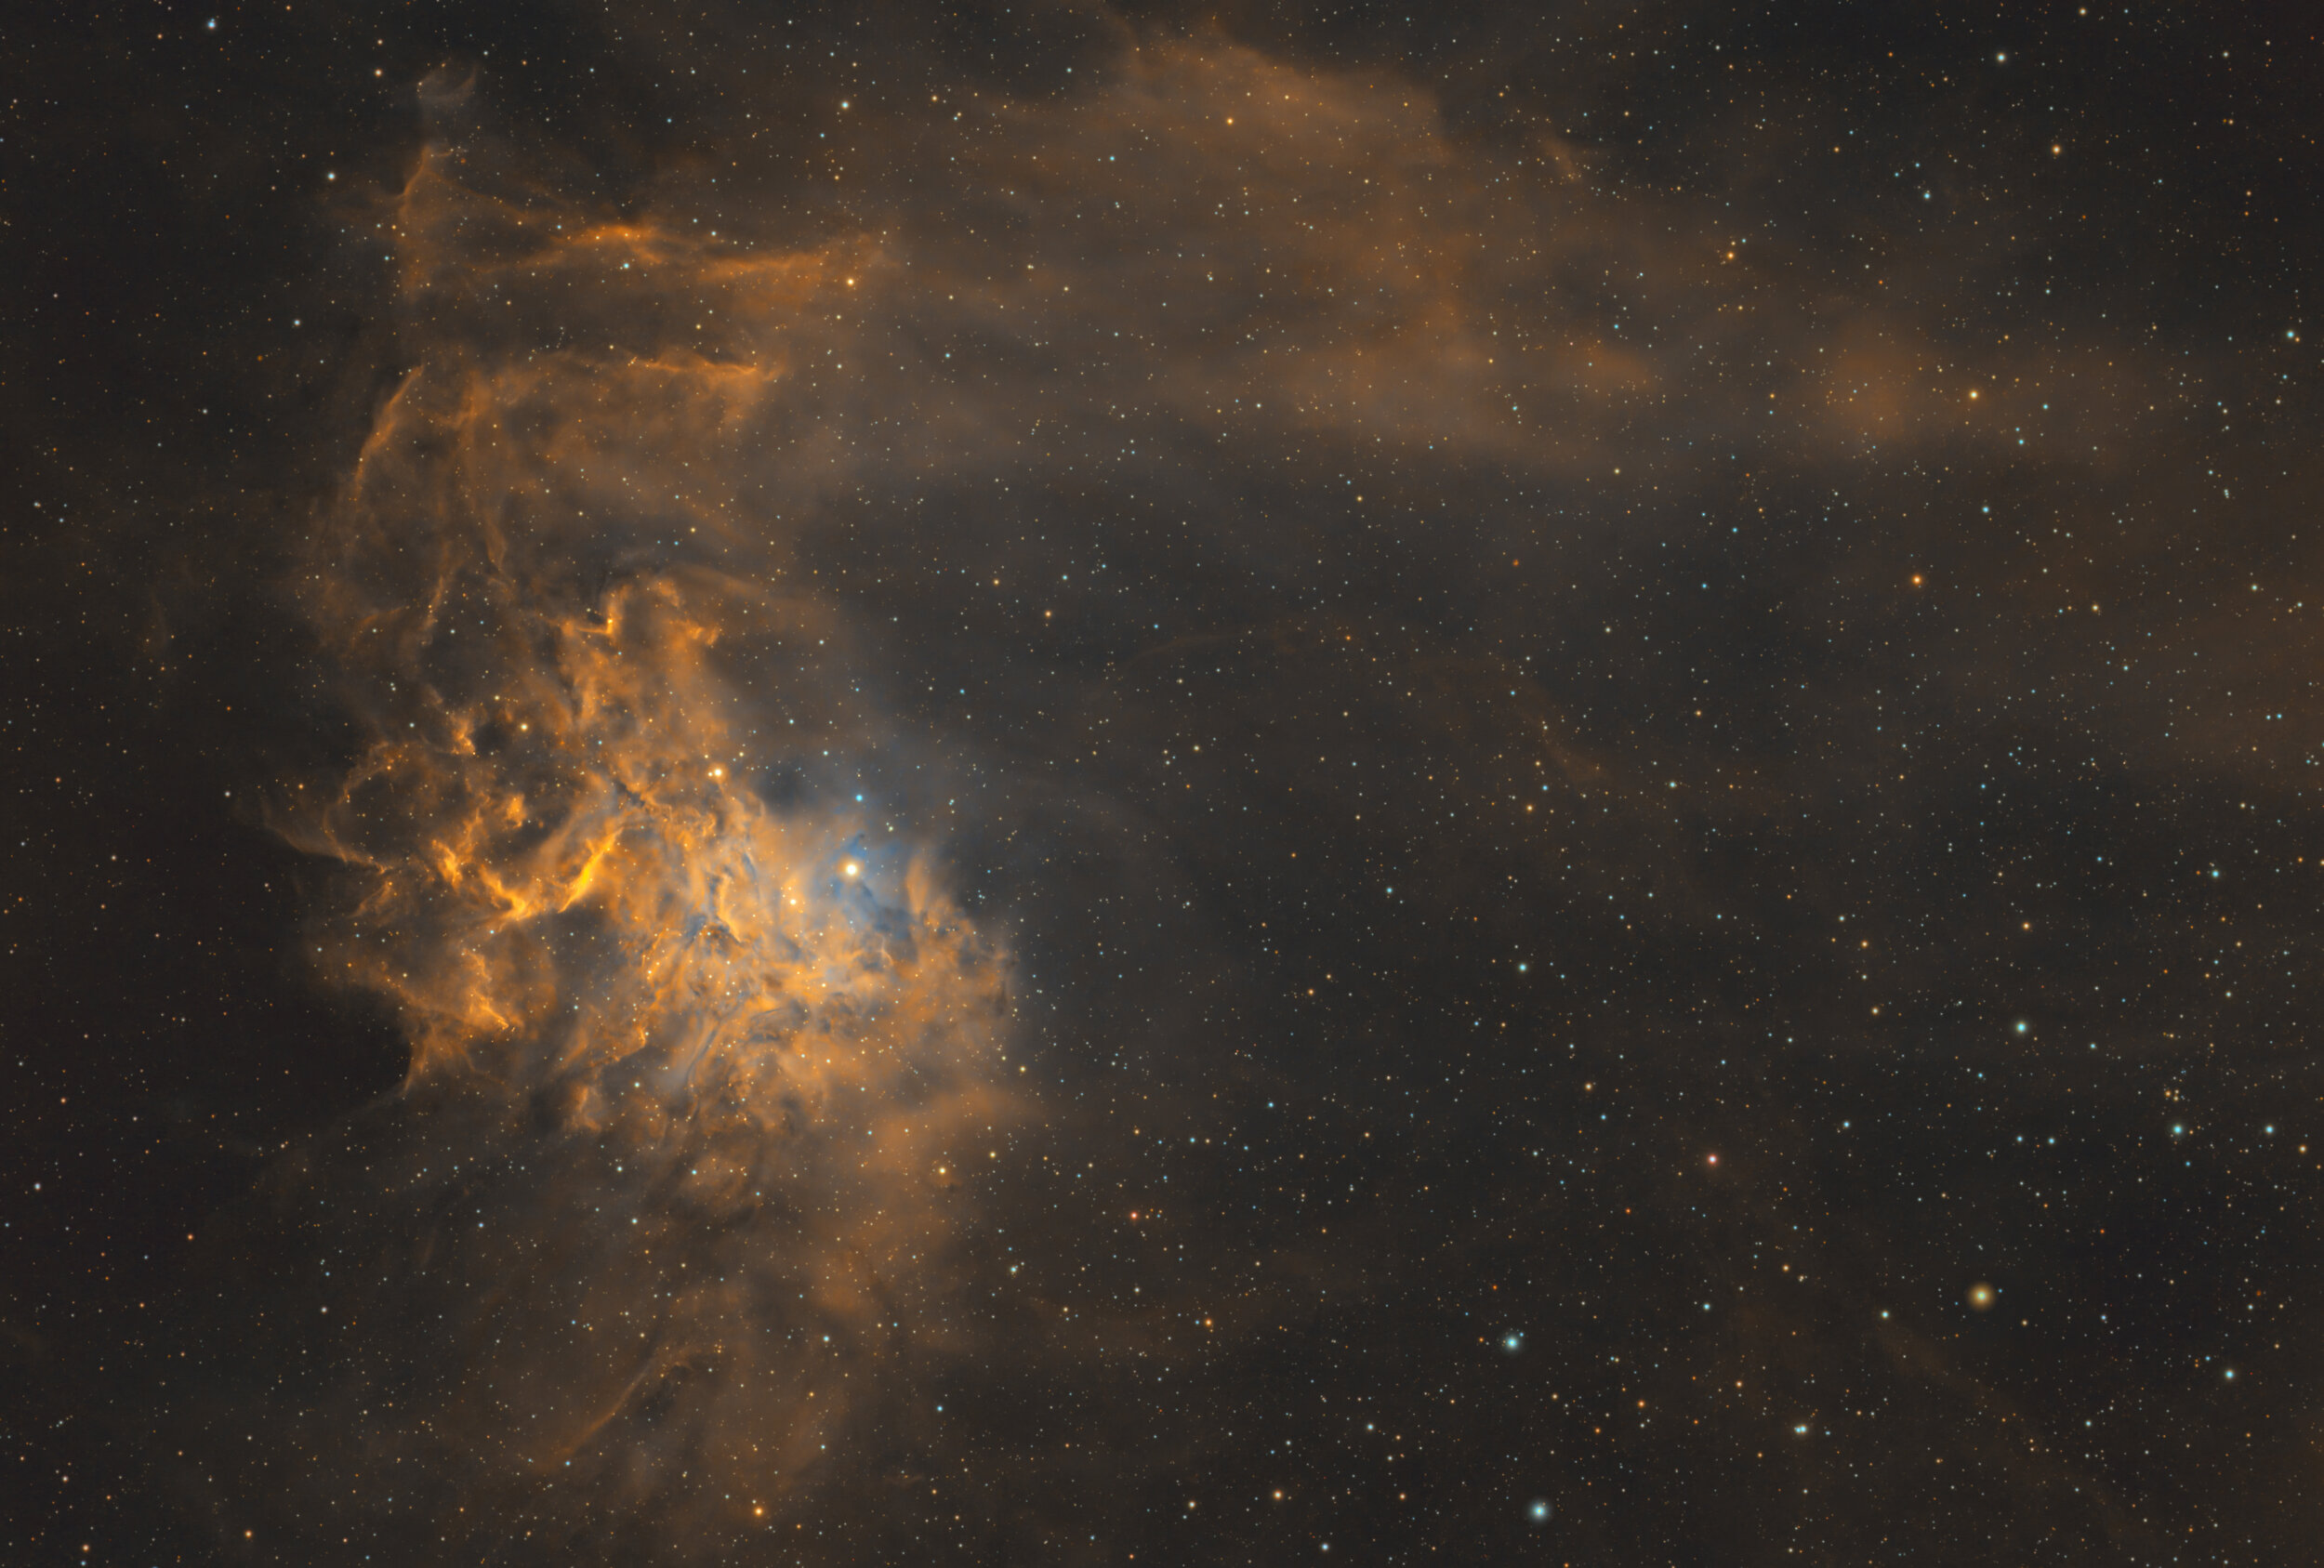
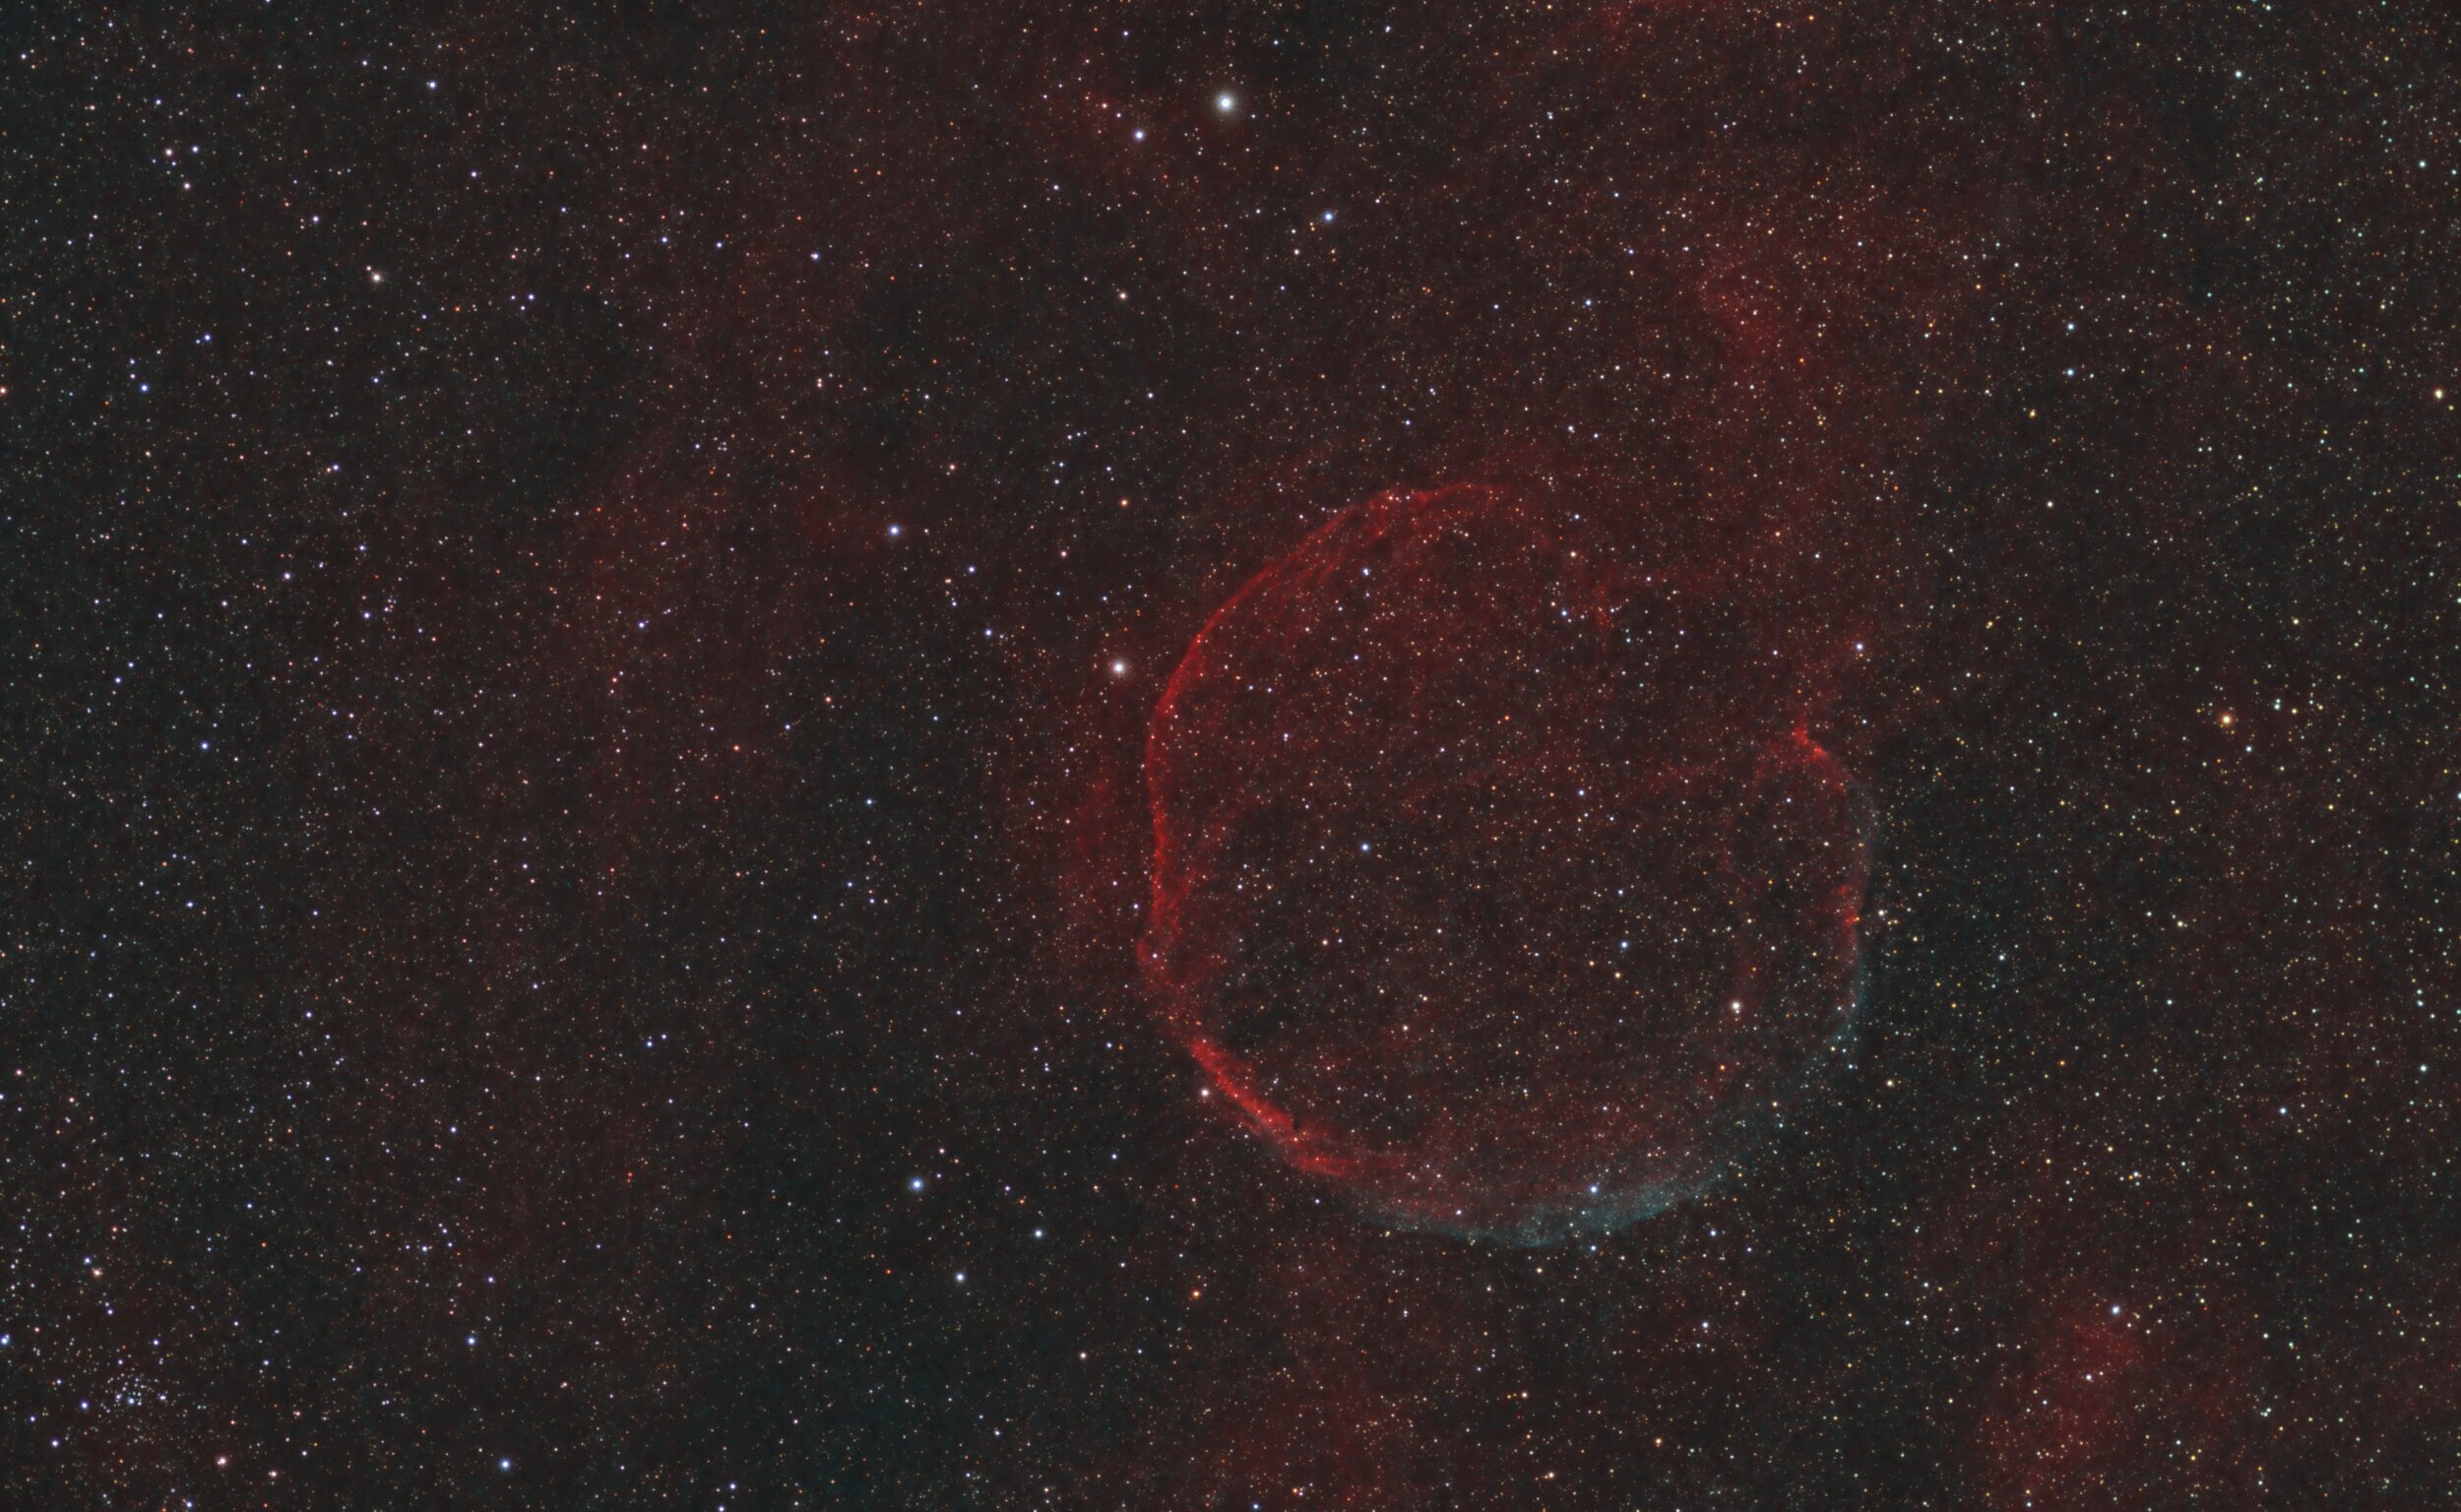
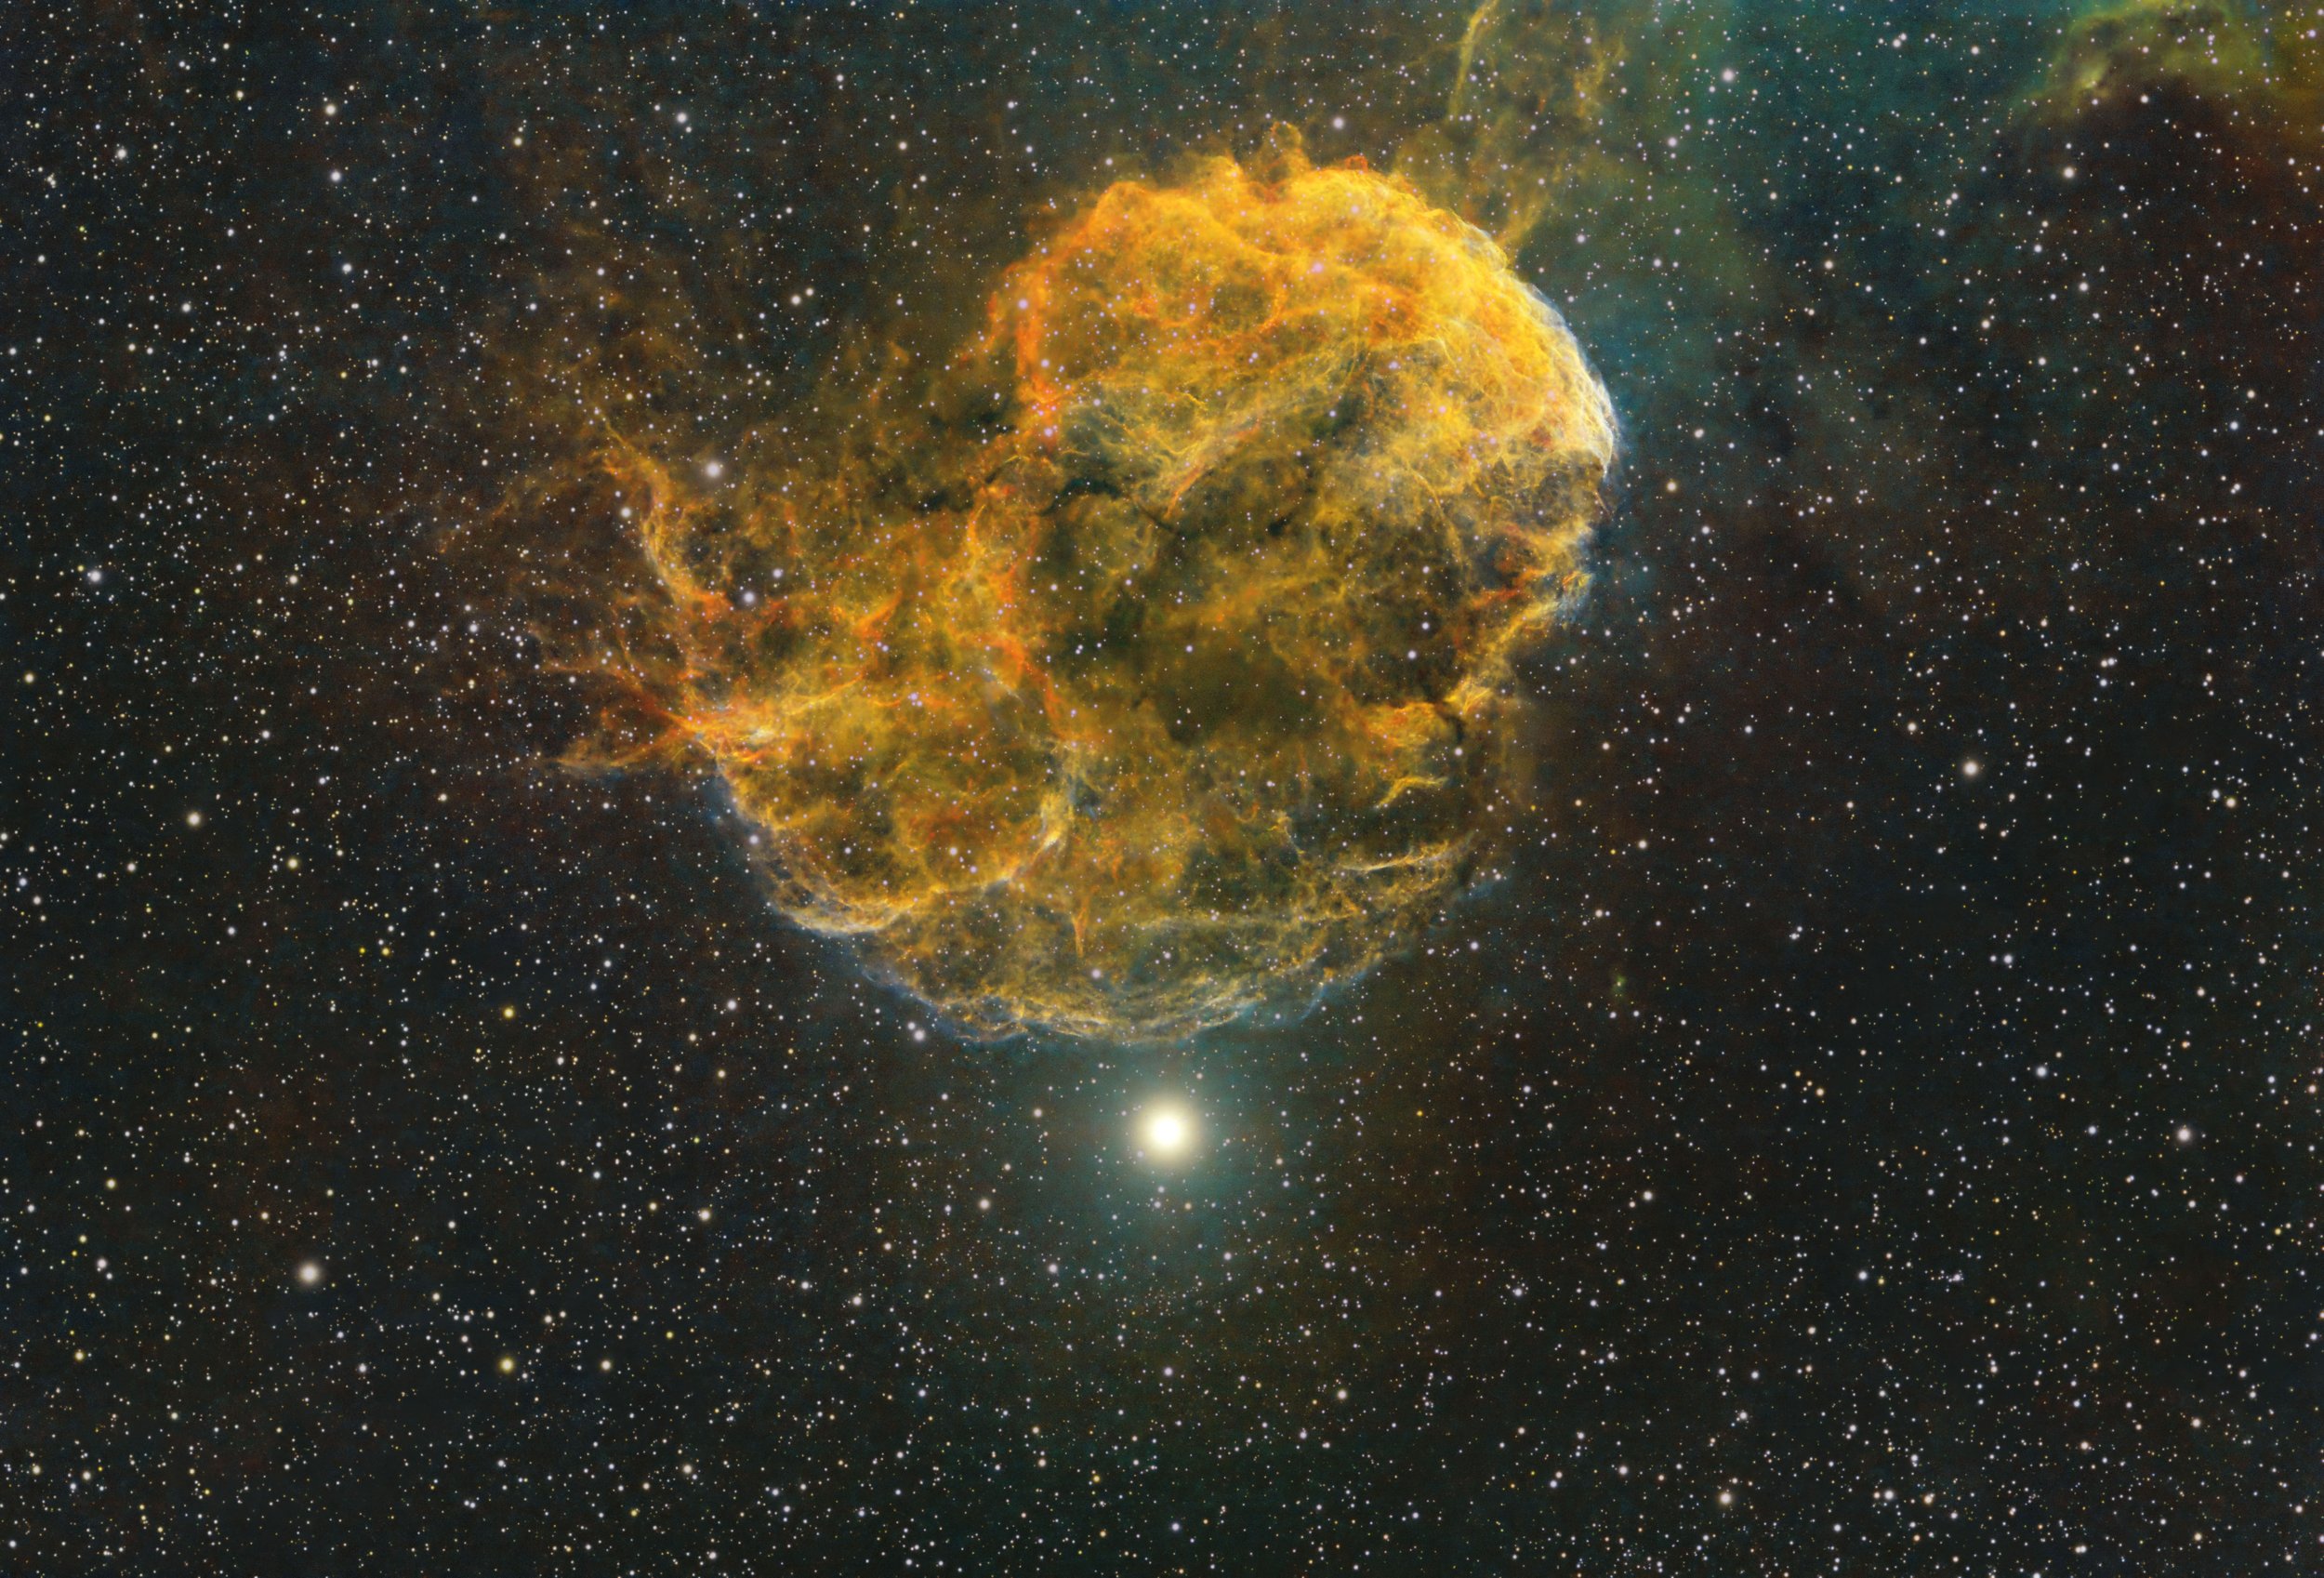
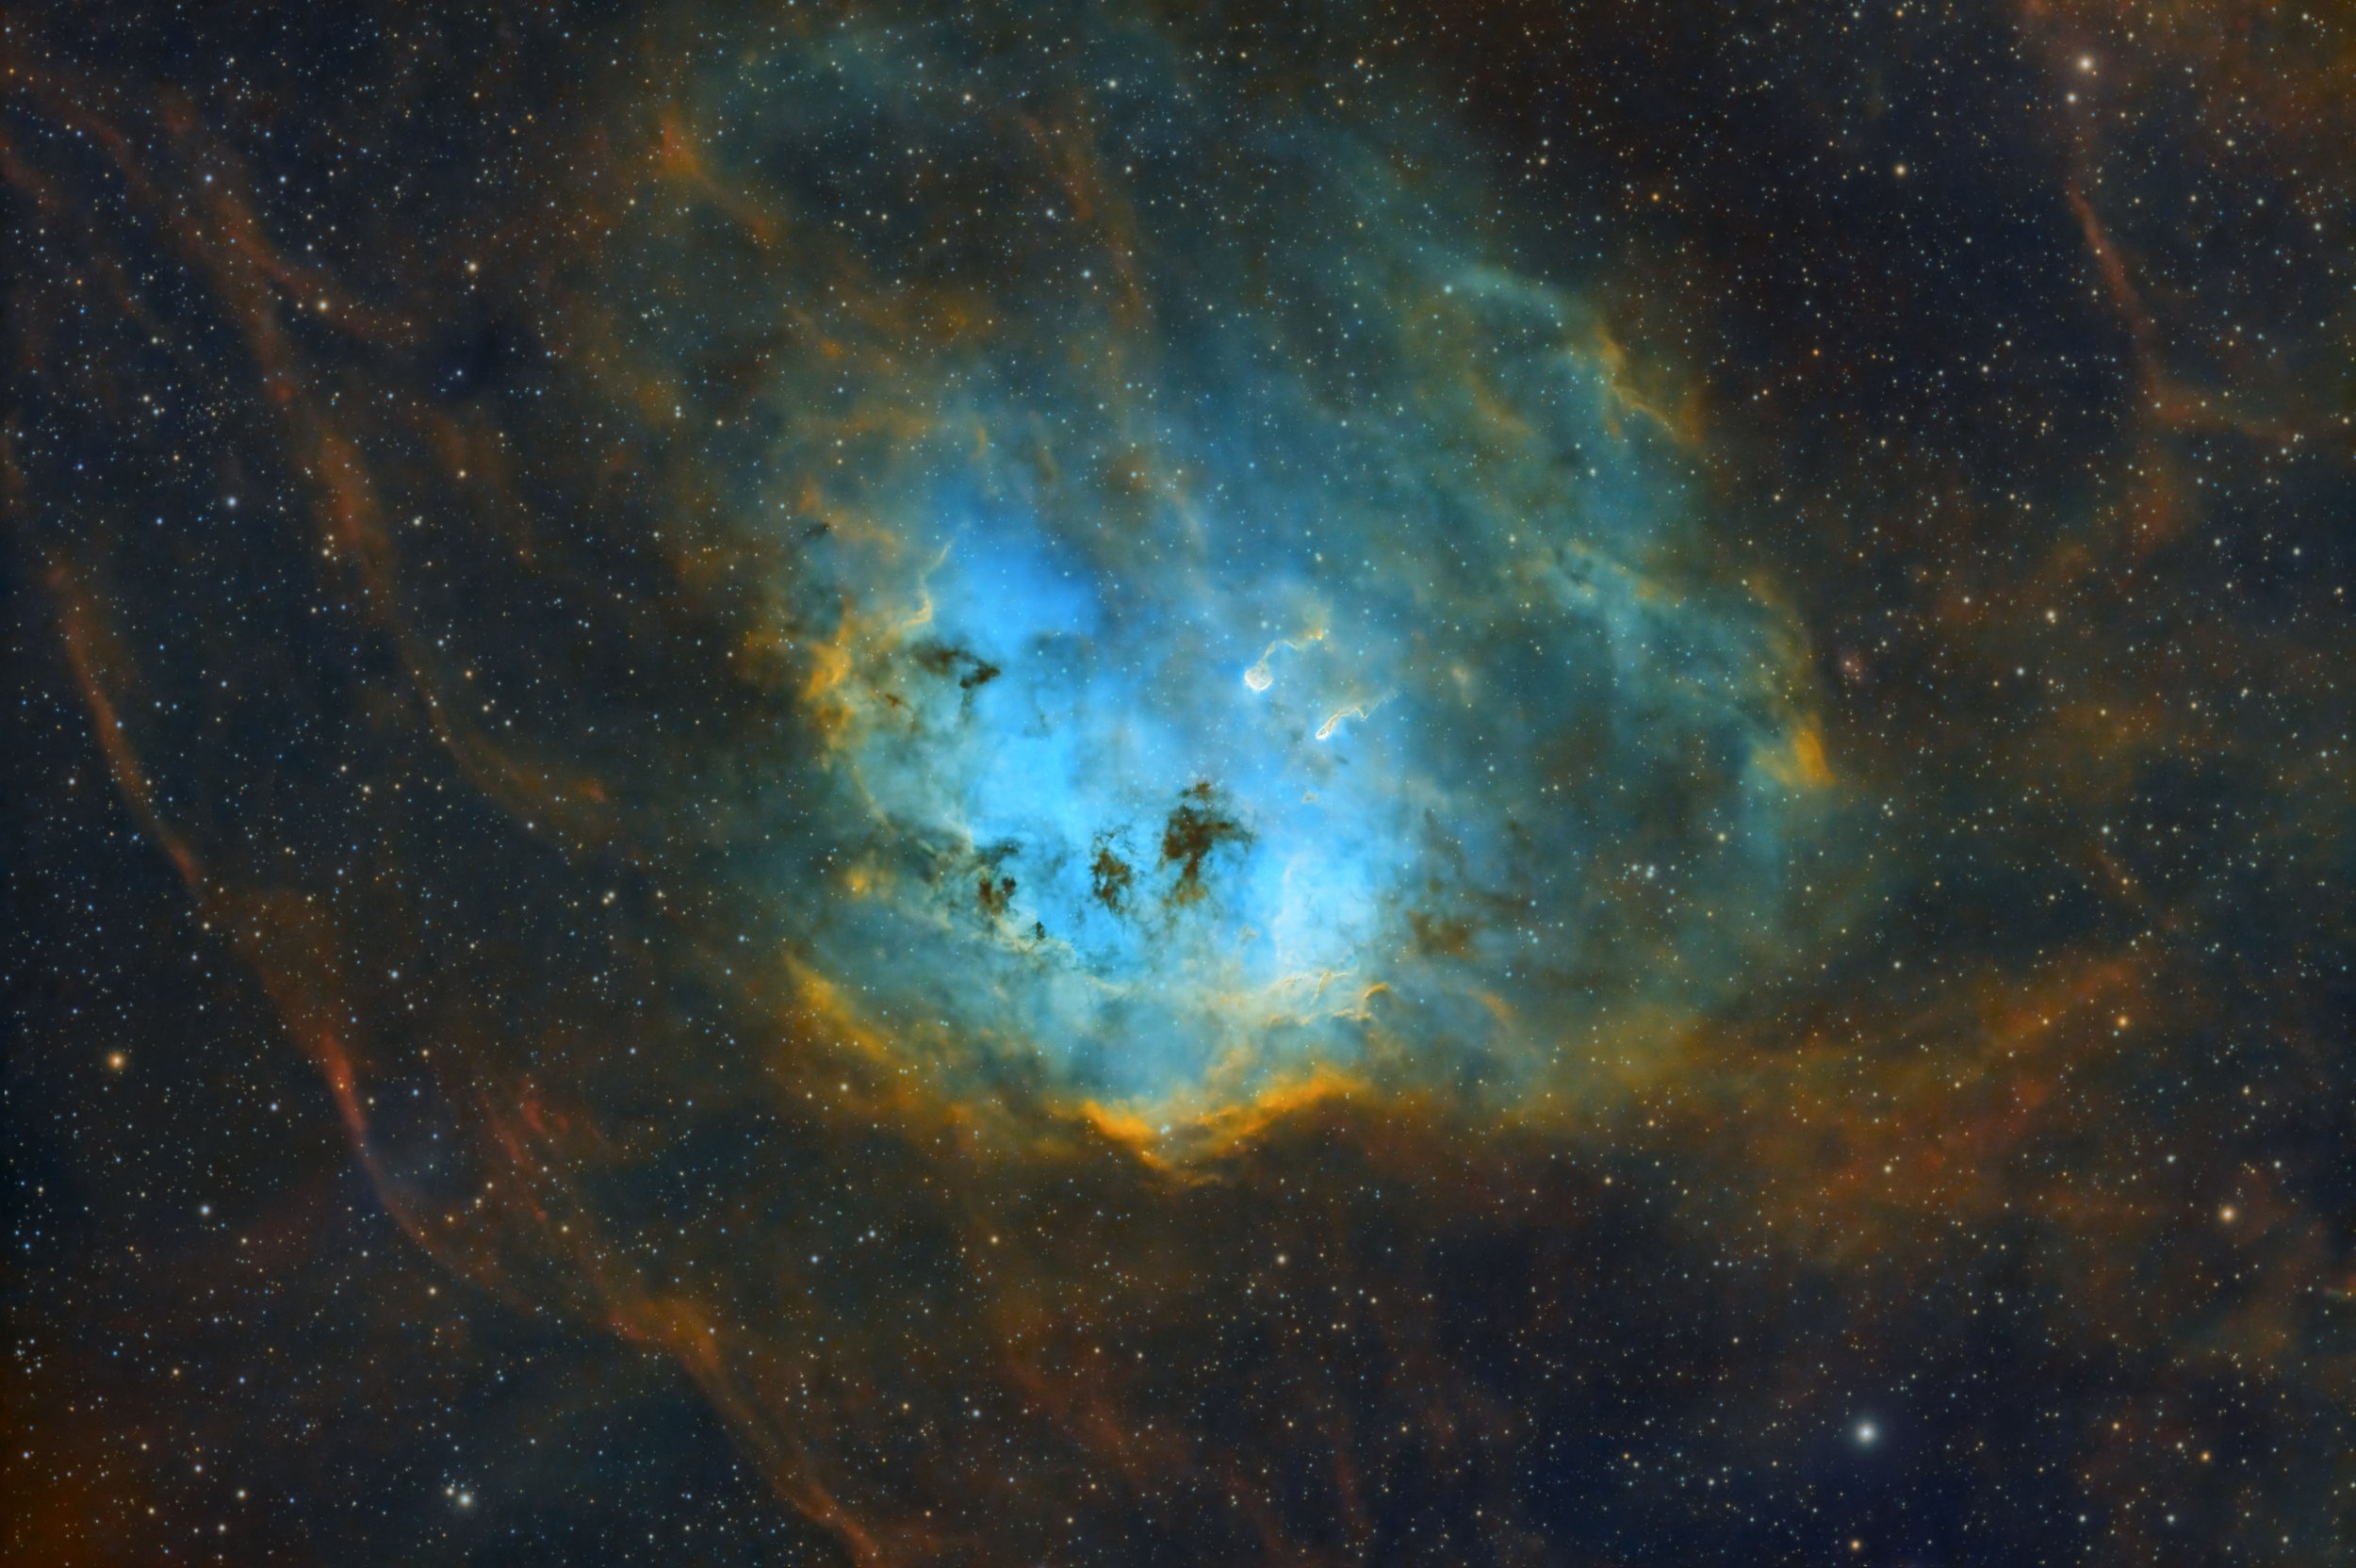
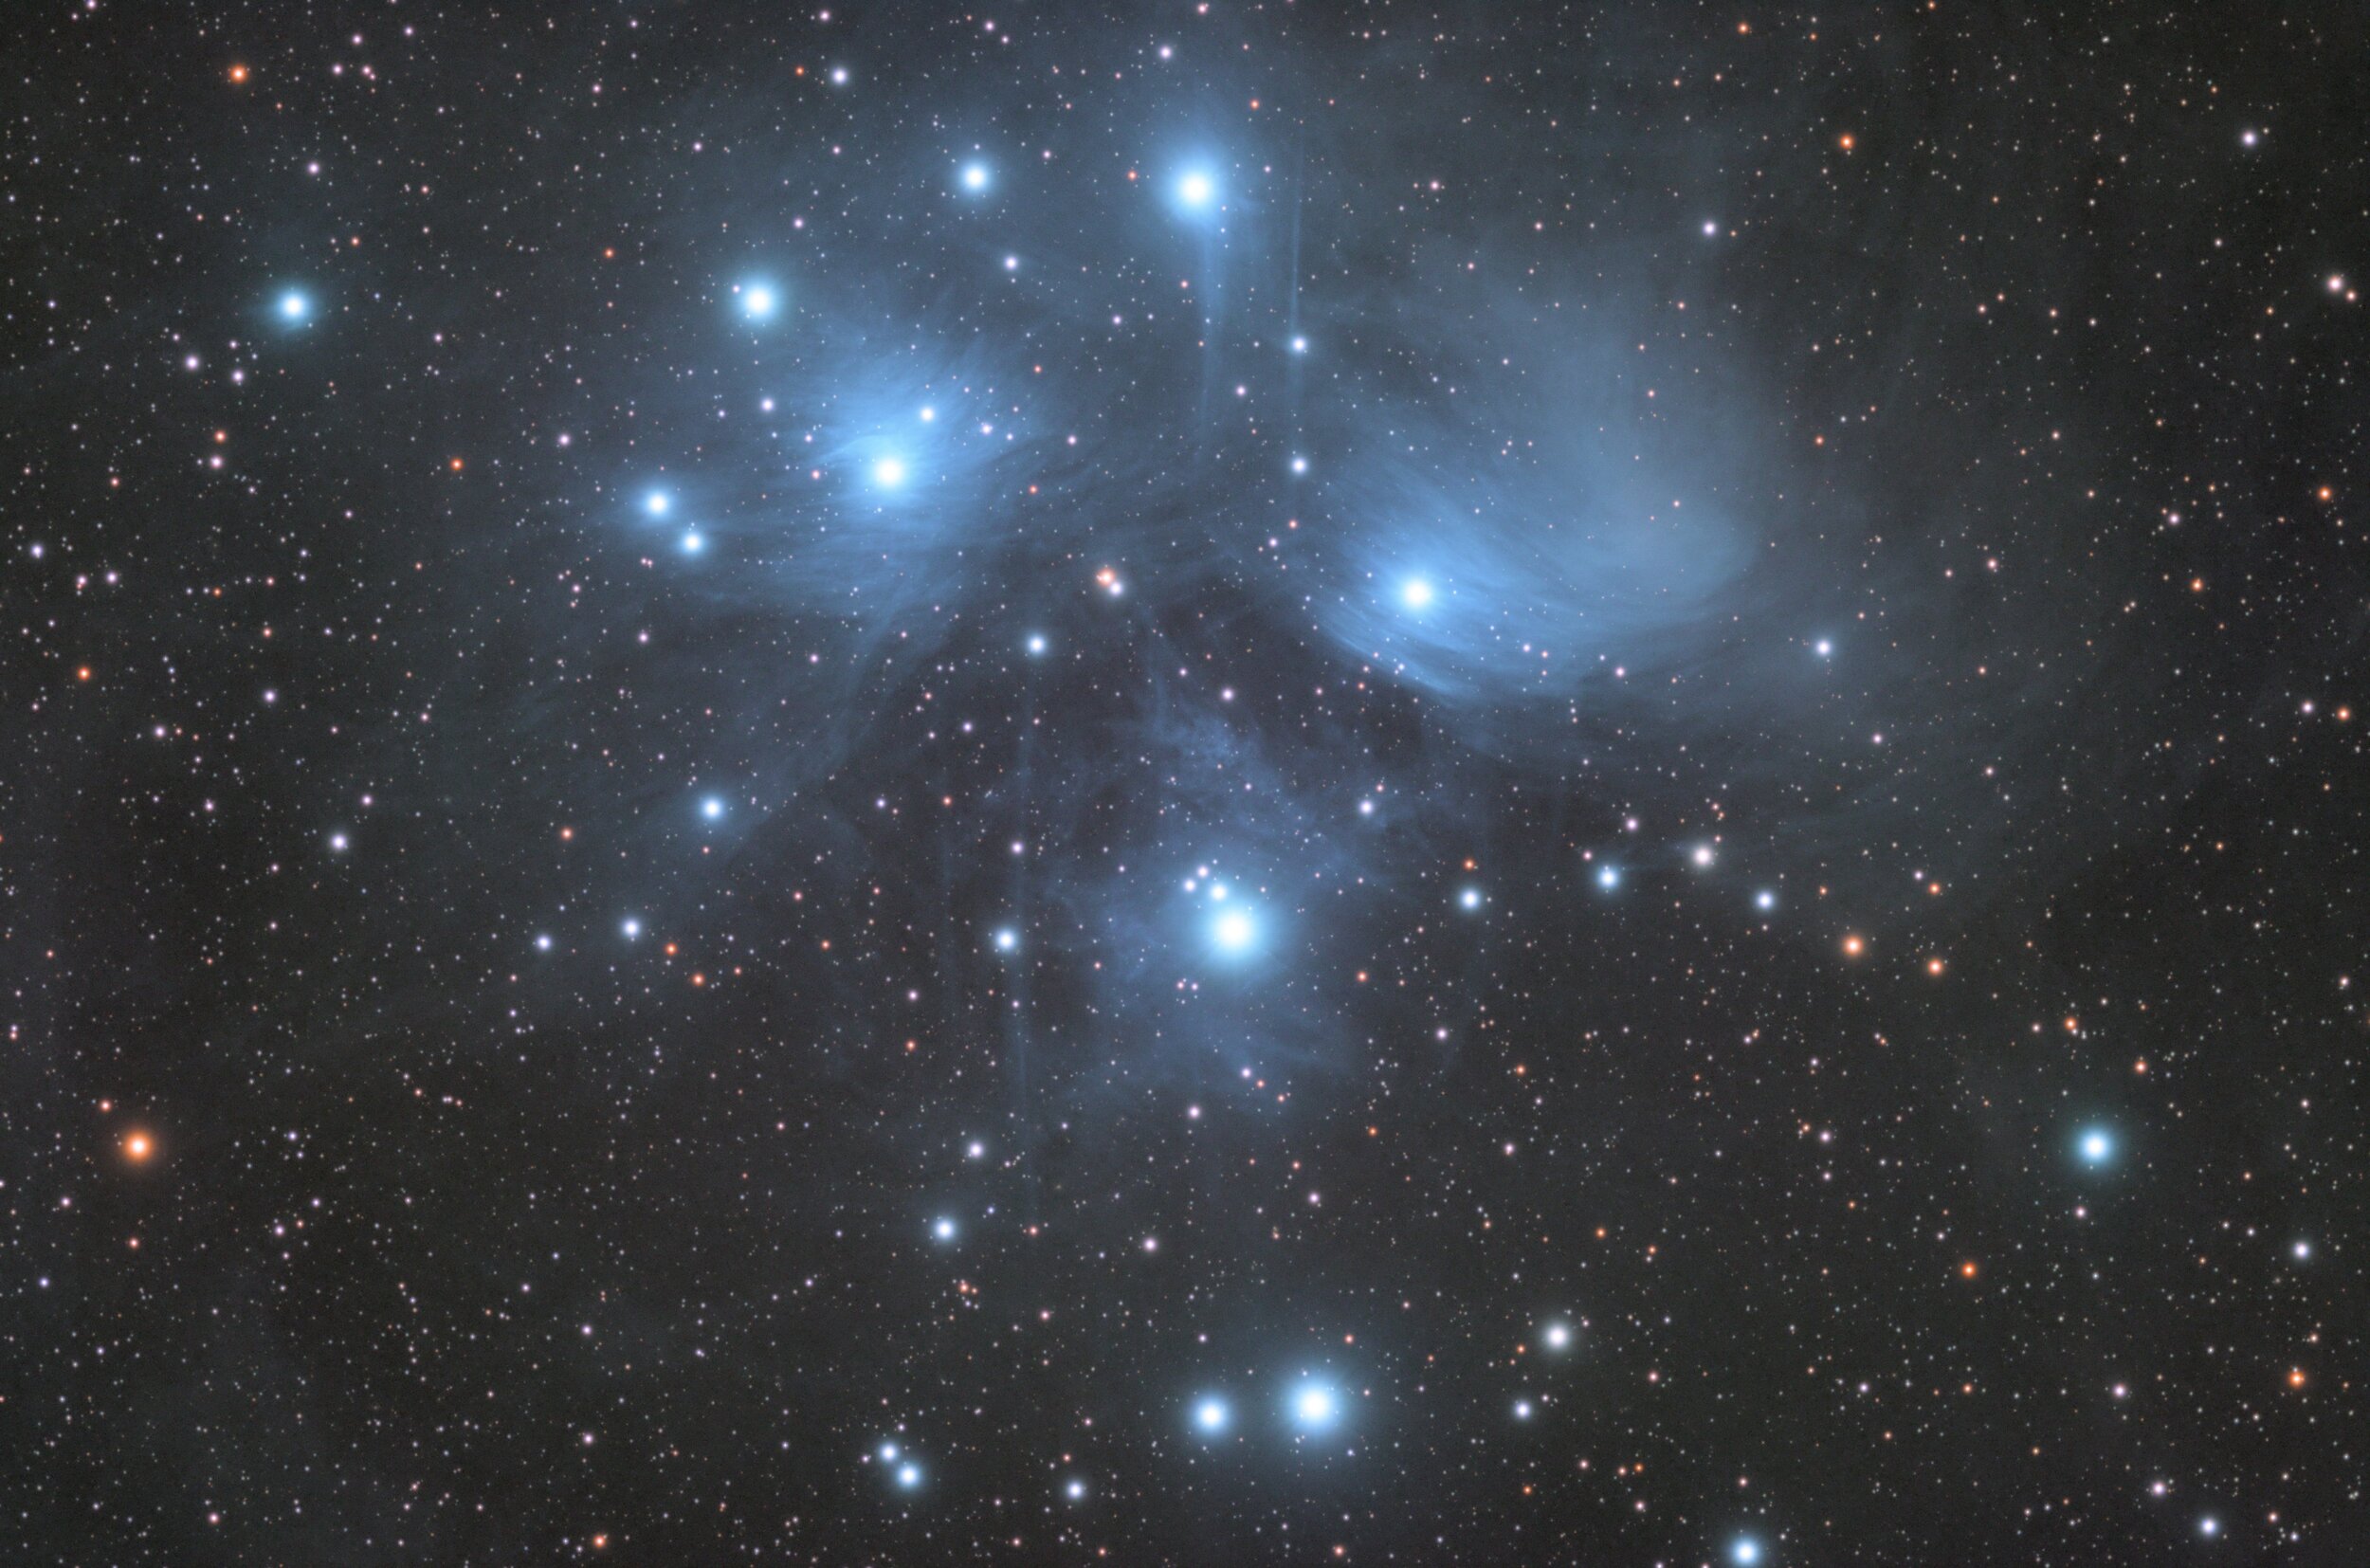
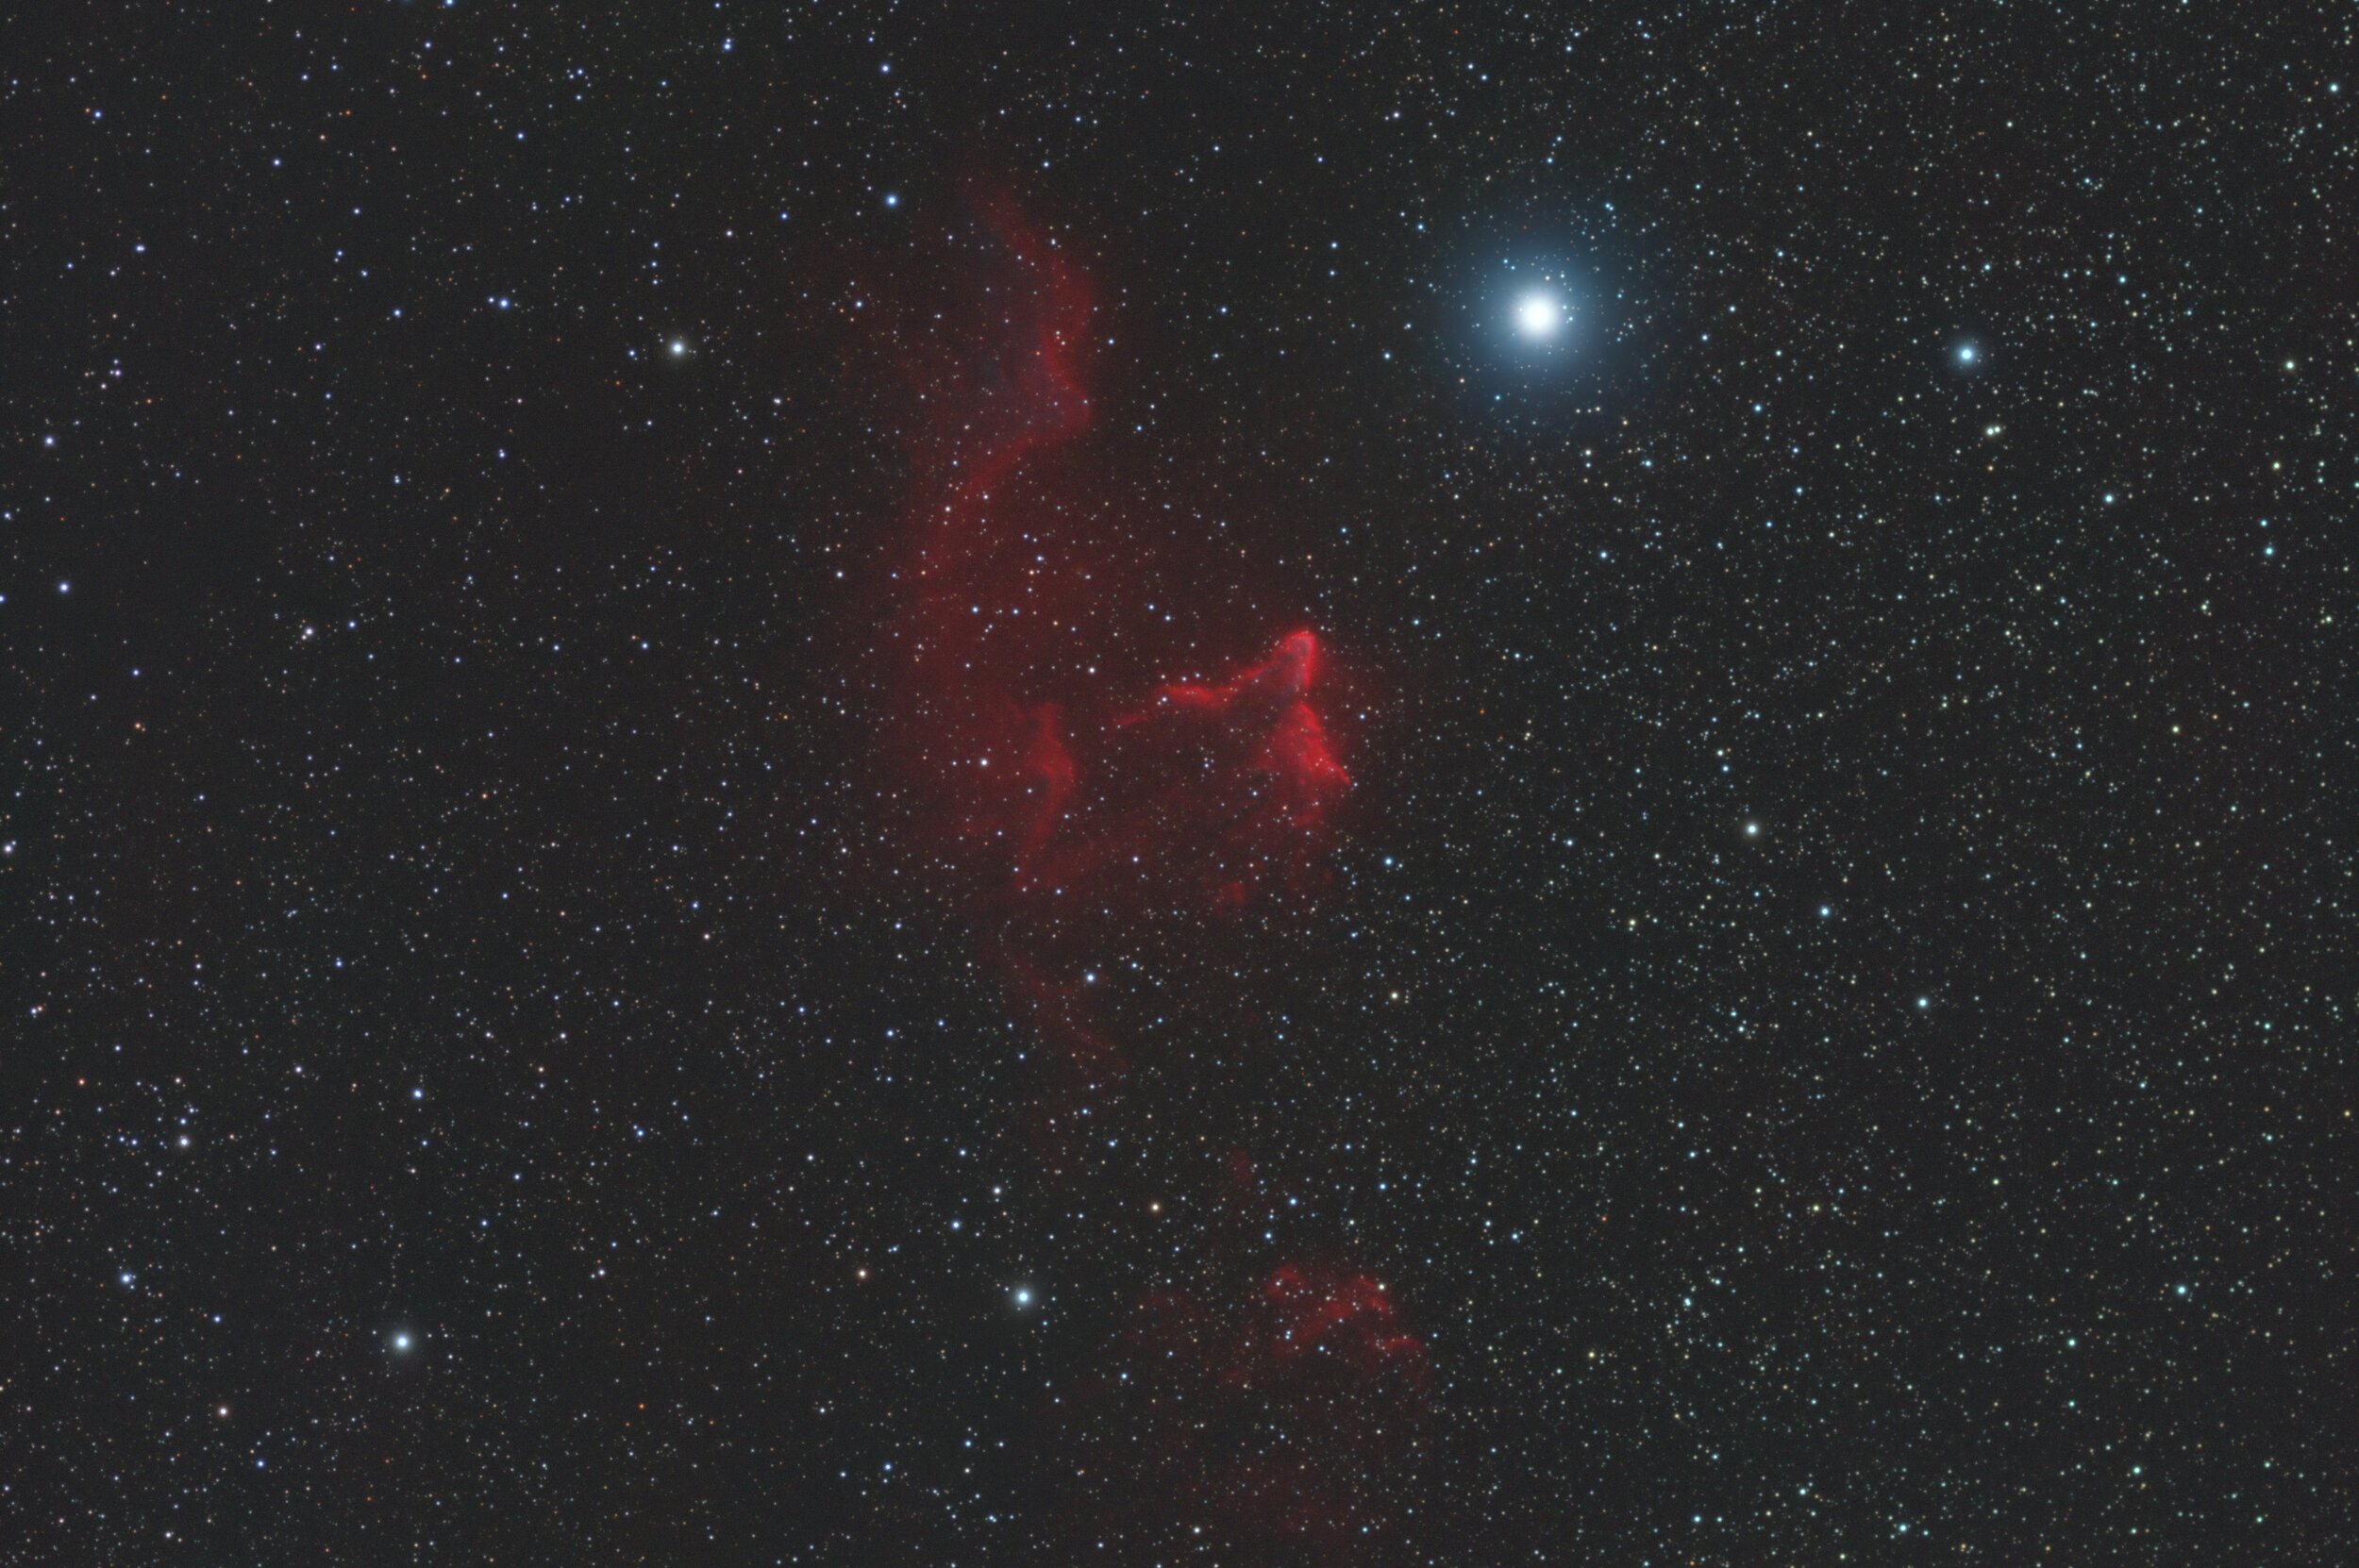
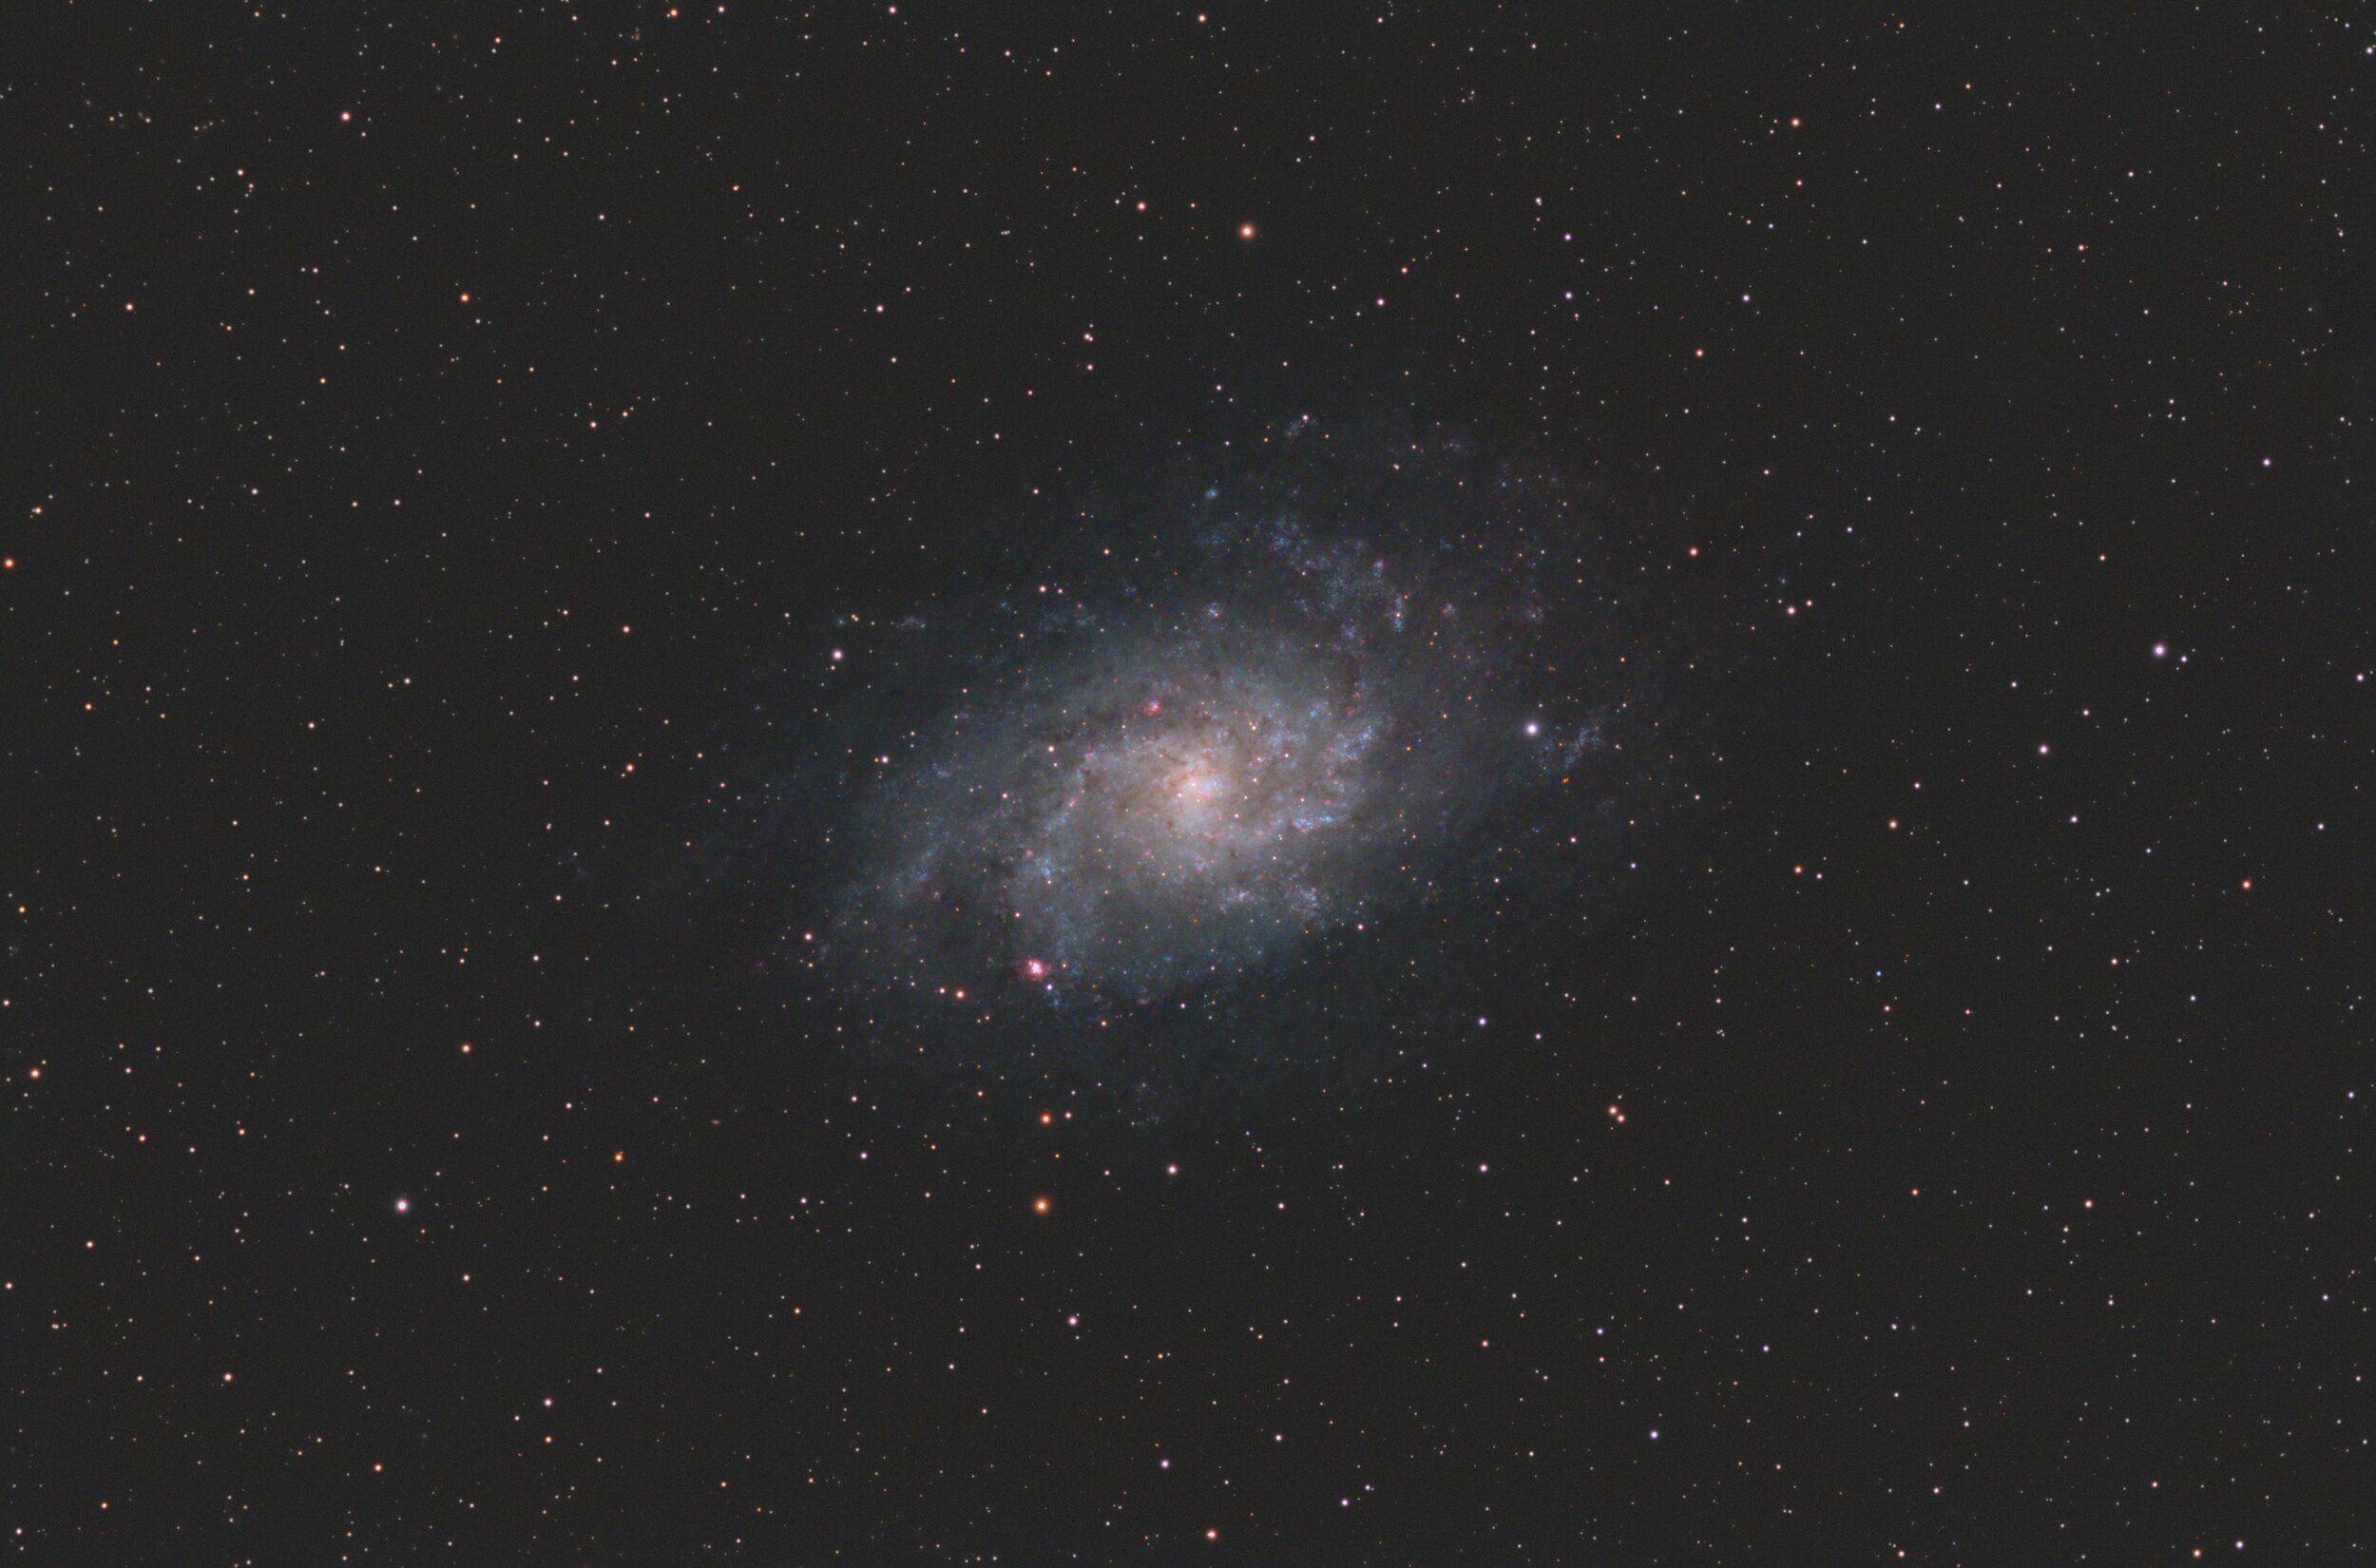
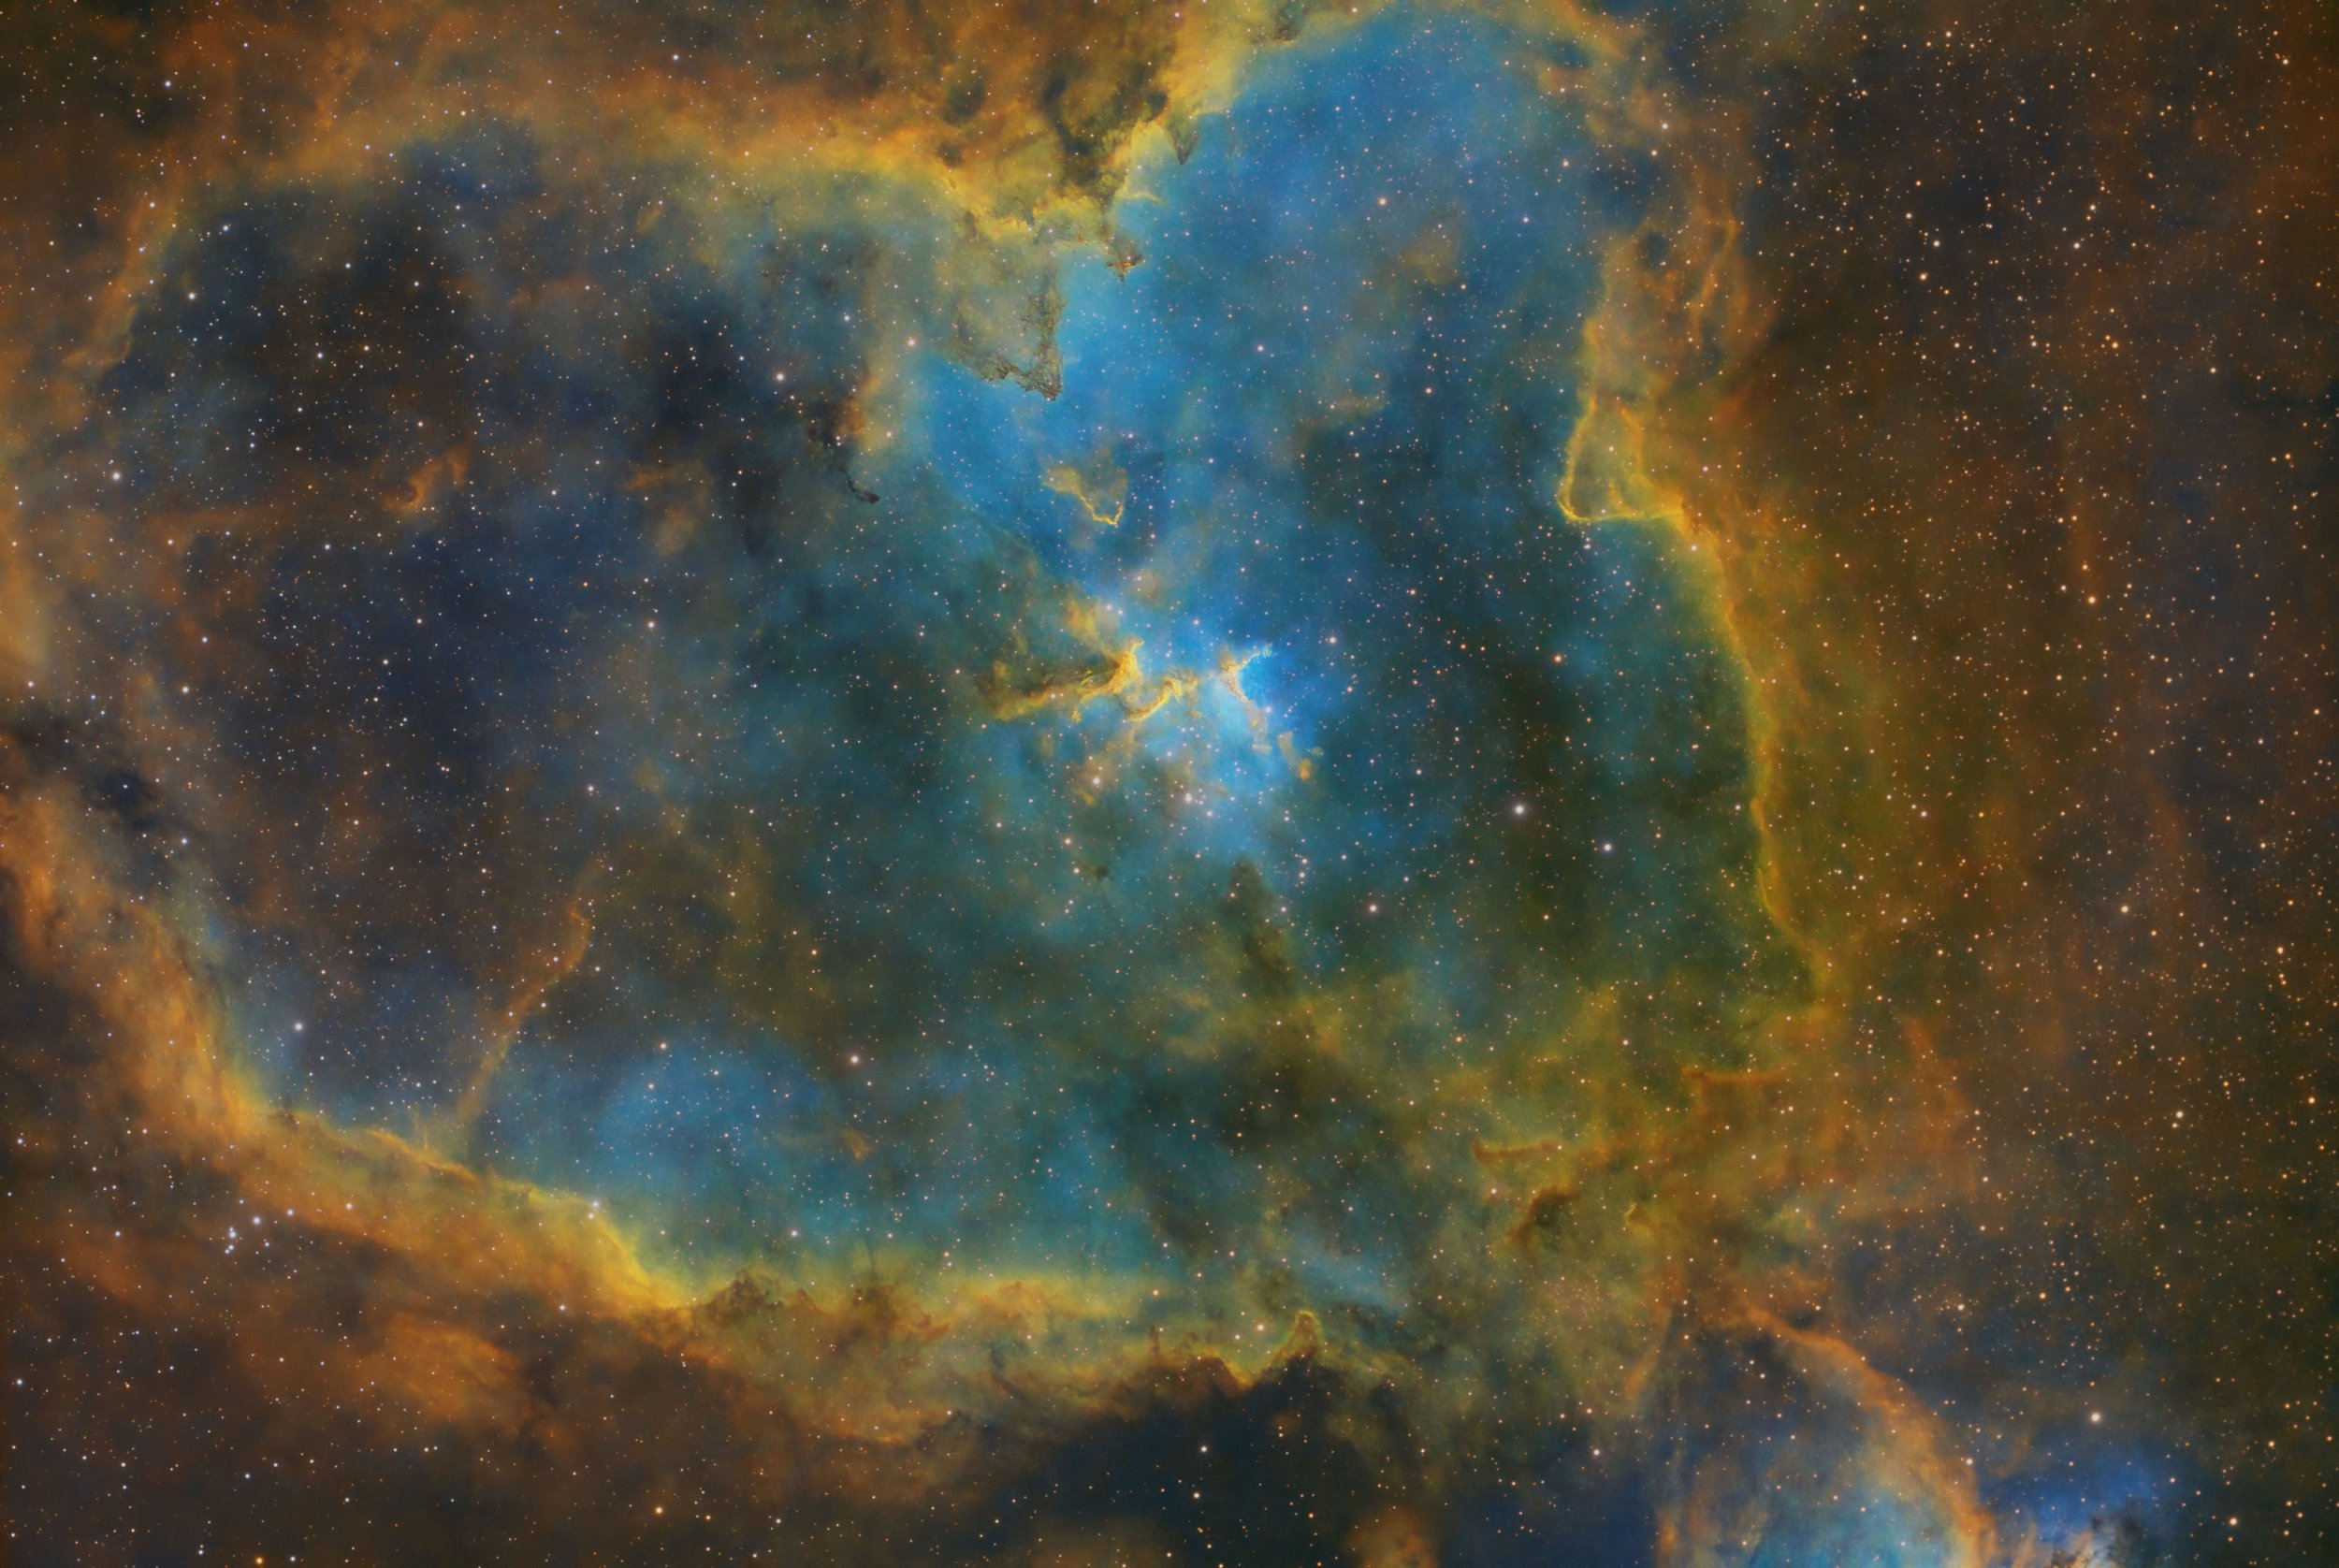
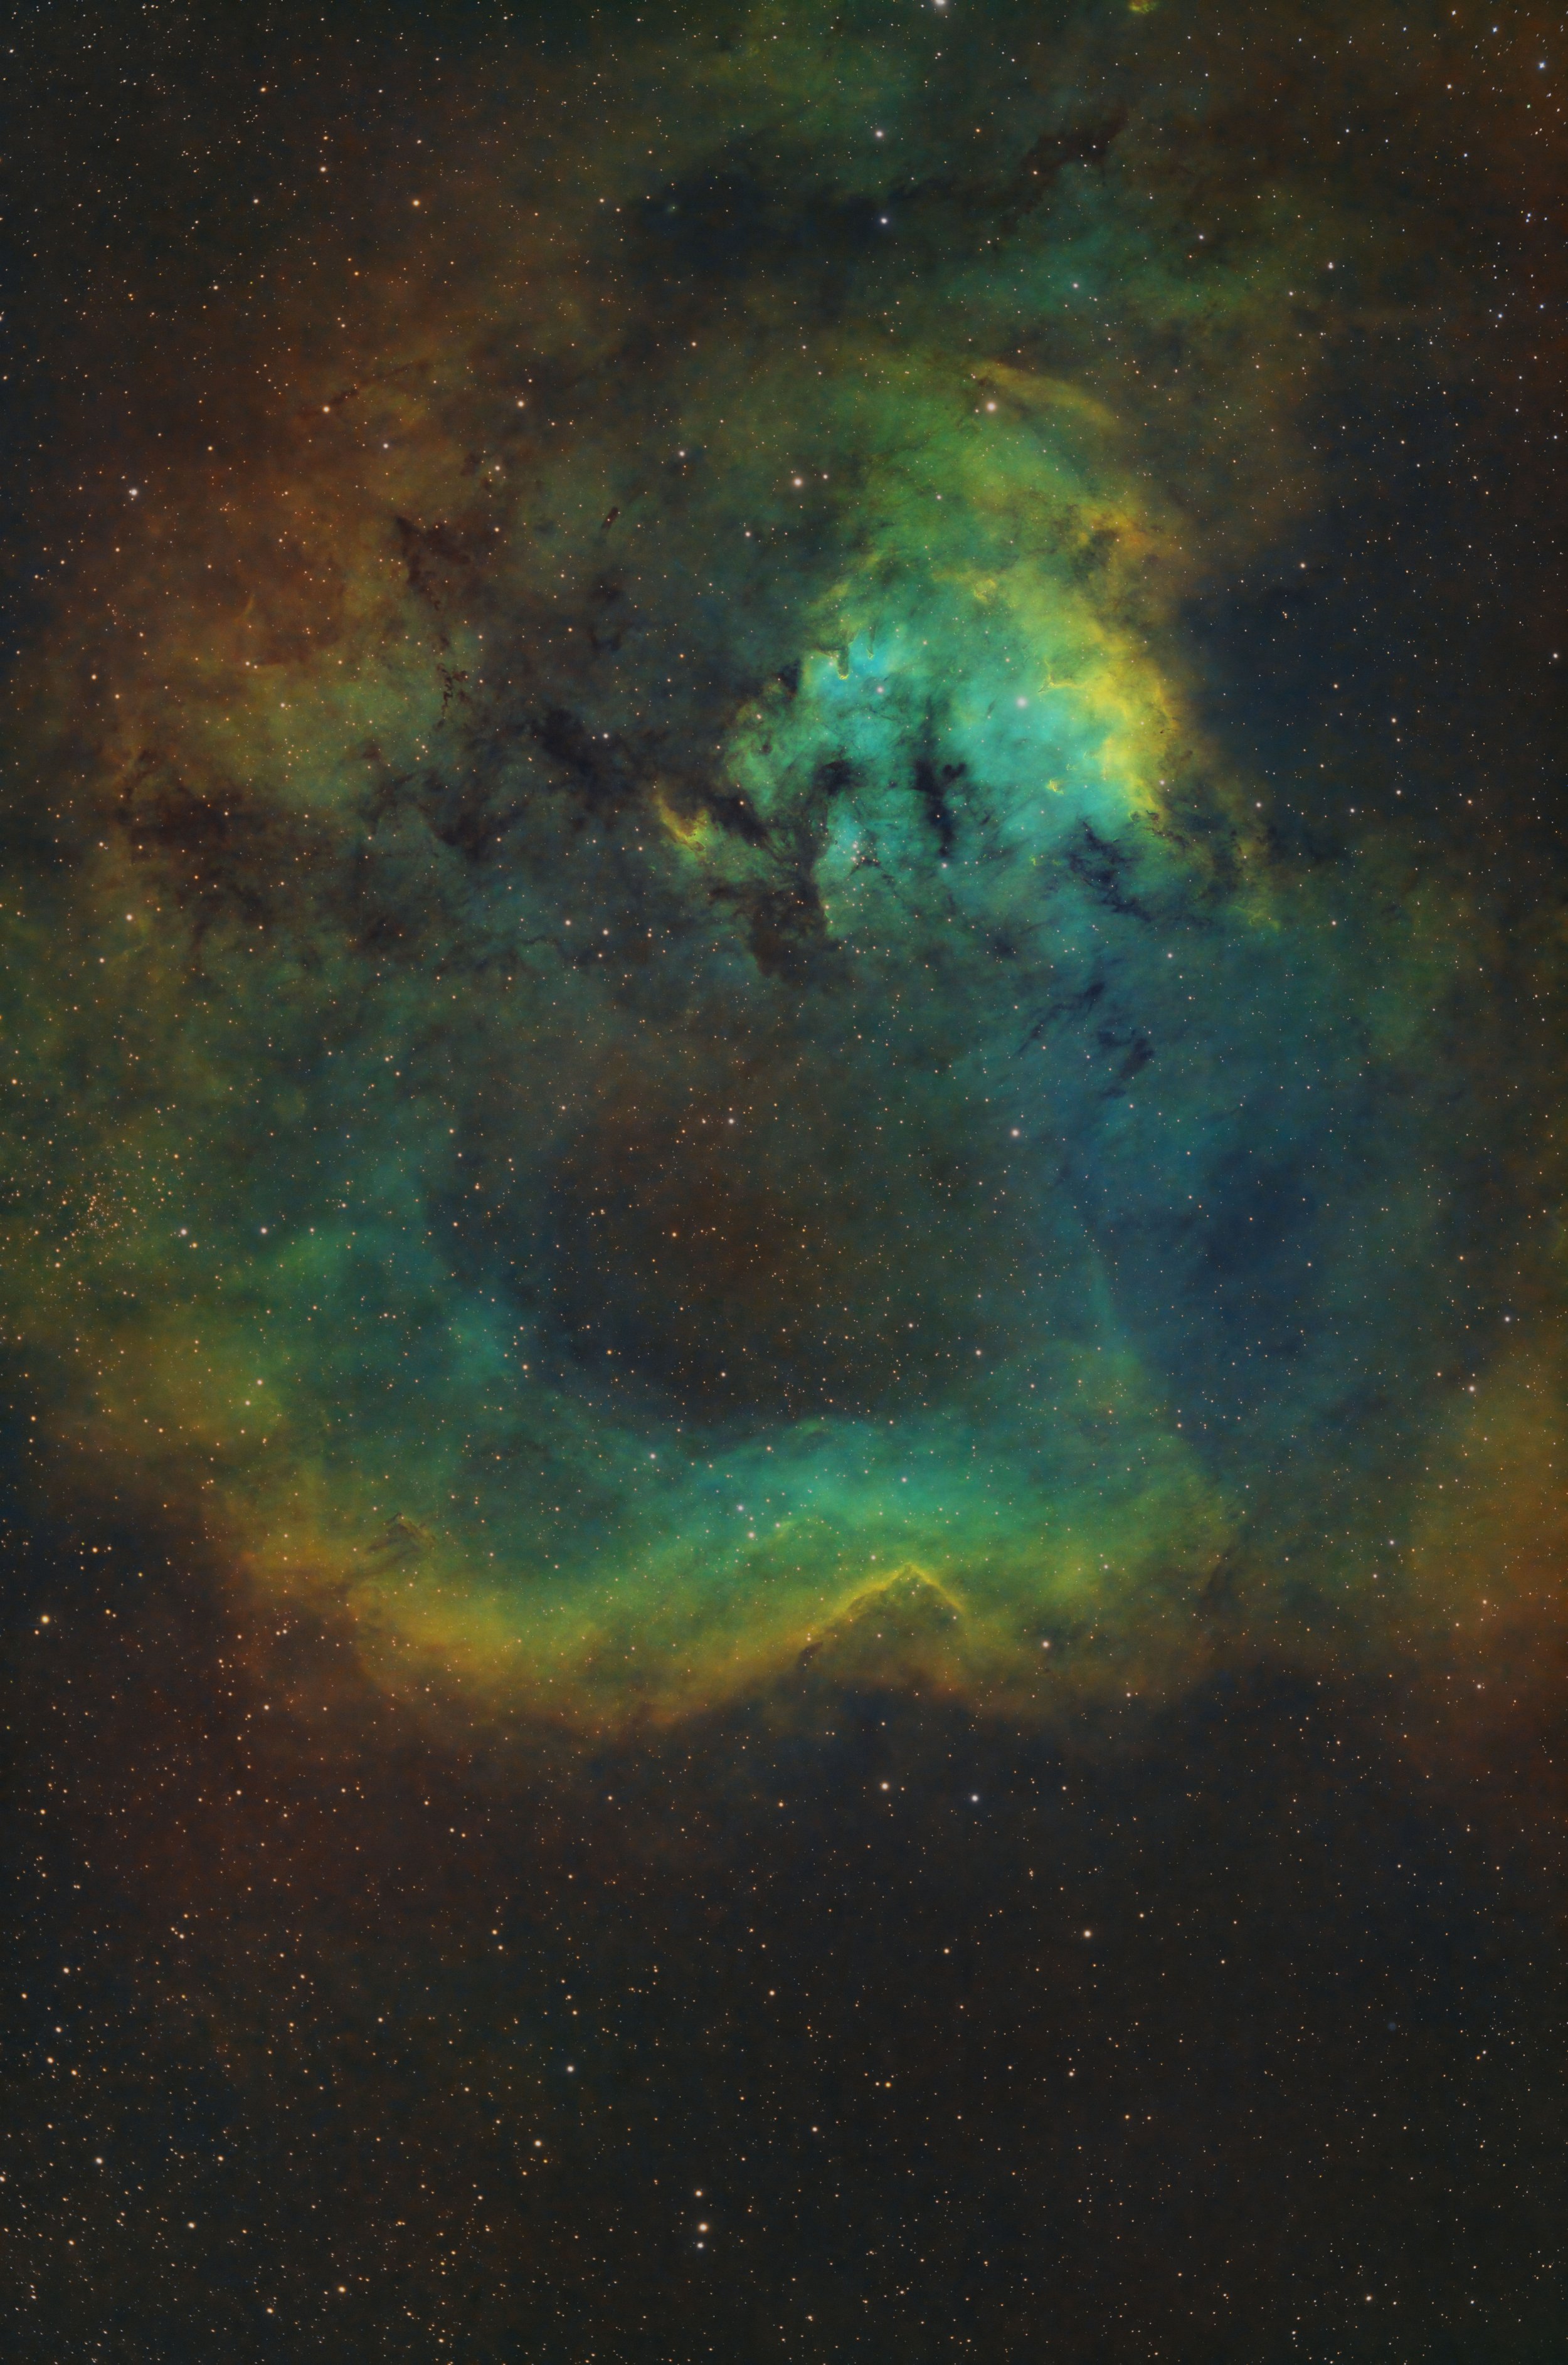
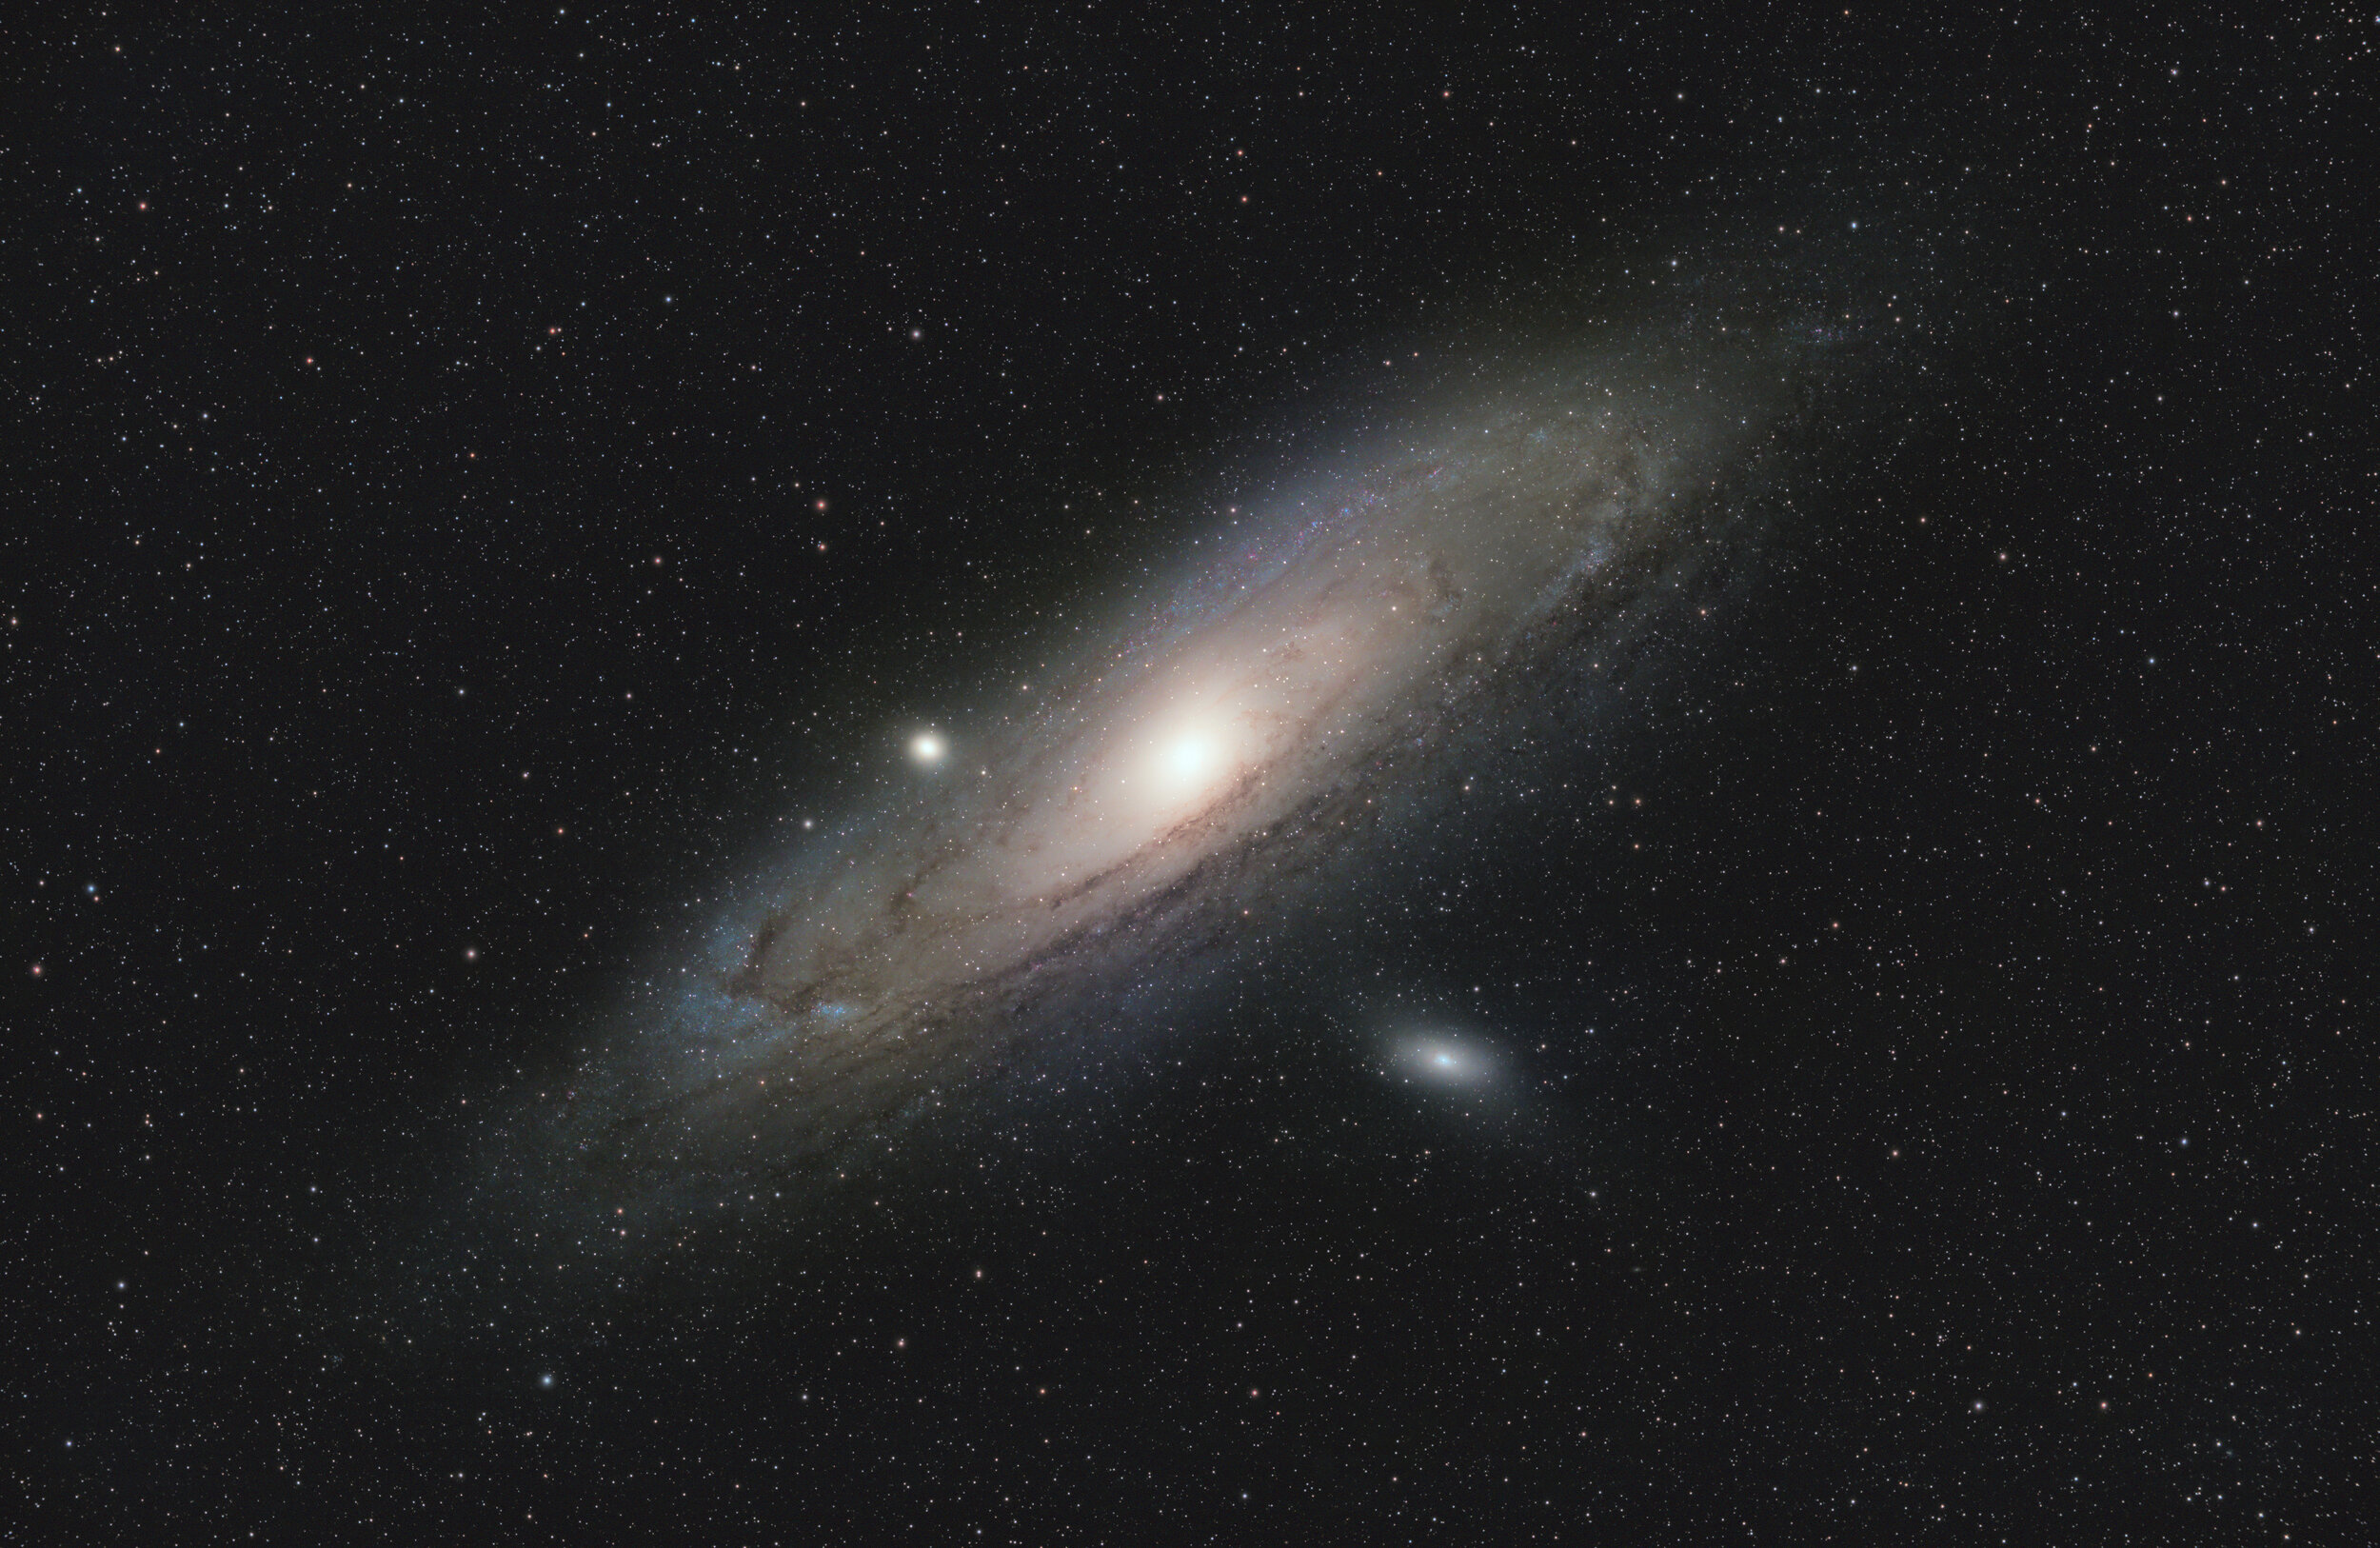
Update: Here’s Some recent images I’ve taken with this telescope