
When the effects of Topaz Denoise AI with sharpening are pushed too hard the result is strange detail added where it should not exist. The dark nebula on the right is a good example of unrealistic added detail by the AI.
The debate over AI (artificial intelligence) based tools in astrophotography
There’s a massive debate happening right now across astrophotography Internet forums over whether or not AI based tools should be used in processing your astro images. Topaz Denoise AI is chiefly at the front of the discussion because it’s extremely good at removing noise from the image, however some of the Denoise settings come with an added feature of AI sharpening. When this sharpening is applied, it can have strange adverse effects if overused, or used improperly. See the above image example.
The debate is whether or not software like this should be used at all, and if so, should it be a requirement to disclose you used it? Right now the results of this discussion are a mixed bag. Traditional image processors are very vocal at not using any software that adds new data that didn’t exist in the image you took, and this pertains to Denoise as well as sharpening. Others that are new to the hobby, argue that it’s fun to use and effective at getting them good results with little effort.
I think I fall somewhere in the middle currently along with others that believe the power is in the users hands to wield the software and tools at our disposal in such a way as to not ruin the integrity of the captured image, but to limit the tools use for what it was intended. A good image processor will know and understand how to use masks to control what’s happening to their images, and will apply the effects of the tool in a way that doesn’t lead to misinterpretation of the image data that was captured.
Another example of Topaz Denoise AI with sharpening applied too judiciously. Notice the enhanced image on the right showing extra dark filaments in the nebulosity. This is a second example of the filter being taken too far.
One thing is for certain though. The cat is already out of the bag as far as AI manipulations are concerned. Last year the PixInsight team incorporated Starnet++ into Pixinsight. This AI based tool can detect and remove stars from your image, so that you can process the object or nebulosity without having an affect on the stars. The AI itself then figures out how to fill in the spots left from the removed stars. The feature works fairly well, and has so far been widely accepted.
M13 with Topaz AI Sharpening on the right side. The smaller stars get sharpened to a point light.
This image uses PixInsights unsharp mask tool to enhance the image on the right hand side.
It’s here to stay whether we like it or not
I expect we’ll see a lot more AI based features added to software processing tools over the coming months to year. There’s currently an AI web based tool called Star Fixer that can correct your stars for tilt or coma. Photoshop already incorporates AI like features with it’s content aware fill functions. And pretty soon other software will follow. They might not even explicitly state the features are AI based. But we can be sure to see more of this stuff in the future.
My basic processing routine and some examples showing how to use Topaz AI
The process is pretty straight forward. After removing any light pollution and cropping out the edges from dithering, I typically do a masked stretch with the default values. You have to use a small preview window over an area that you know is pure black. This gets the stars to the perfect value (if you've not overexposed, this makes your brightest stars become white right at the center point.
I then duplicate the image (whether it's a single channel like HA, or the RGB image). I make a duplicate image here because the StarNet process is destructive, and I sometimes want to go back to the original image before StarNet. On the duplicate image I run StarNet to remove the stars and make sure it has the star mask button is checked. This will give you two images. One that is only stars, and one that is only background with nebulosity. I then right click on the gray tab of the image and select Identify, and give it a name. stars for the star image, and starless for the starless image. I save the starless image as a 16-bit TIF file and edit in Photoshop. I carefully clone over any spots left by Starnet, this is usually just the largest stars then save the file keeping it 16-bit tiff. I pull that into Topaz and work the image until I think it's removed enough noise/enhanced detail. Then I open it back in pixinsight.
Topaz Denoise AI is extremely effective at removing noise from an image.
From here I continue to use CurvesTransformation to stretch each channel or the color image.
When you're done with your starless image, and ready to put the stars back in, you're ready to load Pixelmath. In PixelMath you set it to single expression, and type in "stars + starless" without quote marks. Set it to create a new image, and set the appropriate color mode (grayscale for black and white, or RGB if you're making a color image).

The settings in Pixel Math within PixInsight.
Execute the job, and you have stars again in a new image. I've left out a ton of my personal steps I take to process images, but this is the gist of what you need to do.
I will often on an SHO image like my Wizard and Bubble nebula process each channel separately without stars, then combine them in pixelmath like you would traditionally. Then I'll process a separate image in HSO pallet since it closer resembles RGB (HA=R, SII=G, and OIII=B). It's not quite RGB, but very close, and with some color tweaks they look just like RGB stars without having to take any RGB data. Then I'll run StarNet on that image, and take those stars, and add them into my SHO image that I processed separately.
The final image of the Wizard Nebula using Topaz Denoise AI.
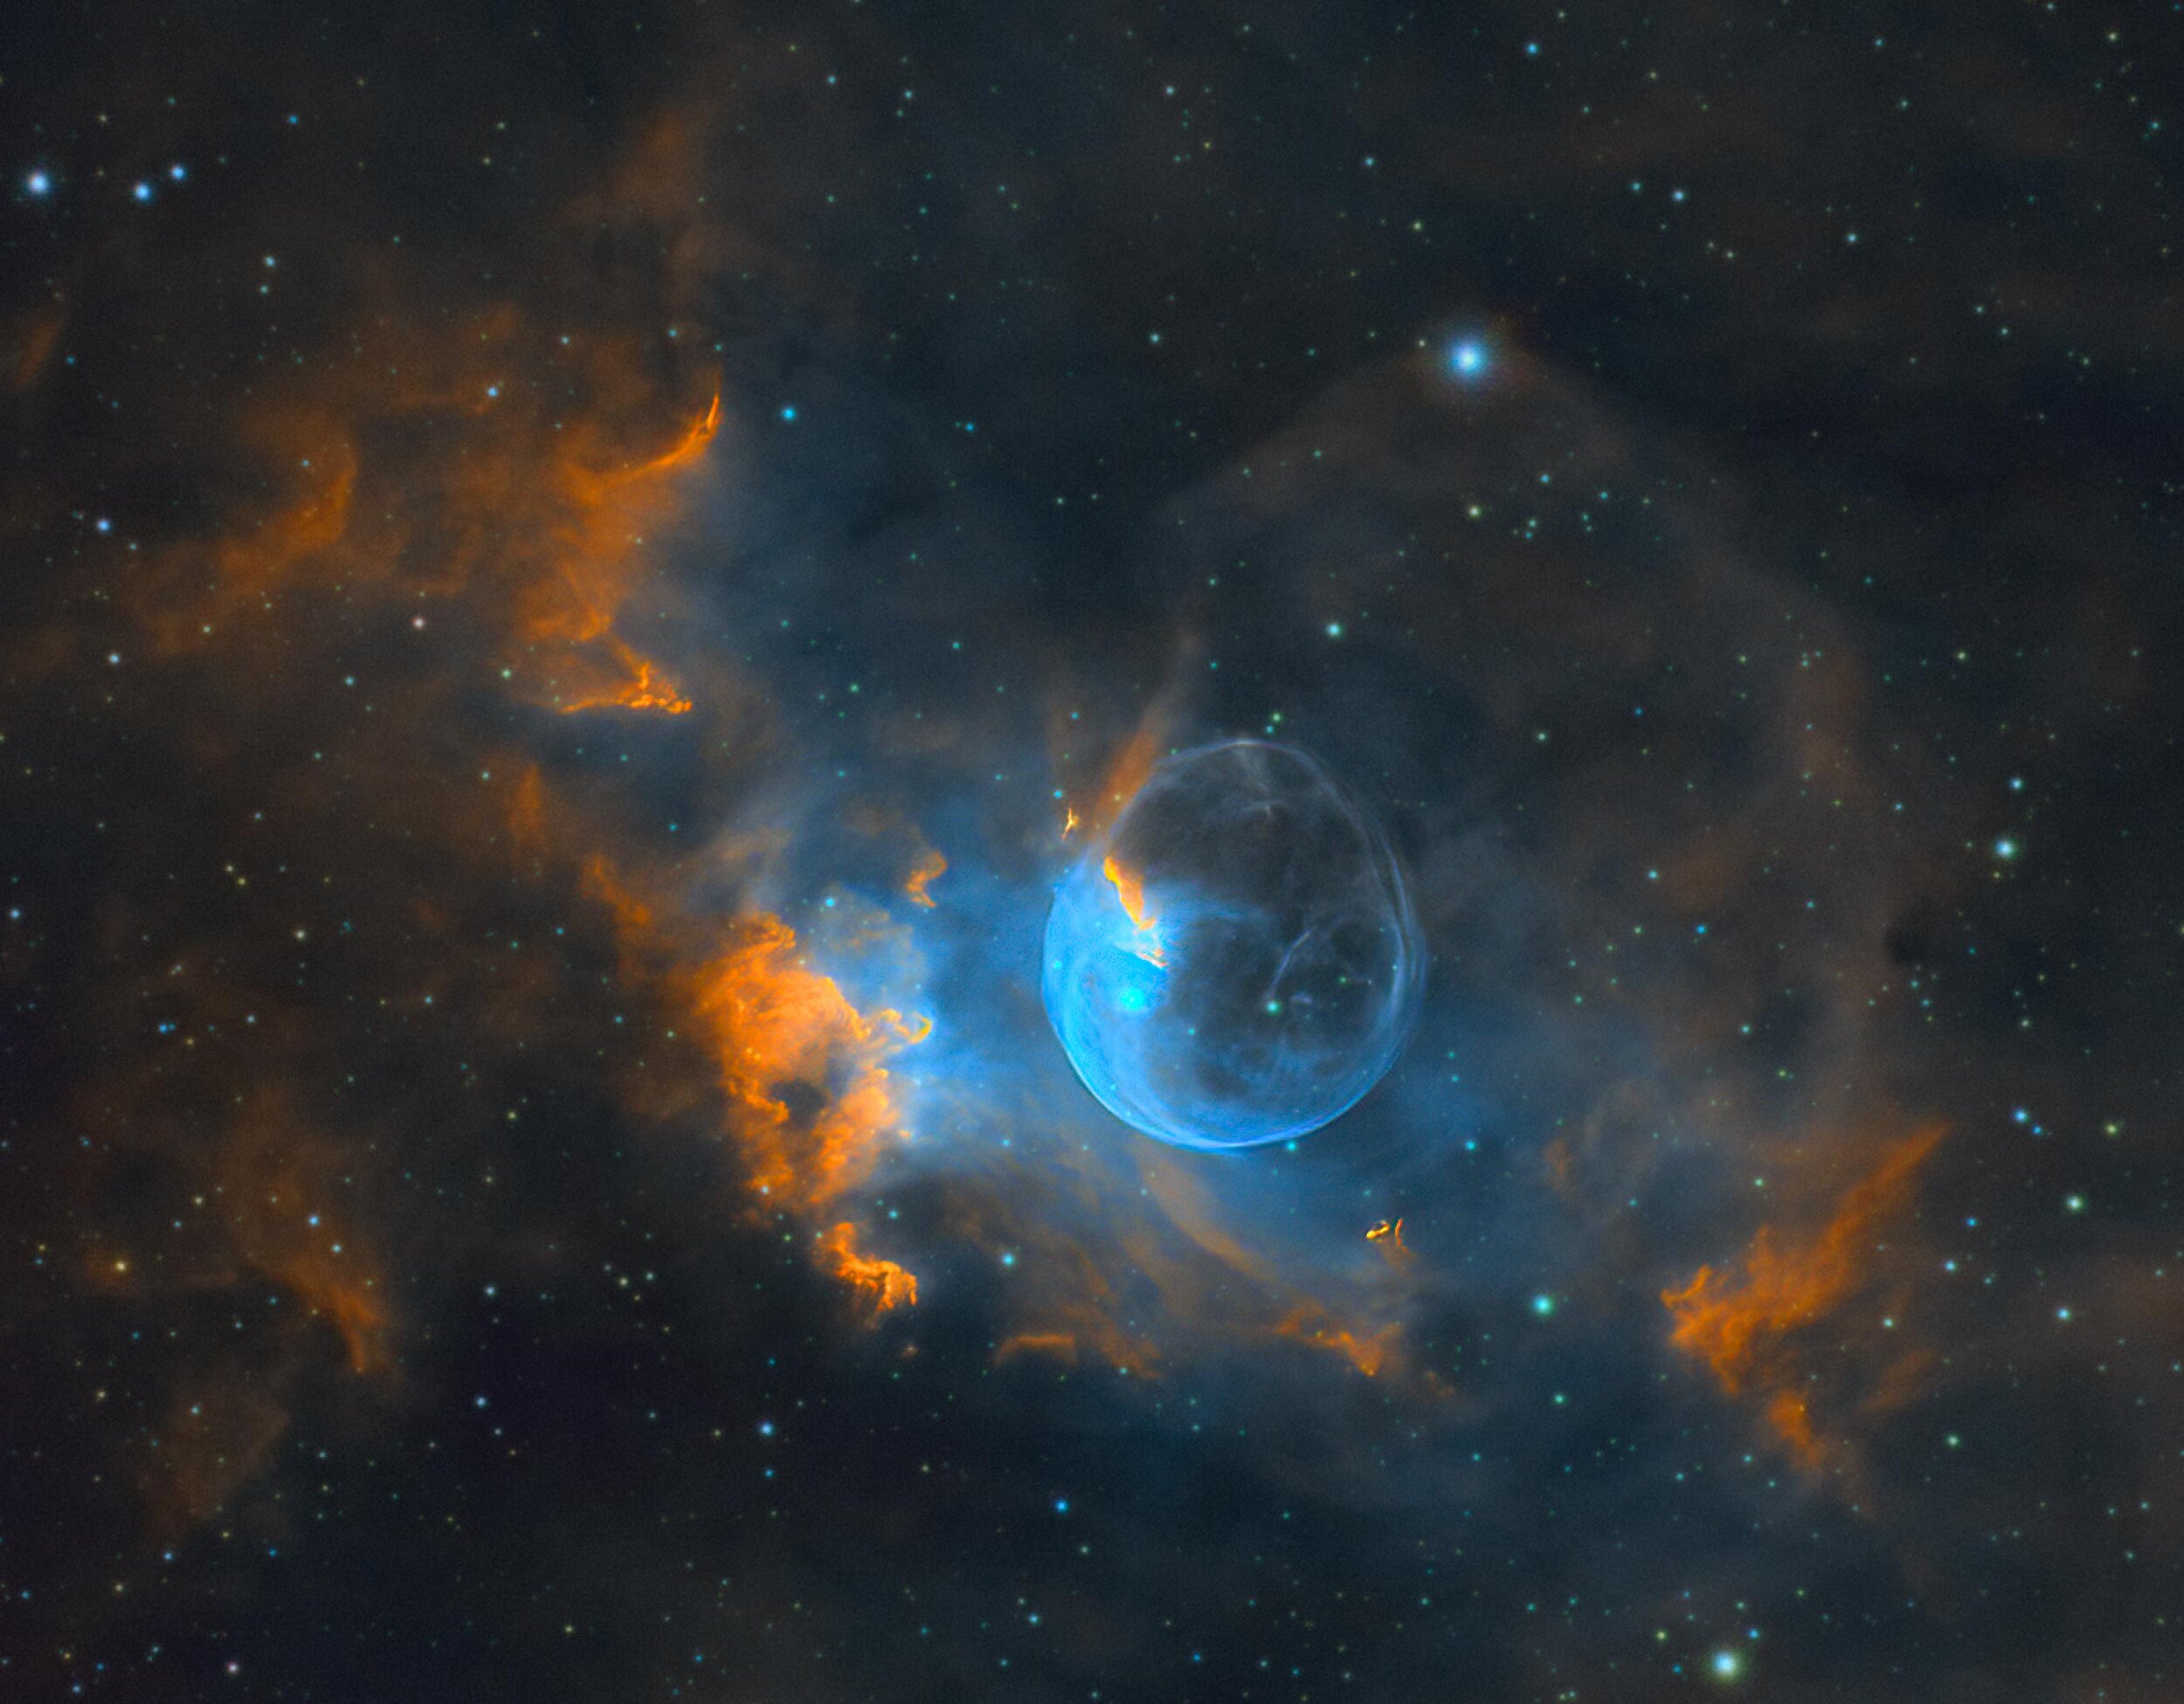
Another image processed with Topaz Denoise AI: The Bubble Nebula.
One final processed image of the Heart Nebula core.
Montes Apenninus with Topaz AI Denoise and Sharpening. These results are impressive.