

I’ve had only two opportunities to see and get images of comet C/2020 F3 Neowise. The first time out I wasn’t sure I’d be able to see it at all, and I only used my DSLR and a 250mm lens. I shot wide first to try and find it. Once I saw where it was I was able to snap a few images of it untracked on a tripod. It resulted in the below image.

Shot on a tripod with a Canon T3i and 250mm kit lens.
This gave me some satisfaction that I could find it, and image it while it was still in the sky. So I made every attempt the very next night to try and get some real images with the telescope. With that in mind, and knowing we’re about to get a week long set of heavy rain storms, I set out to try and image through the light pollution and clouds to get something usable.
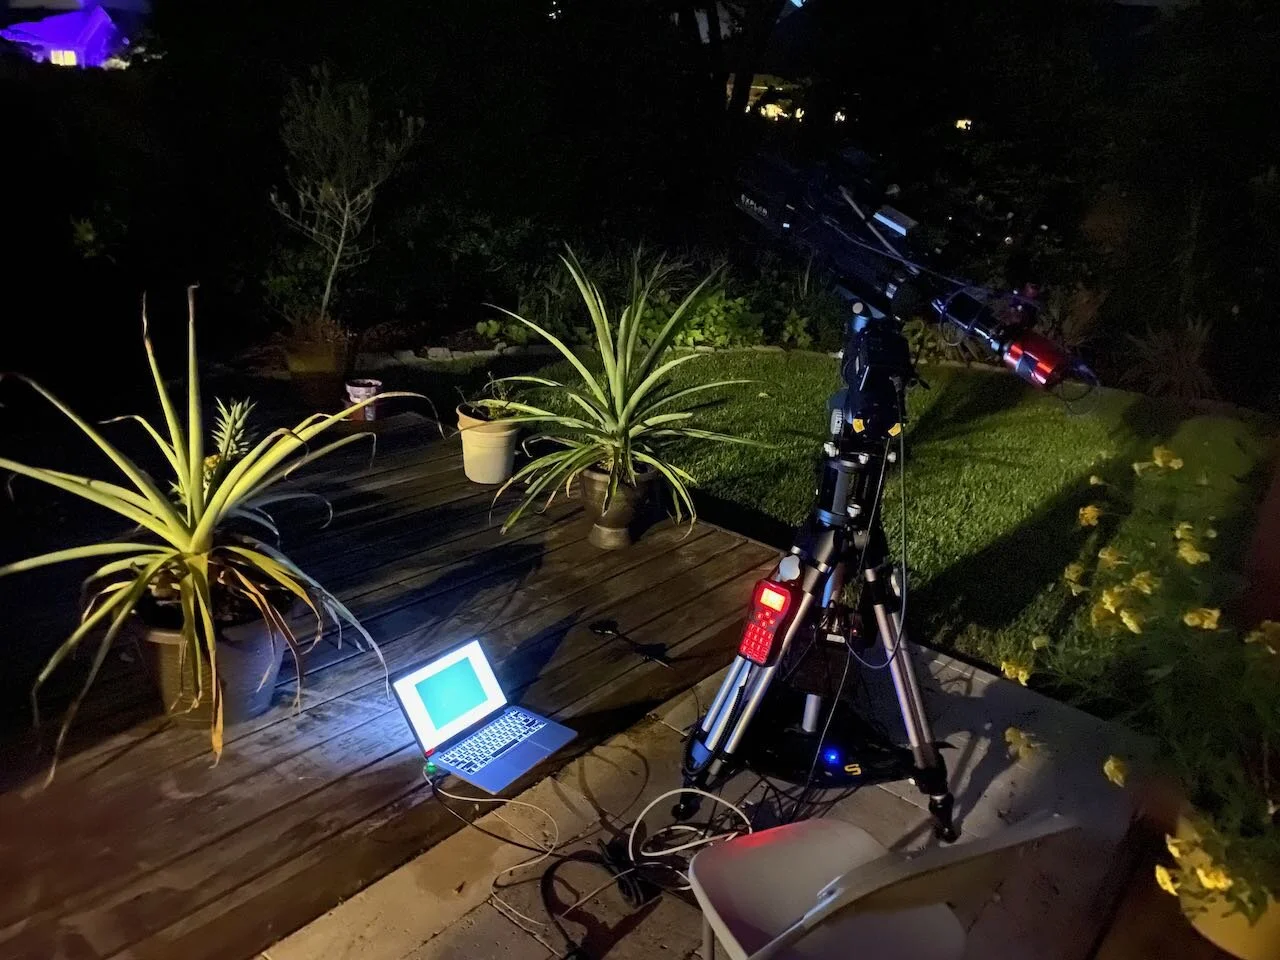
My imaging rig for the night.
Here’s the equipment and software that I used for the shots:
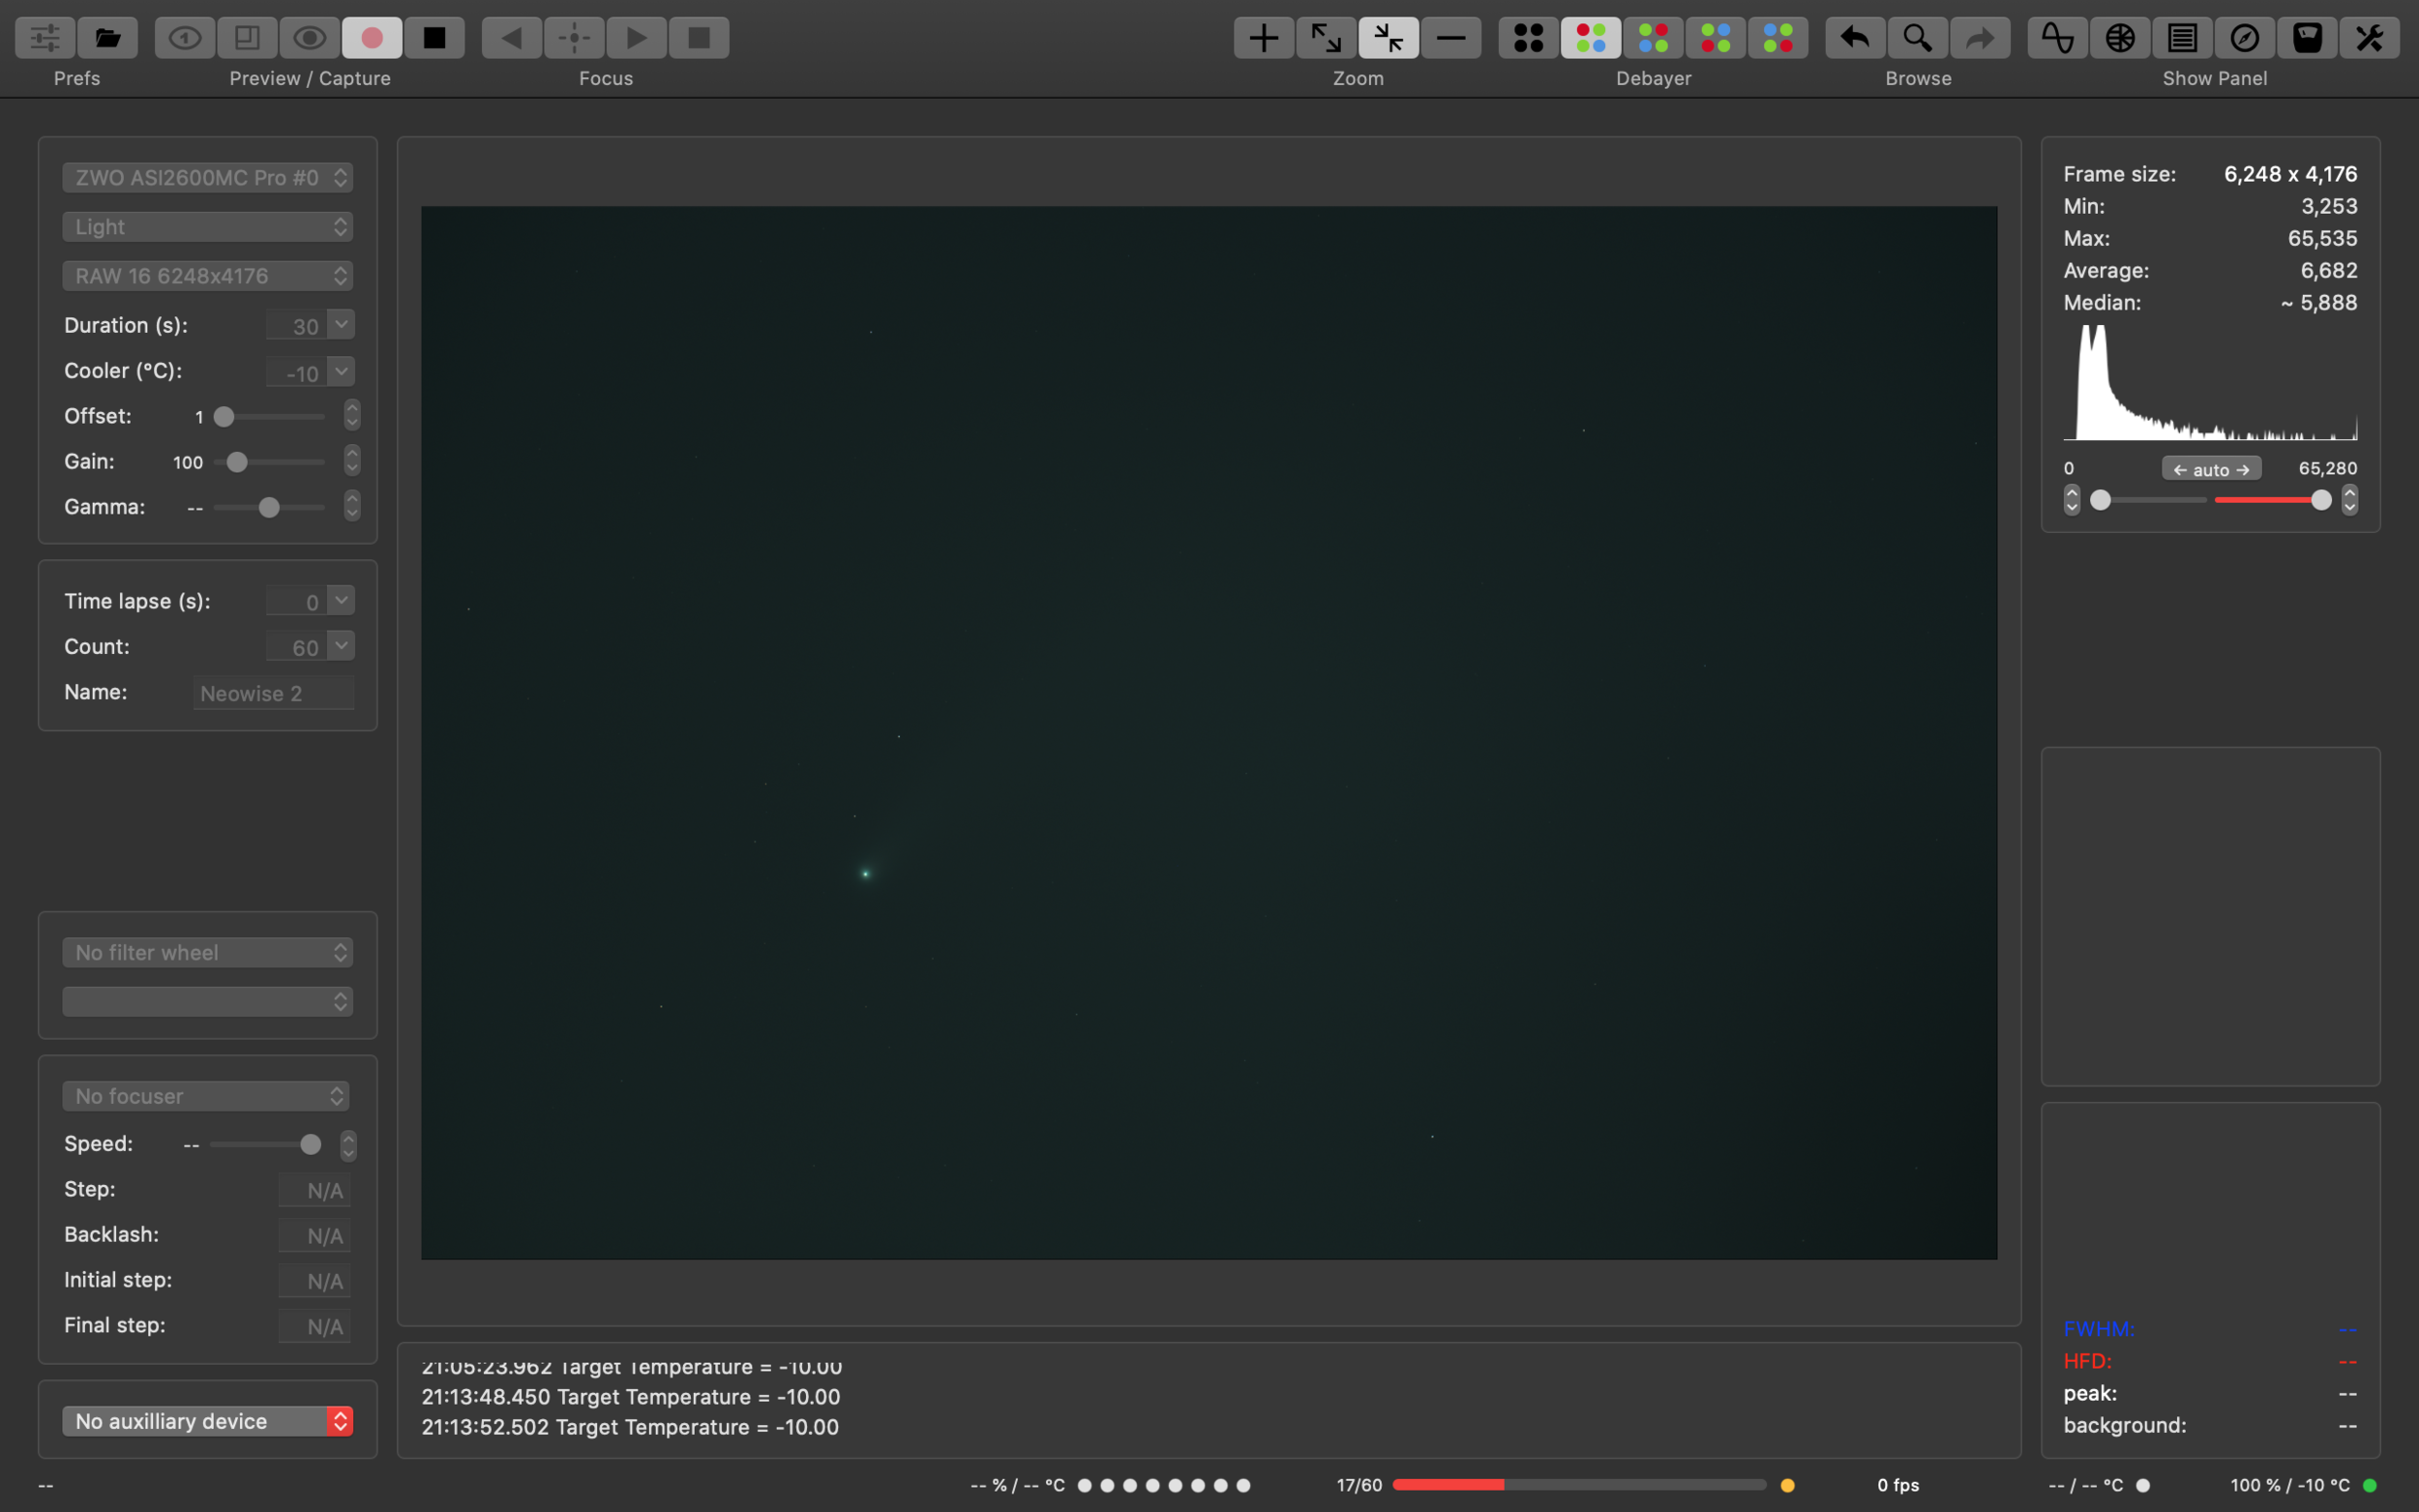
AstroImager with the comet in view, and taking a set of 60 30s frames.
I set out to not overexpose the images, but to try and get as much data as I dared given the low altitude, light pollution, and clouds. I combined all the frames into a video so you could see what I was shooting through.
This was my first time processing a comet in PixInsight. And the comet align function worked great. But I still ended up having to use Astro Pixel Processor, and Photoshop to fully process the image to remove as much of the clouds and other issues that appeared in my final frames. Not a bad attempt considering all the issues I faced. You can easily see the core of the comet, but with all the light pollution and clouds, the tail didn’t come out as great as I had hoped.
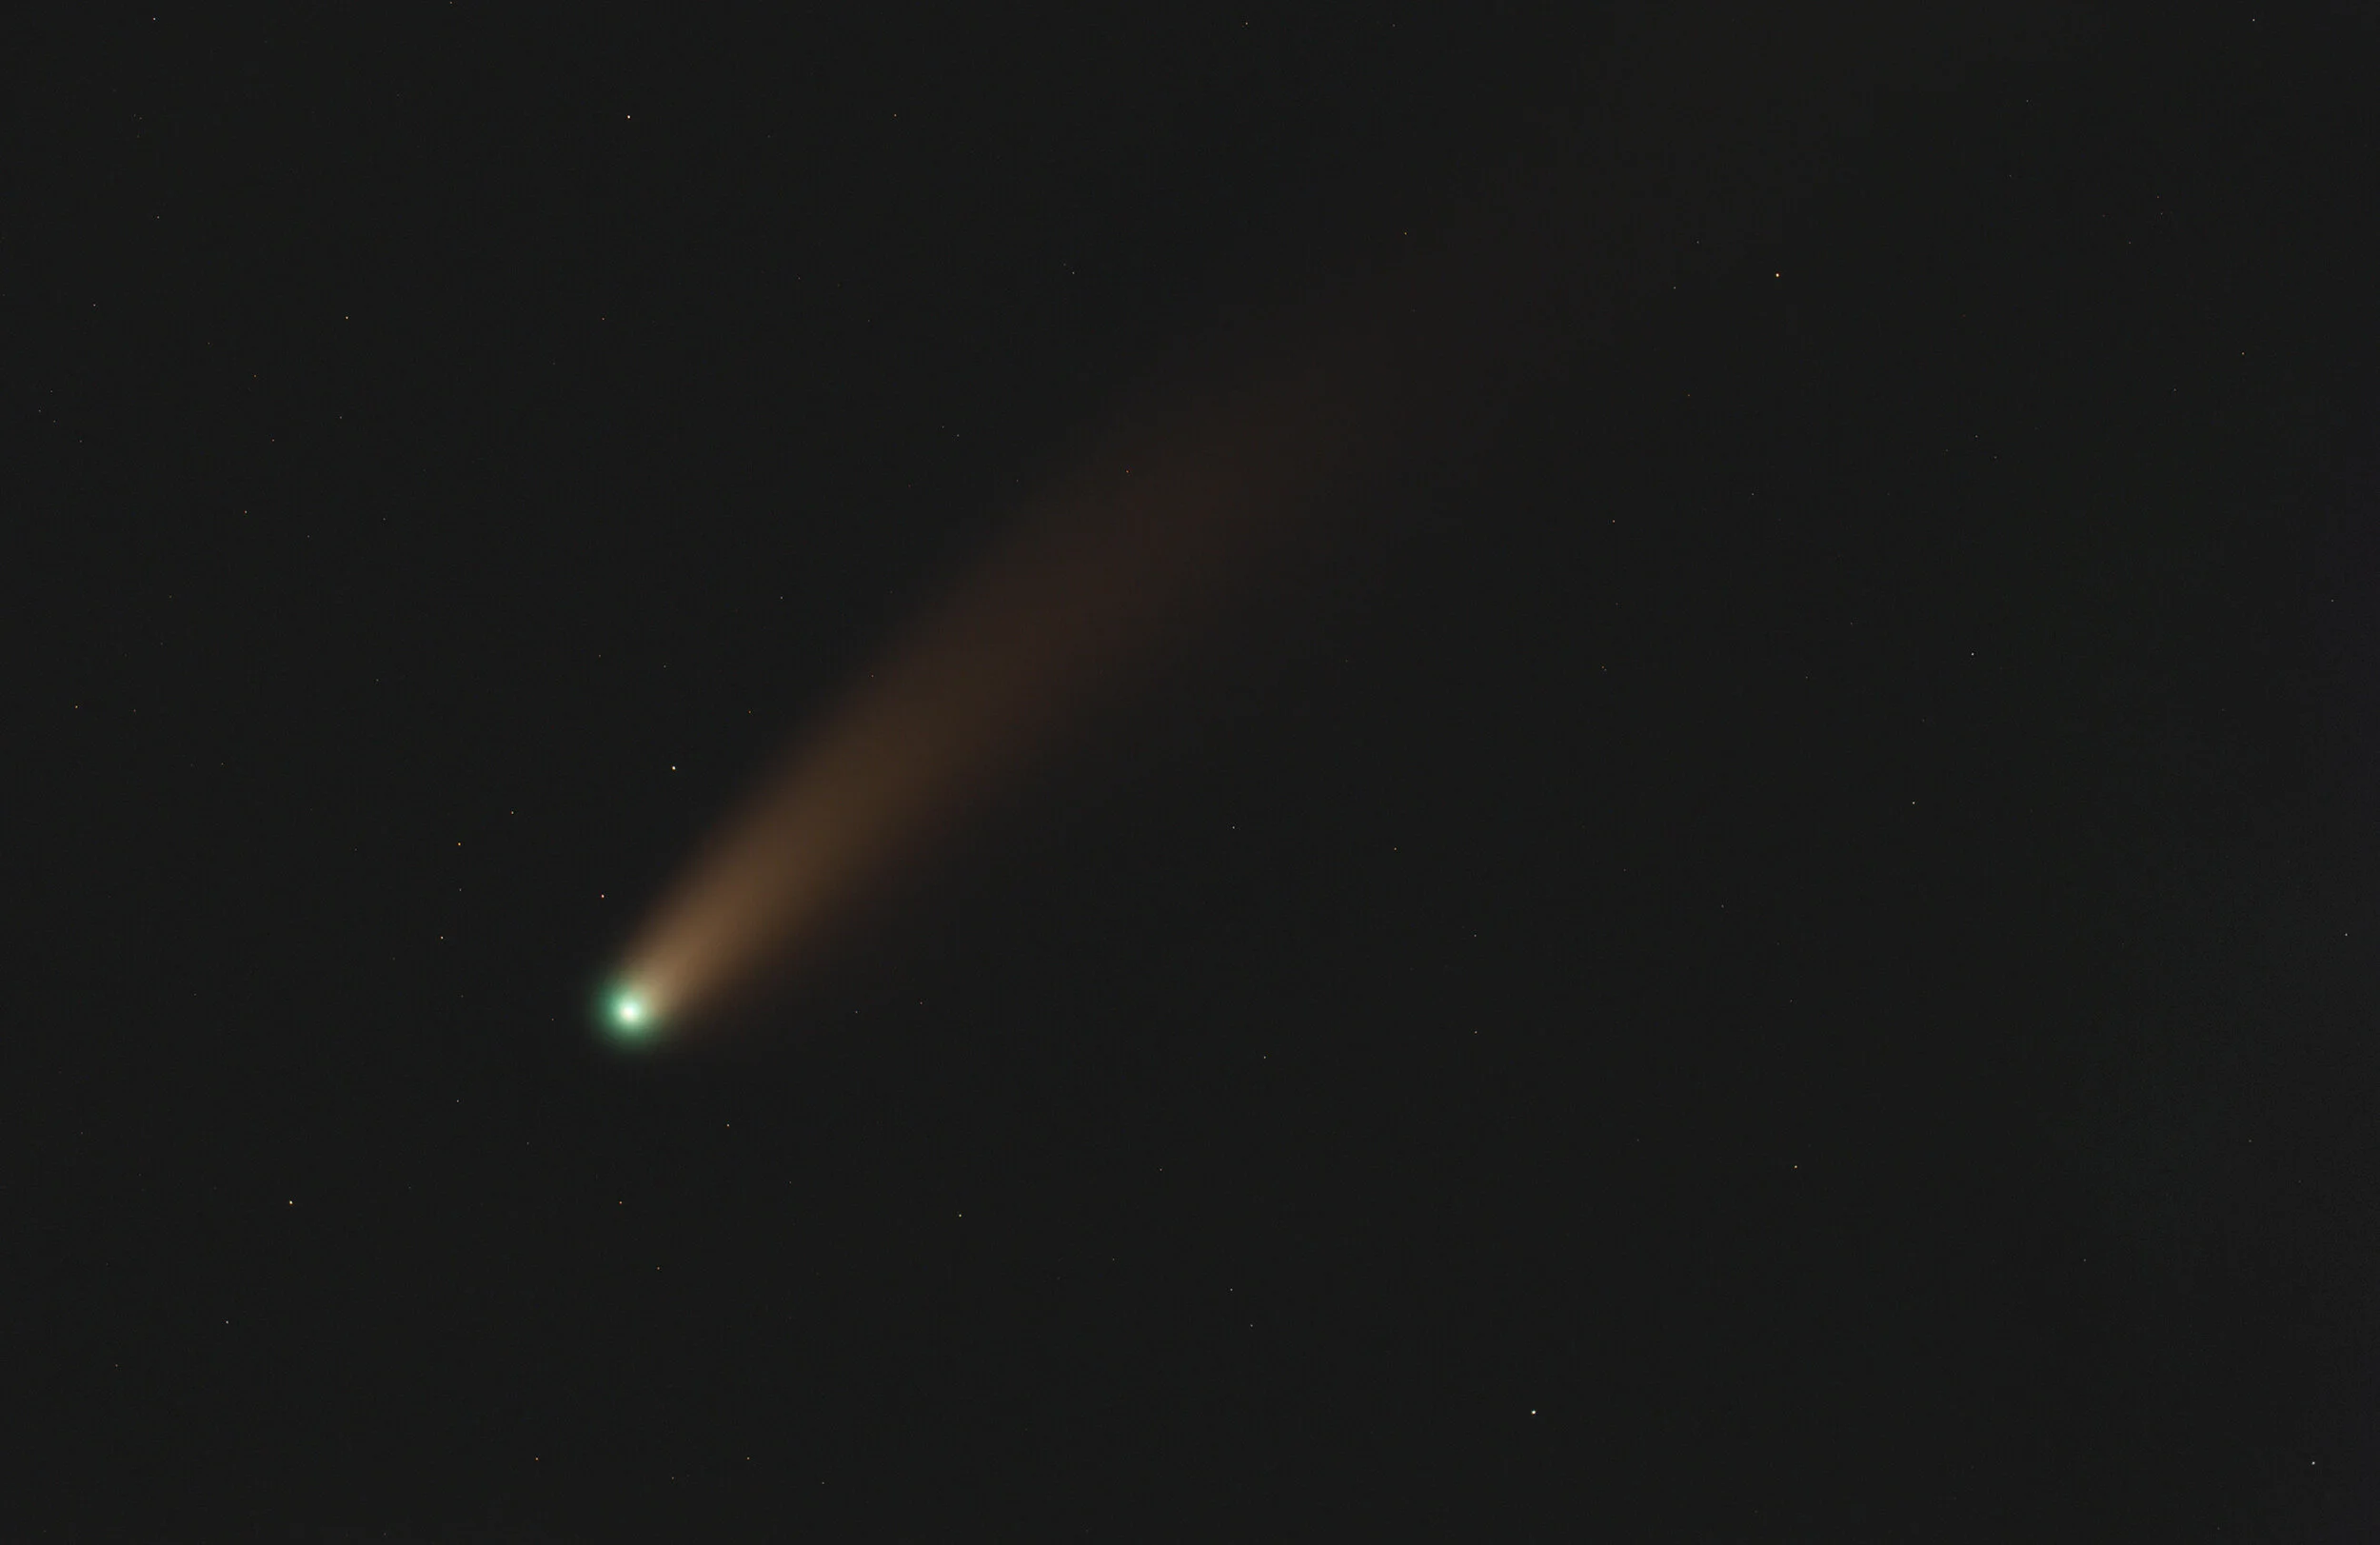
The final processed comet image.