Some time, earlier in the year, I made the decision to move to full frame imaging. Full frame, is essentially an uncropped DSLR sensor like you would find in a high end Canon, Nikon or Sony camera. In fact, the sensor inside ZWO’s ASI6200MM-Pro is a mono version of the image sensor used in Sony’s A7R IV

What makes this camera stand out, and why should I care?
This camera is very high resolution at 60 megapixels. Each frame taken with the camera is around 132 MB in size. It has a very small overall pixel size at 3.76um so you’ll want to pair it correctly with your different scopes by using the astronomy.tools CCD suitability calculator. You’ll want your overall output resolution around 1” per pixel, or very close to your guiding total RMS. If you can guide under .5” RMS then the pixel resolution resolved by the camera could go lower to .5” per pixel. This sensor uses a 16bit ADC, which means it’s capturing a very wide range of color depth. While this sensor is mono (black and white), the bit depth increase means it can pull a more varied range of gray shades out of very small areas of the histogram compared to lower bit depth cameras.
The camera’s sensor is also backlit, which is a feature new to this generation of cameras, and is in the ZWO ASI533MC-P, and ZWO ASI2600MC-P as well. ZWO explains this well on their site showing how the structure of the backlit sensor minimizes degradation of the sensitivity due to its construction.

The camera also features an extremely low read noise, reducing the amount of noise or error you see in your captured images. This equates to better signal from the objects you’re imaging. Additionally the full well capacity is quite large at 51k, which means you’ll saturate stars and bright areas less quickly, allowing you to capture longer singe frames. This is helpful when each frame is so large.
One final point about the specs, is ZWO claims a Quantum Efficiency (QE) of 91%. This is frankly amazing, and quite unheard of for cameras of this nature. Most cameras top out at around 60% and a generation or two ago they were even less. So, you might be asking, what is QE? This is how efficient the camera sensor is at capturing and retaining the data that comes across the sensor. Given all the electrical interference, heat noise, etc, a camera loses a lot of the data that falls across the sensor, and this camera is able to retain about 91% of it in each frame. Imagine if you extruded this concept out as time. Even though it’s not the same, this analogy might make sense. You image for 1 hour, at 60% efficiency you would lose 1/3 of your images. At 91% you’re only losing 1/10 of your images for that hour you spent imaging. In this case, you’re not actually losing images, but instead data that might be captured with each single frame.
Connecting up the camera
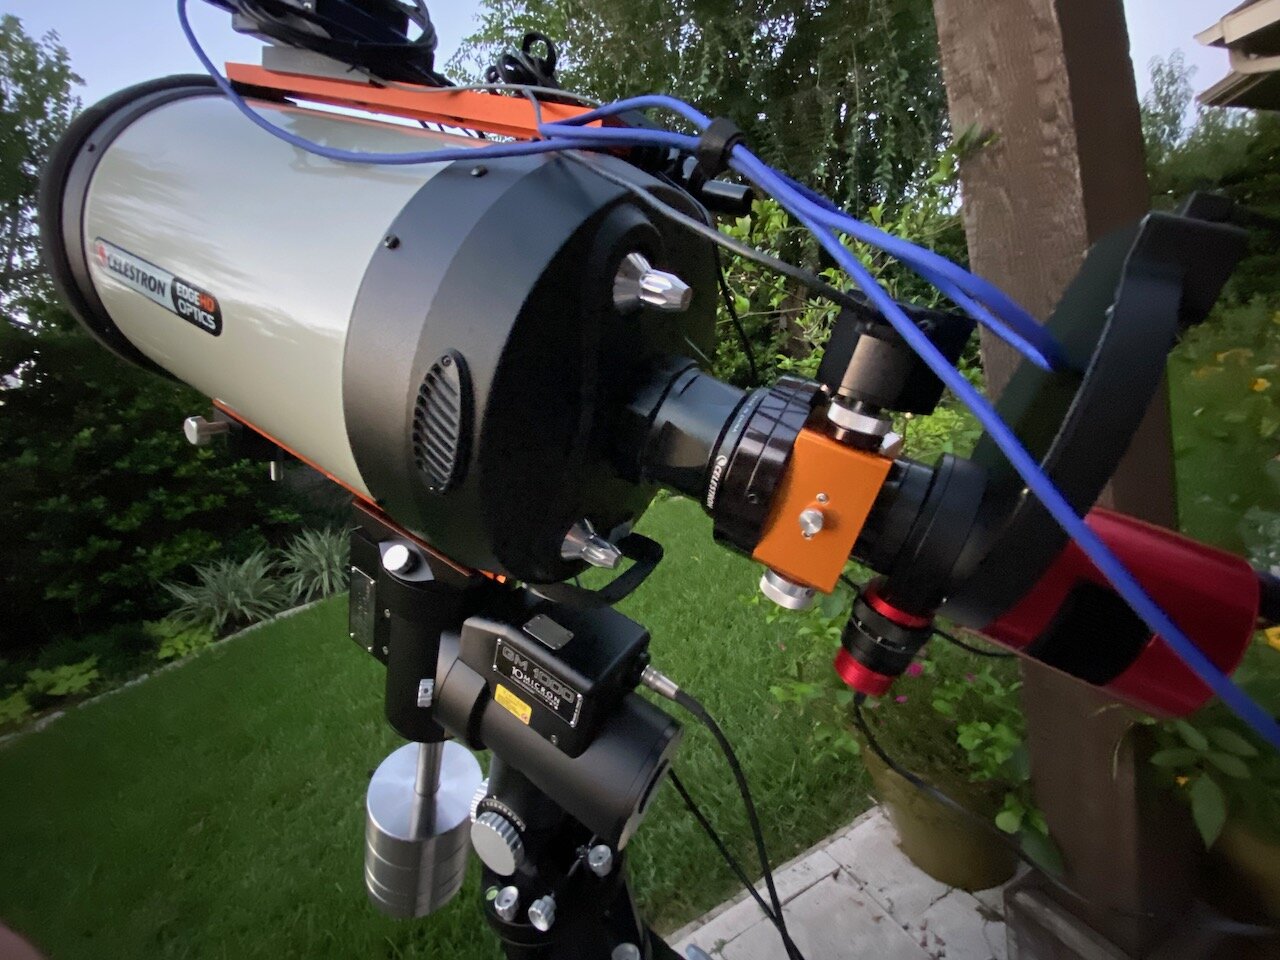
Now that we’ve waded through the specs and performance of the camera. Lets get it hooked up to some equipment and see how it works. In order for me to adopt a full frame camera, I had to make sure that my telescopes could support a full frame sensor. What does this mean exactly? Every telescope has what’s called an image circle. This is the diameter of the cone of light that comes out of the back of the telescope and hits the sensor of a camera, or eye piece. If that diameter isn’t large enough, then shadow is cast across the corners of the sensor. Many imagers use a reducer to speed up their telescope and create a wider apparent field of view, this often times also reduces your image circle diameter. I looked at all the telescopes I owned, and two wouldn’t work with a full frame sensor, so I decided to sell them, and get a telescope replacement that would work. I ended up choosing the SkyWatcher Esprit 100. But I also had a few existing telescopes that could support a full frame sensor, like my Celestron EdgeHD 11” and my William Optics Redcat 51.
I had all the right connectors for my EdgeHD 11”, so this is the telescope I ended up trying first with the new camera. According to the Astronomy.tools CCD calculator, binning the images 1x1 would prove to create too small of a pixel scale. But Binning 2x2, gets me around .79” per pixel, which is higher than my guiding average of .3” RMS. So this seems to match up quite well. Binning in the camera will effectively cut the resolution in half, so it means my image frames now come out to 32MB instead of 132MB. Quite a size saving.

A few more considerations for using the camera are the Filter Wheel required to hold the filters, the OAG if you need one, and adapters to connect the telescope to the camera. In my case, I had the adapters that came with my Moonlite focuser, and I opted to get ZWO’s new large M68 OAG, as well as their new 2” filter wheel. This combination creates a 55mm image train, which is ideal for most telescopes. I also chose to get Chroma filters, and went with an LRGB set, plus 3nm narrowband HA, SII, and OIII filters.
Lets see the images!
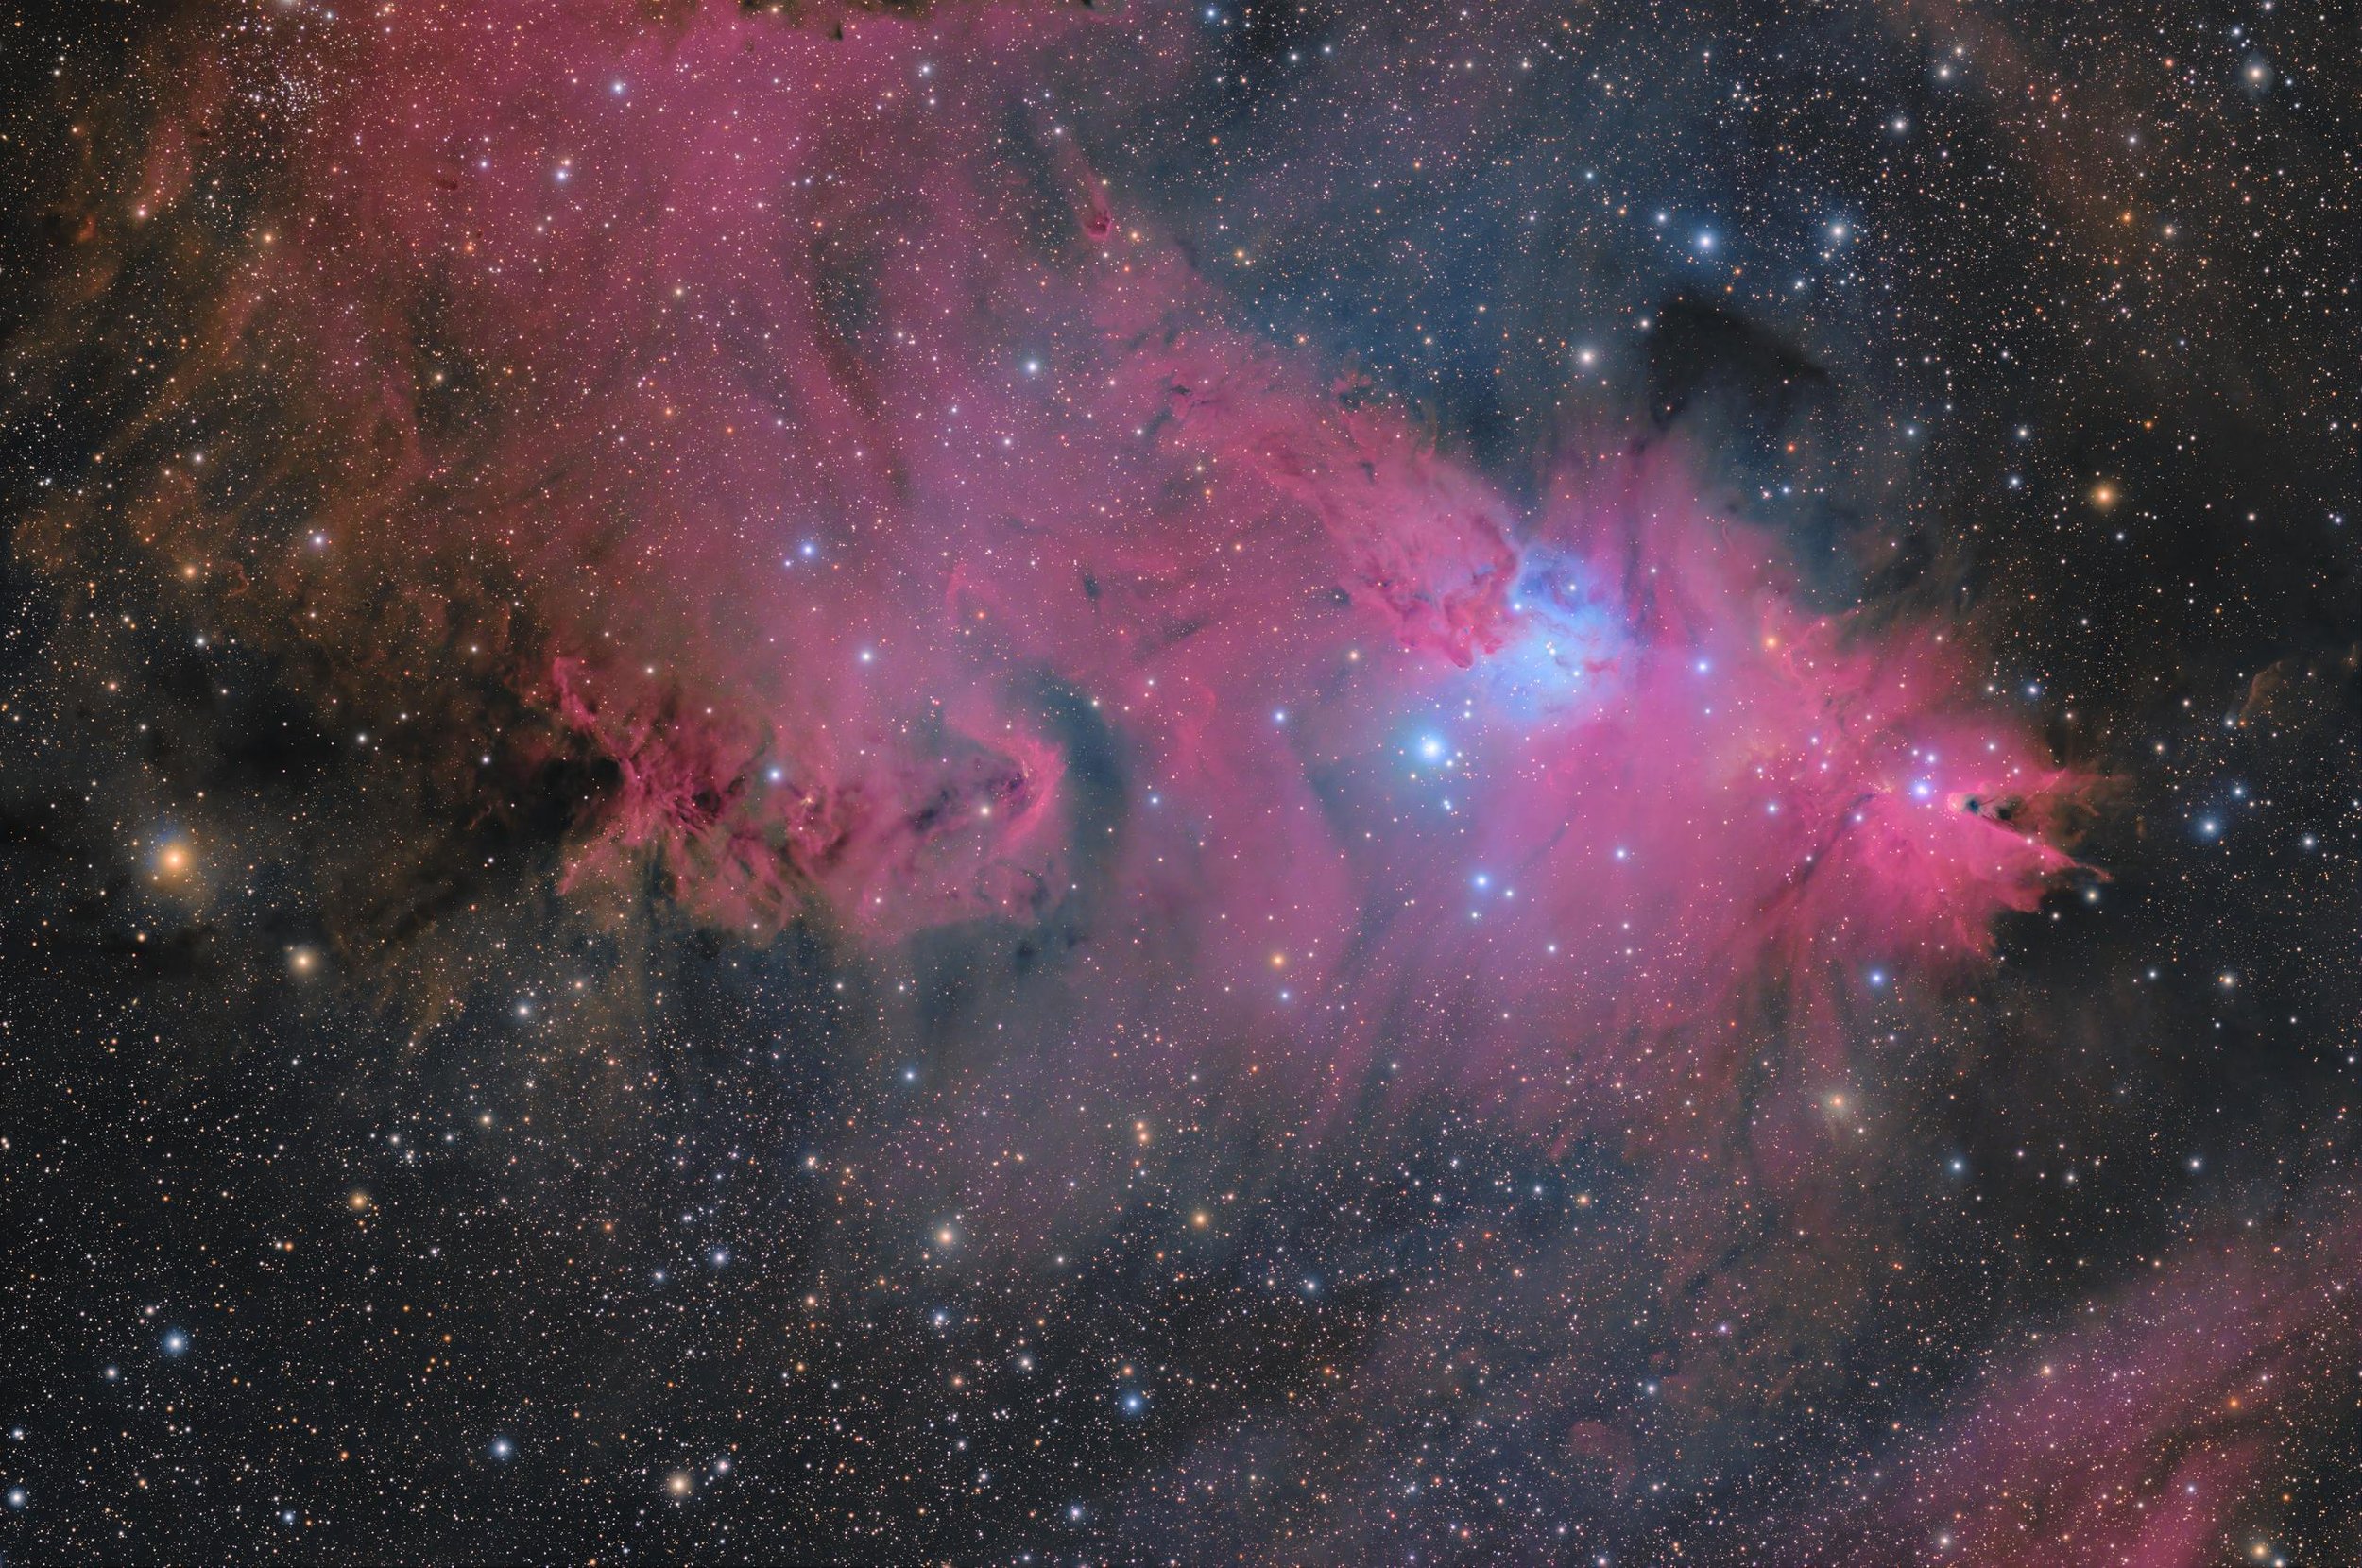
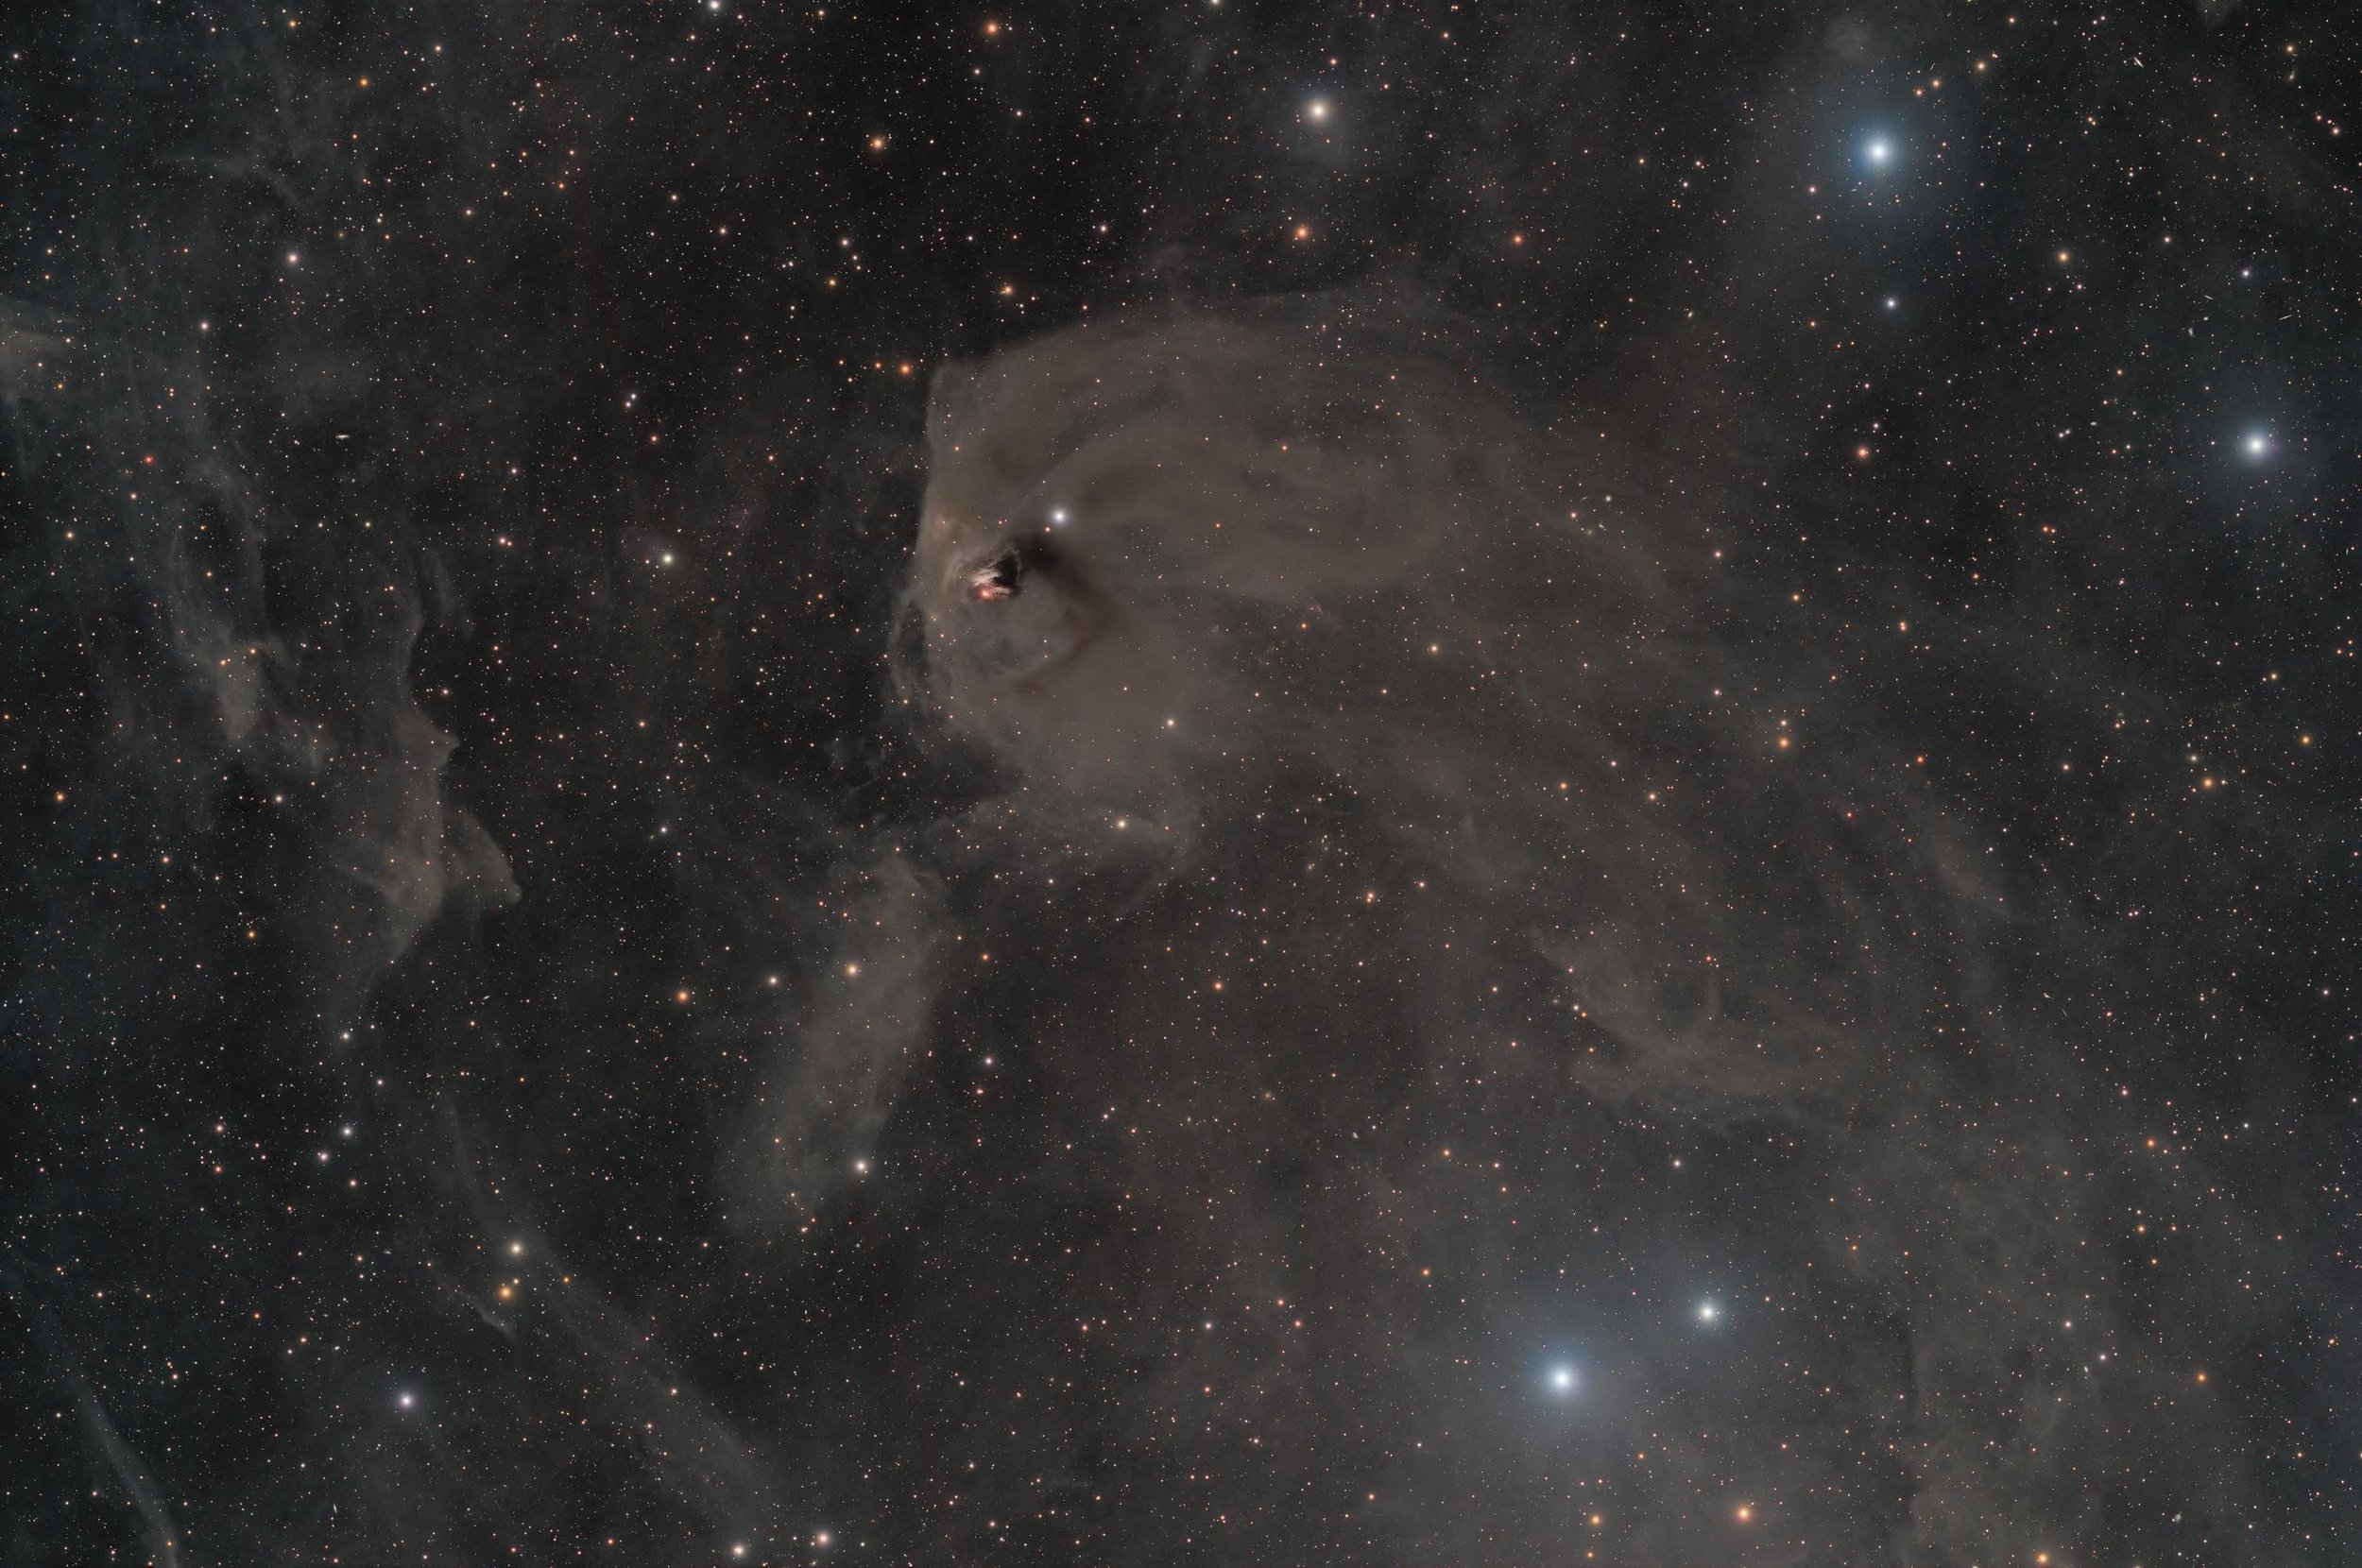
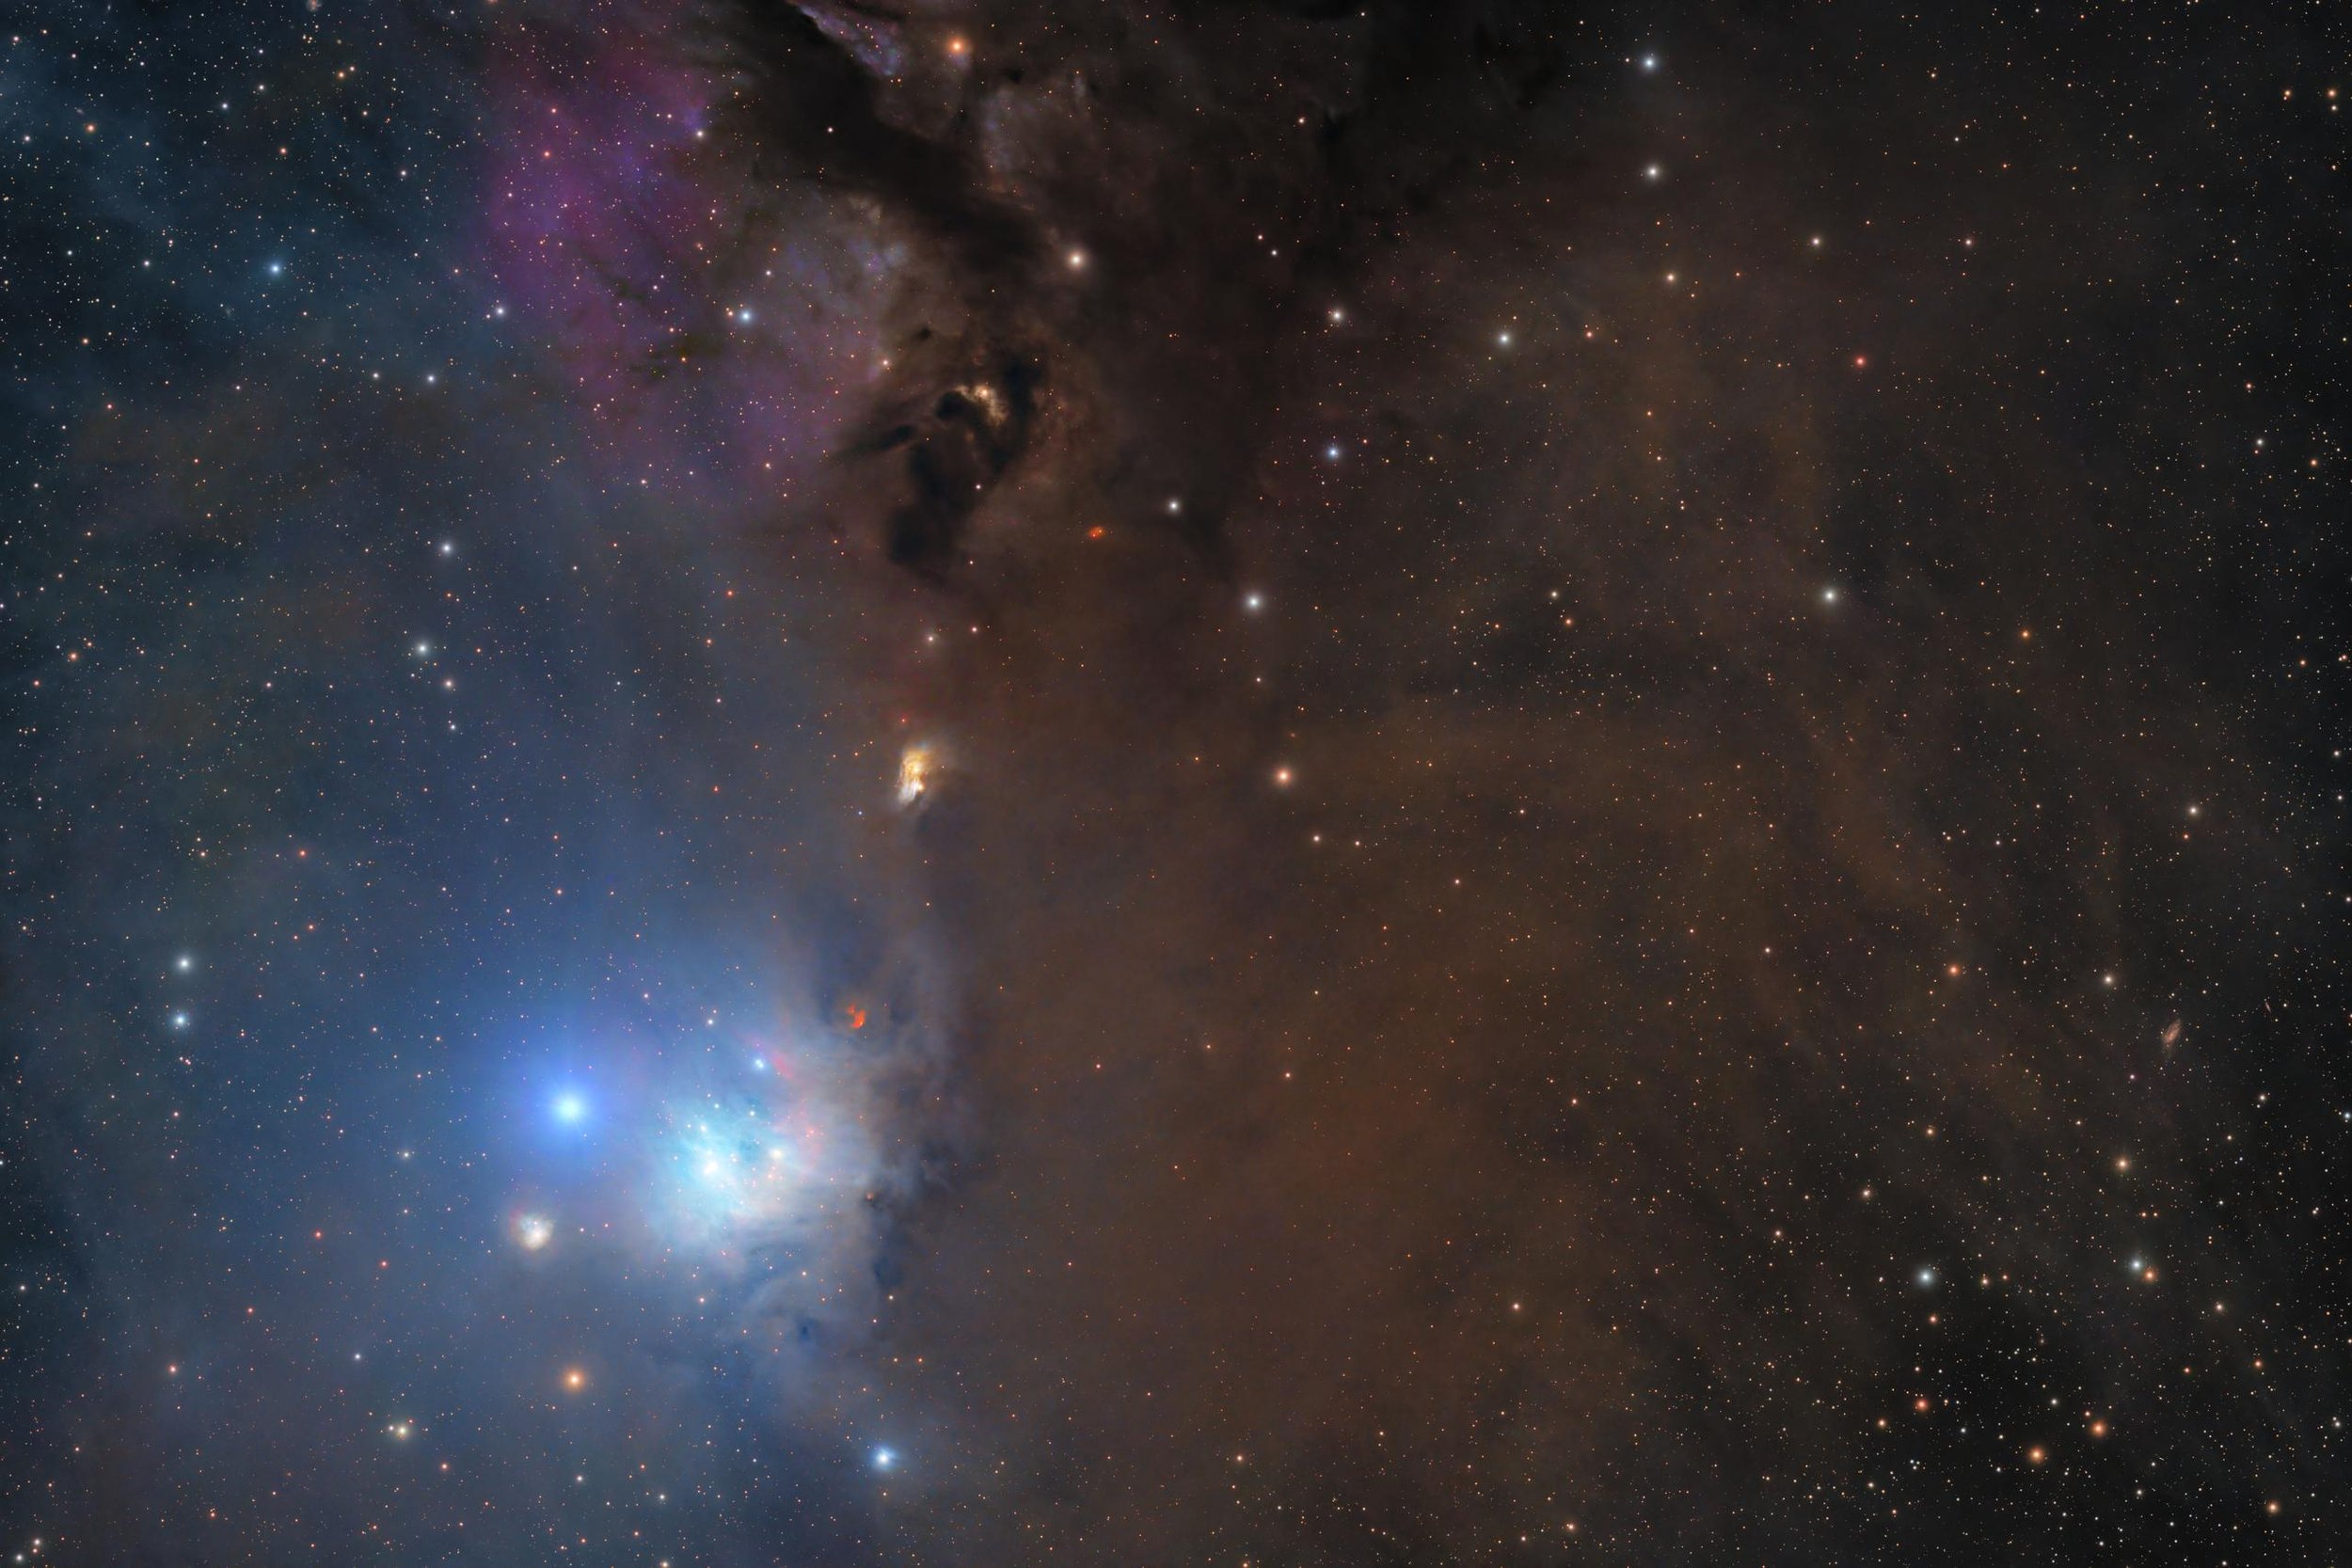
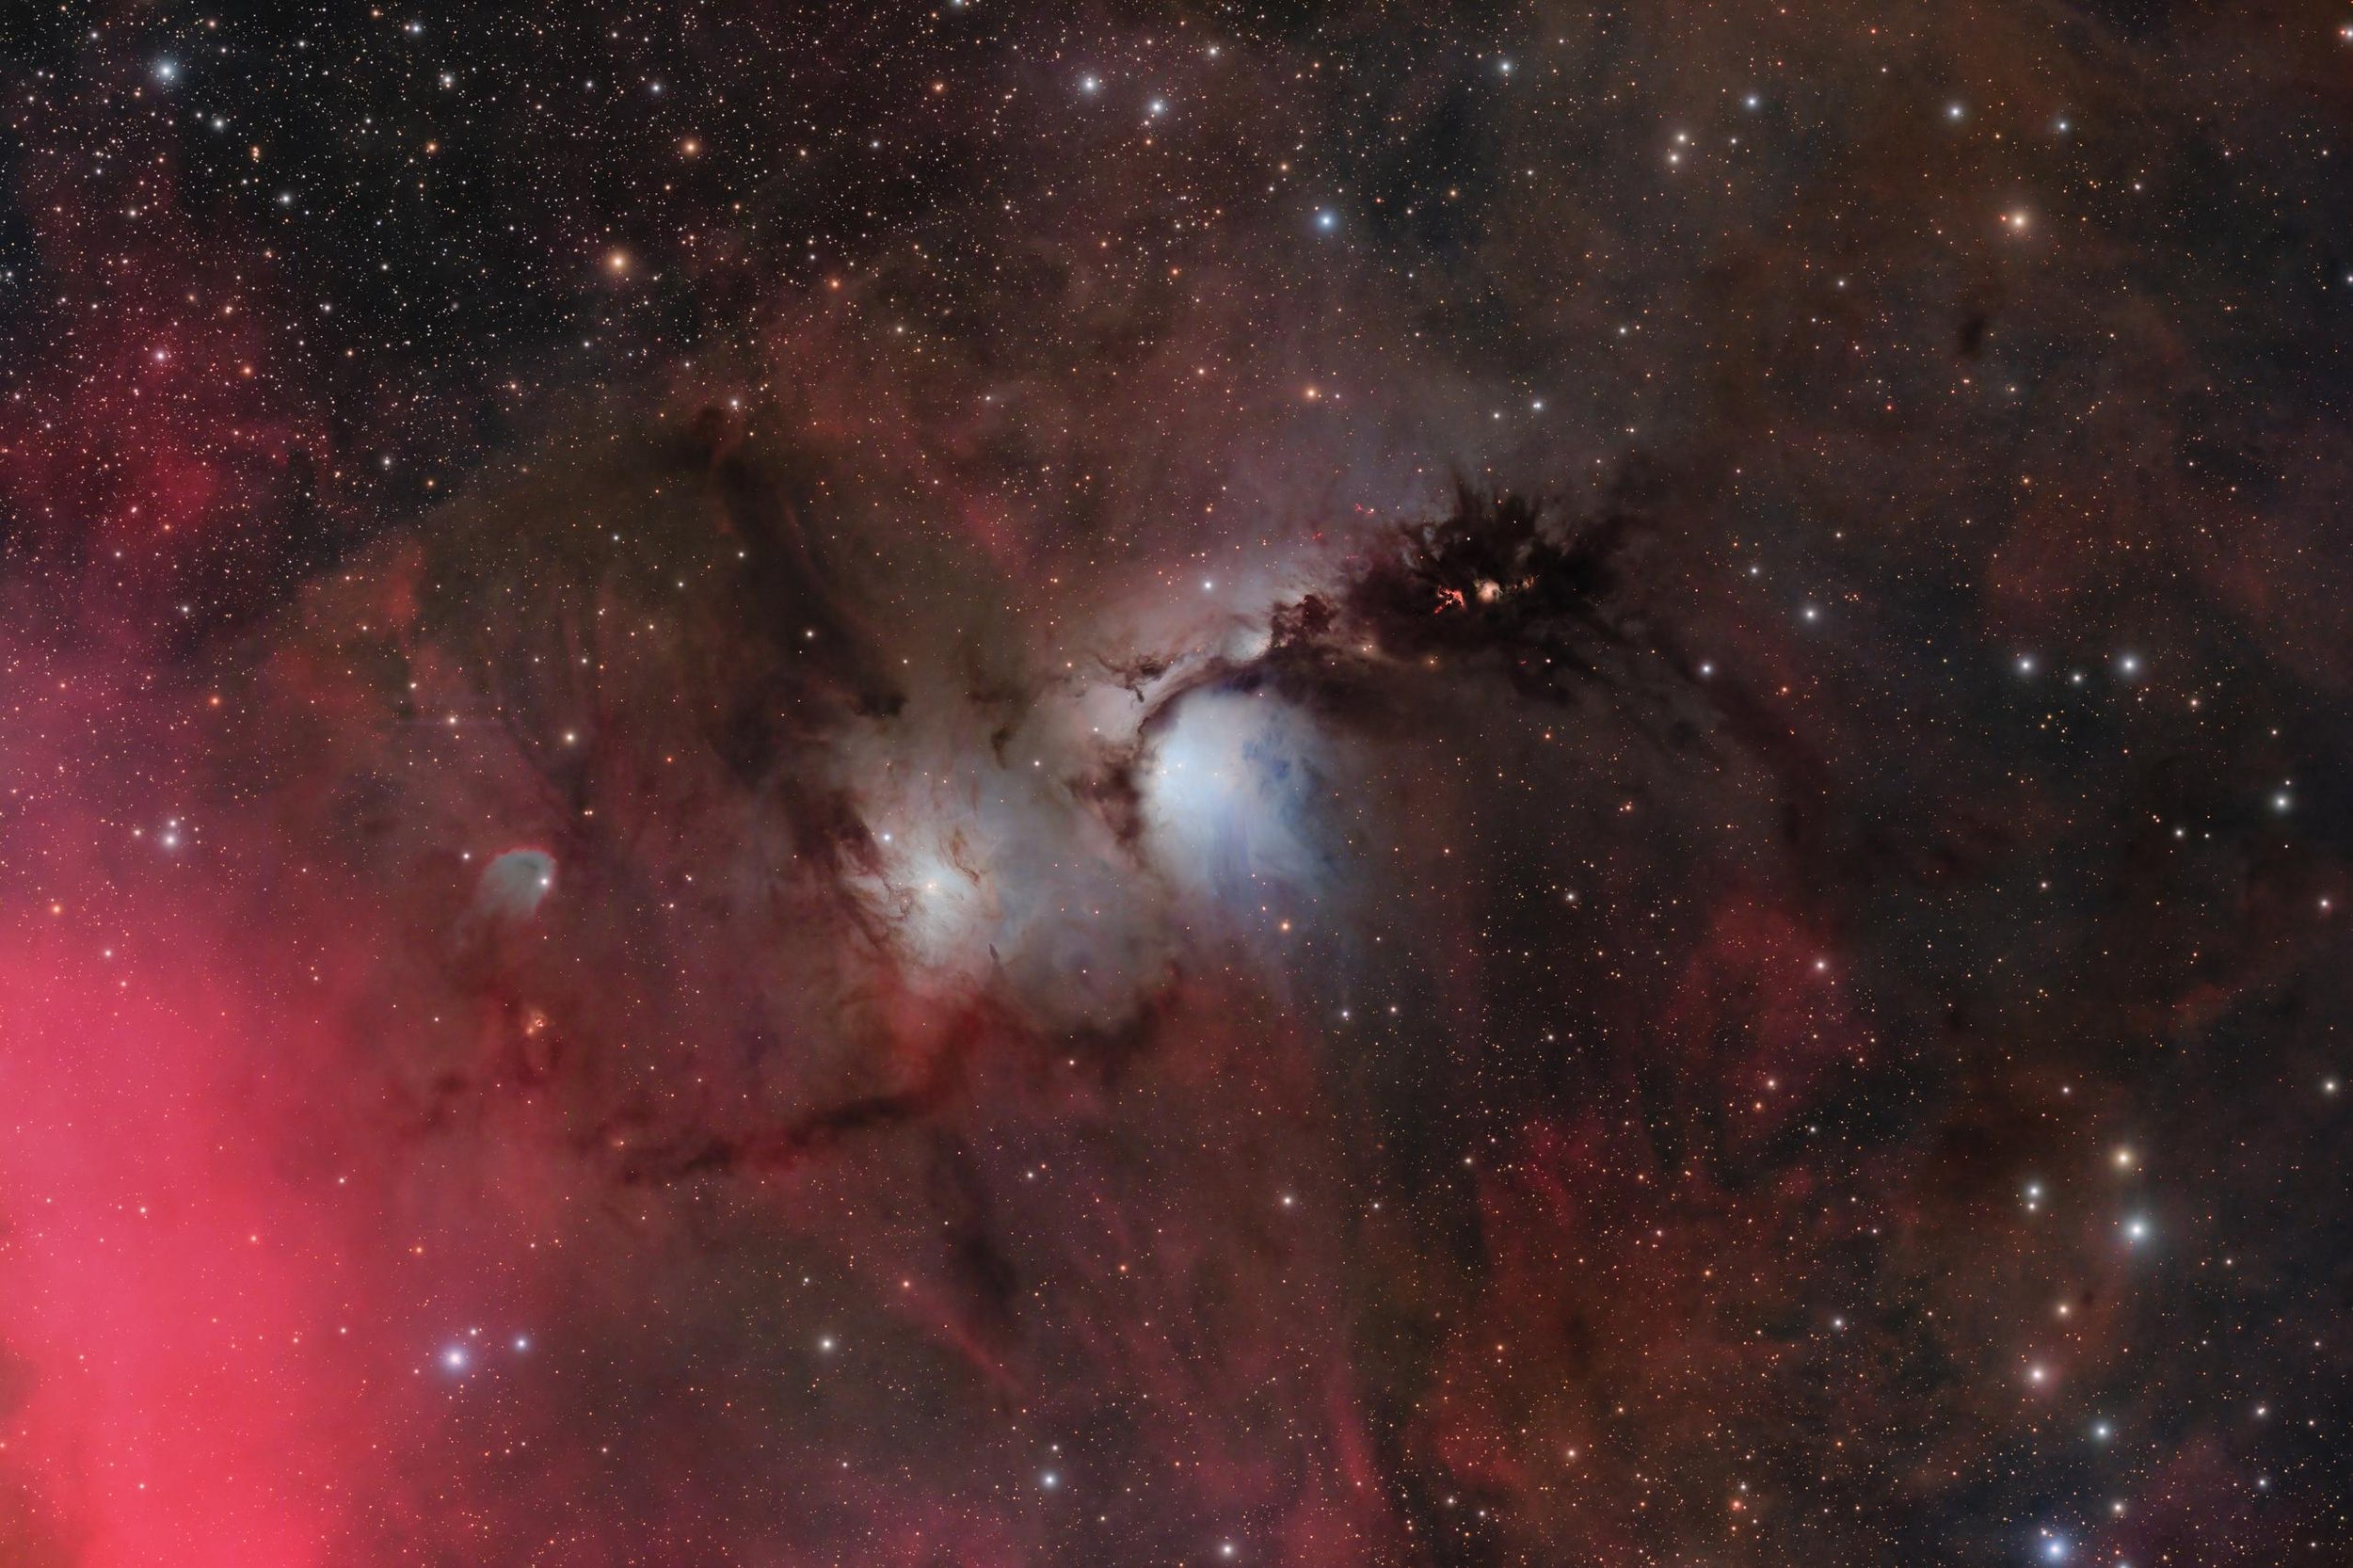
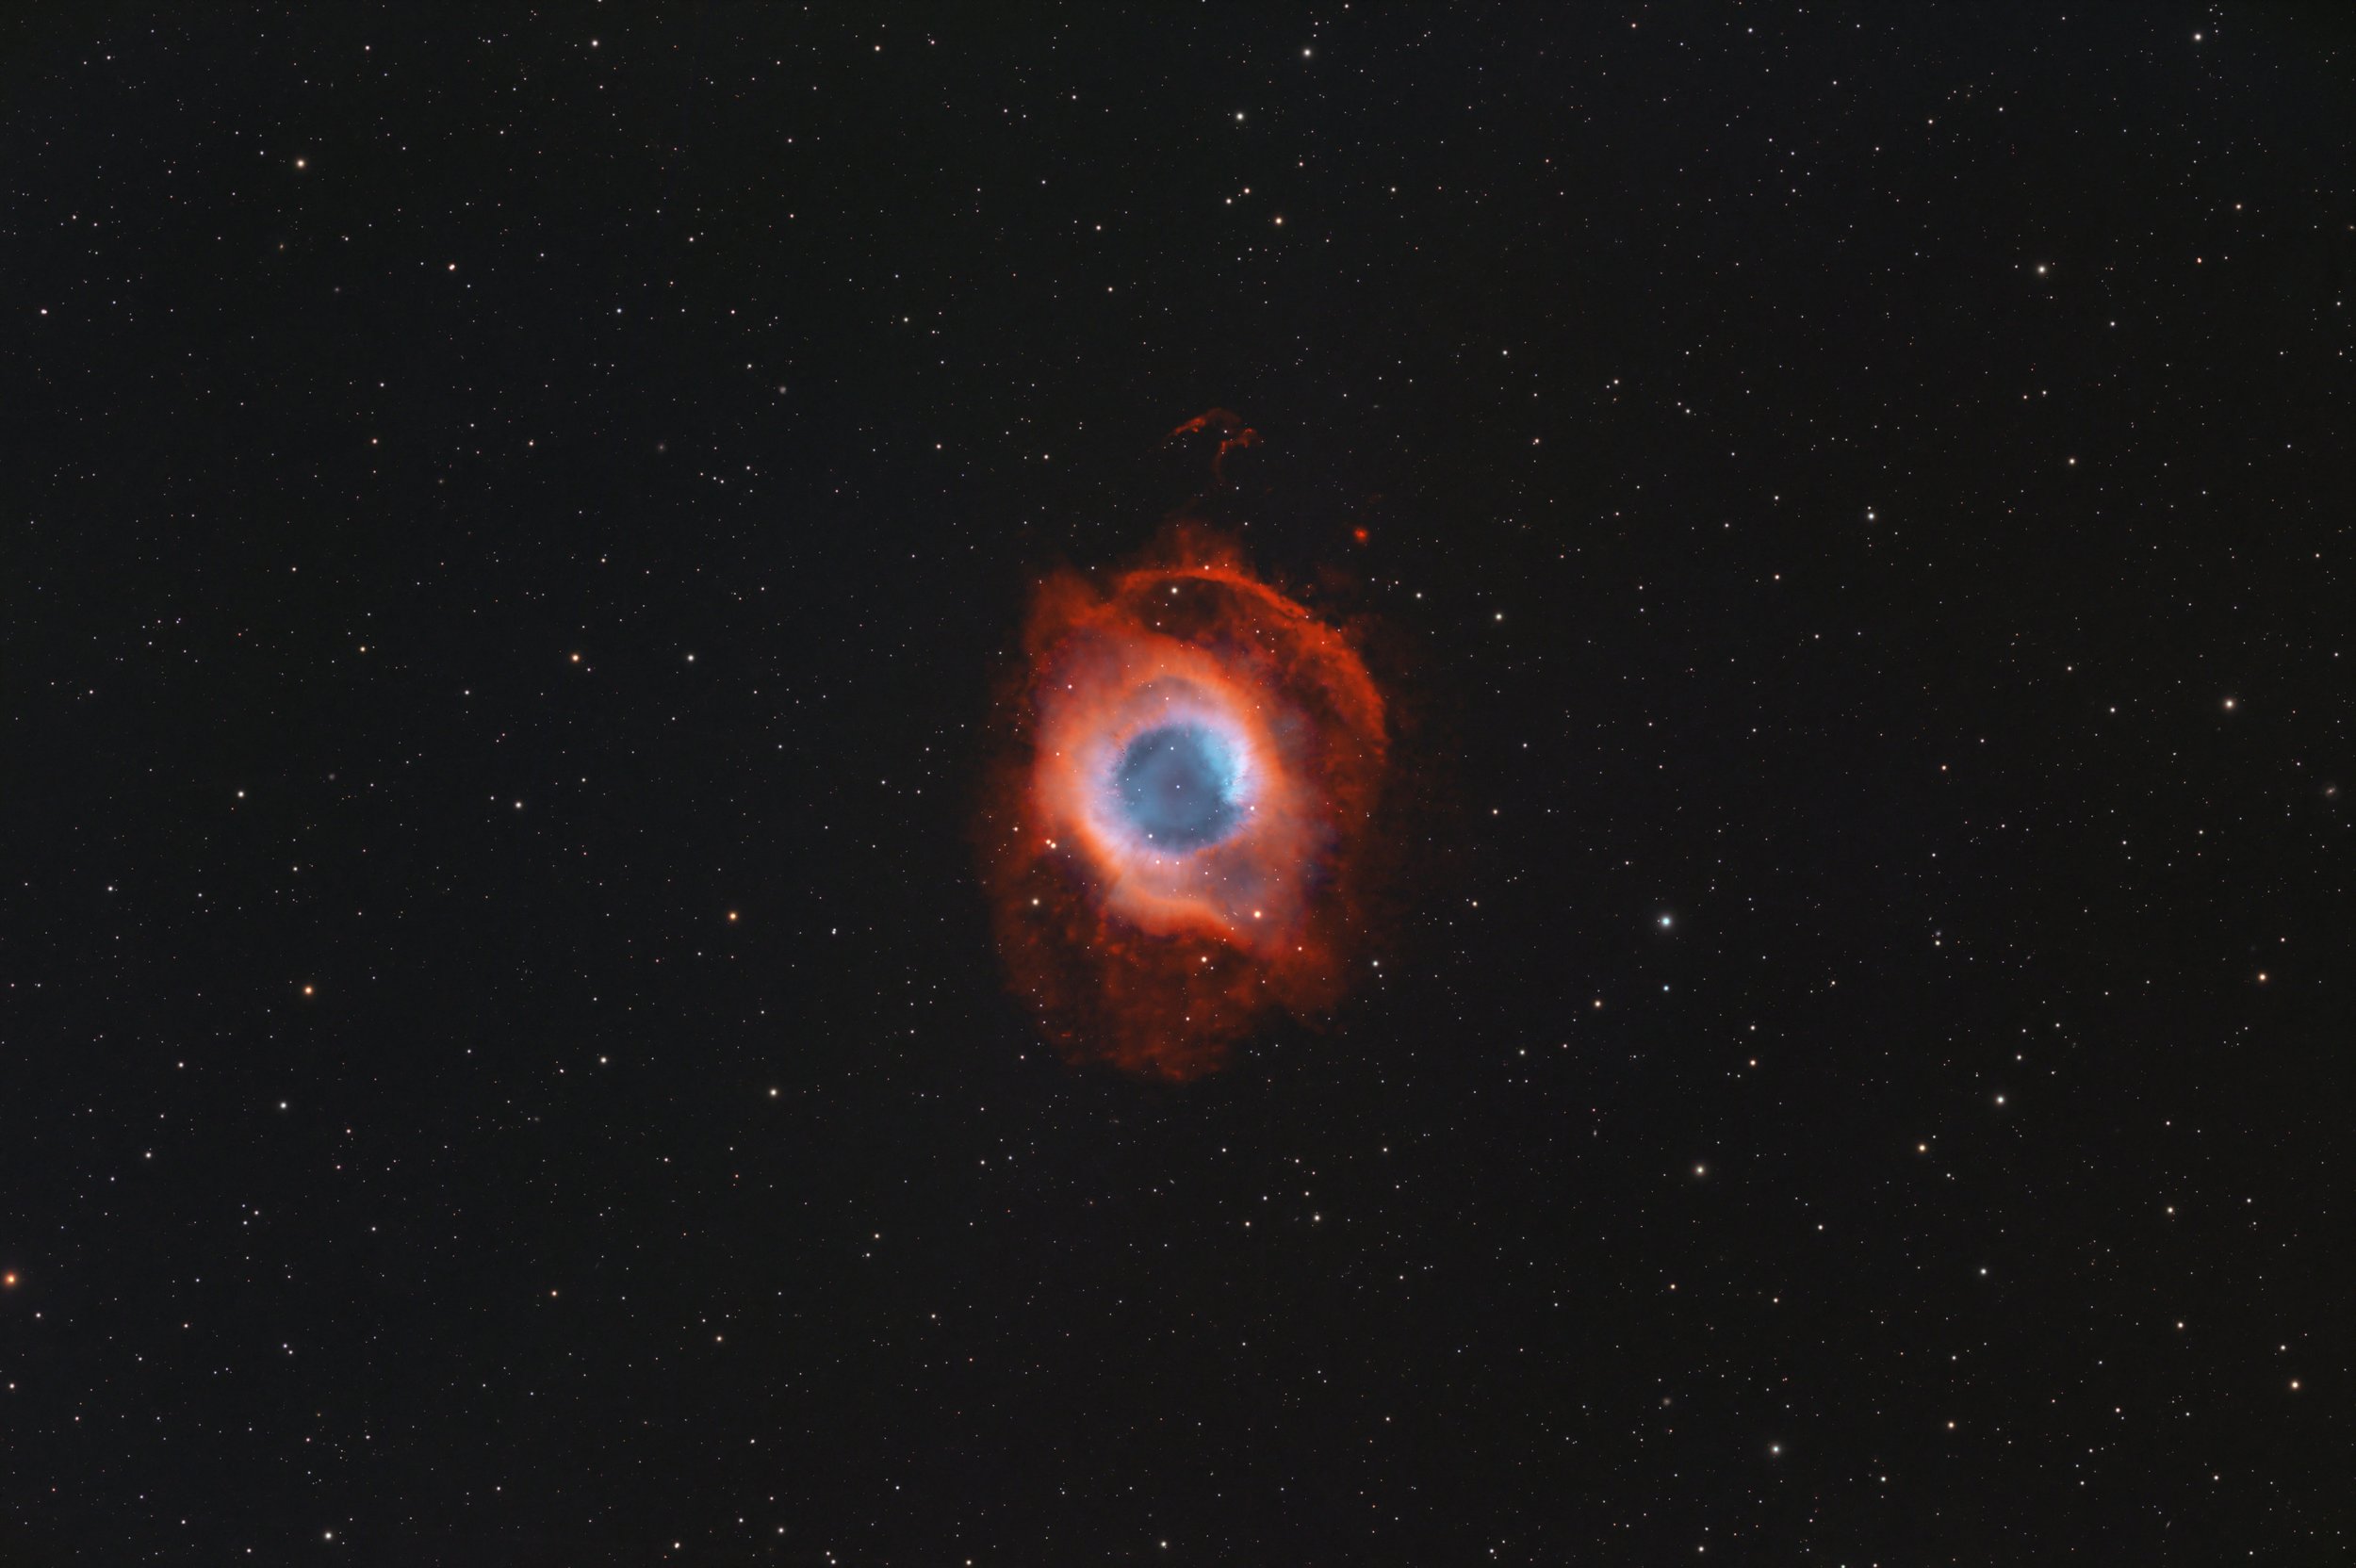
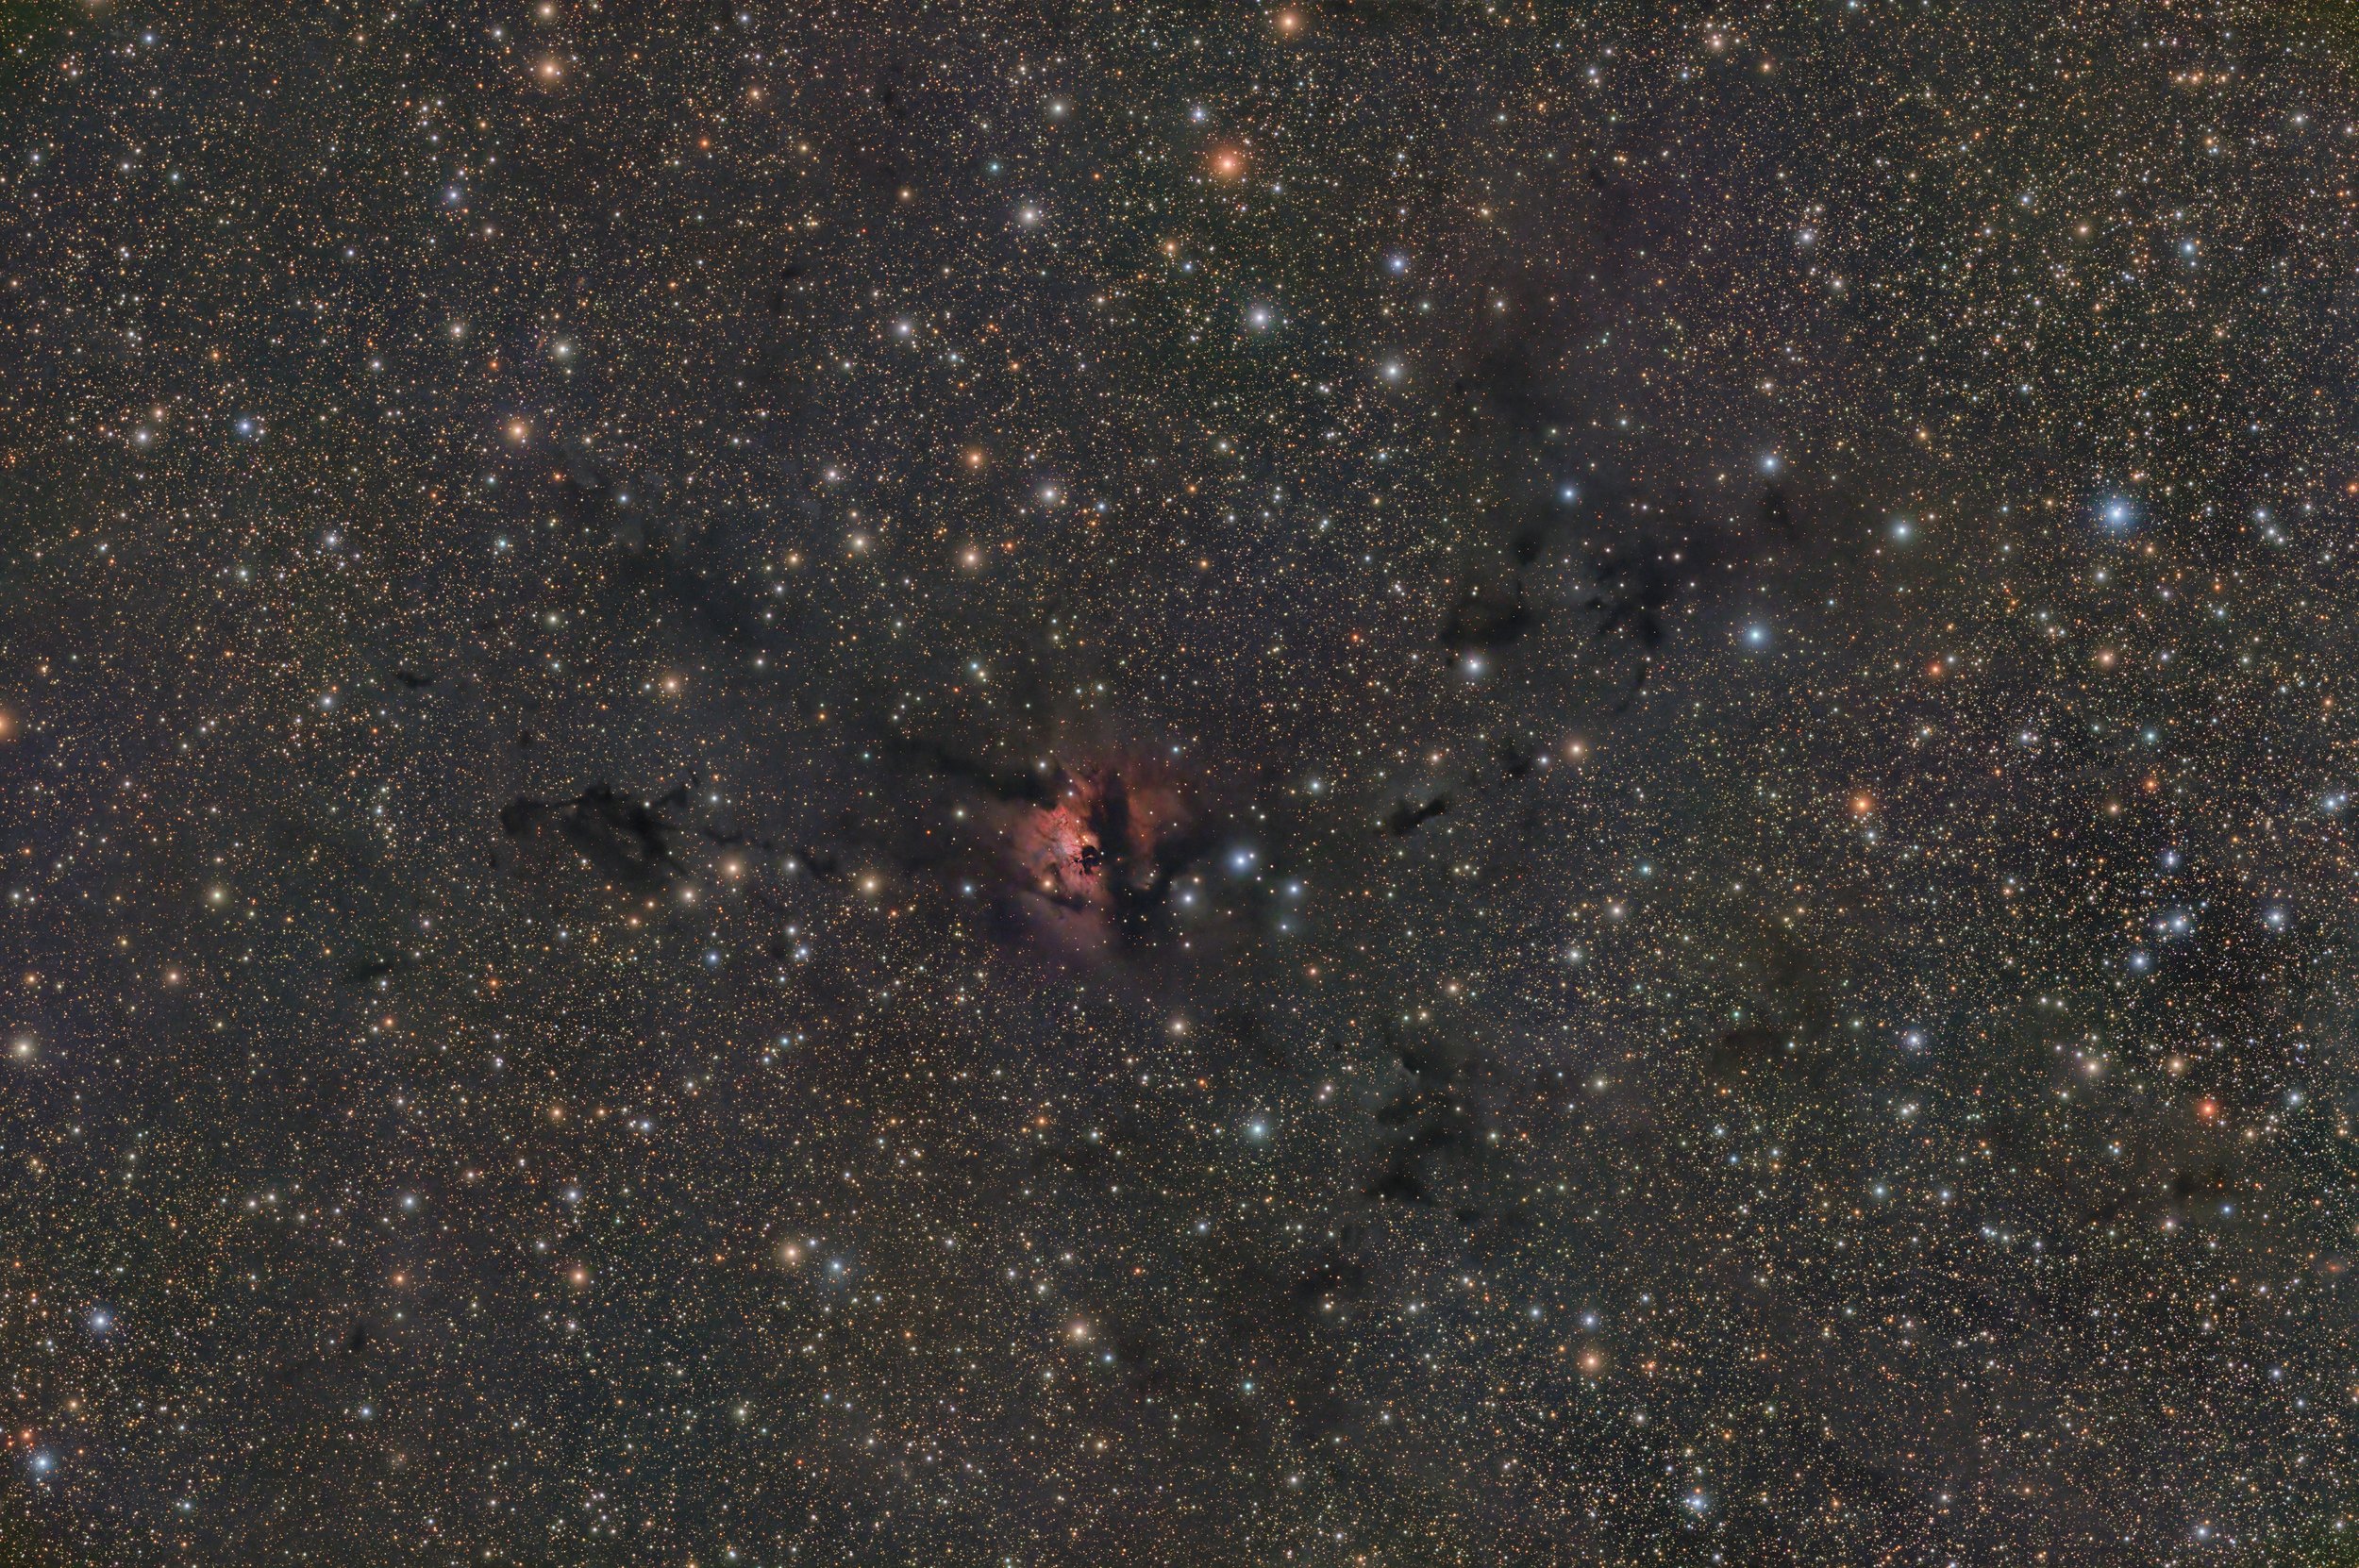
My first night out with the camera, I shot the Wizard nebula. I did not get a lot of time on the subject, at just 6.9 hours. So as I started to process the images, I was afraid the final result wouldn’t be that good. On my ZWO ASI1600MM-Pro, I’ve been used to imaging narrowband targets at least 10 hours, and sometimes a lot more. This is where that quantum efficiency comes into play. At only 7 hours, this was my first image result.

Yowza! Look at that detail. You can see a larger version in my gallery. I was floored with the result, and very excited that this camera worked so well. It got me interested in visiting a lot of other common targets so I could re-image them in increased detail using the Edge telescope.

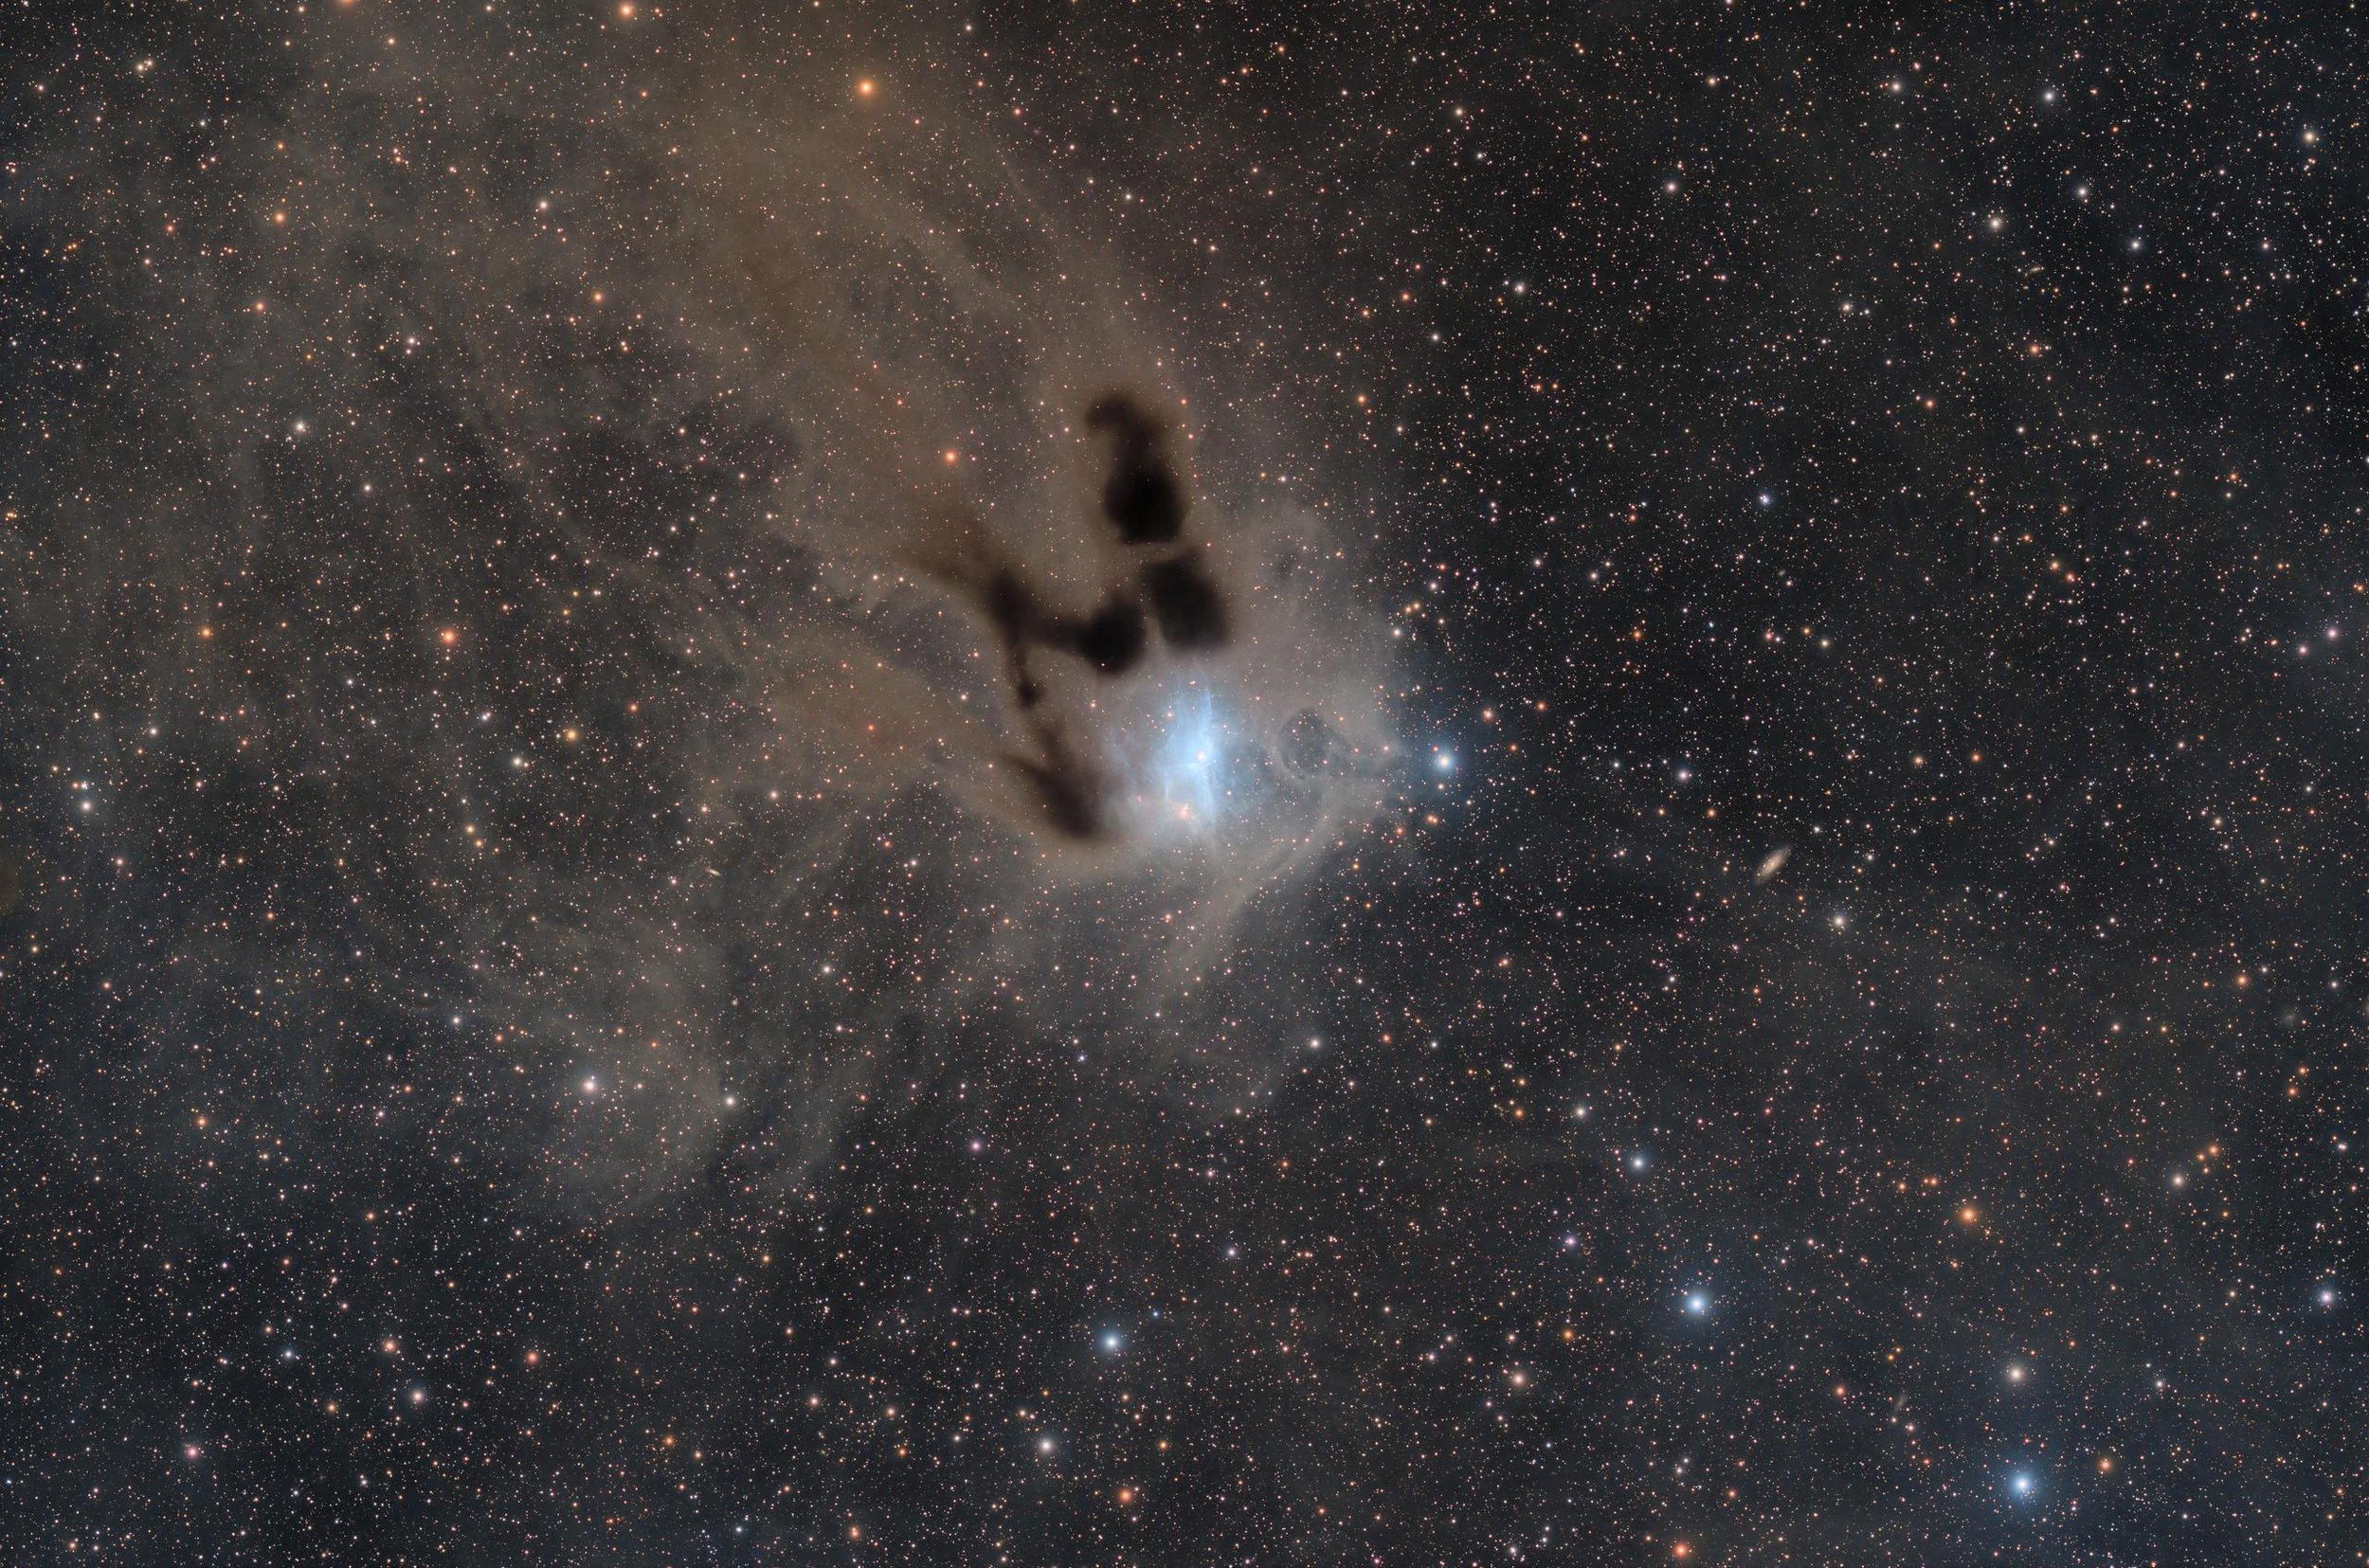
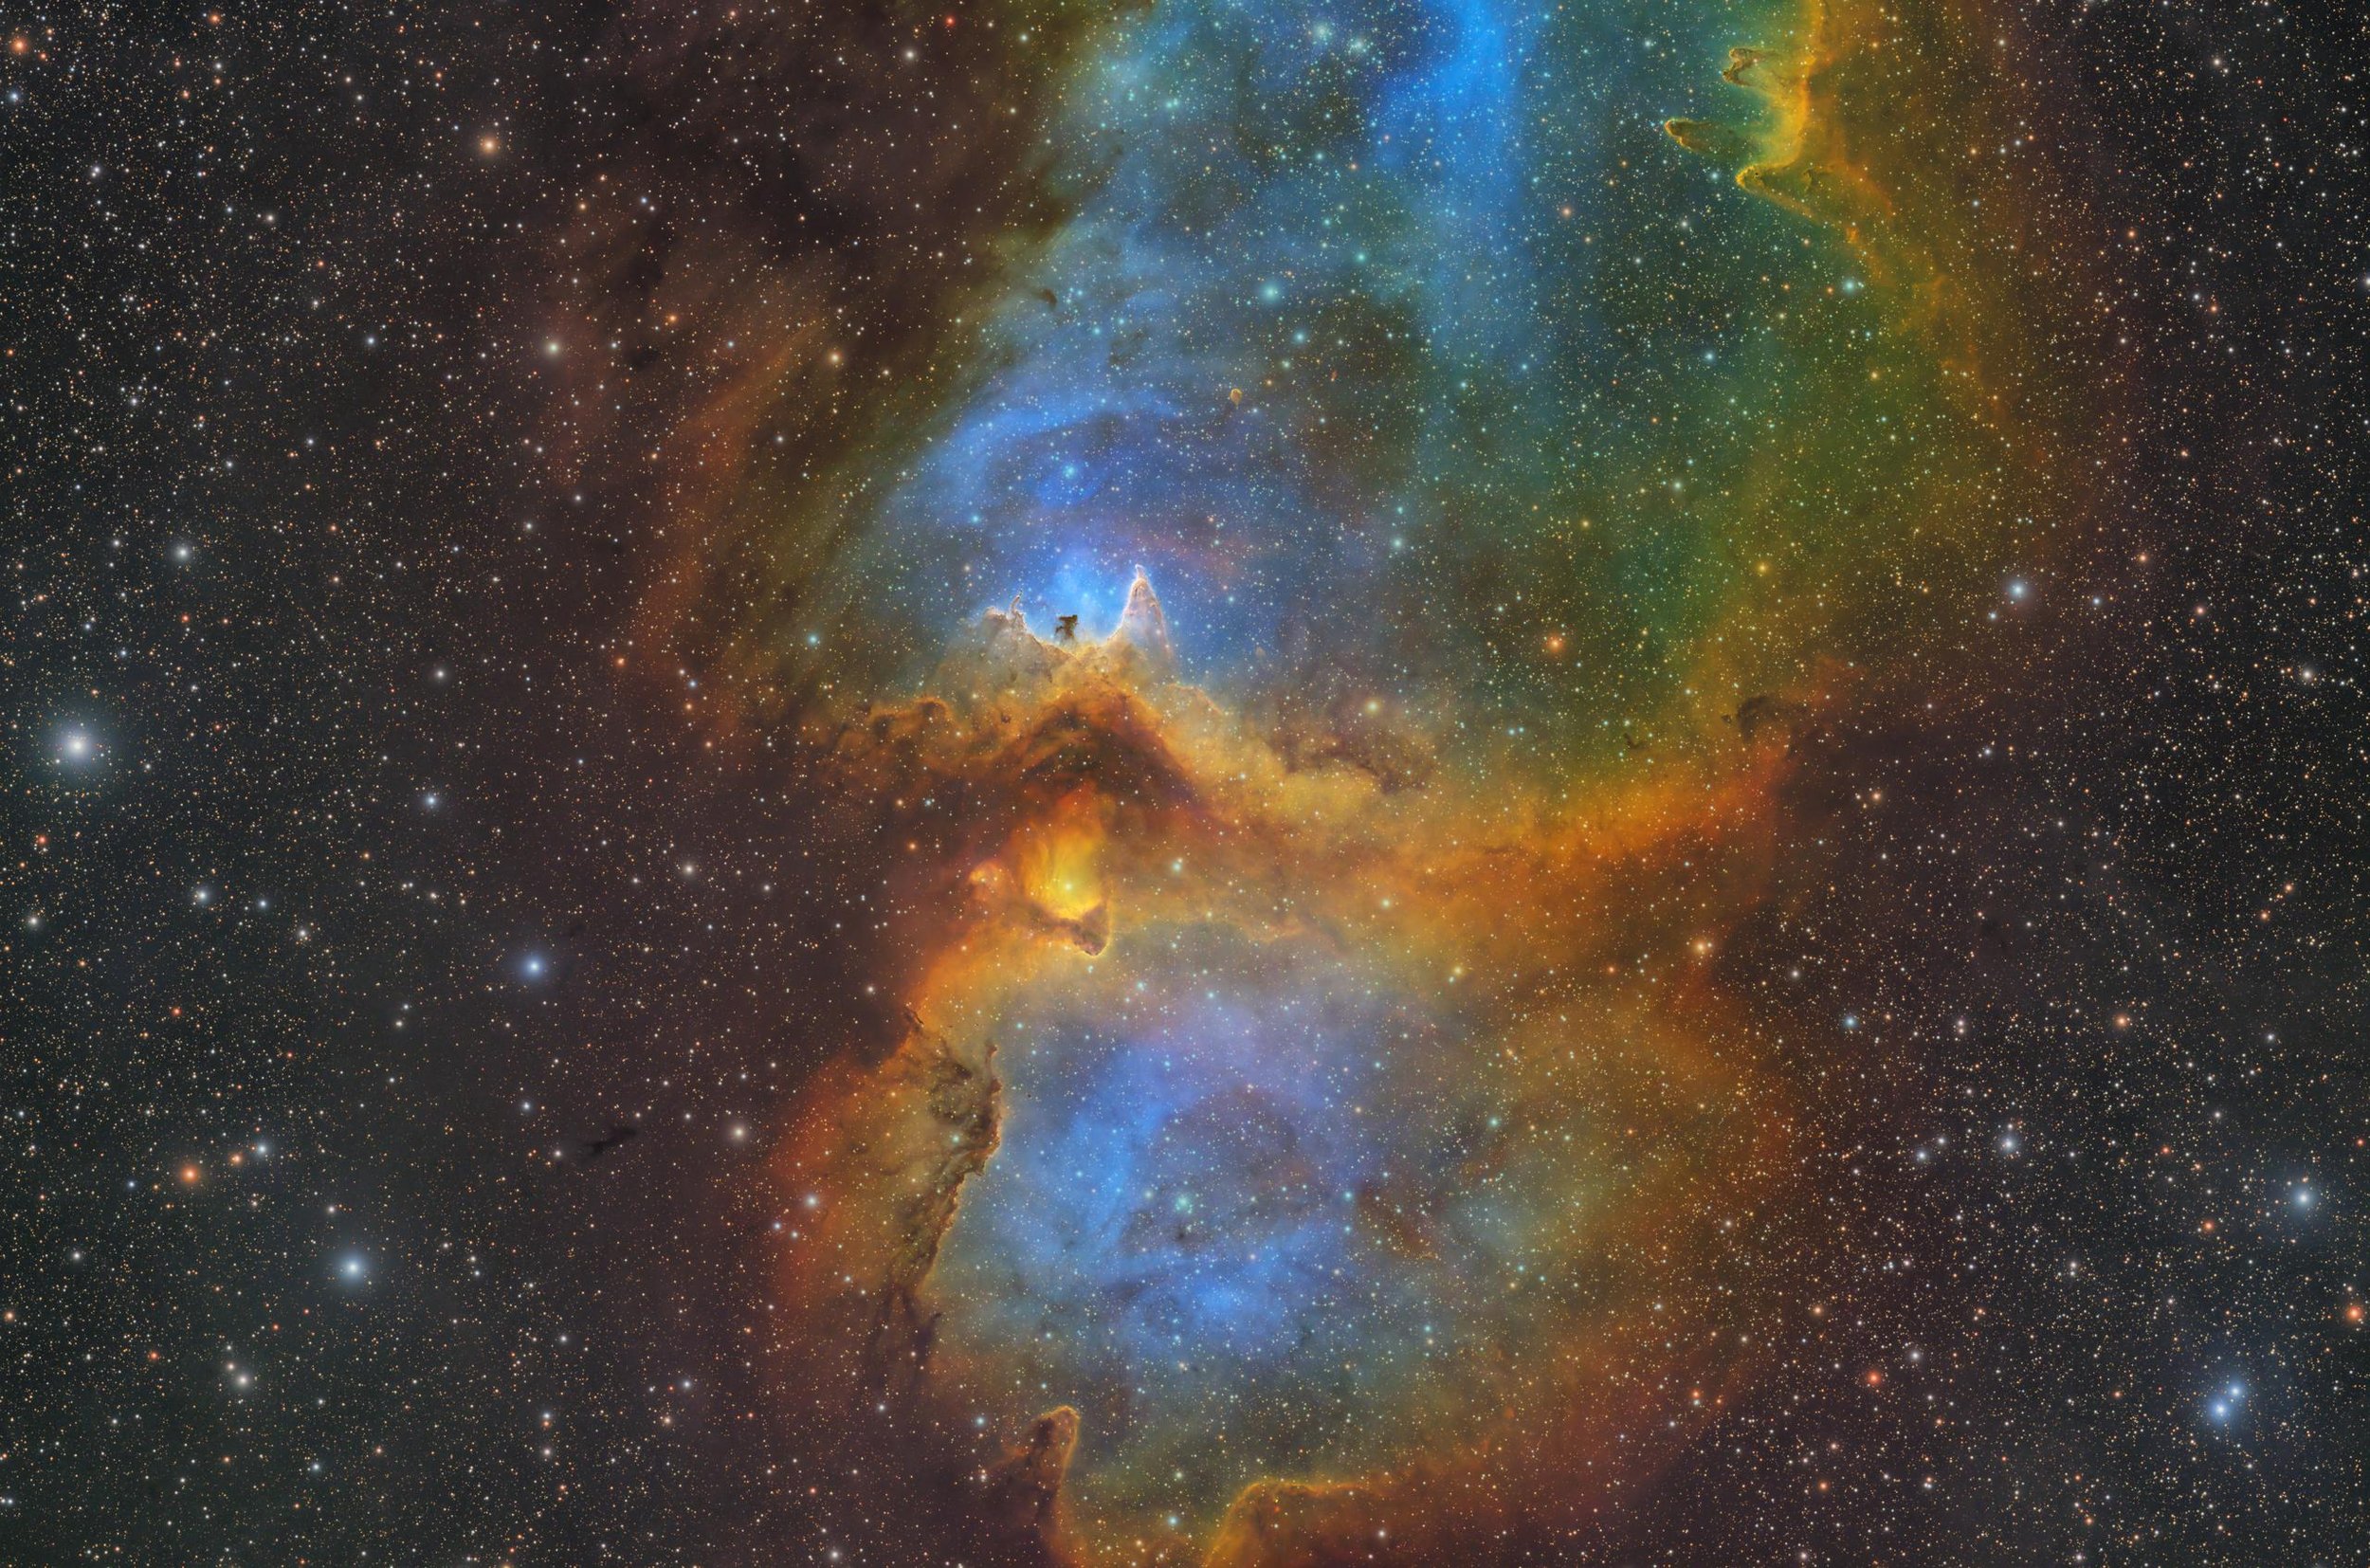
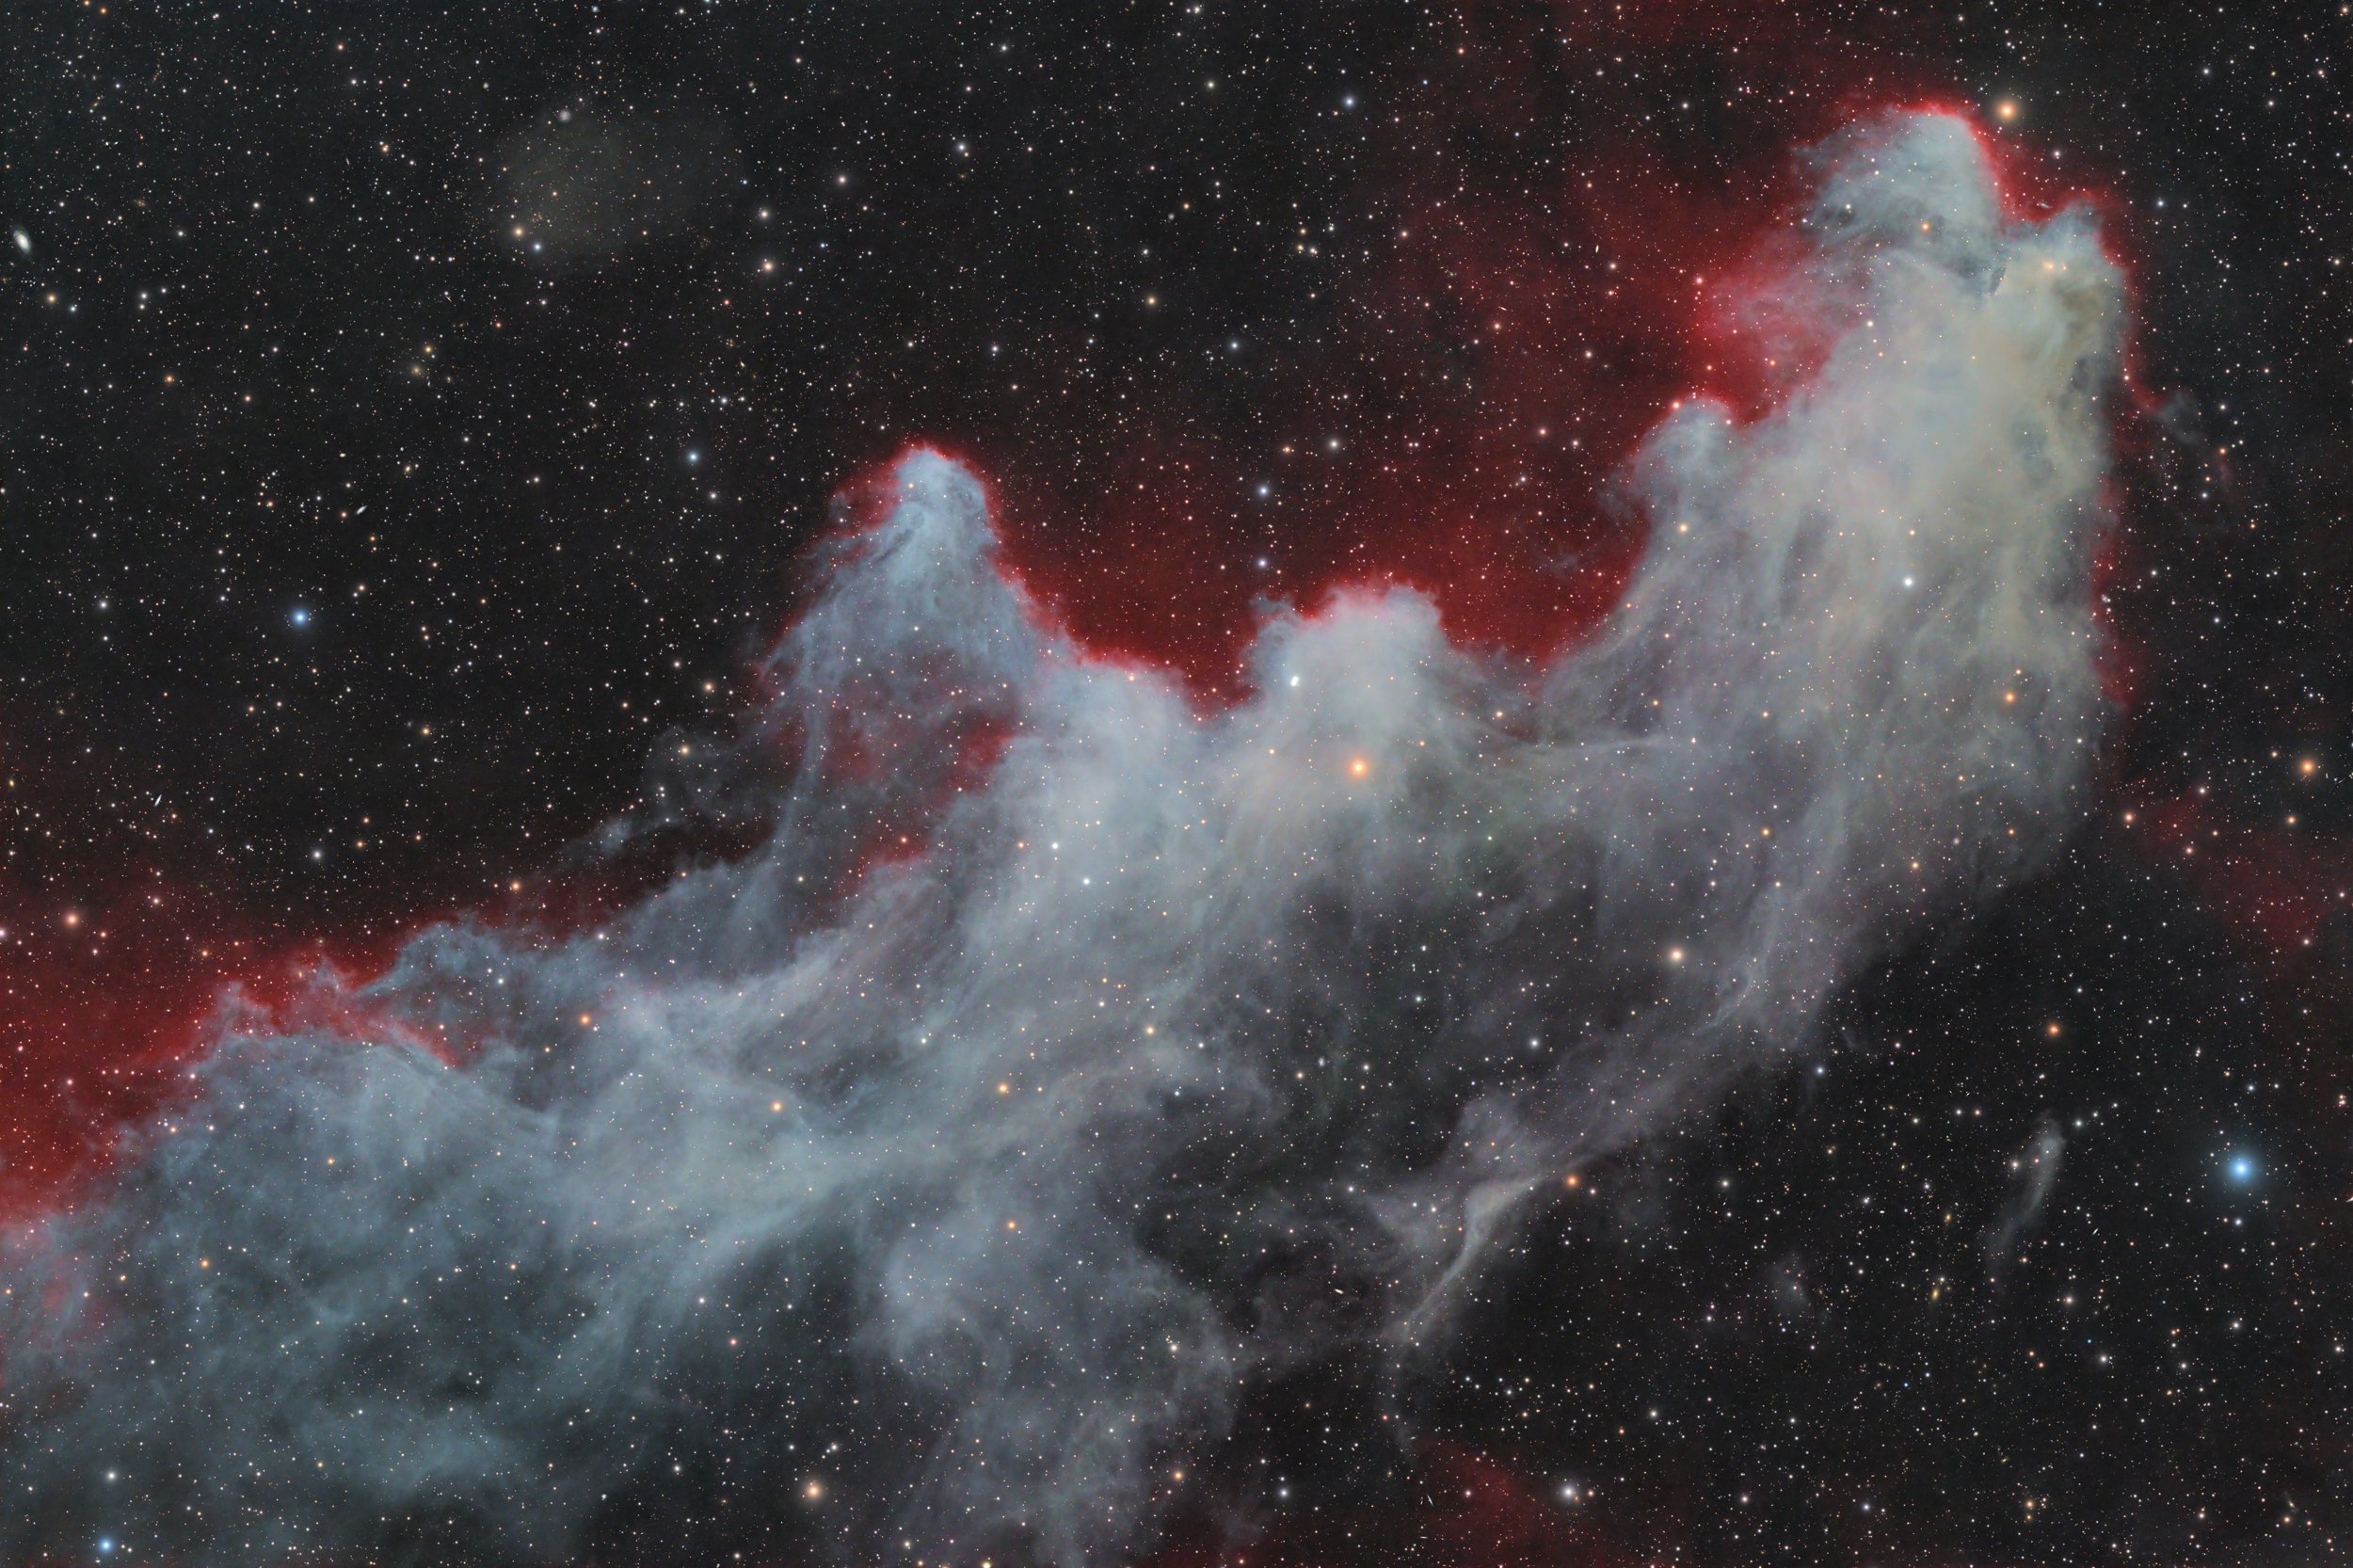
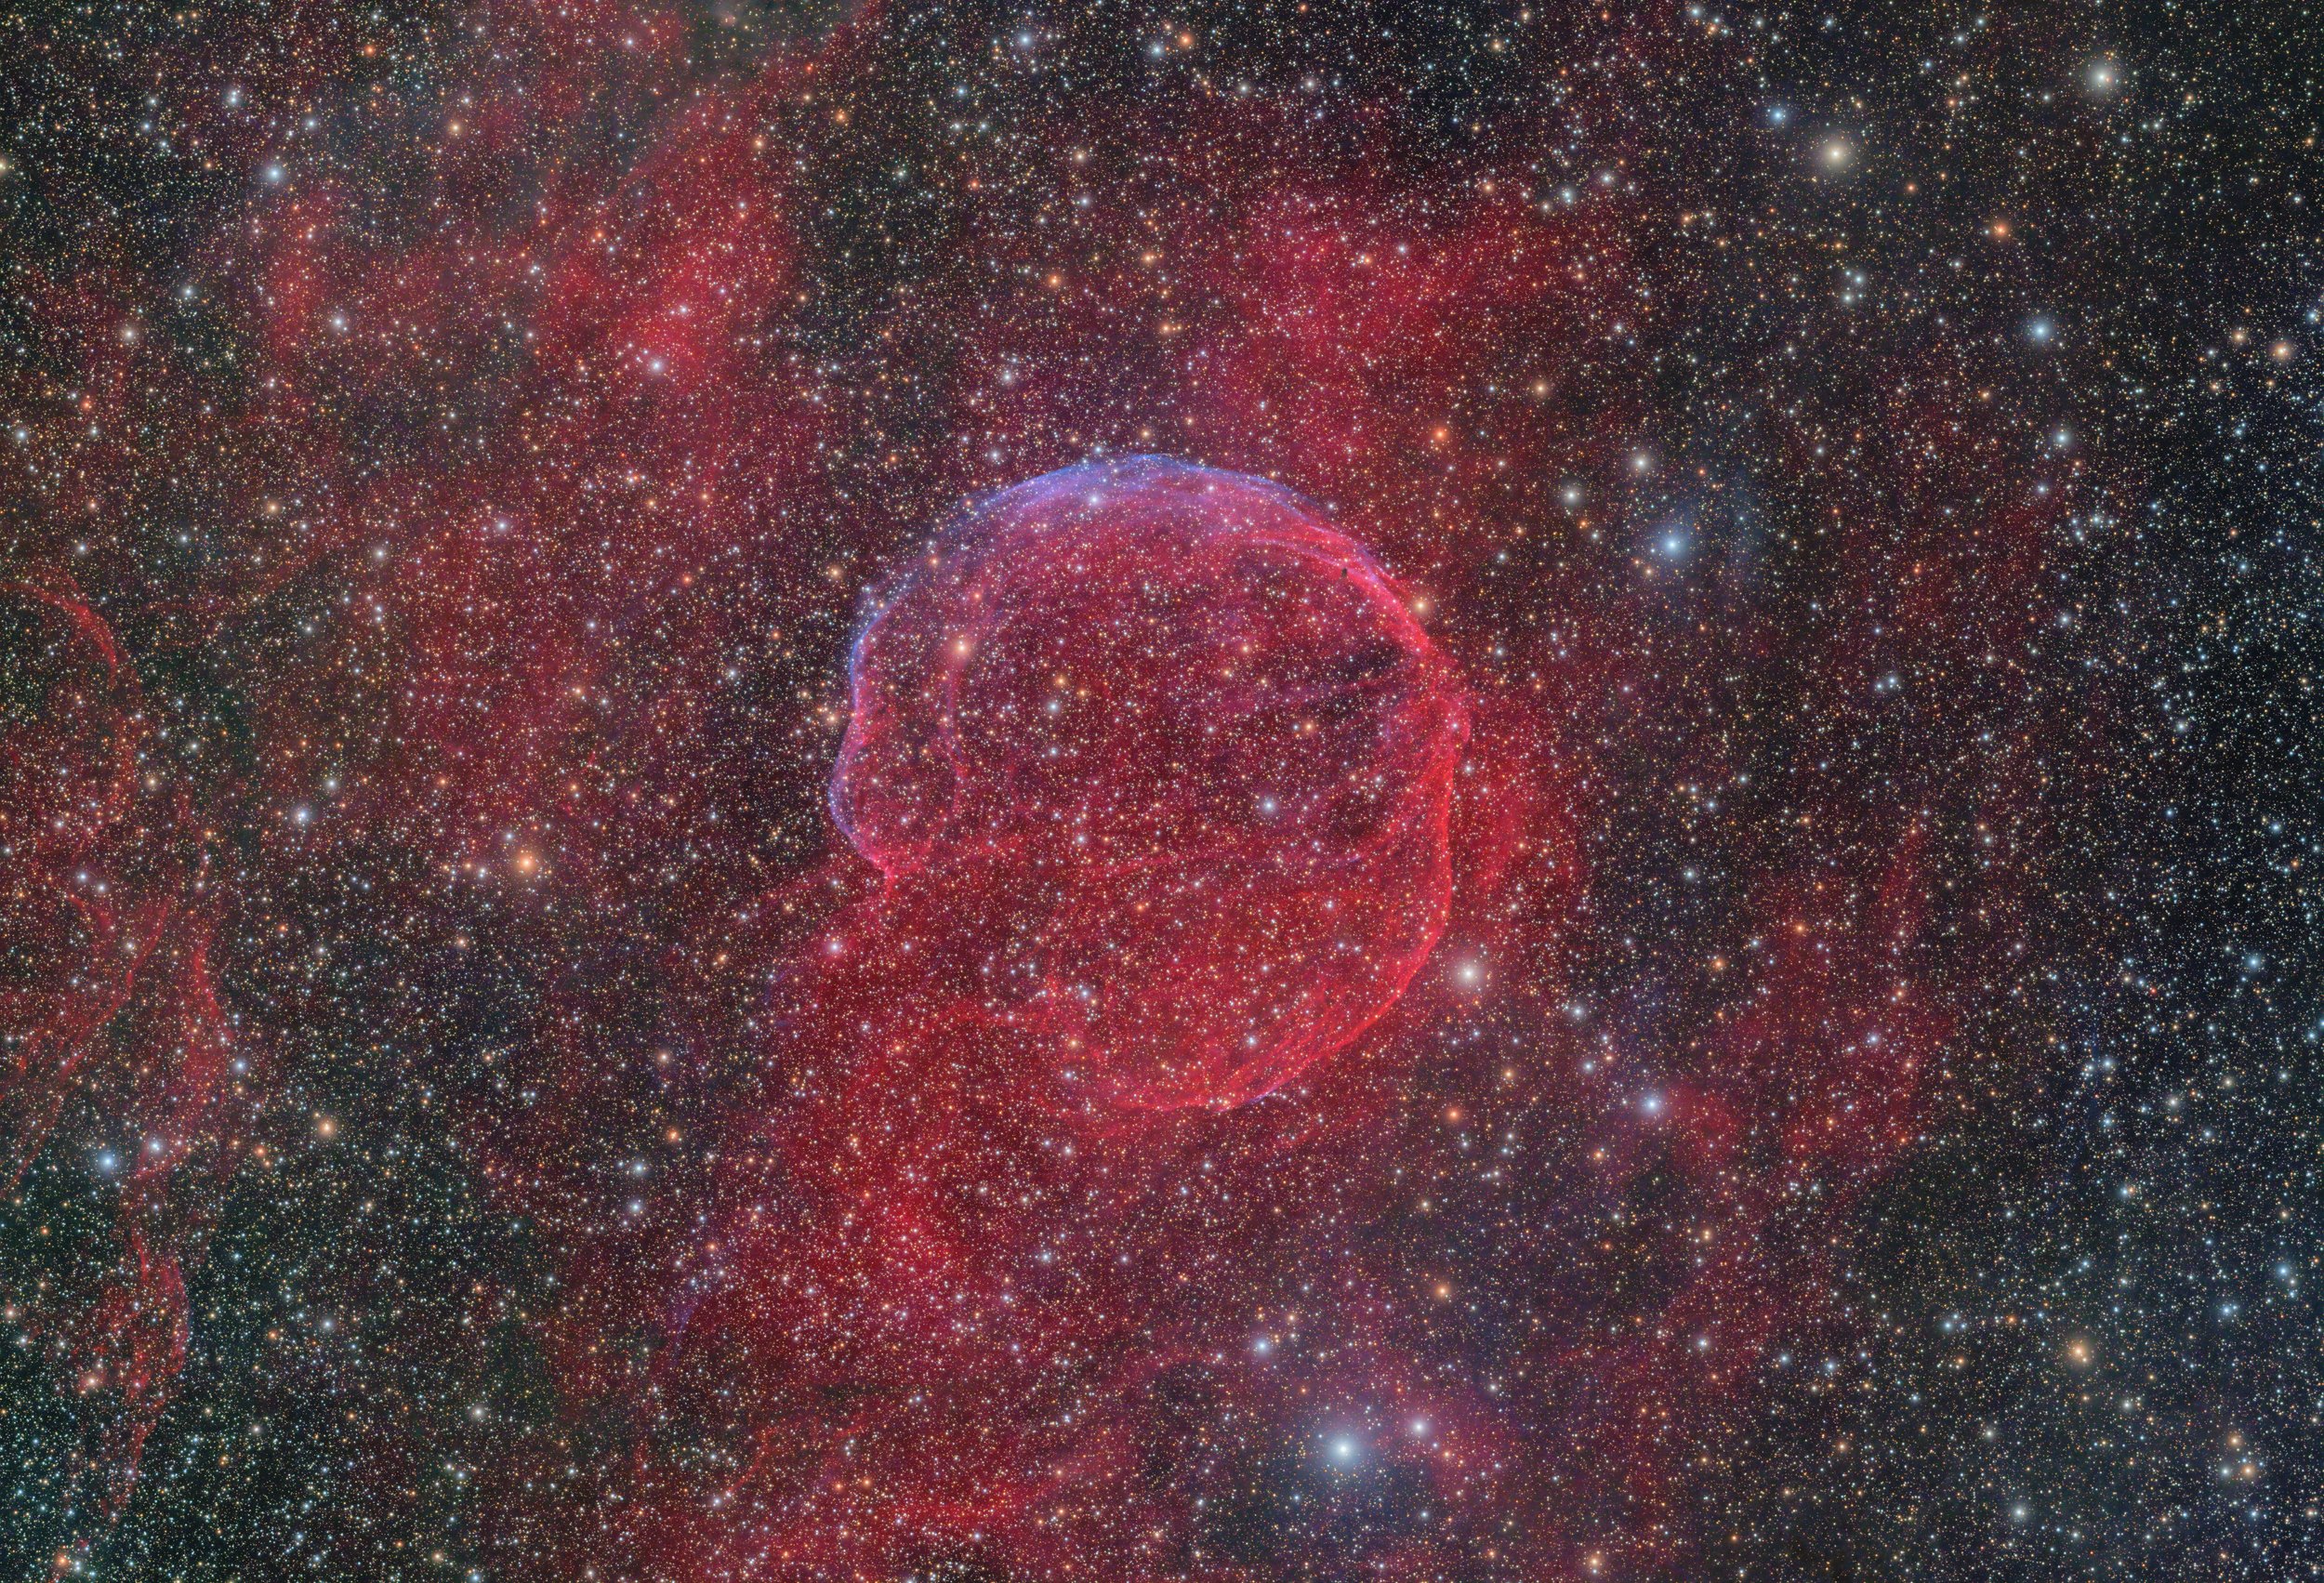
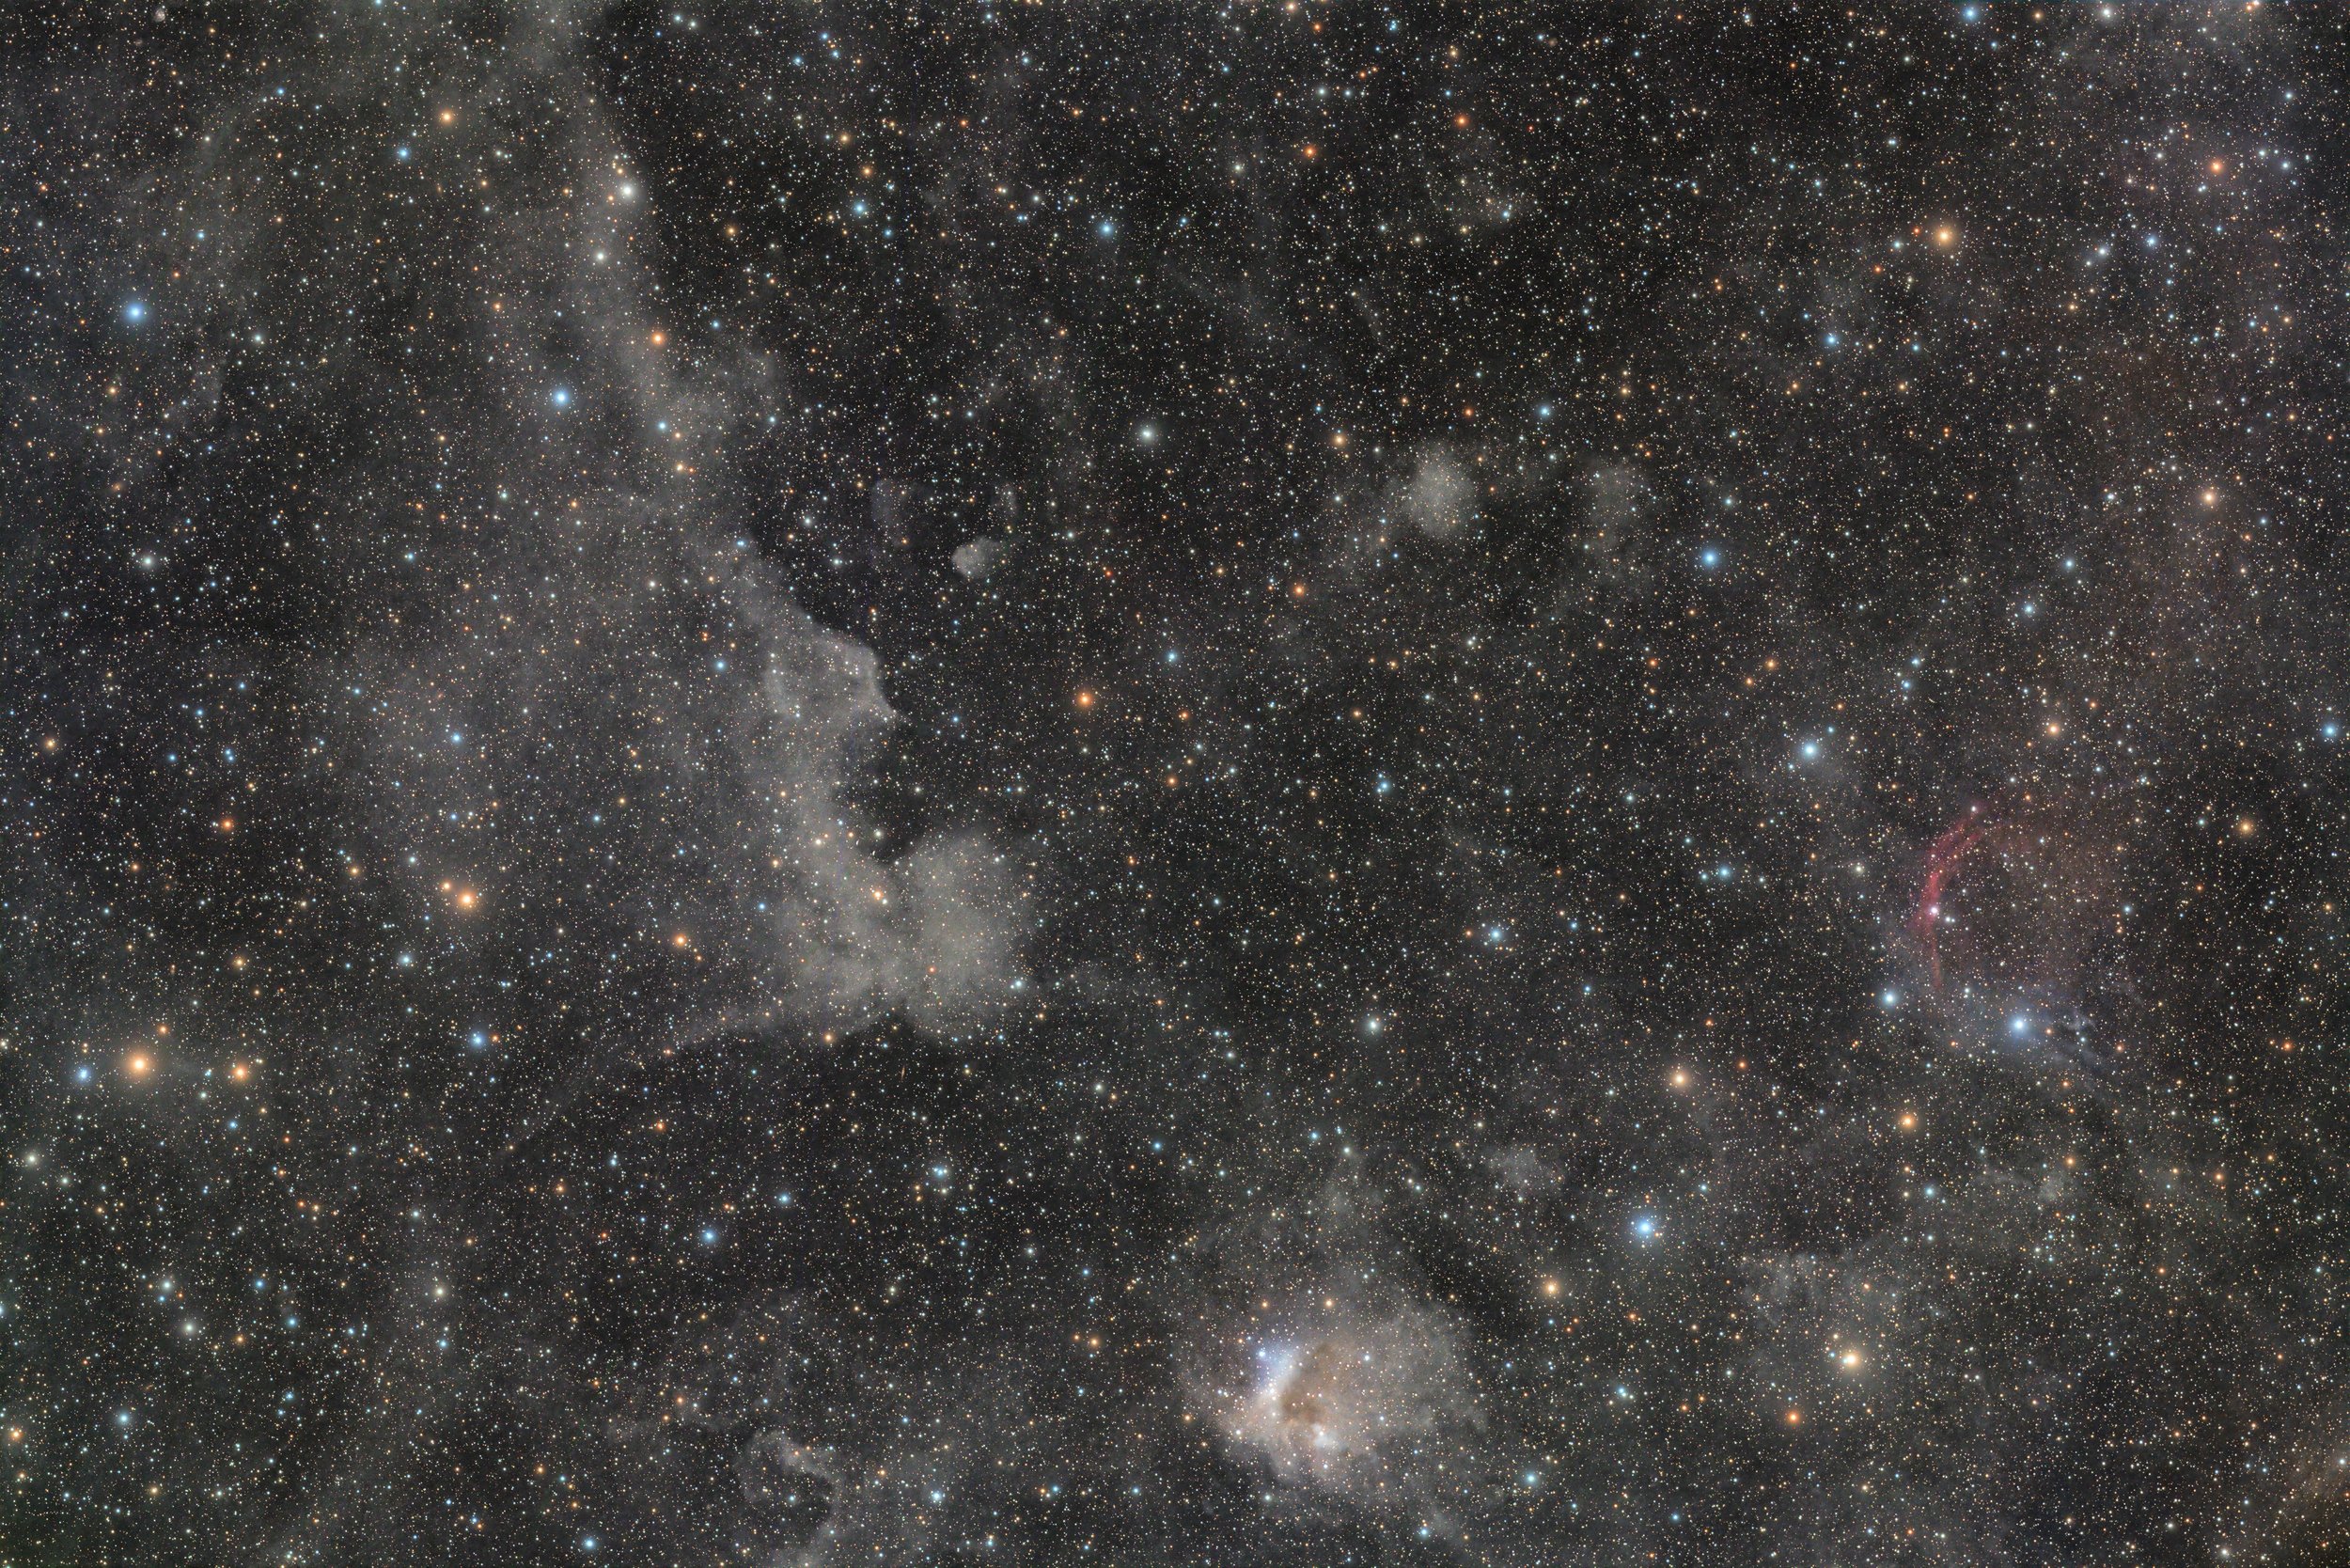
The second night, I shot the Crescent nebula. I processed it as HOO here, and in my gallery I added SII to the mix for an SHO colored pallet. This image was right at 8 hours.
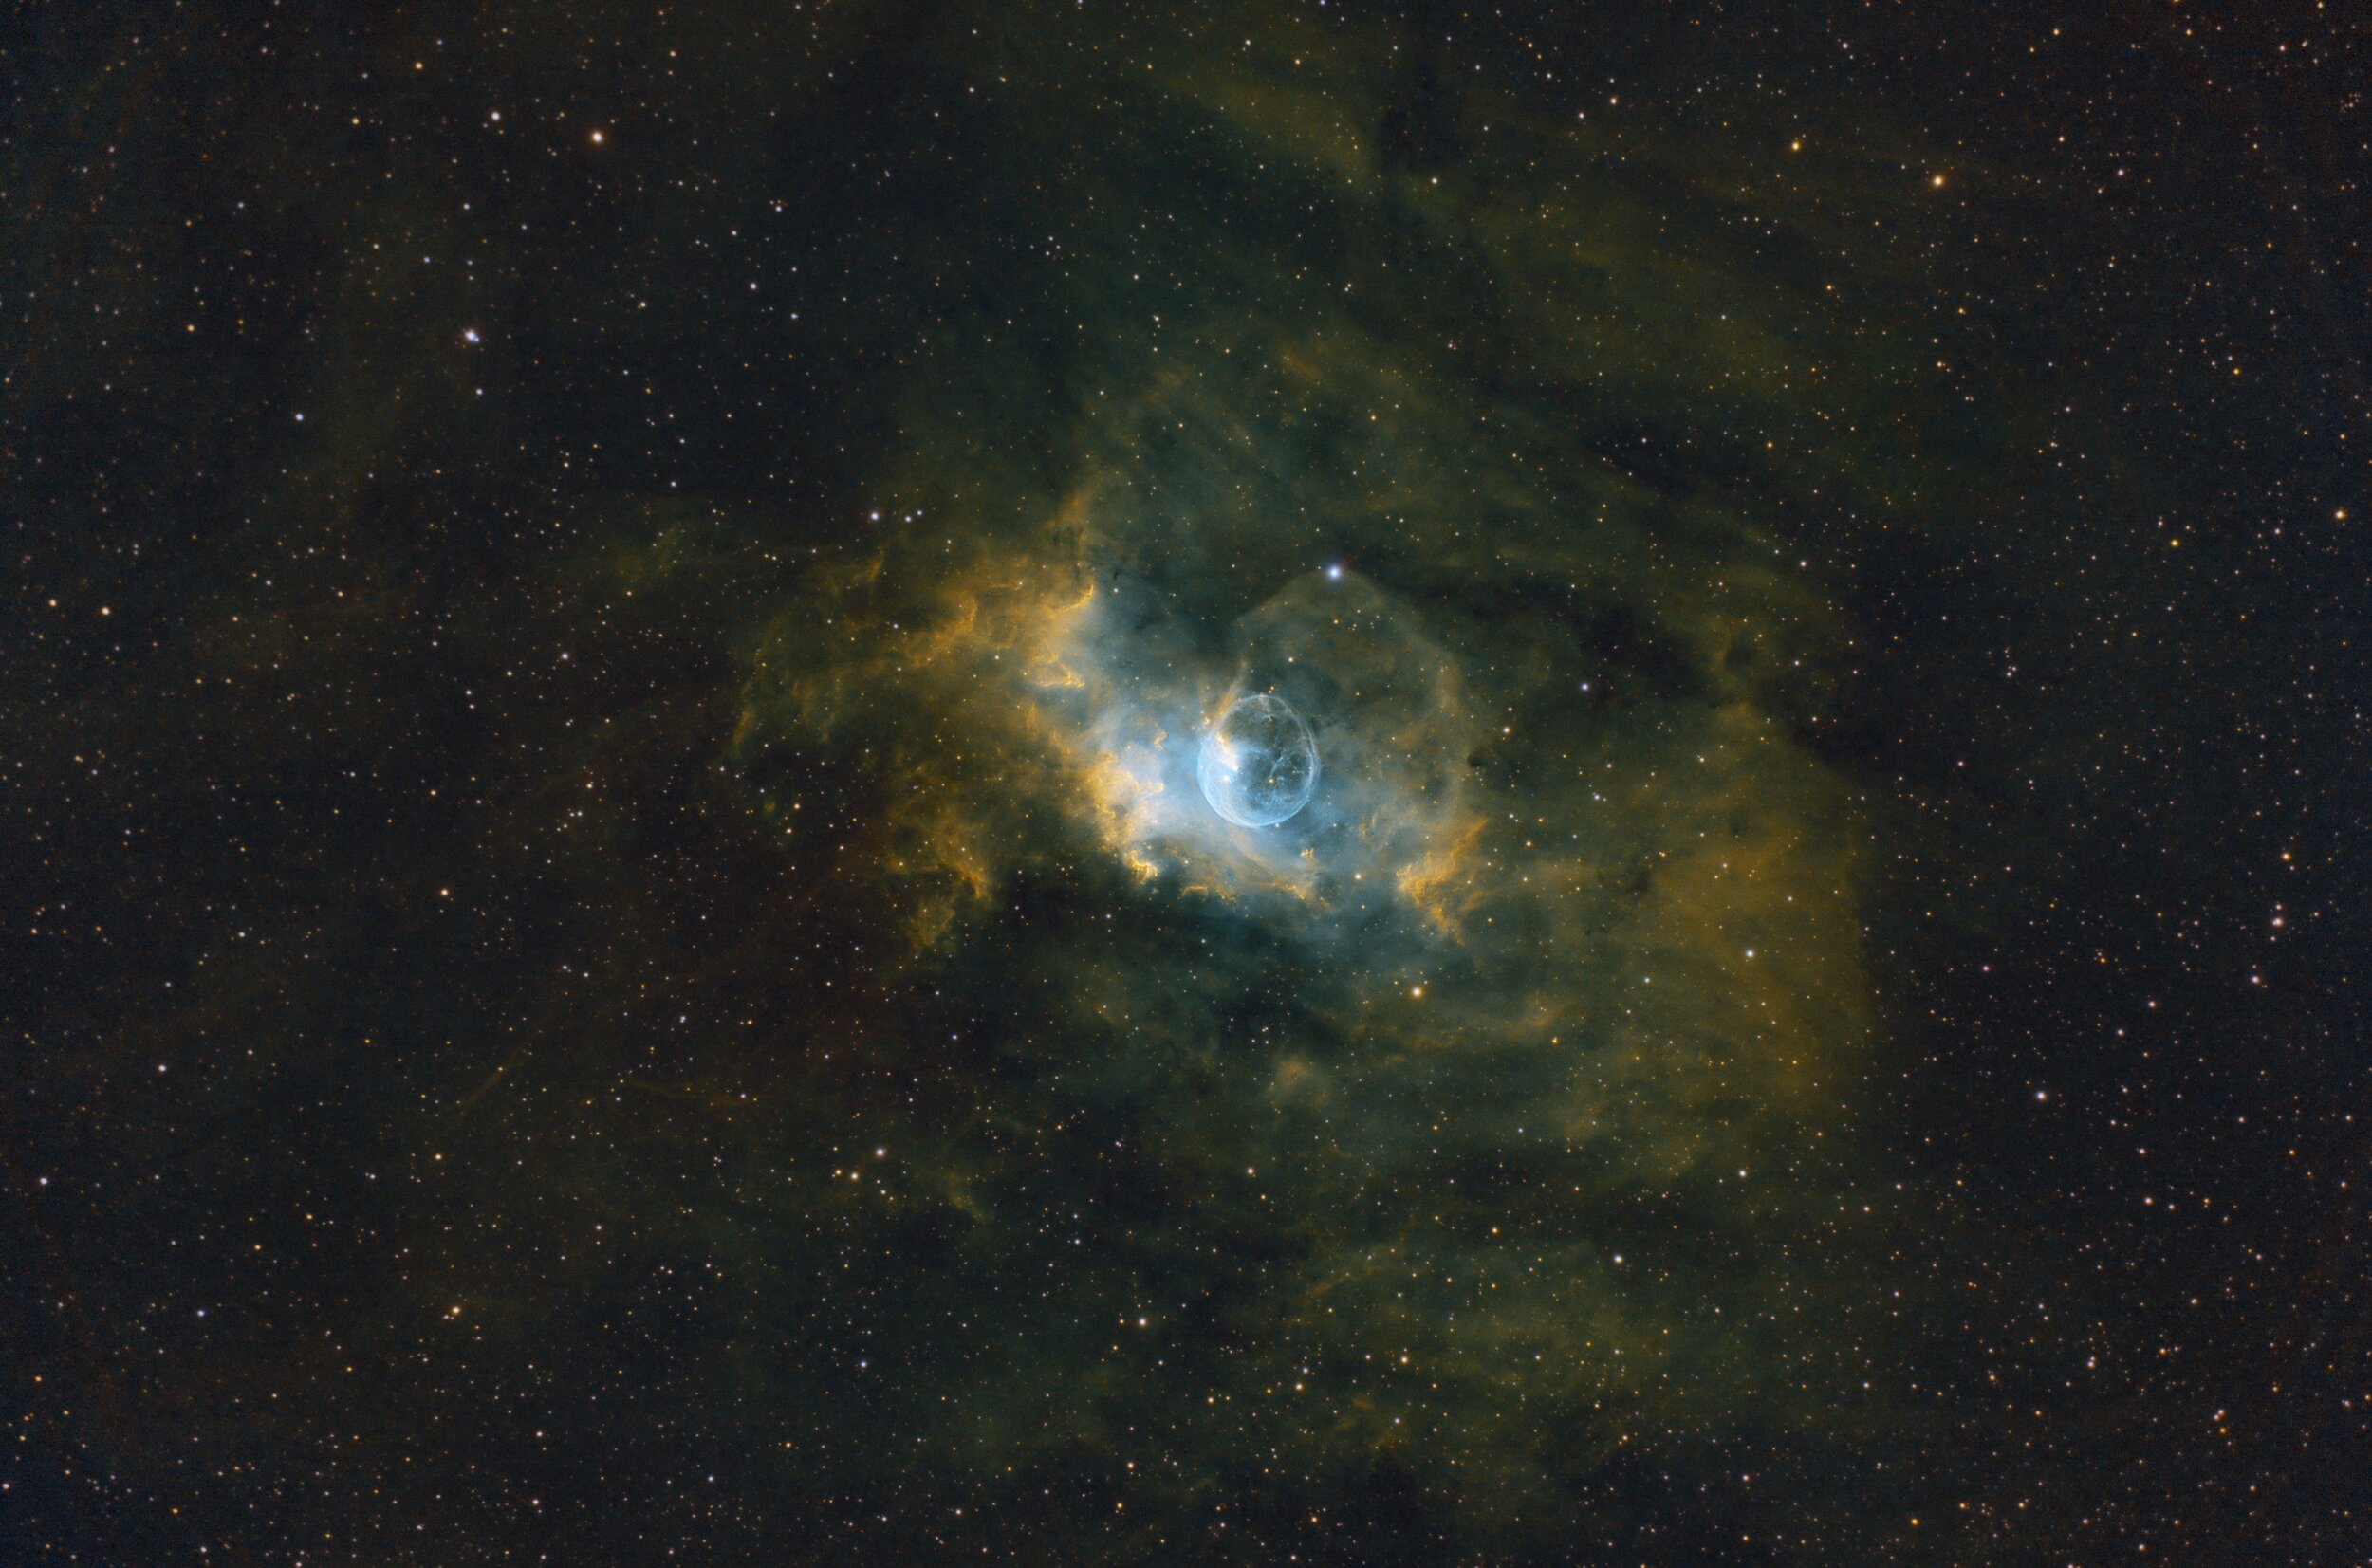

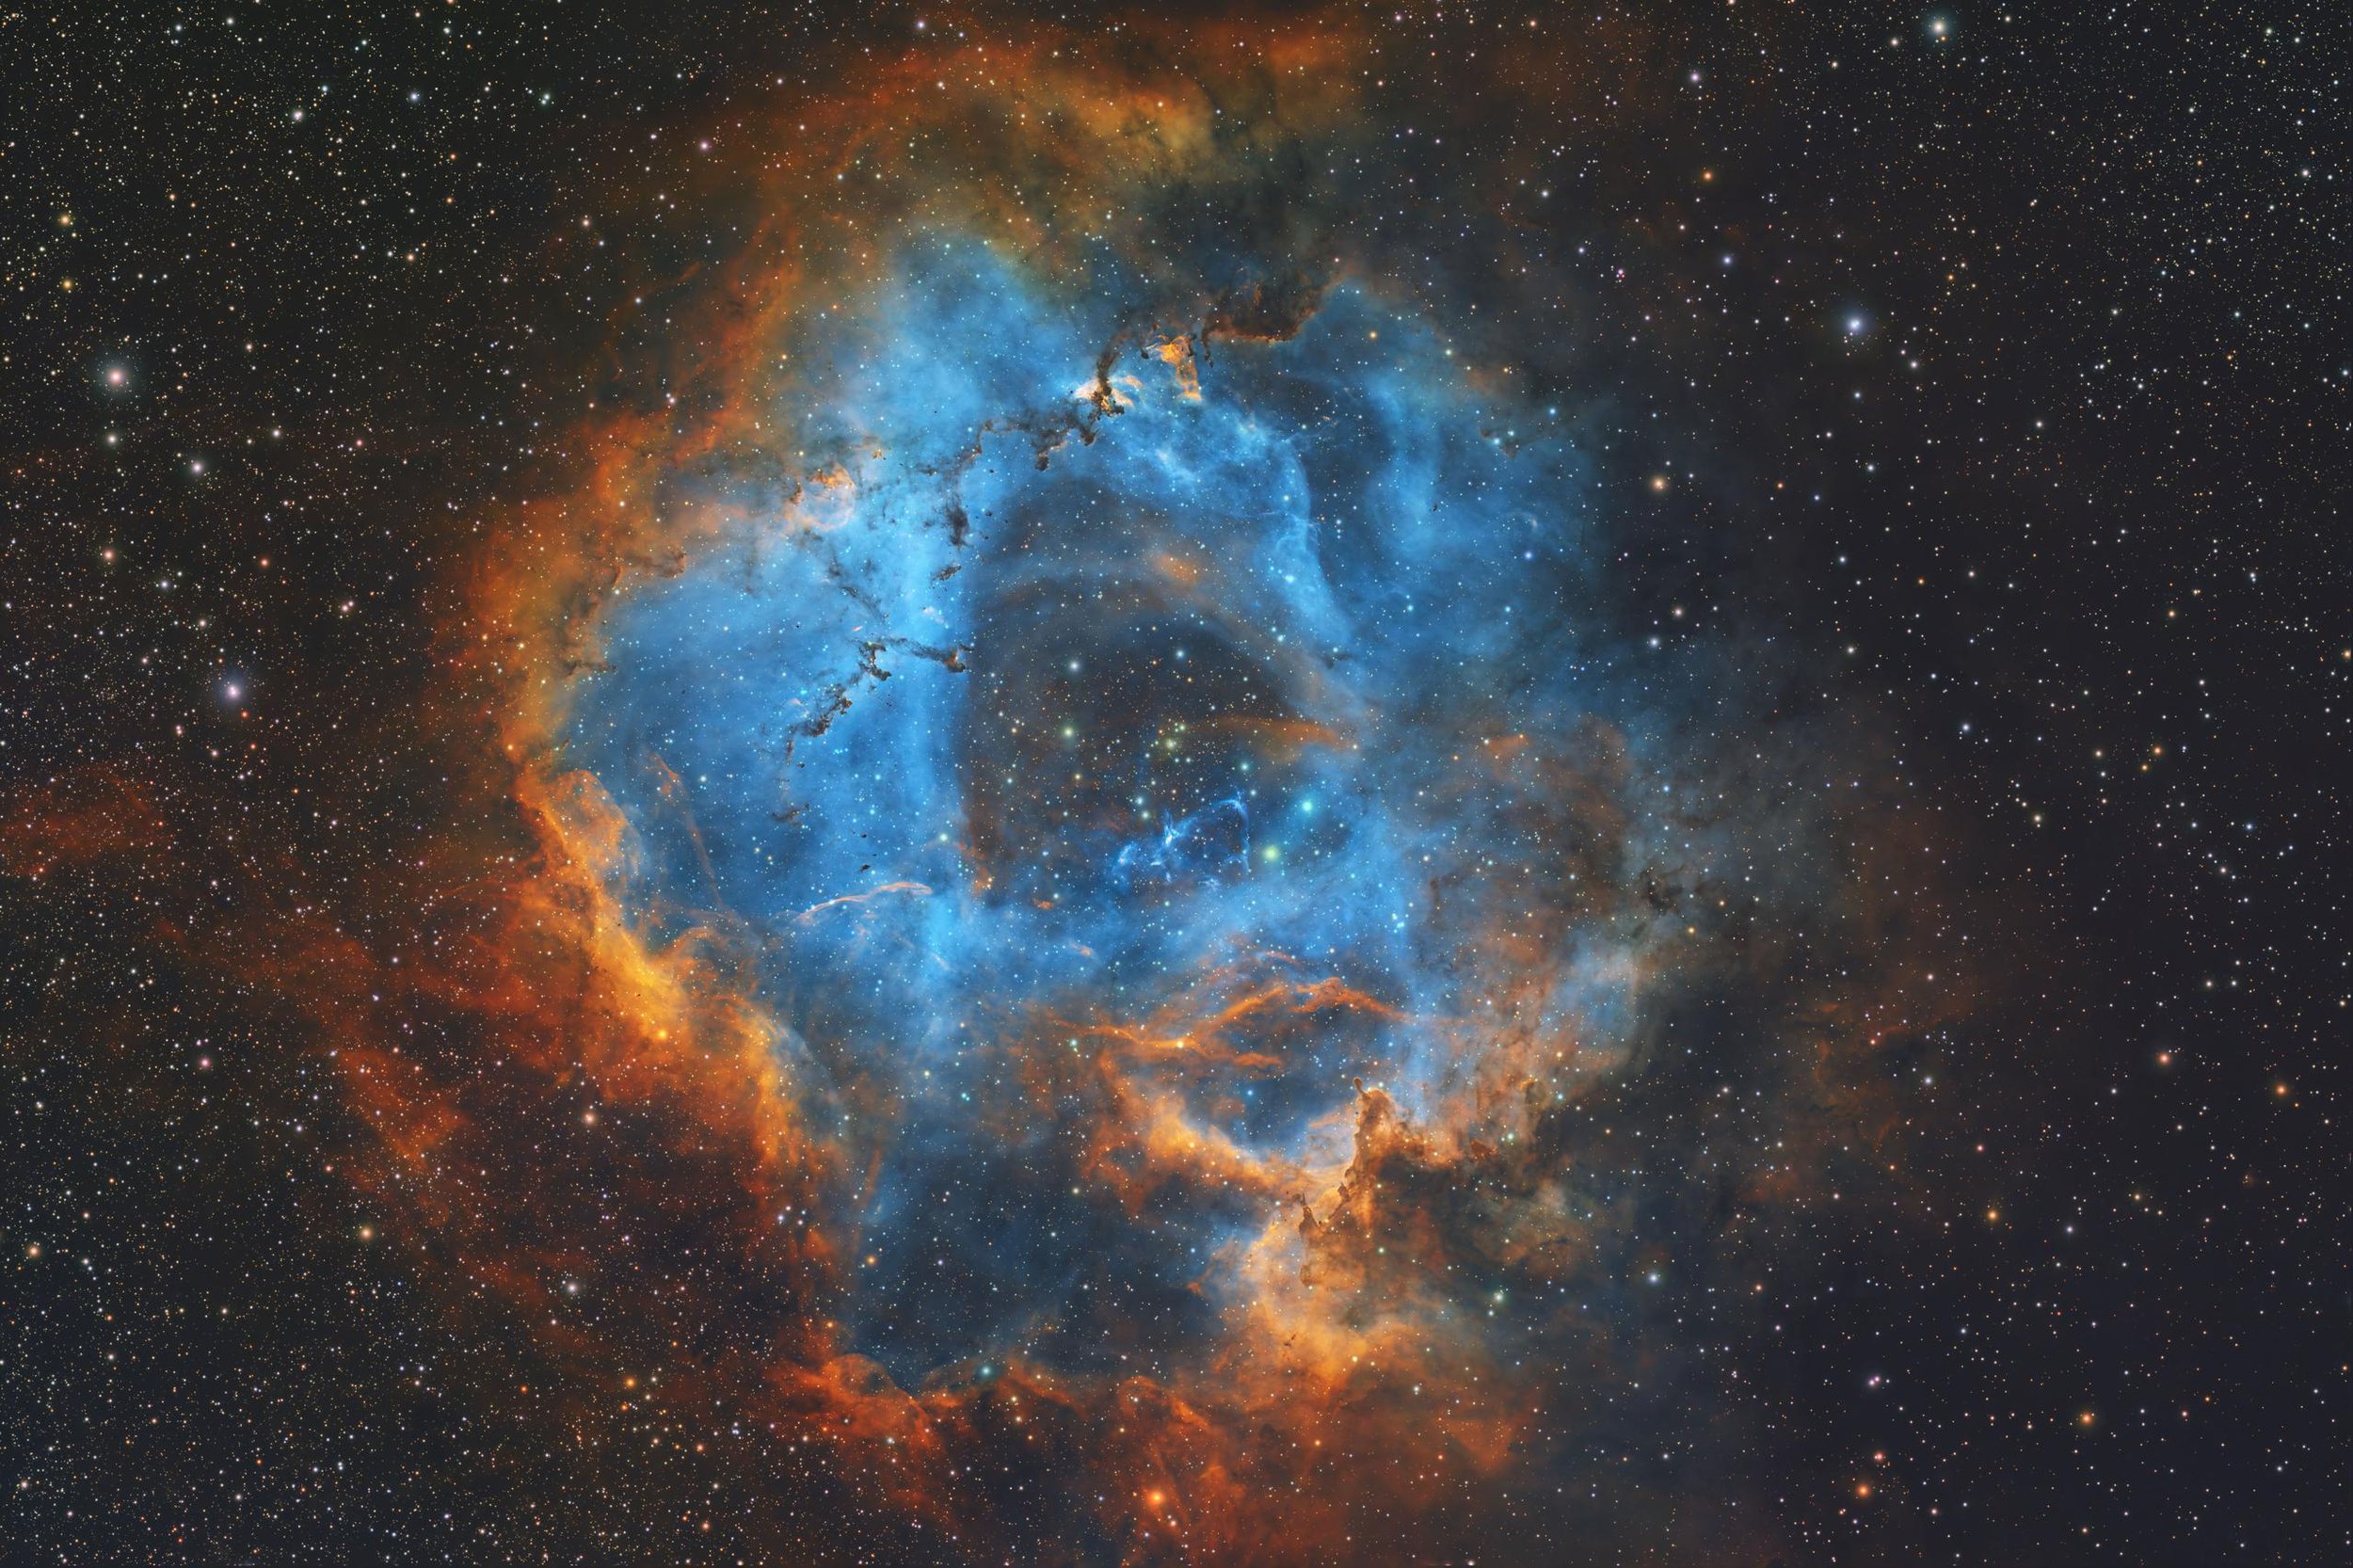
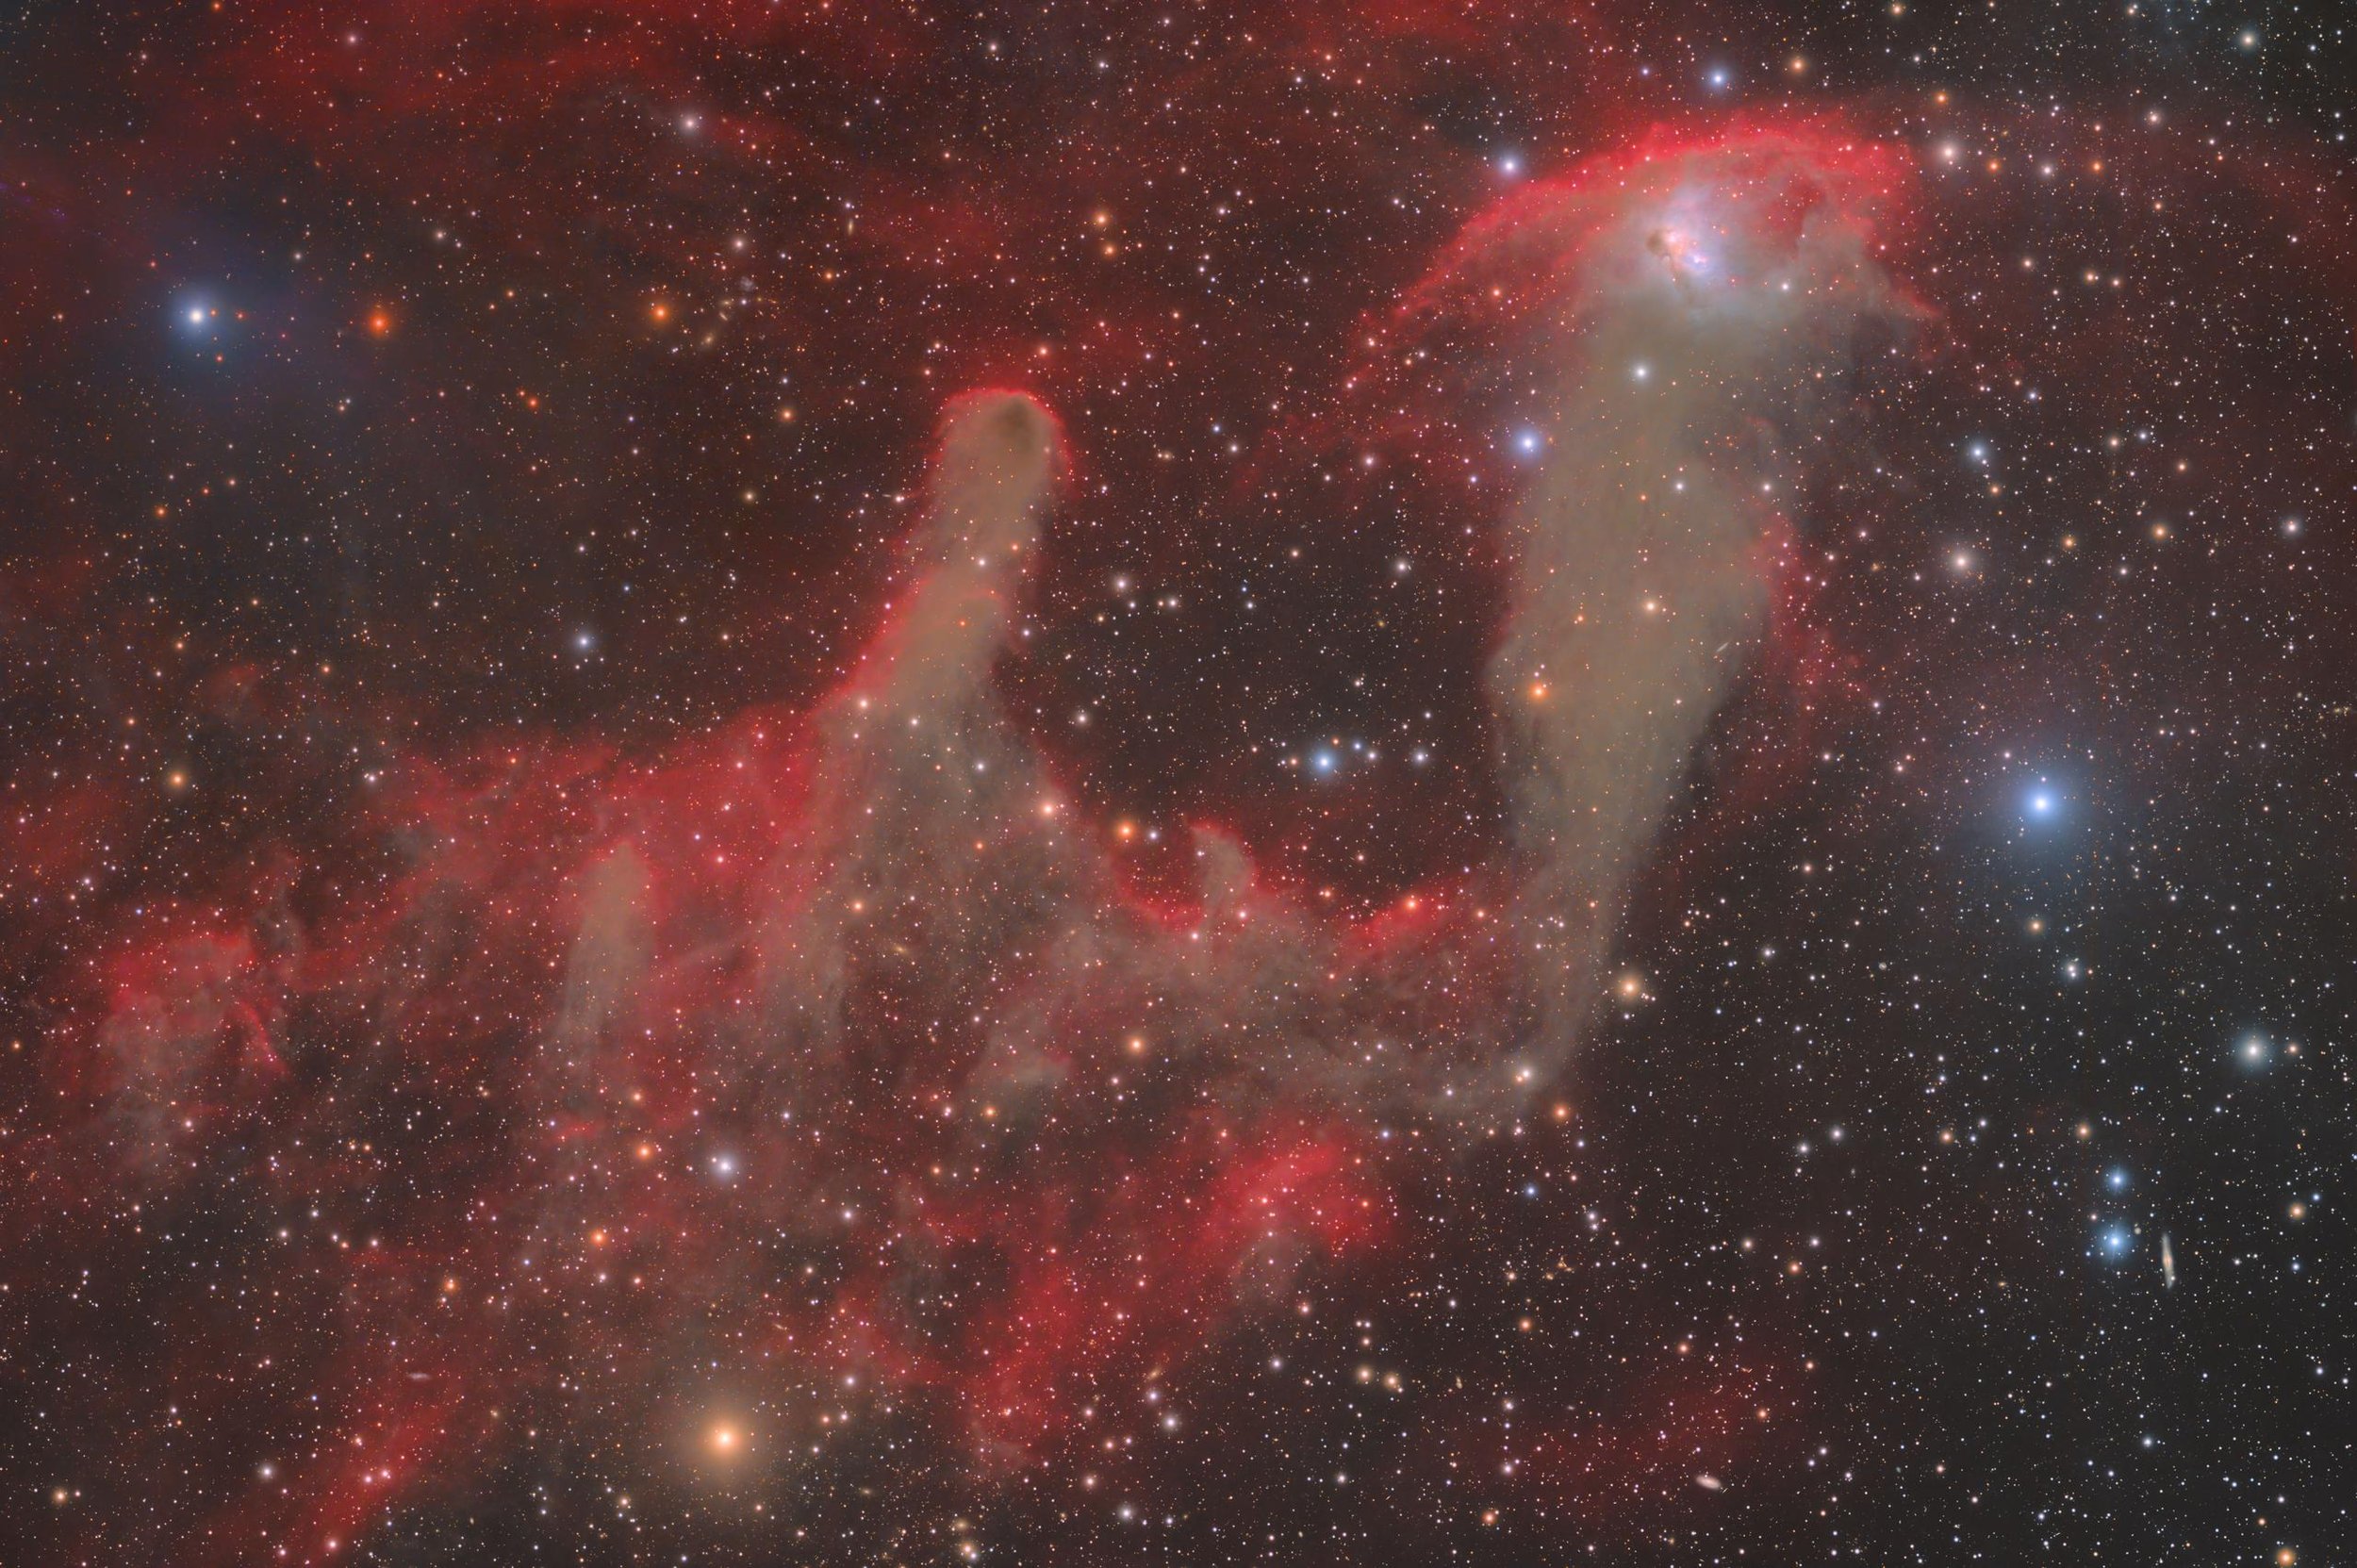
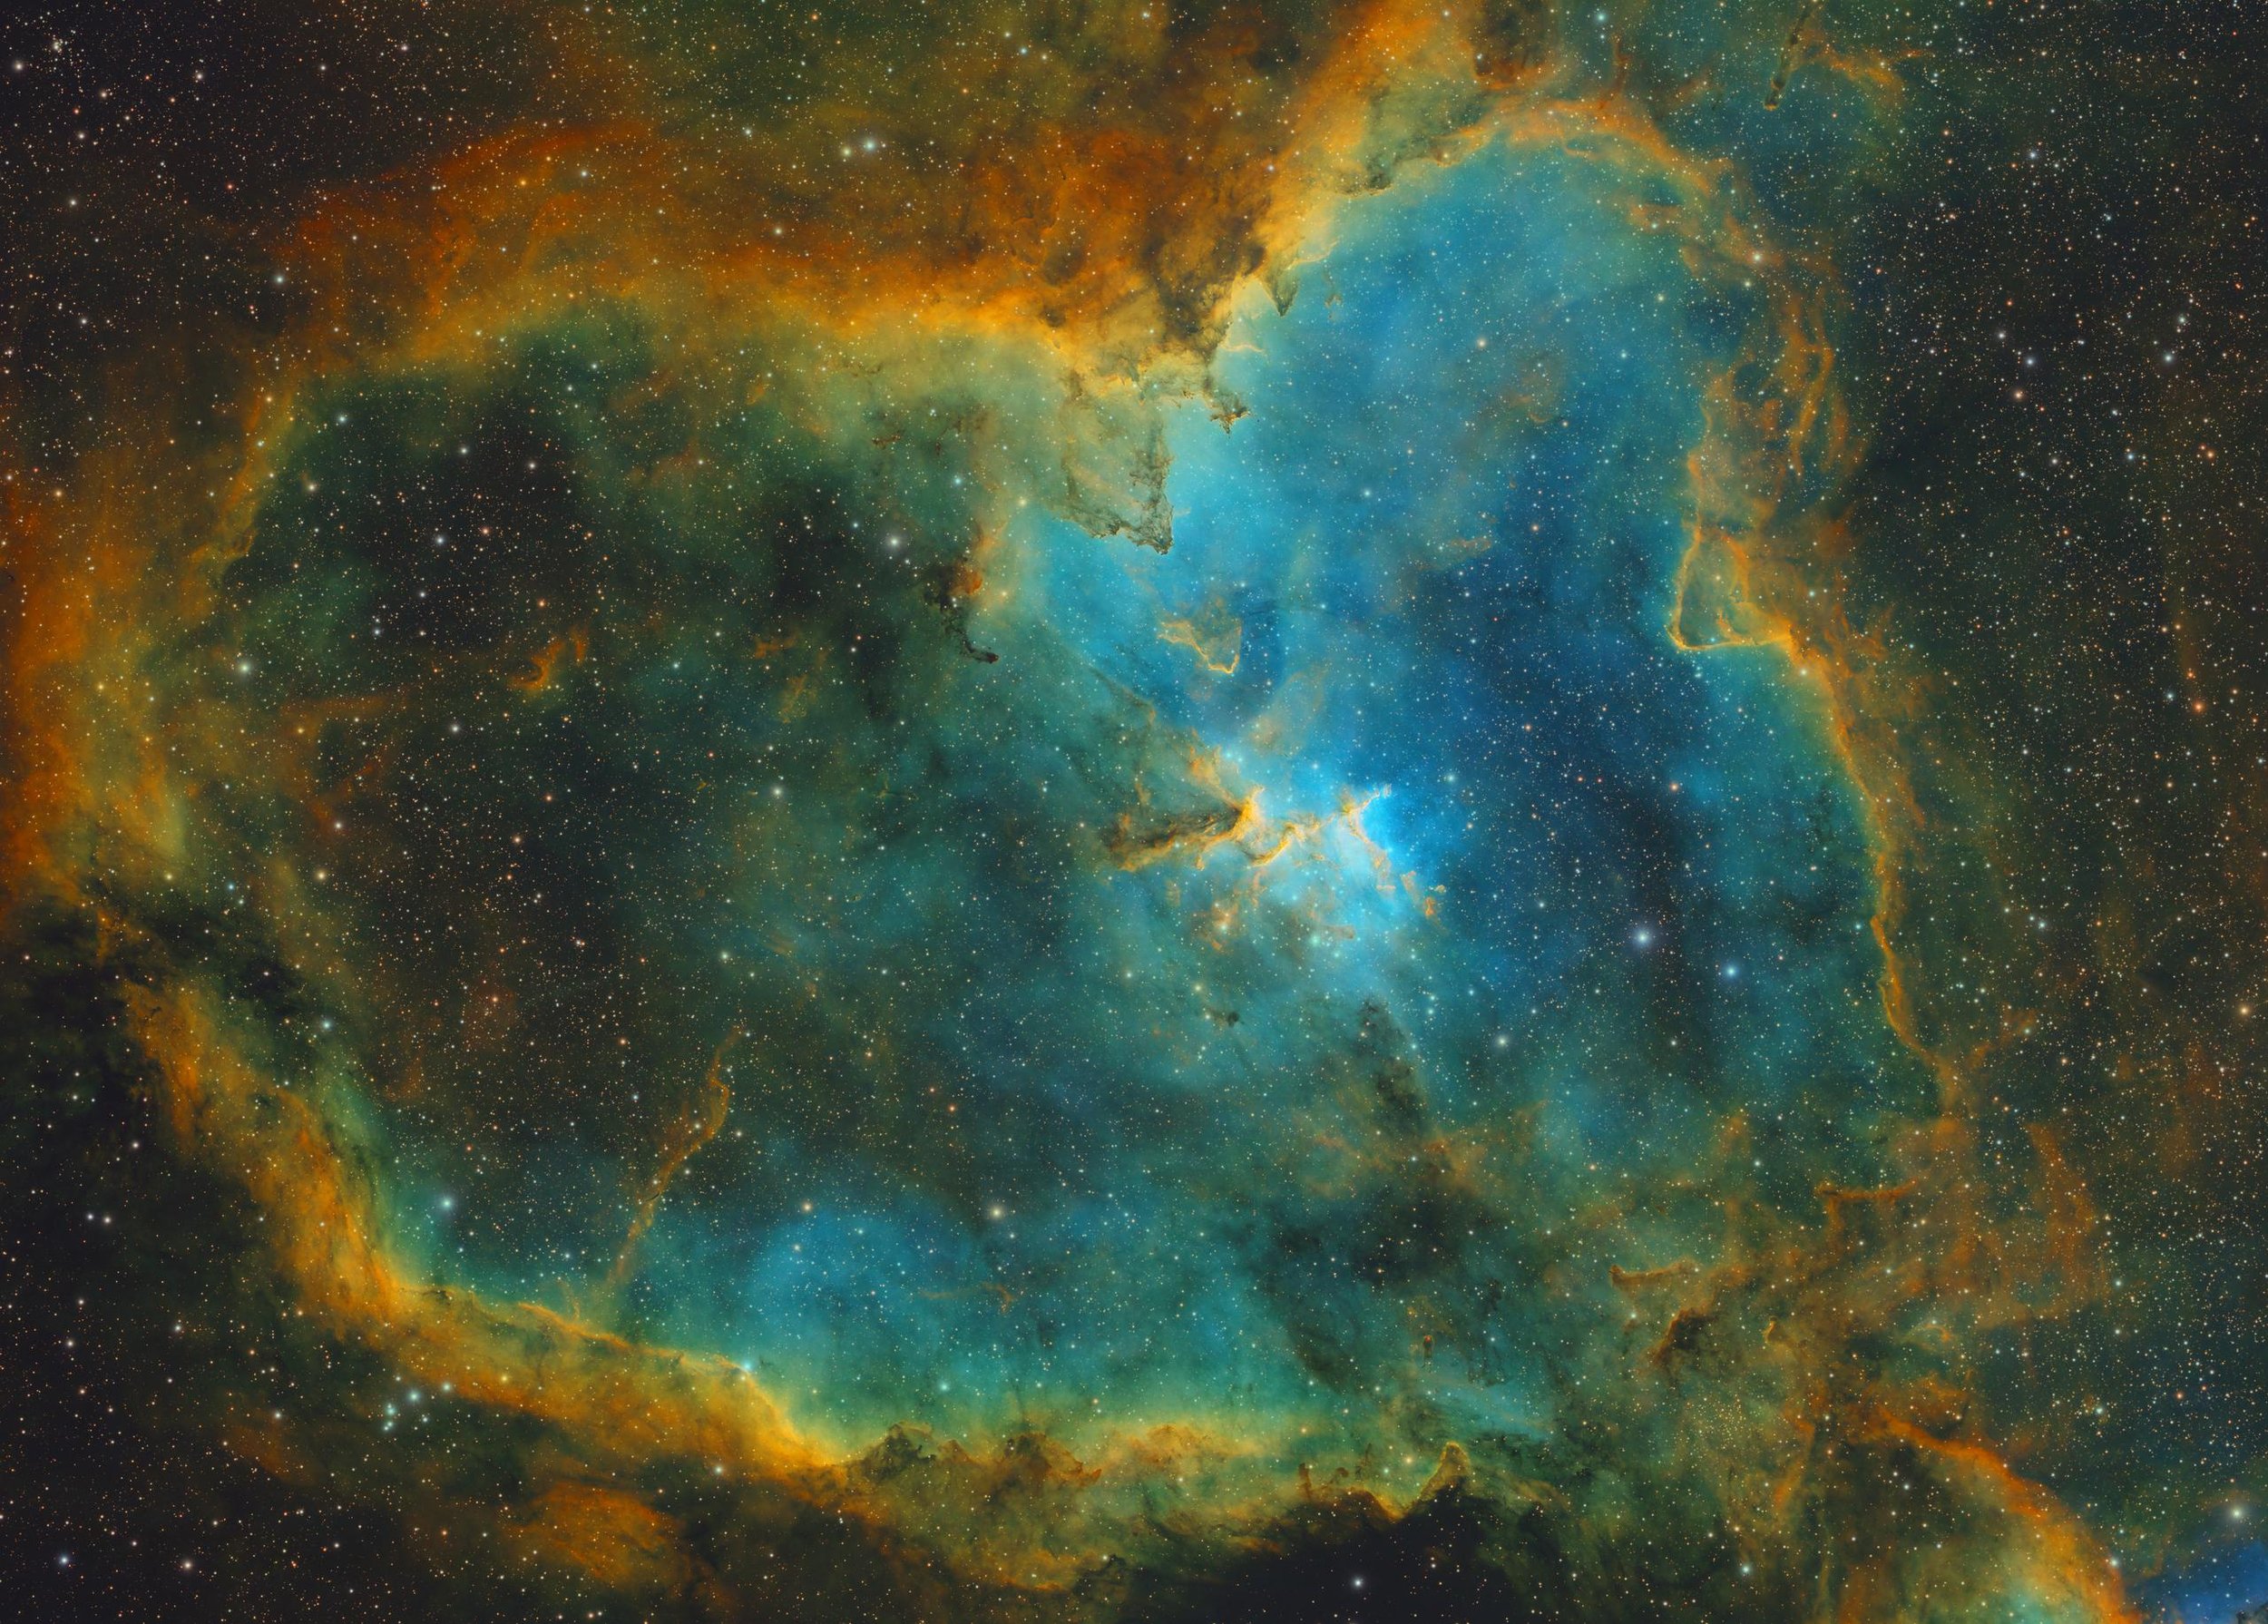
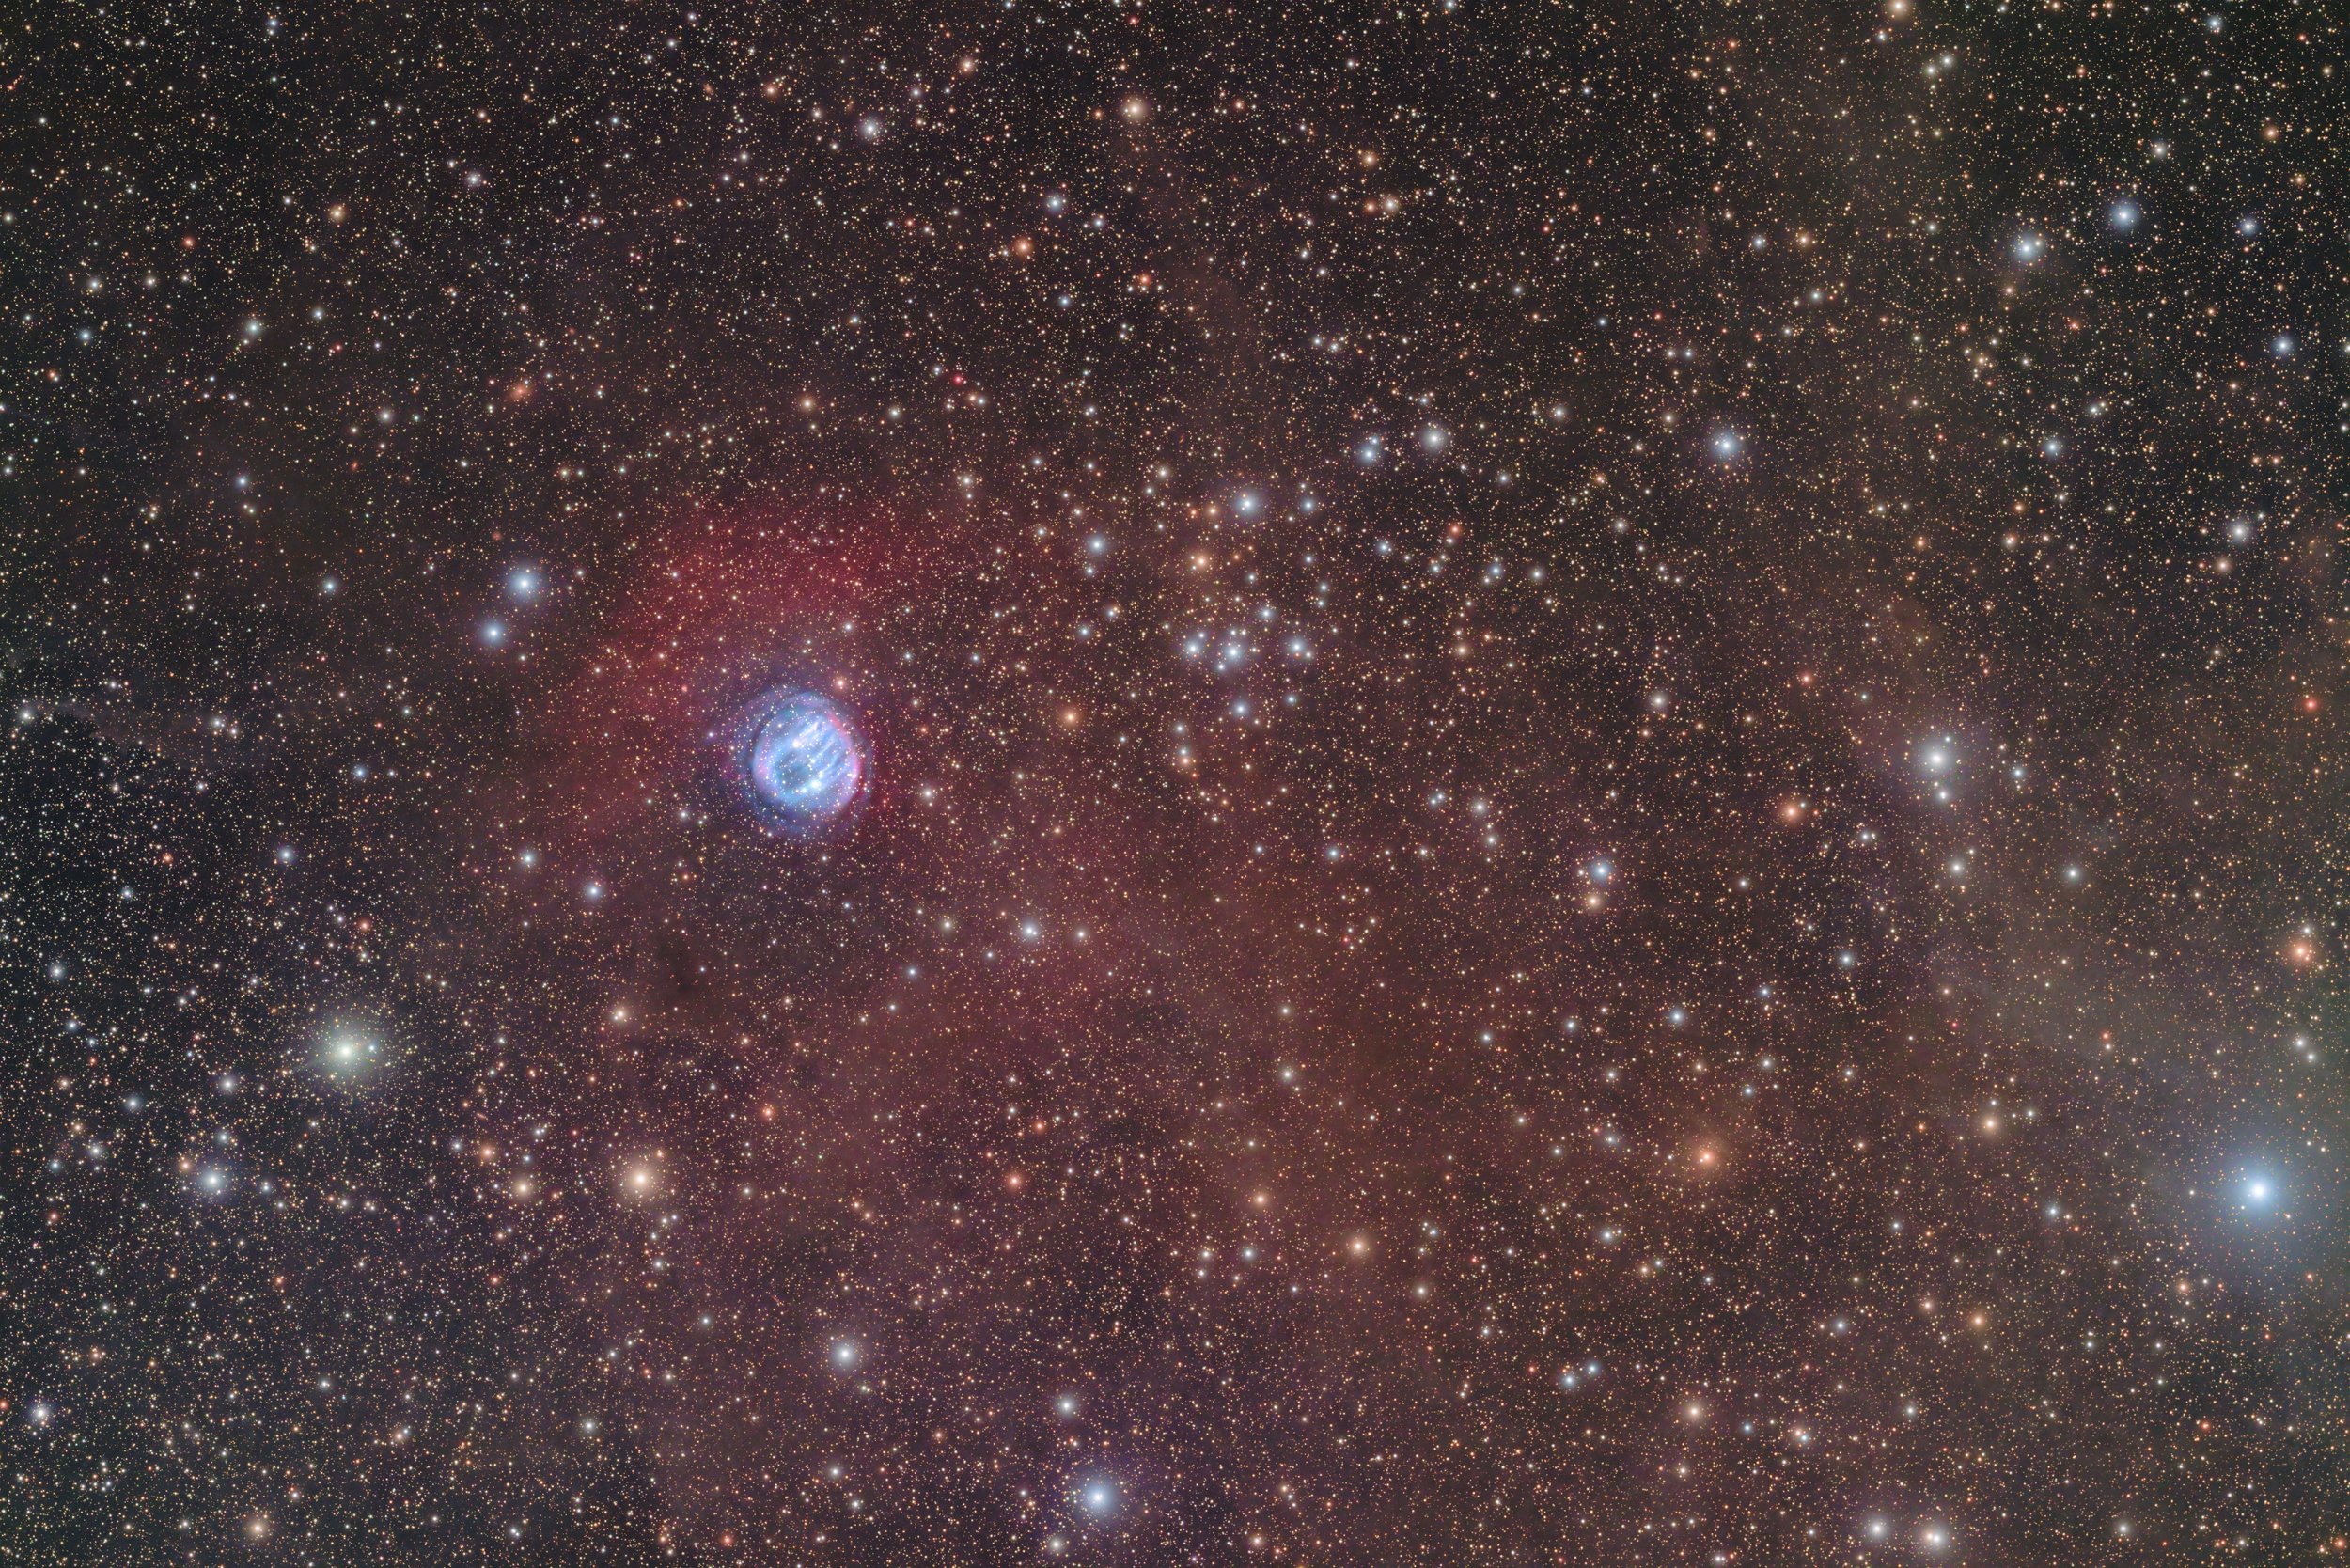
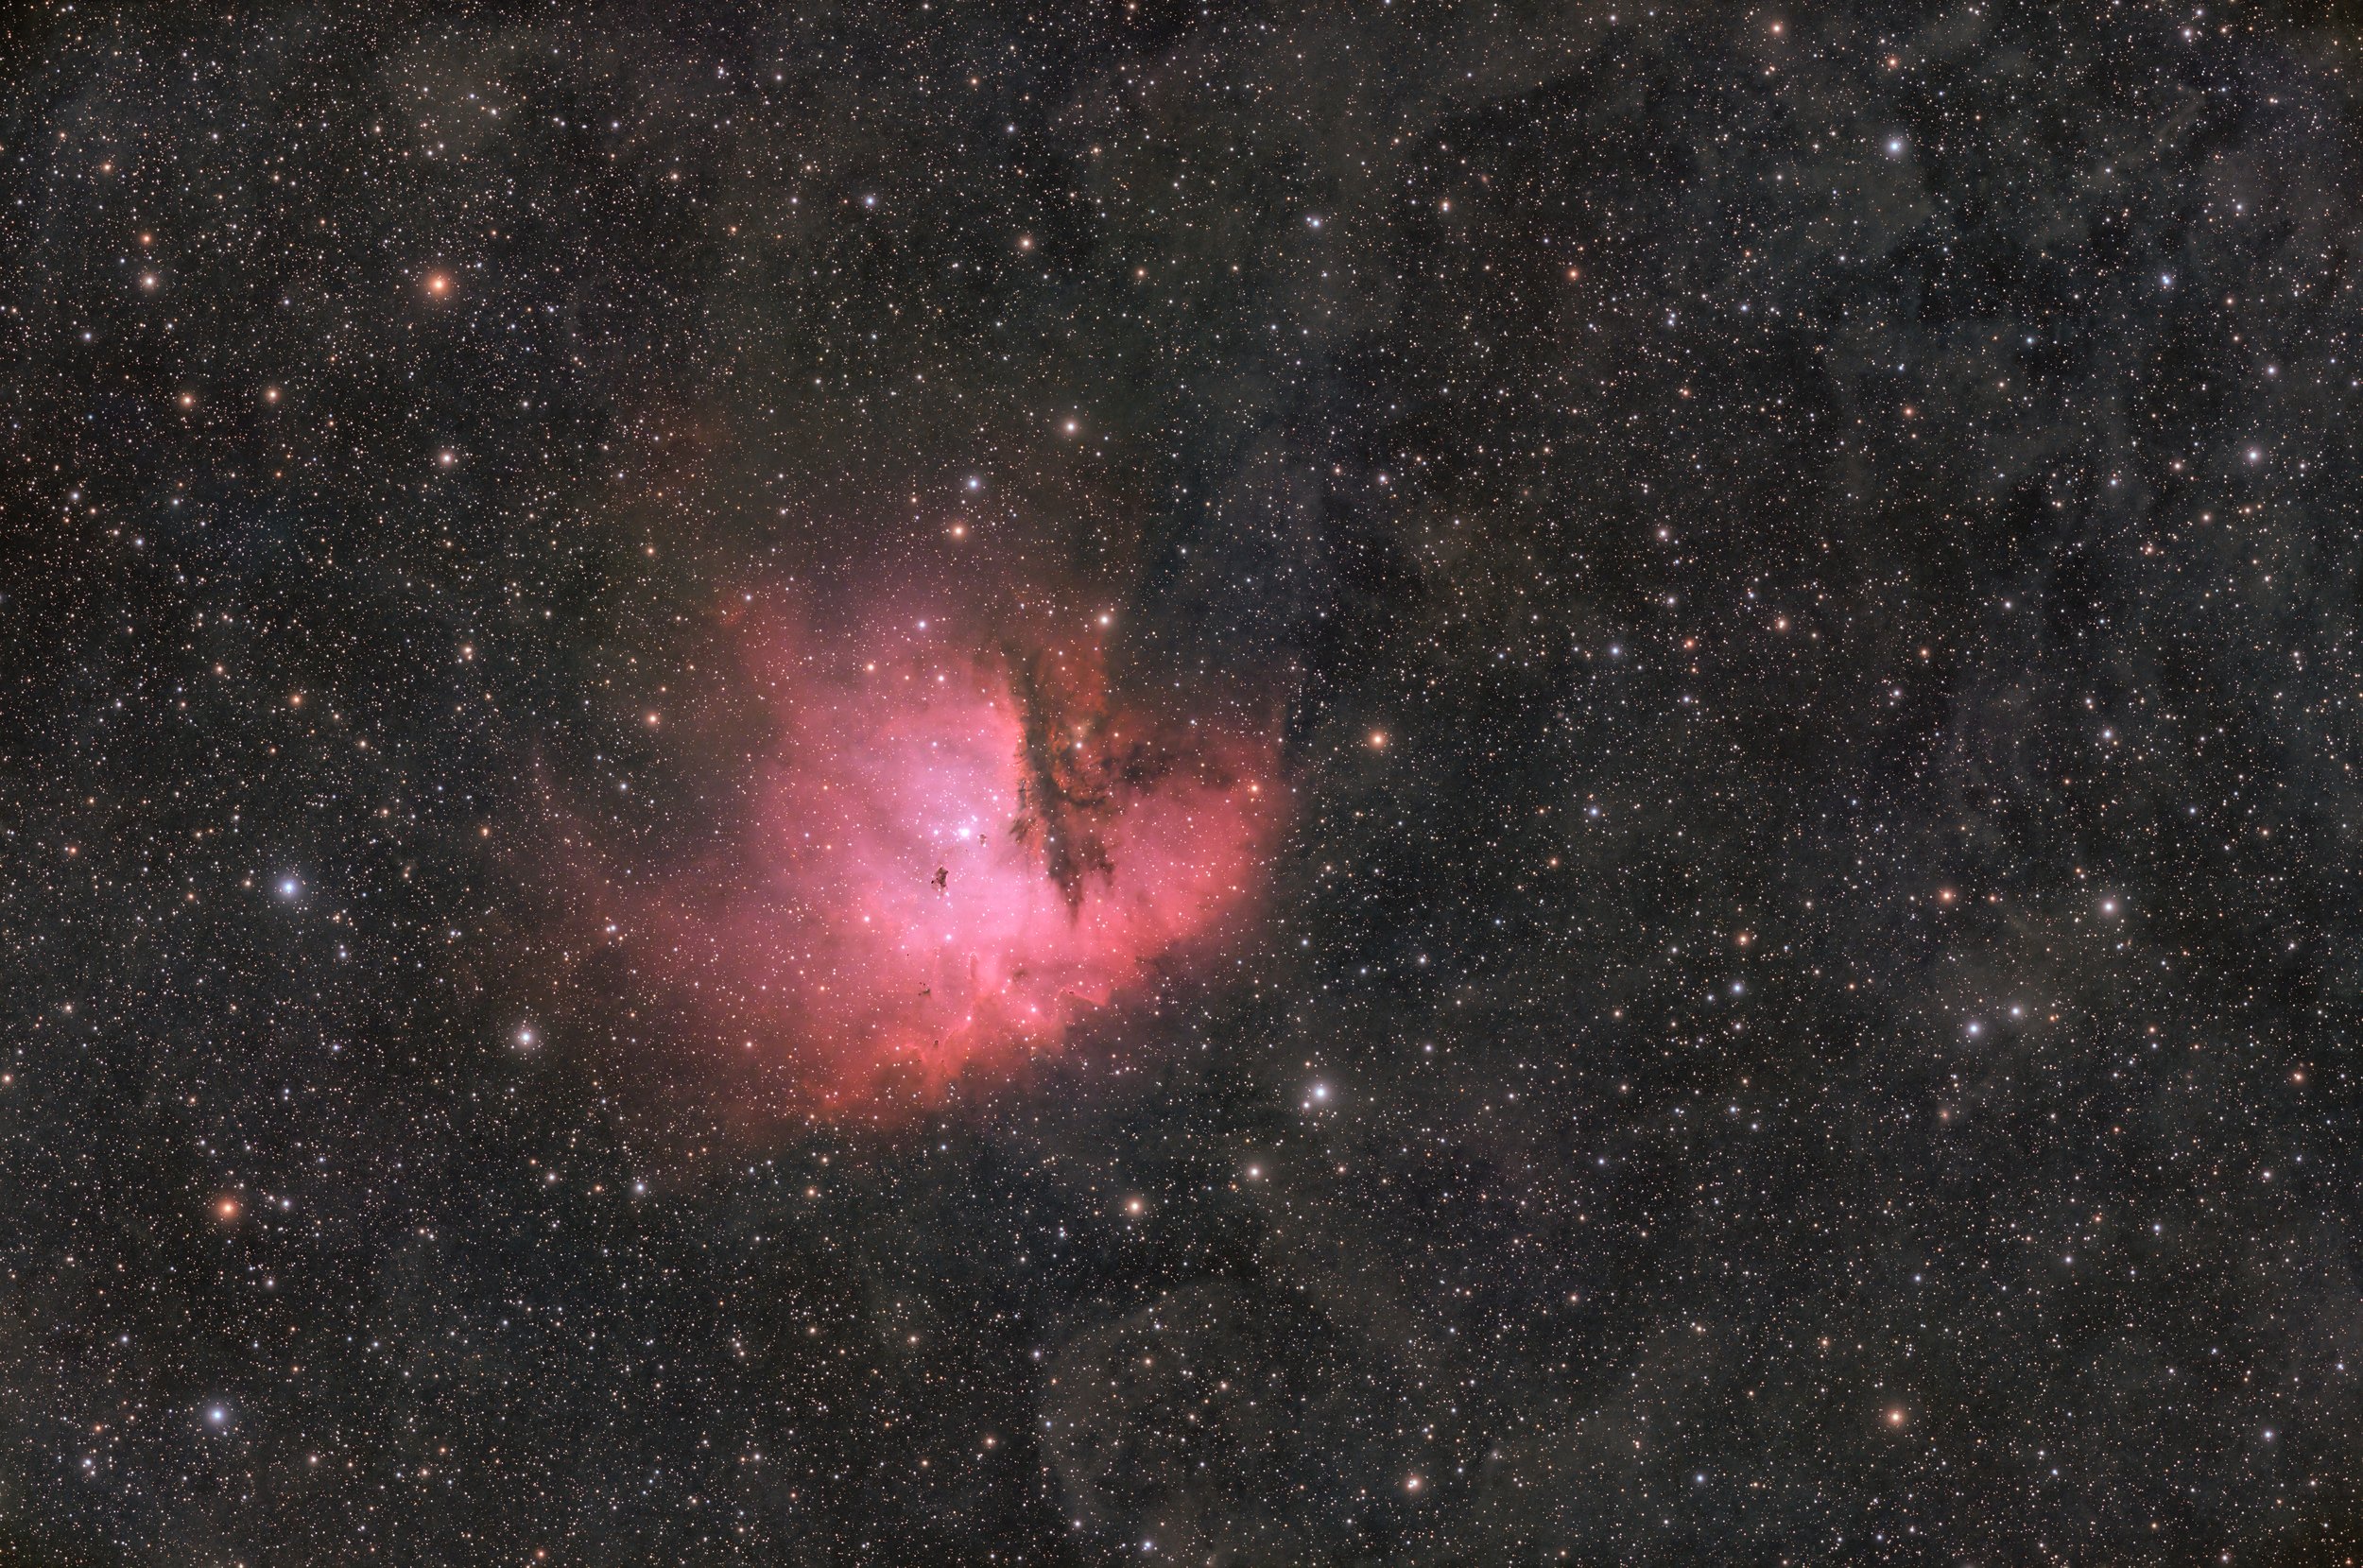
Finally, here’s the Bubble Nebula. Imaged a total of 6.8 hours. Look at the detail of the zoomed in crop. Amazing.
Final thoughts
A full frame sensor will allow you to image a much wider view than a traditional CMOS sensor that’s 4/3 size or smaller. This is an amazing camera, and I look forward to using it with a wider array of telescopes over time. The only caveat that I can see is the cost. These sensors don’t come cheap, and by the time you add the camera, filter wheel, filters, OAG, and adapters, you’ve invested quite a bit. The next least expensive option is the ASI1600MM-Pro camera, and while that one does have a micro-lens issue, this new one does not. Rumors are that ZWO is fast at work on a crop version of this sensor called an APSc sensor, which uses a mono version of the chip in the ASI2600MC-Pro. If I were a betting man, that camera is going to sell like hot cakes to anyone who has a 1600 and is looking to upgrade. APSc sized sensors hit the sweet spot of most current telescopes imaging circles.
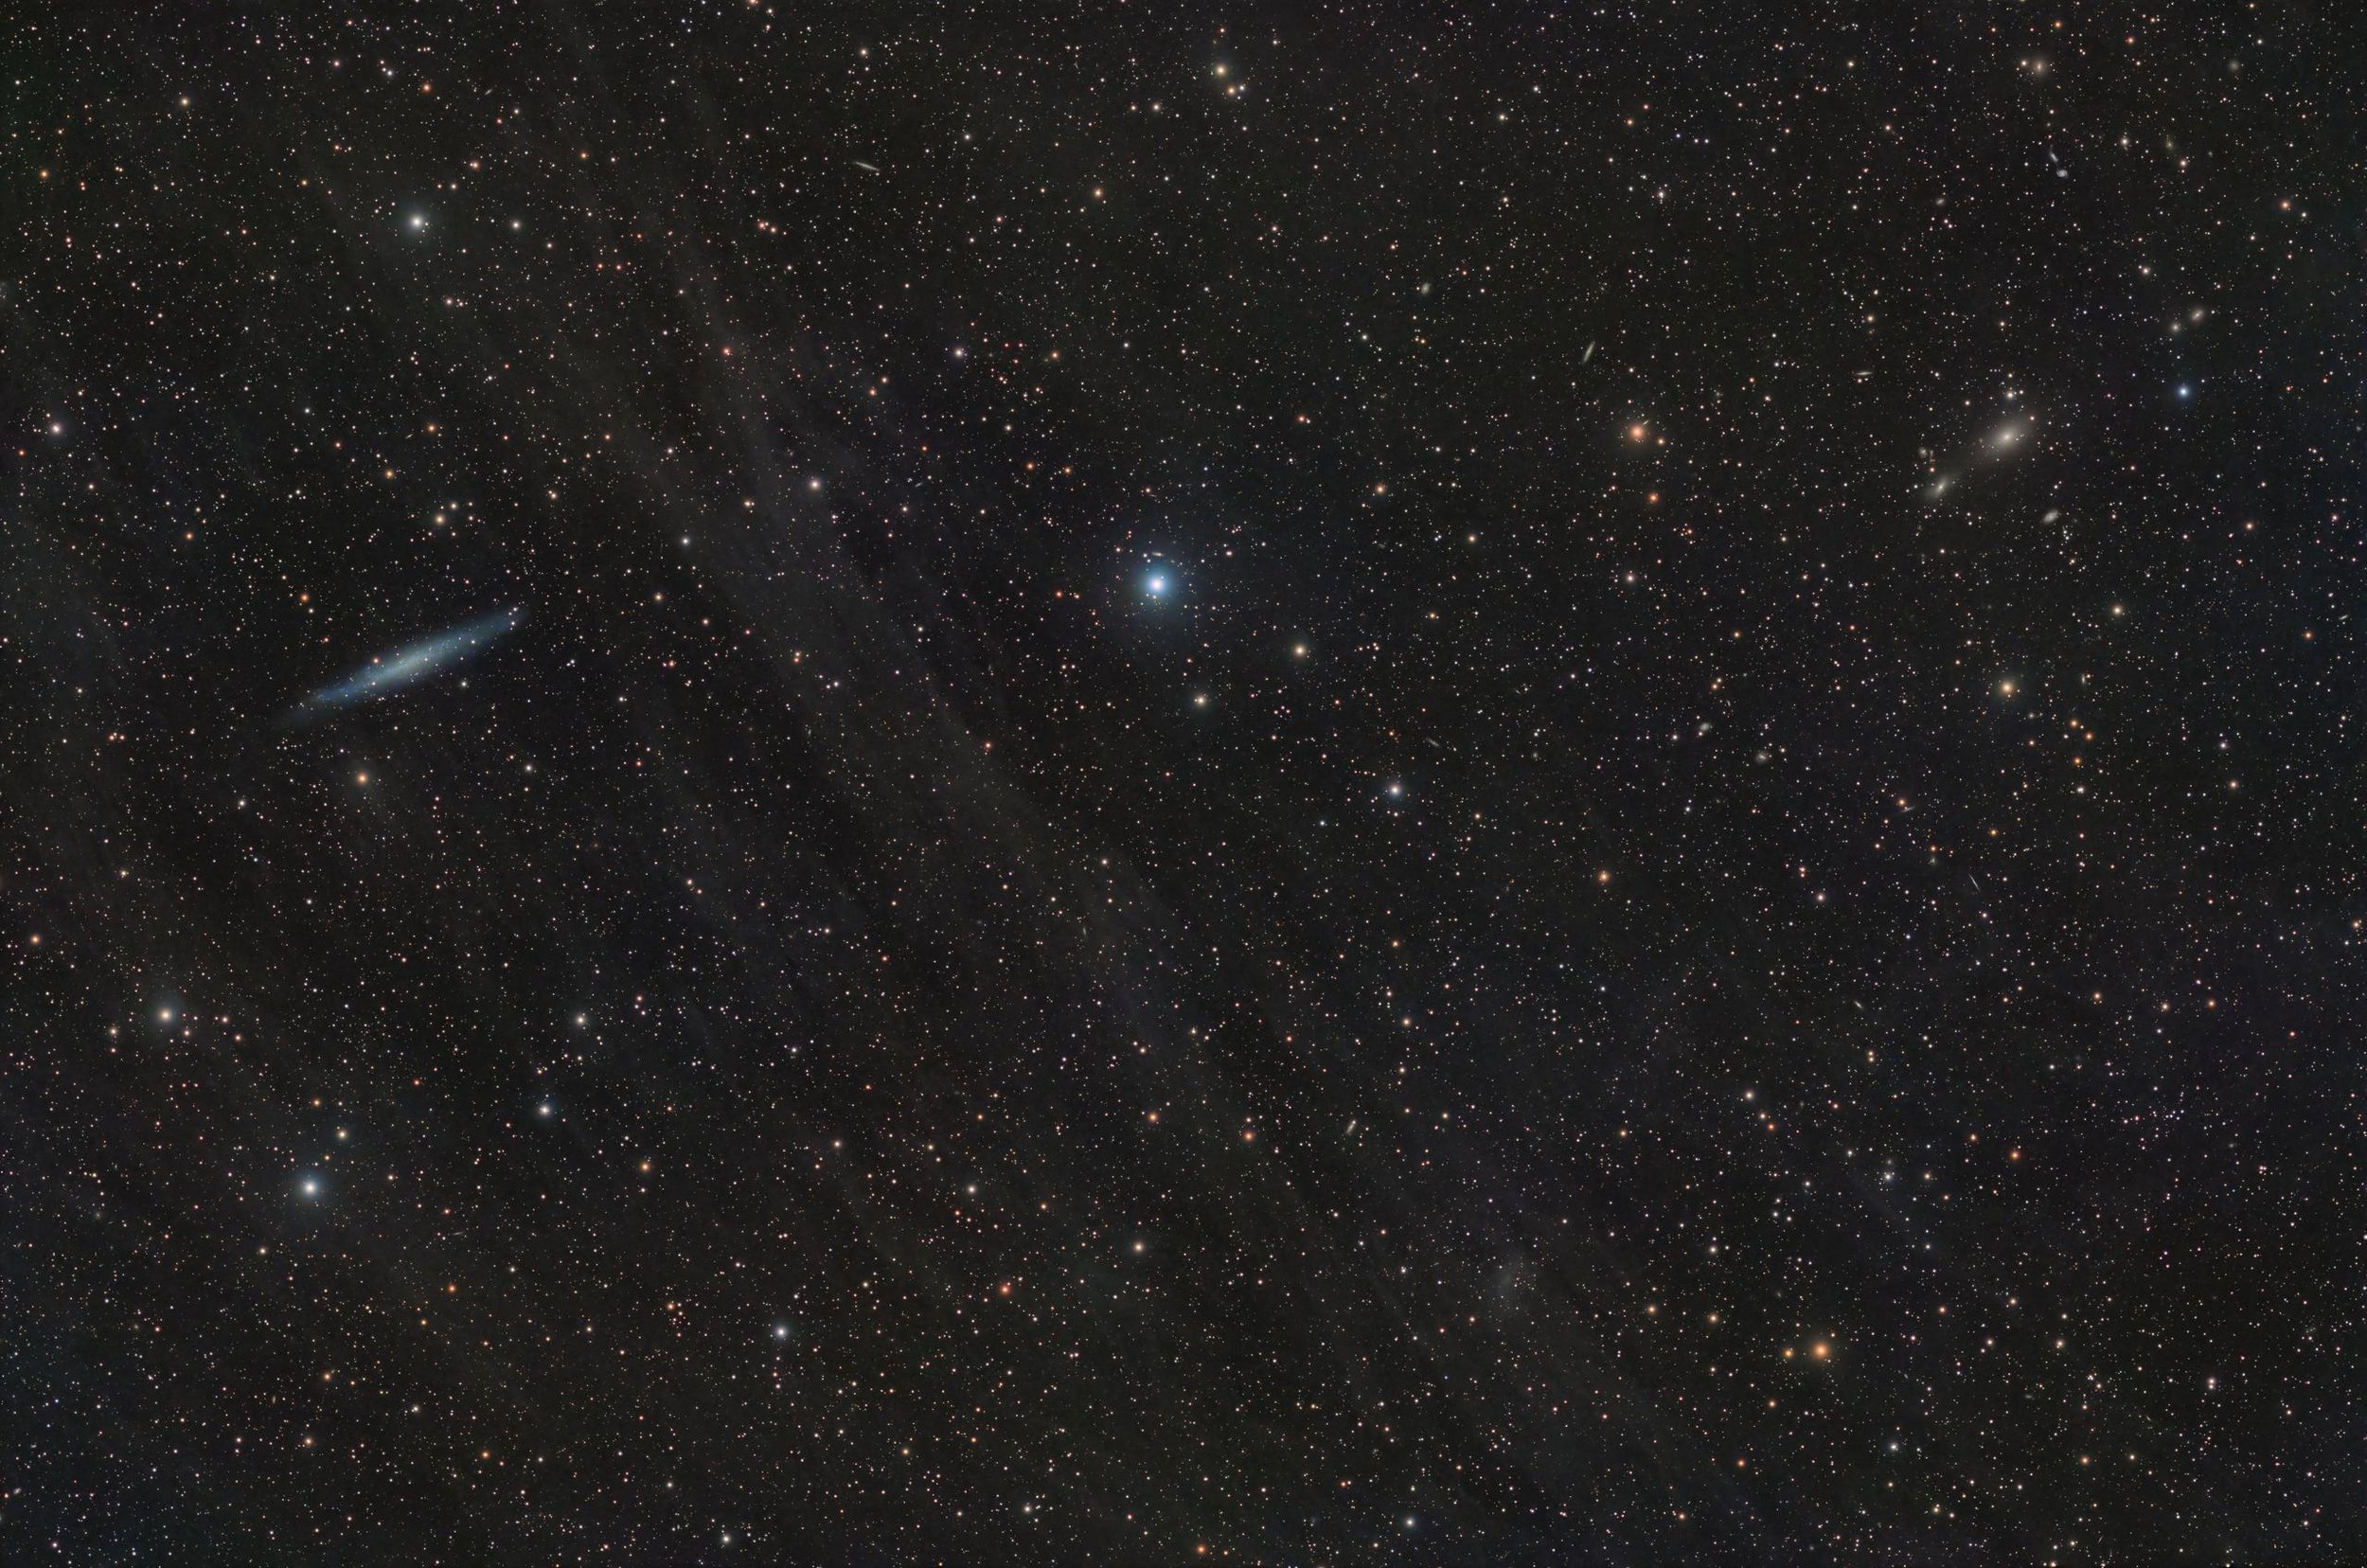
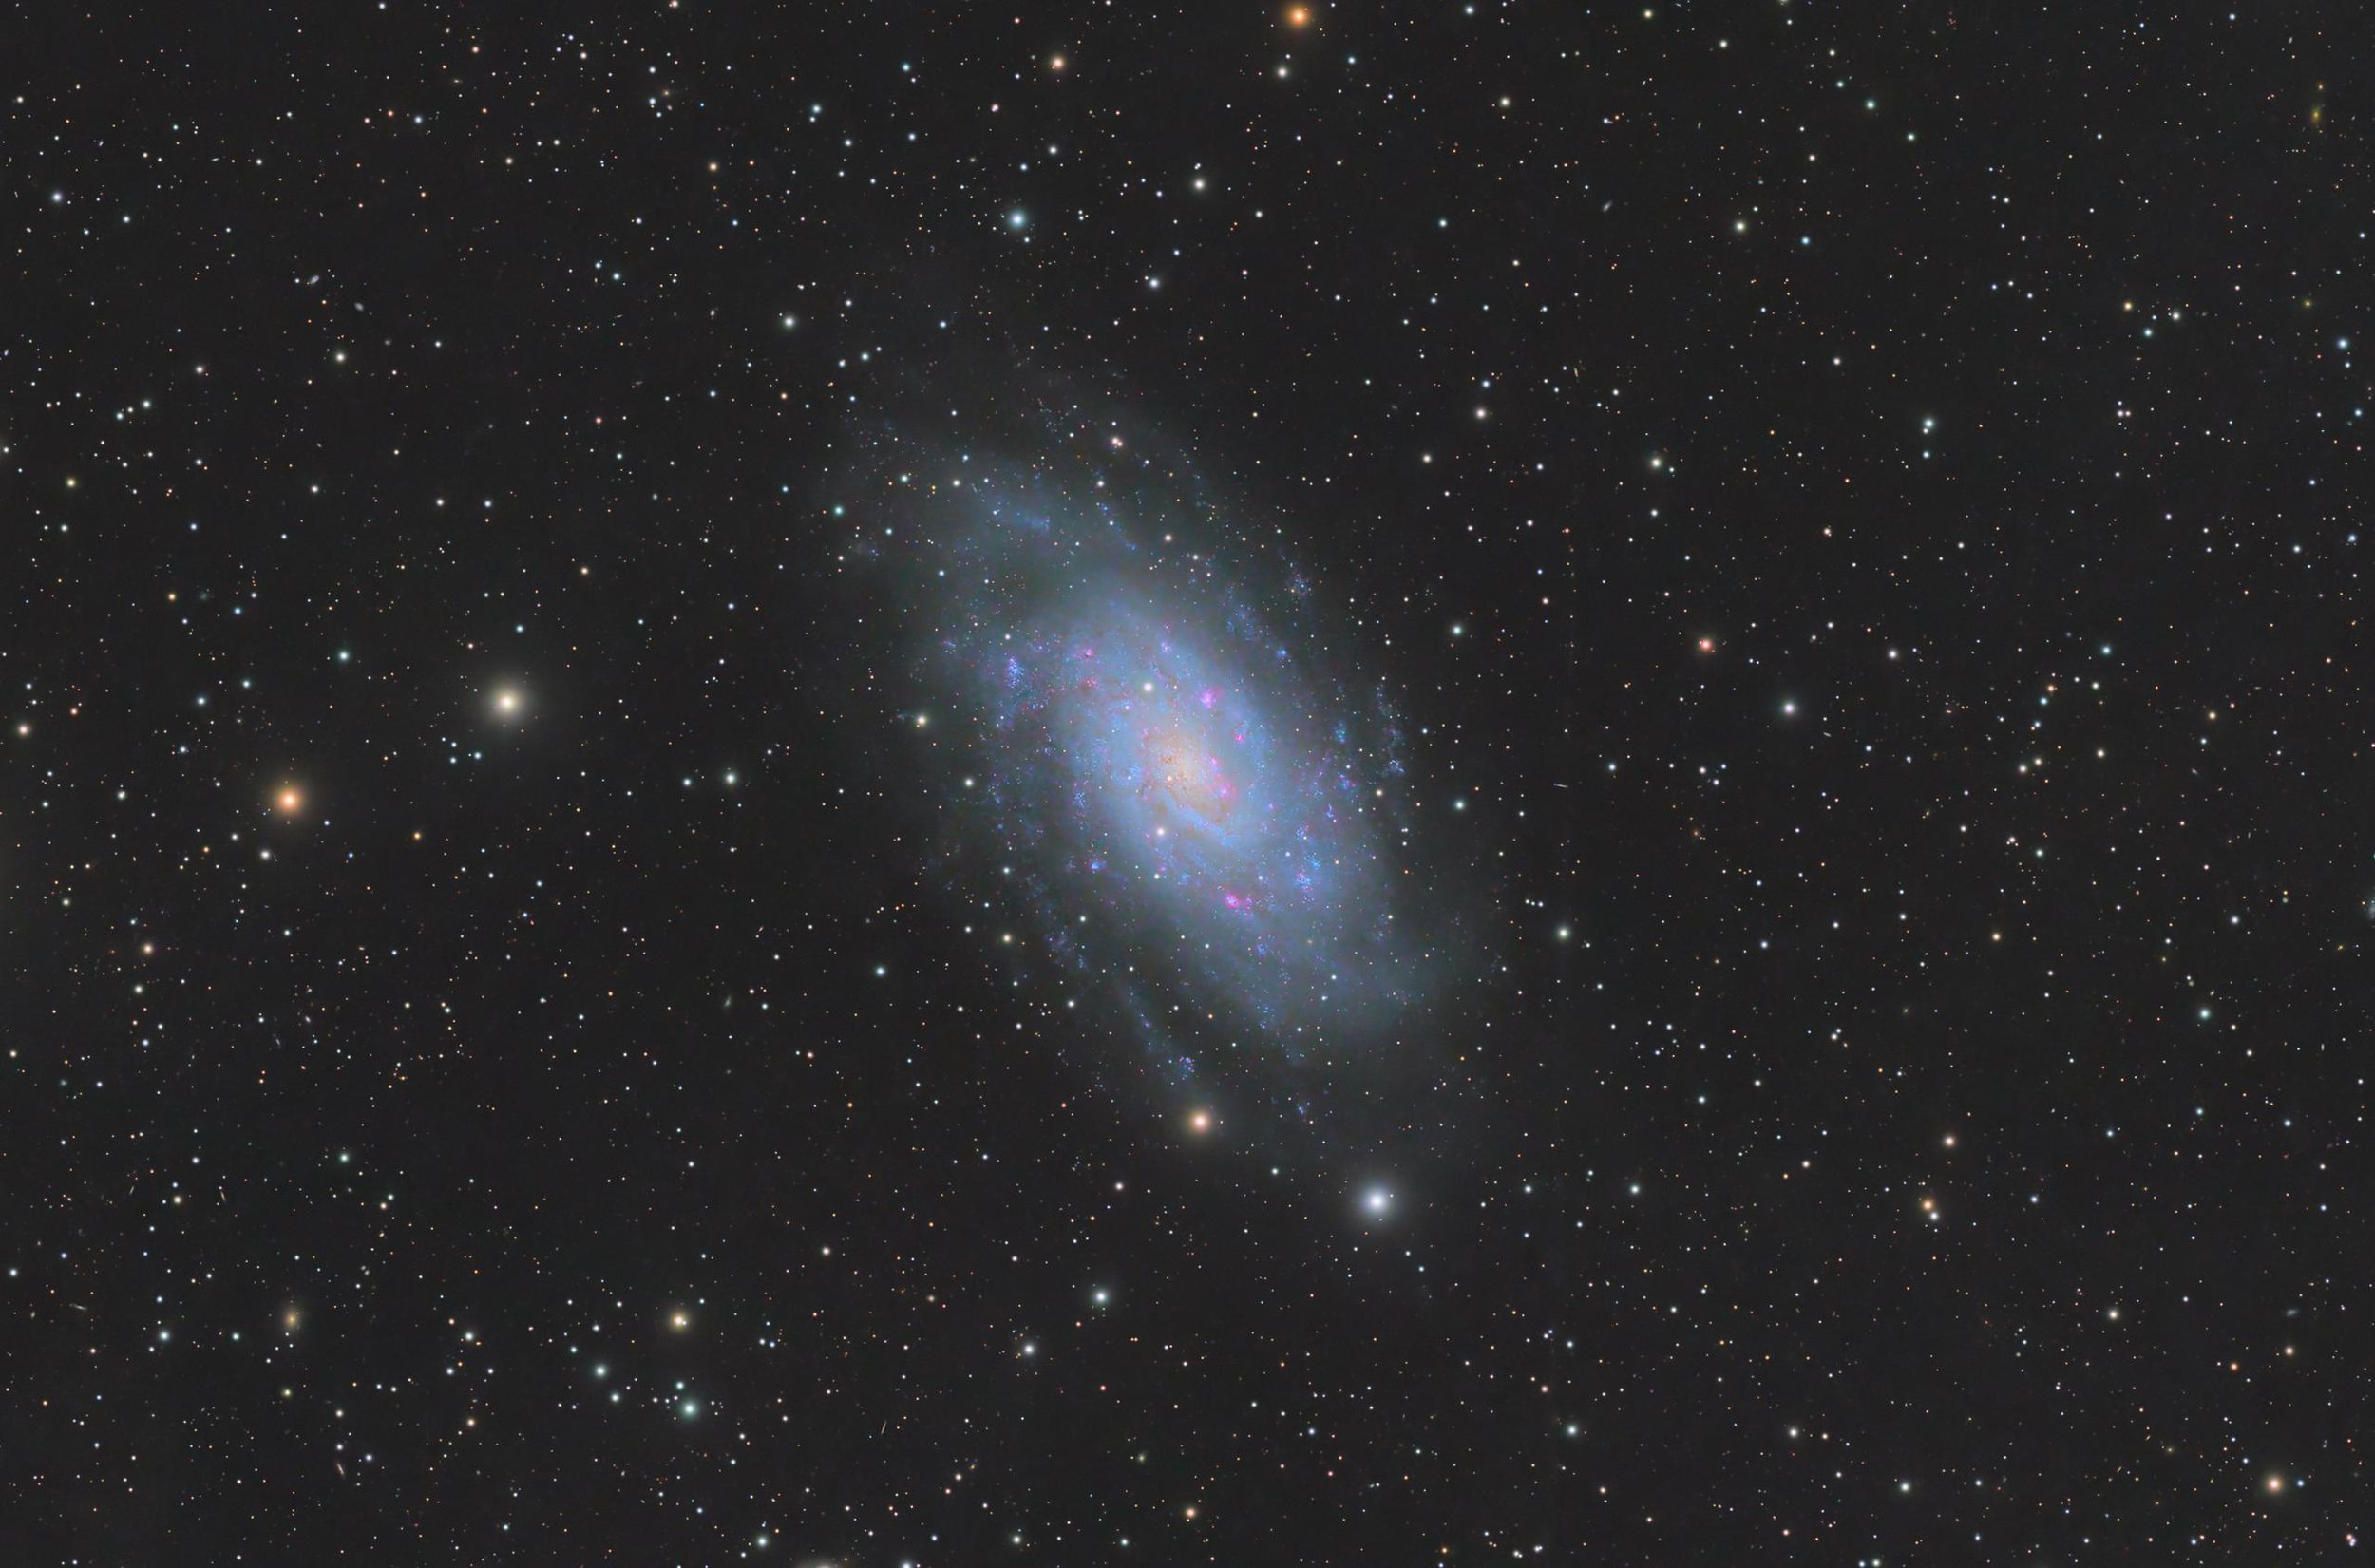
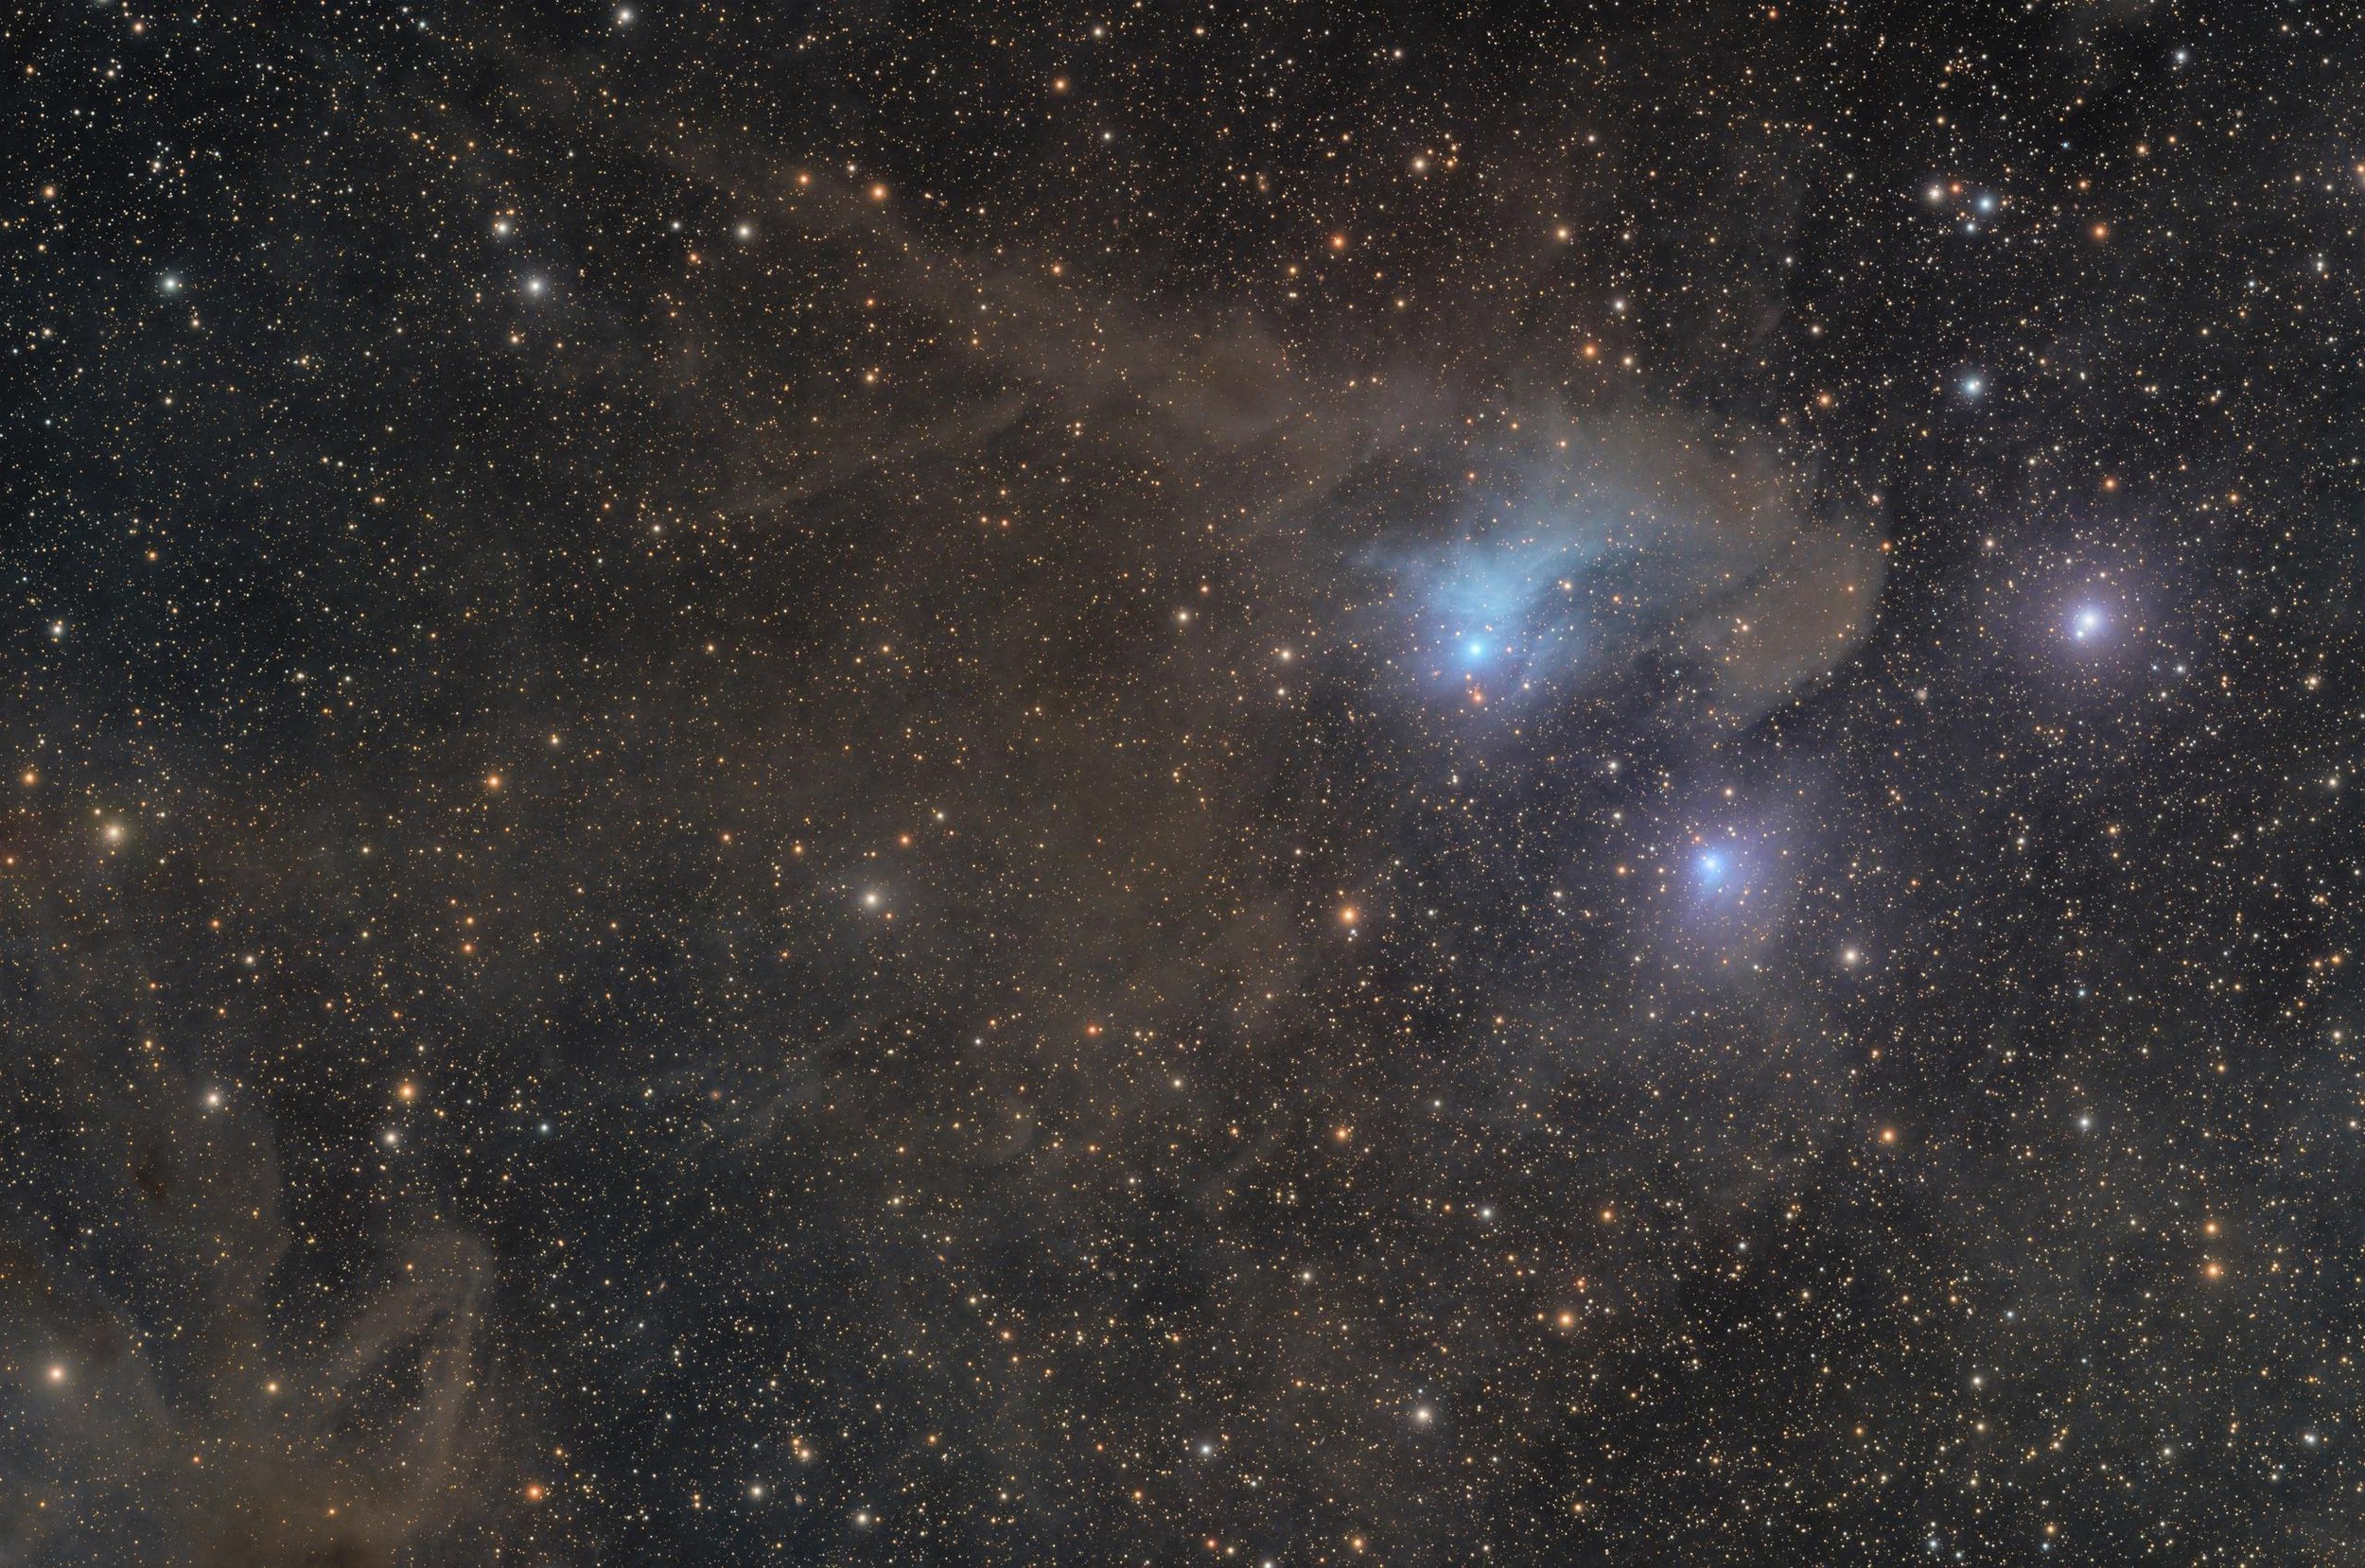
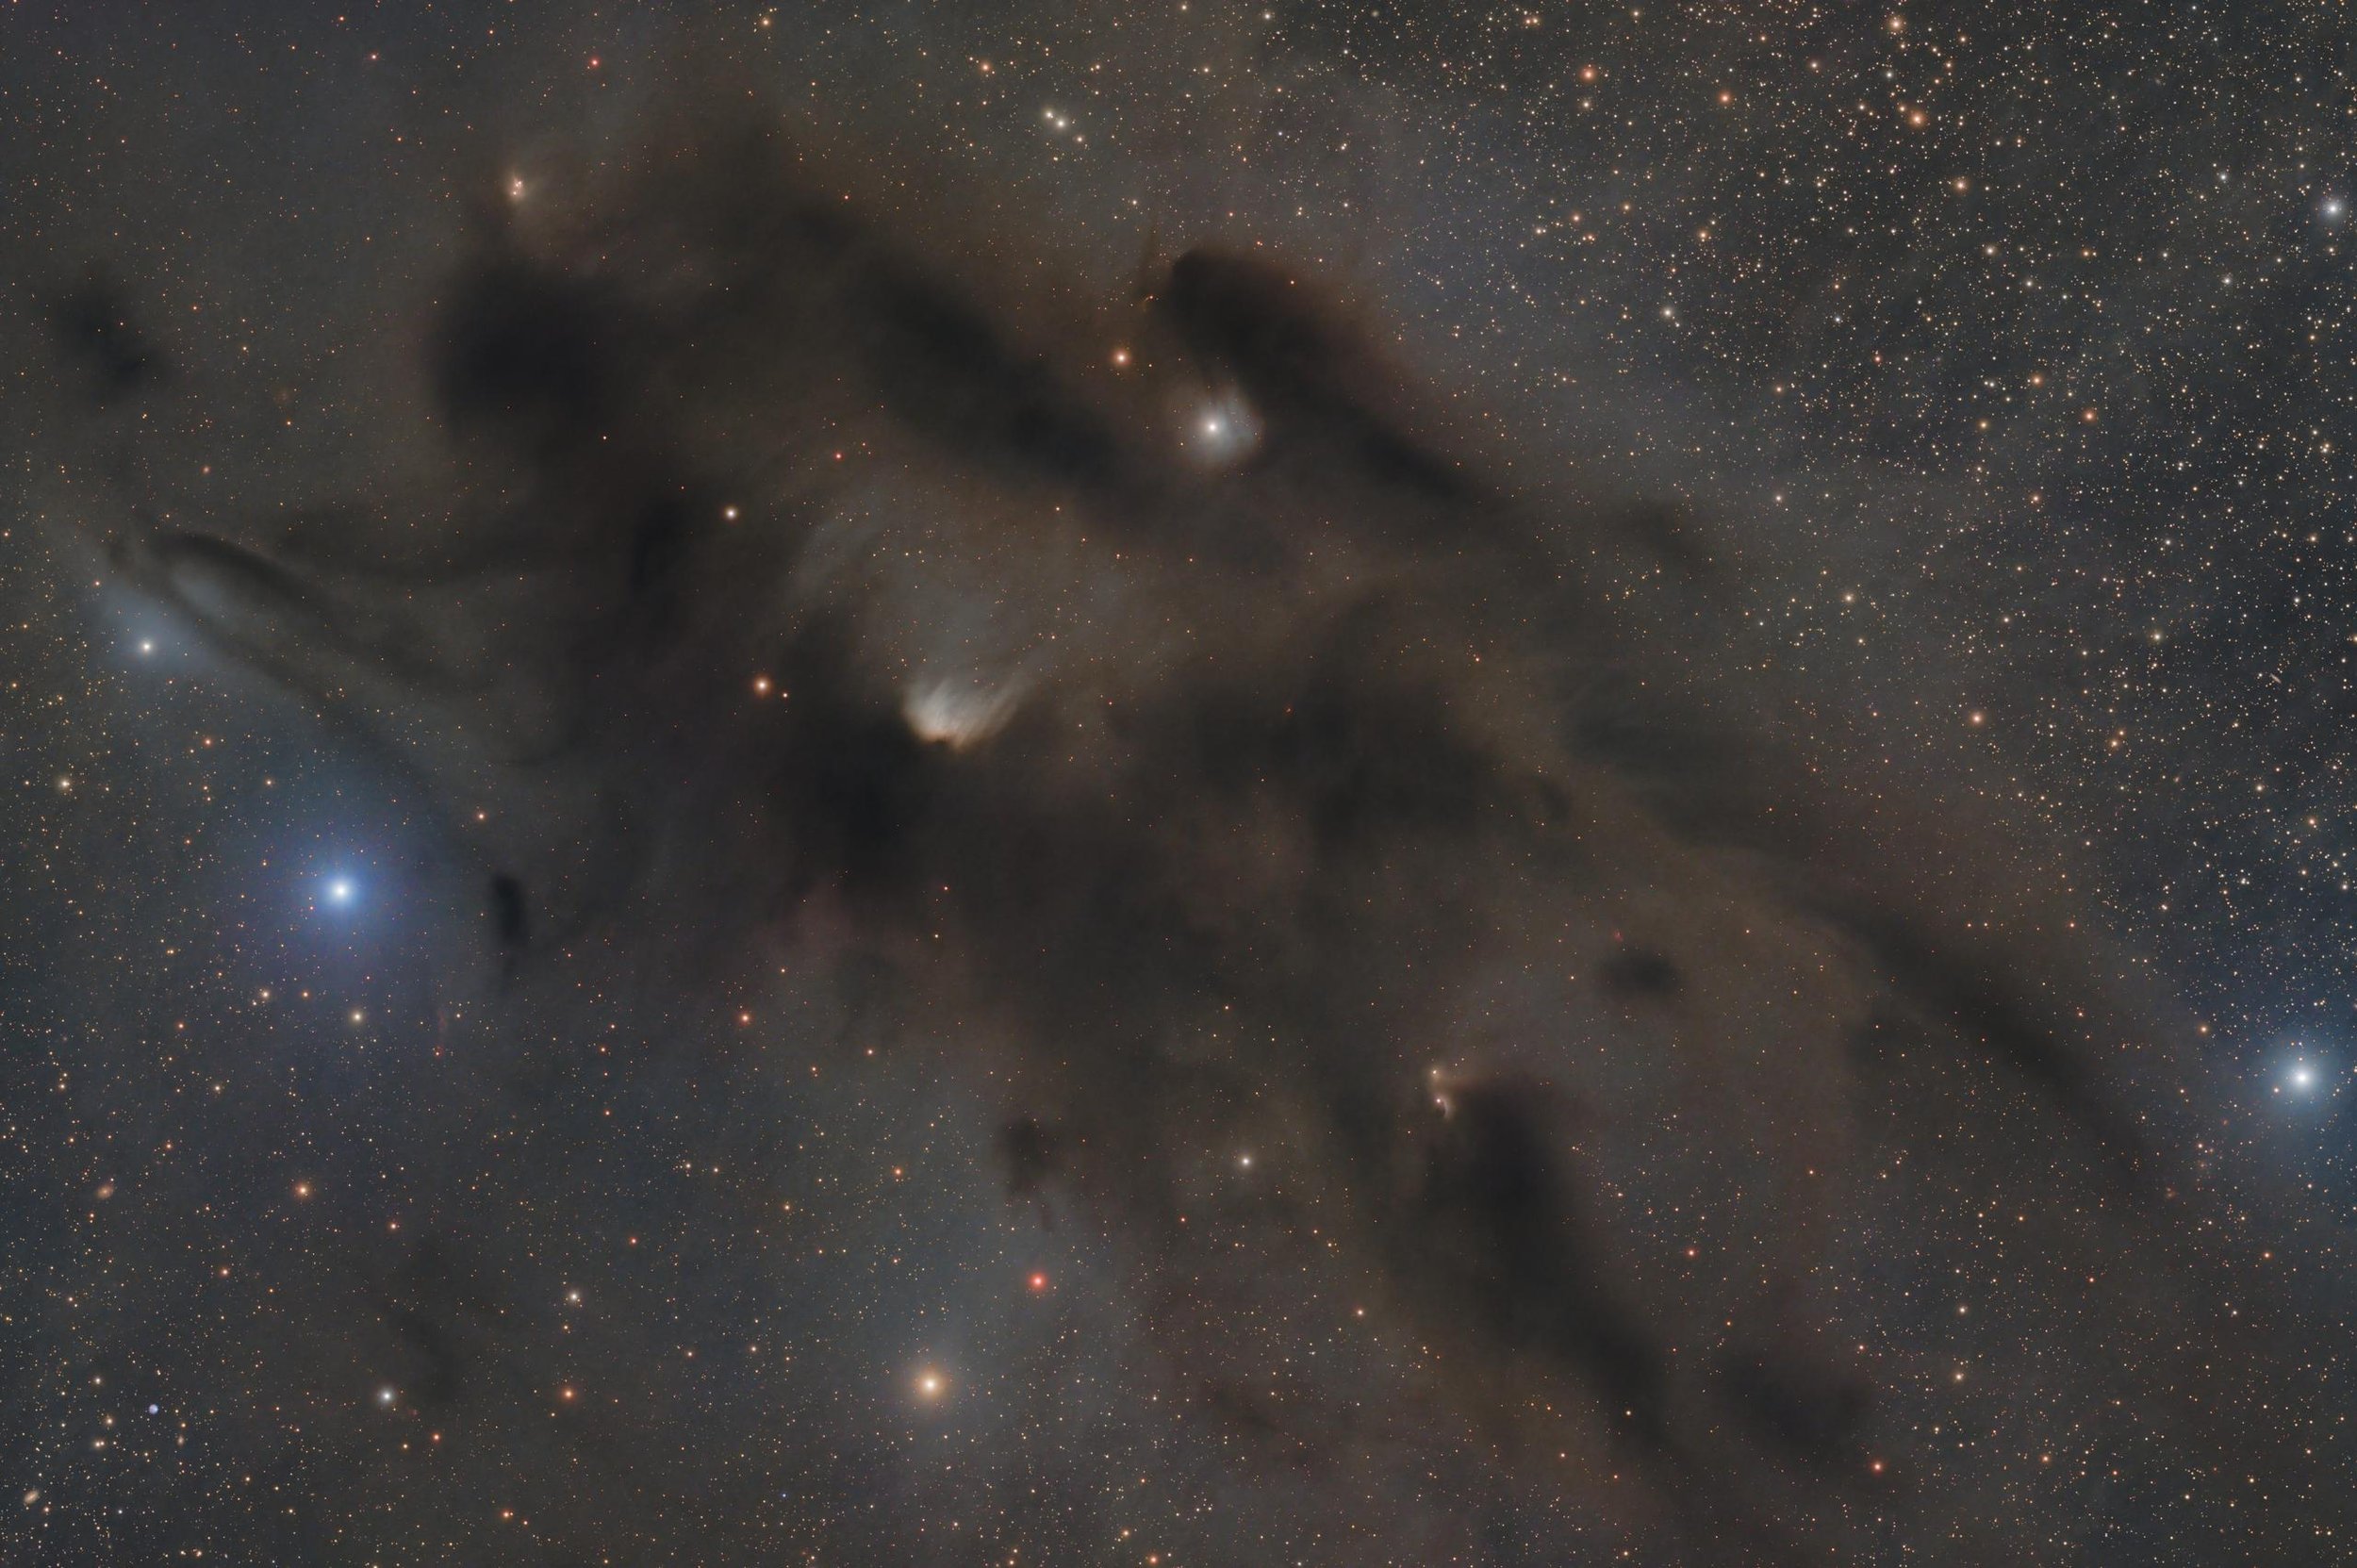
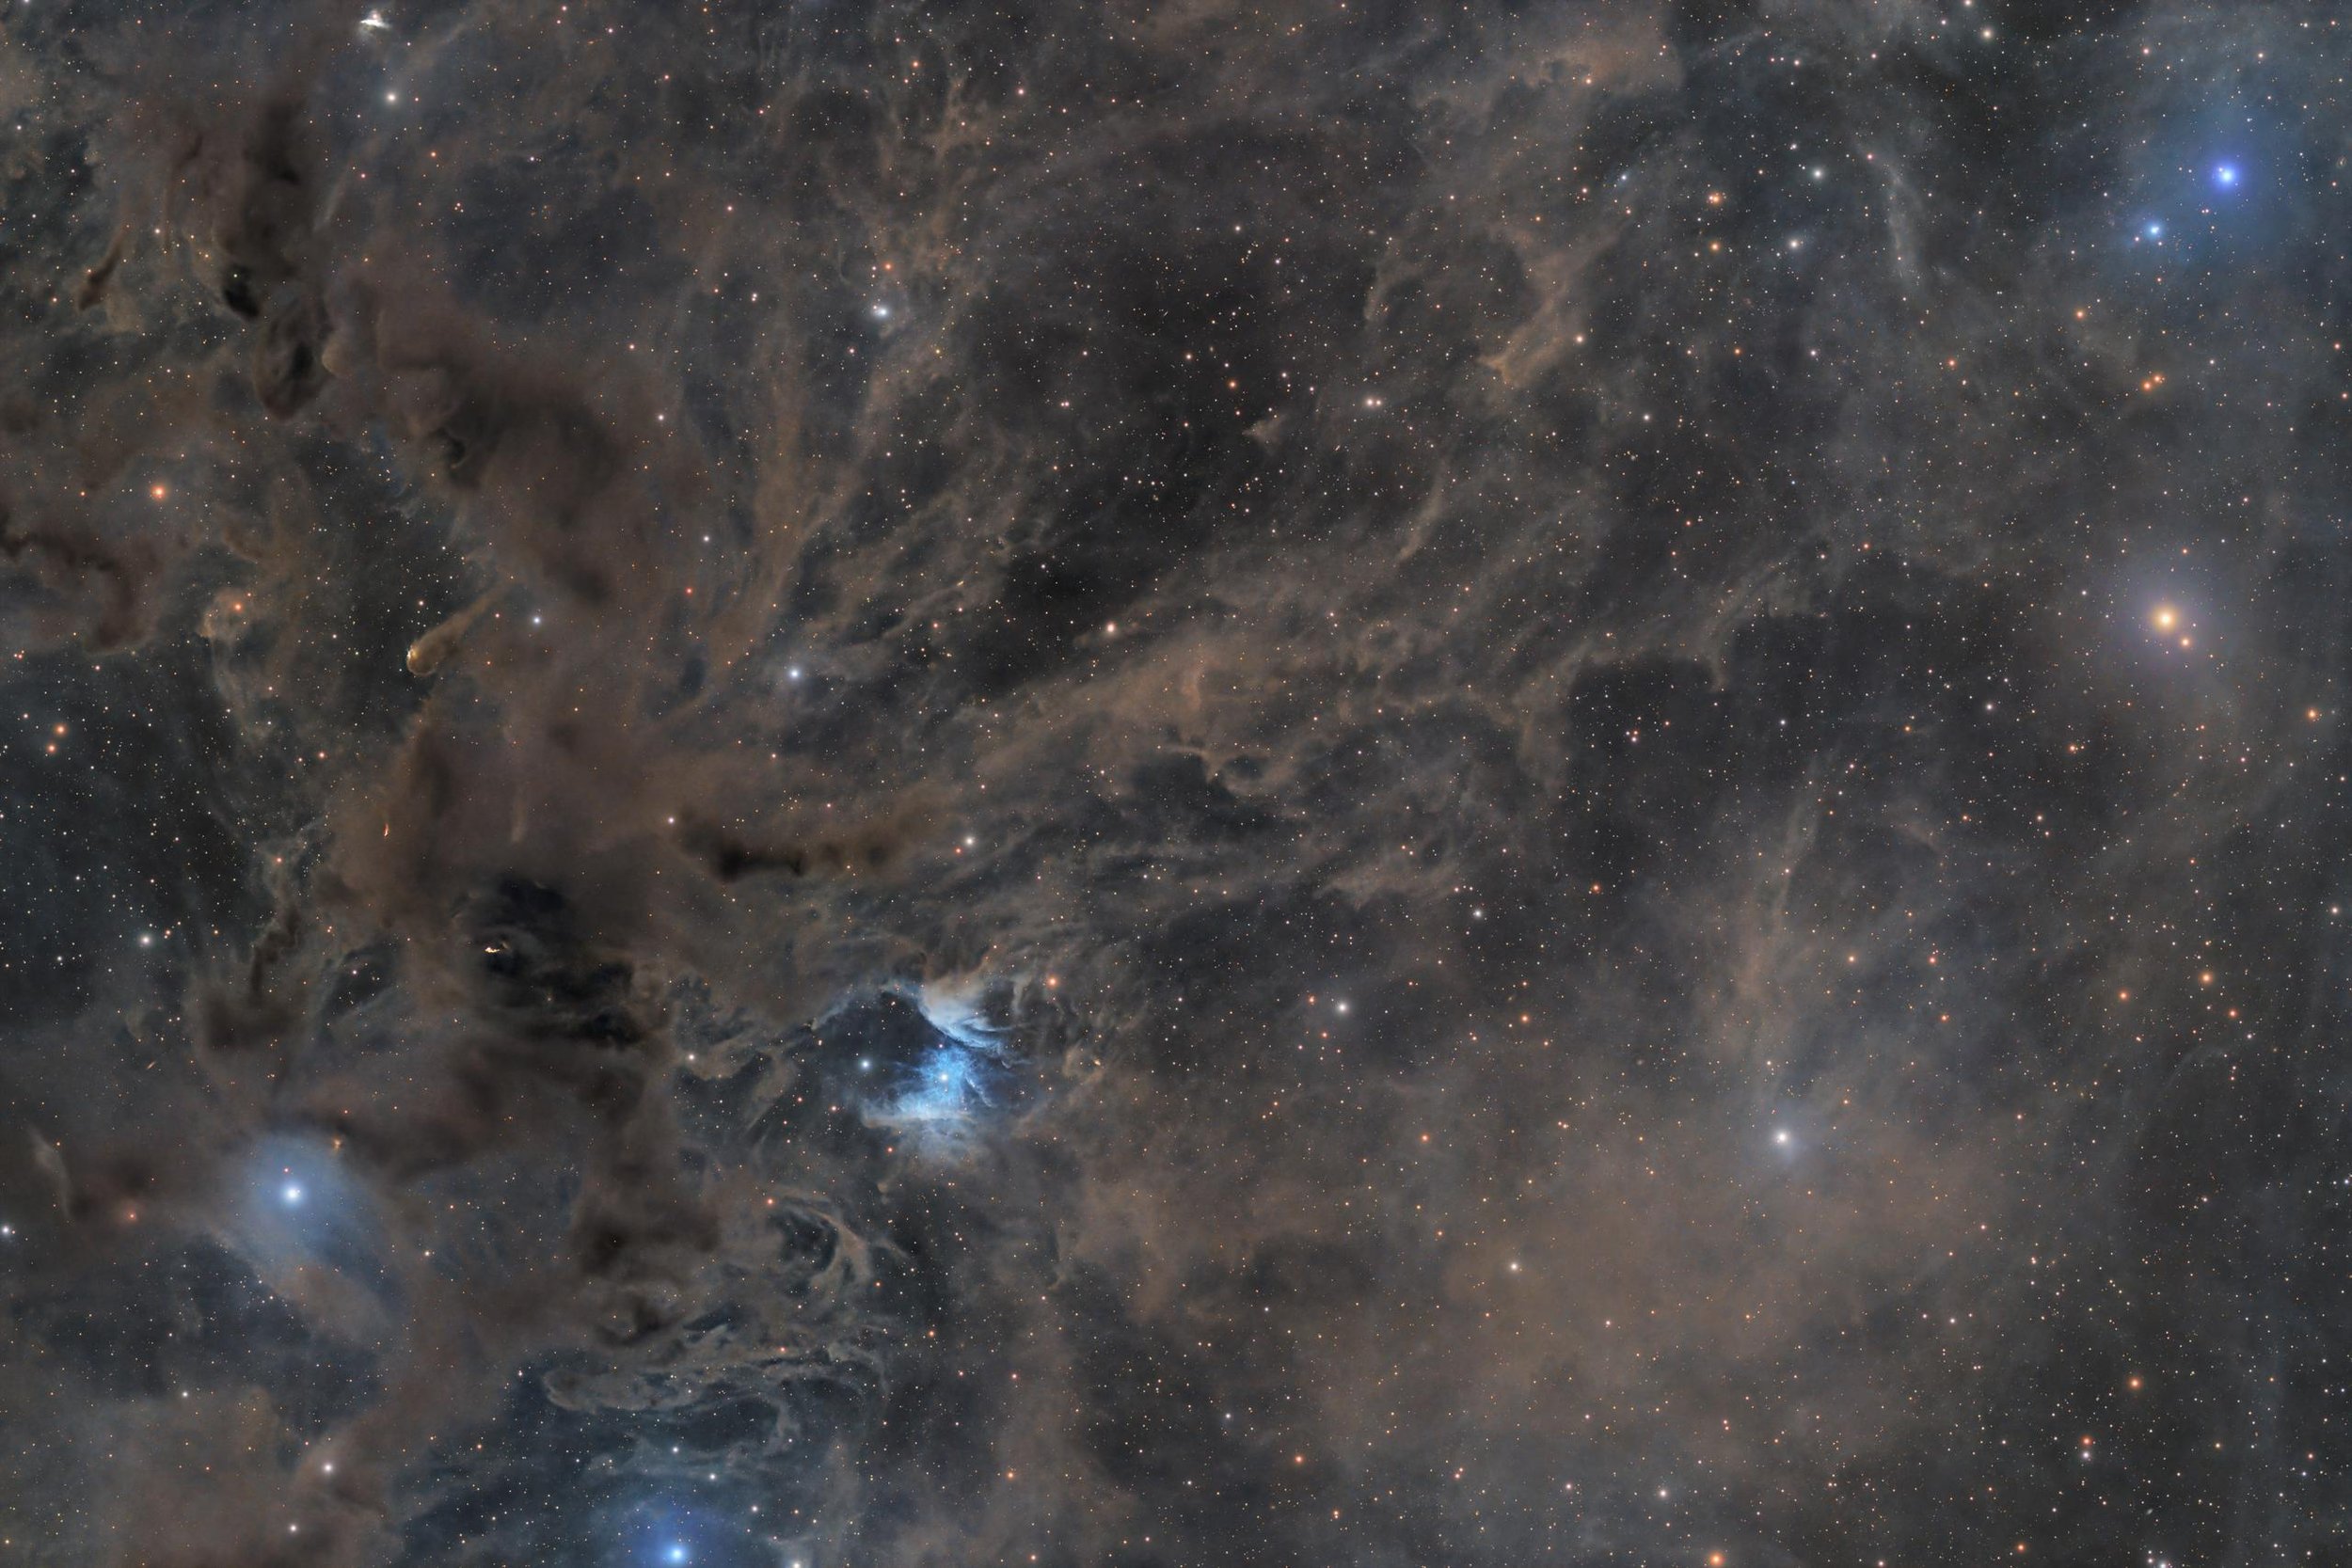
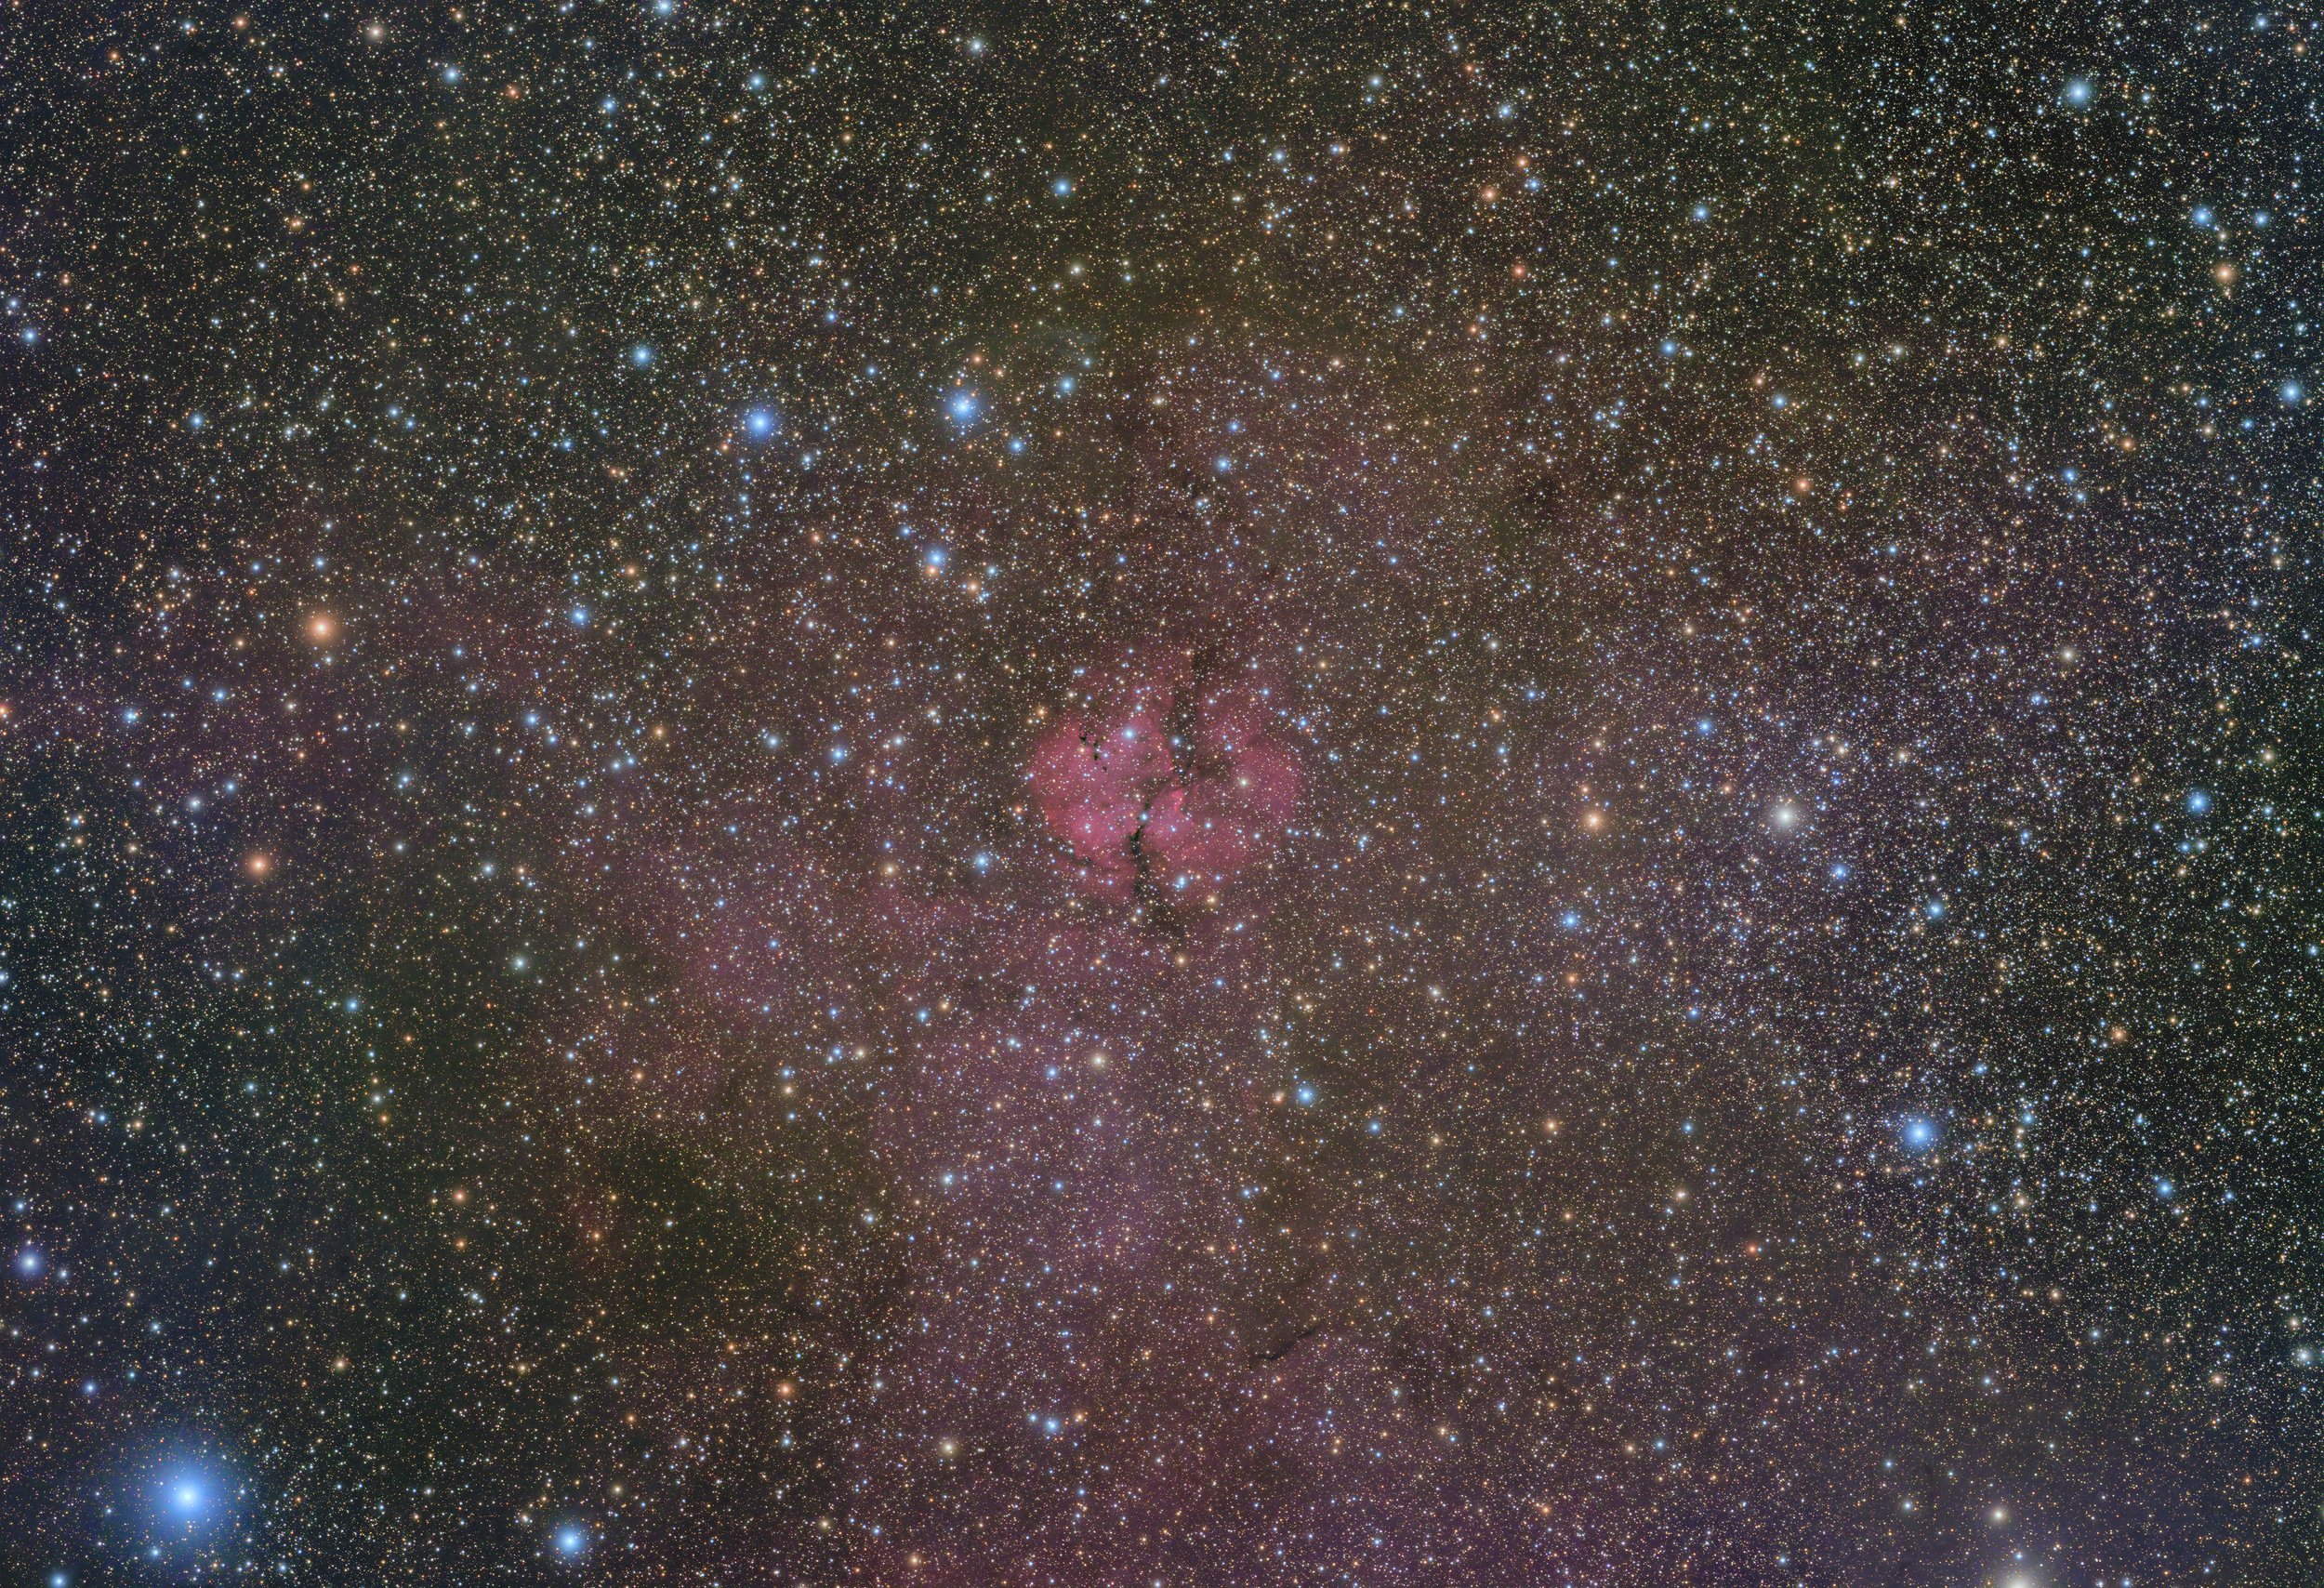
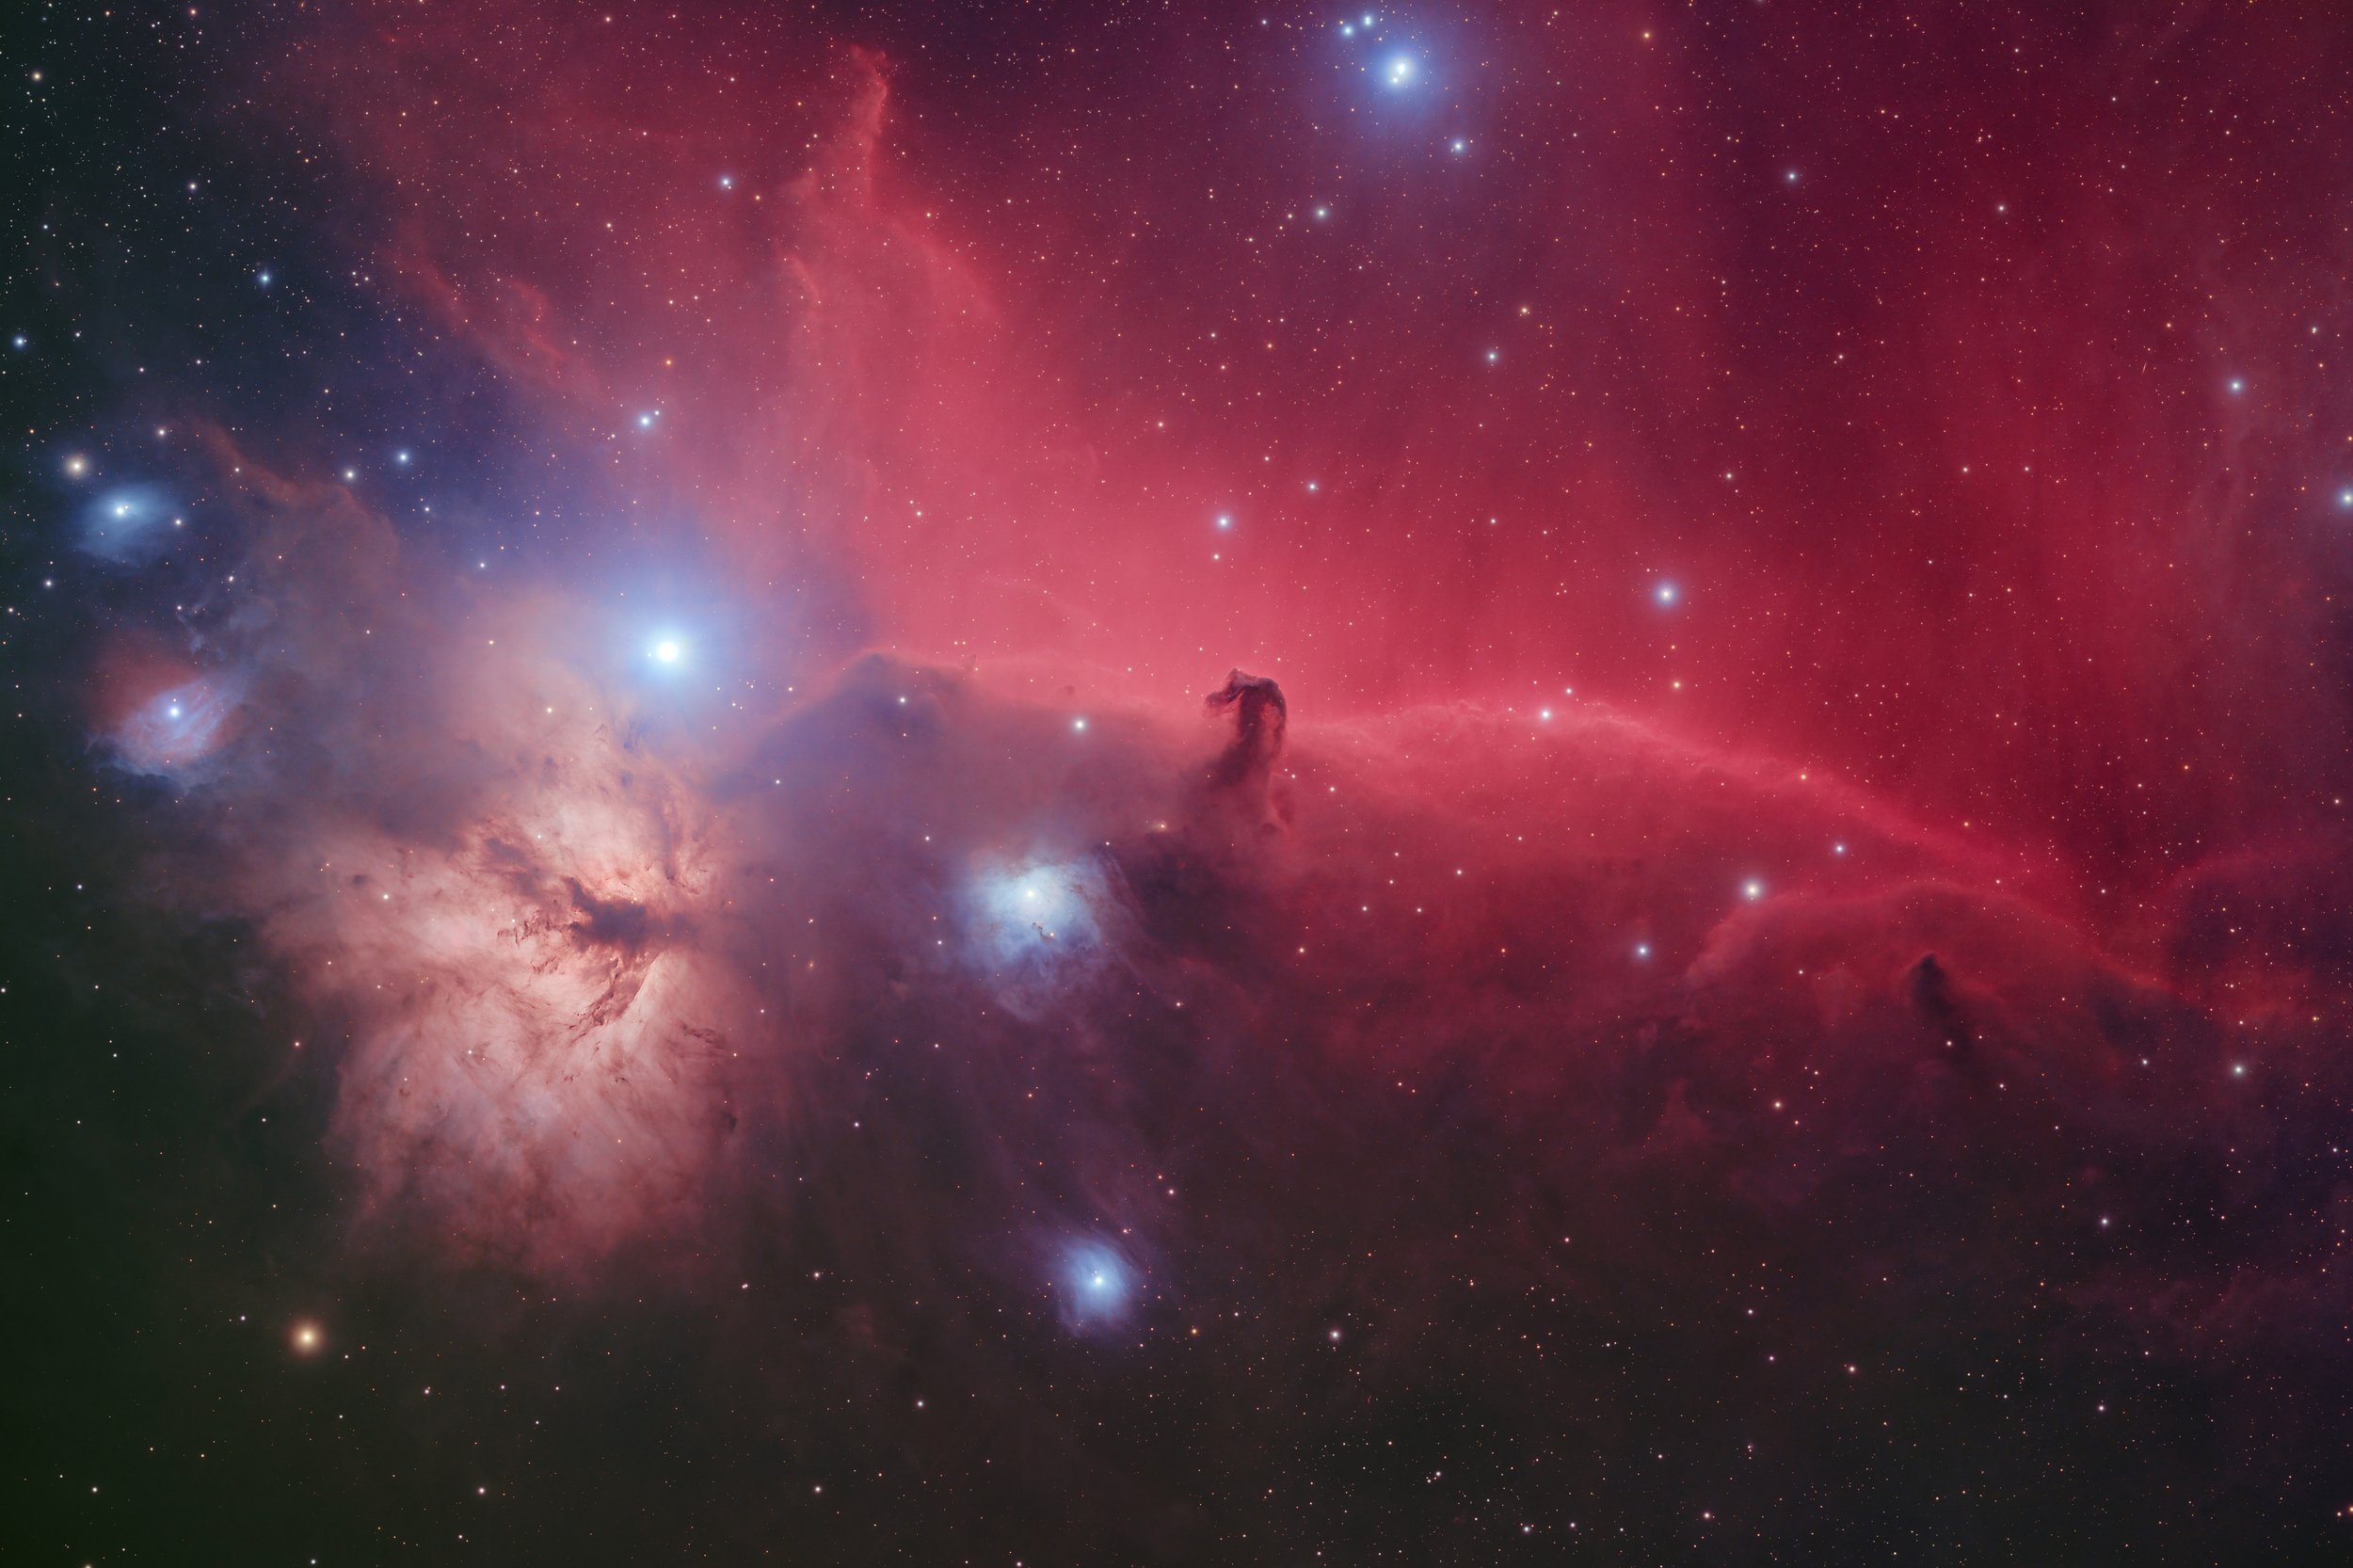
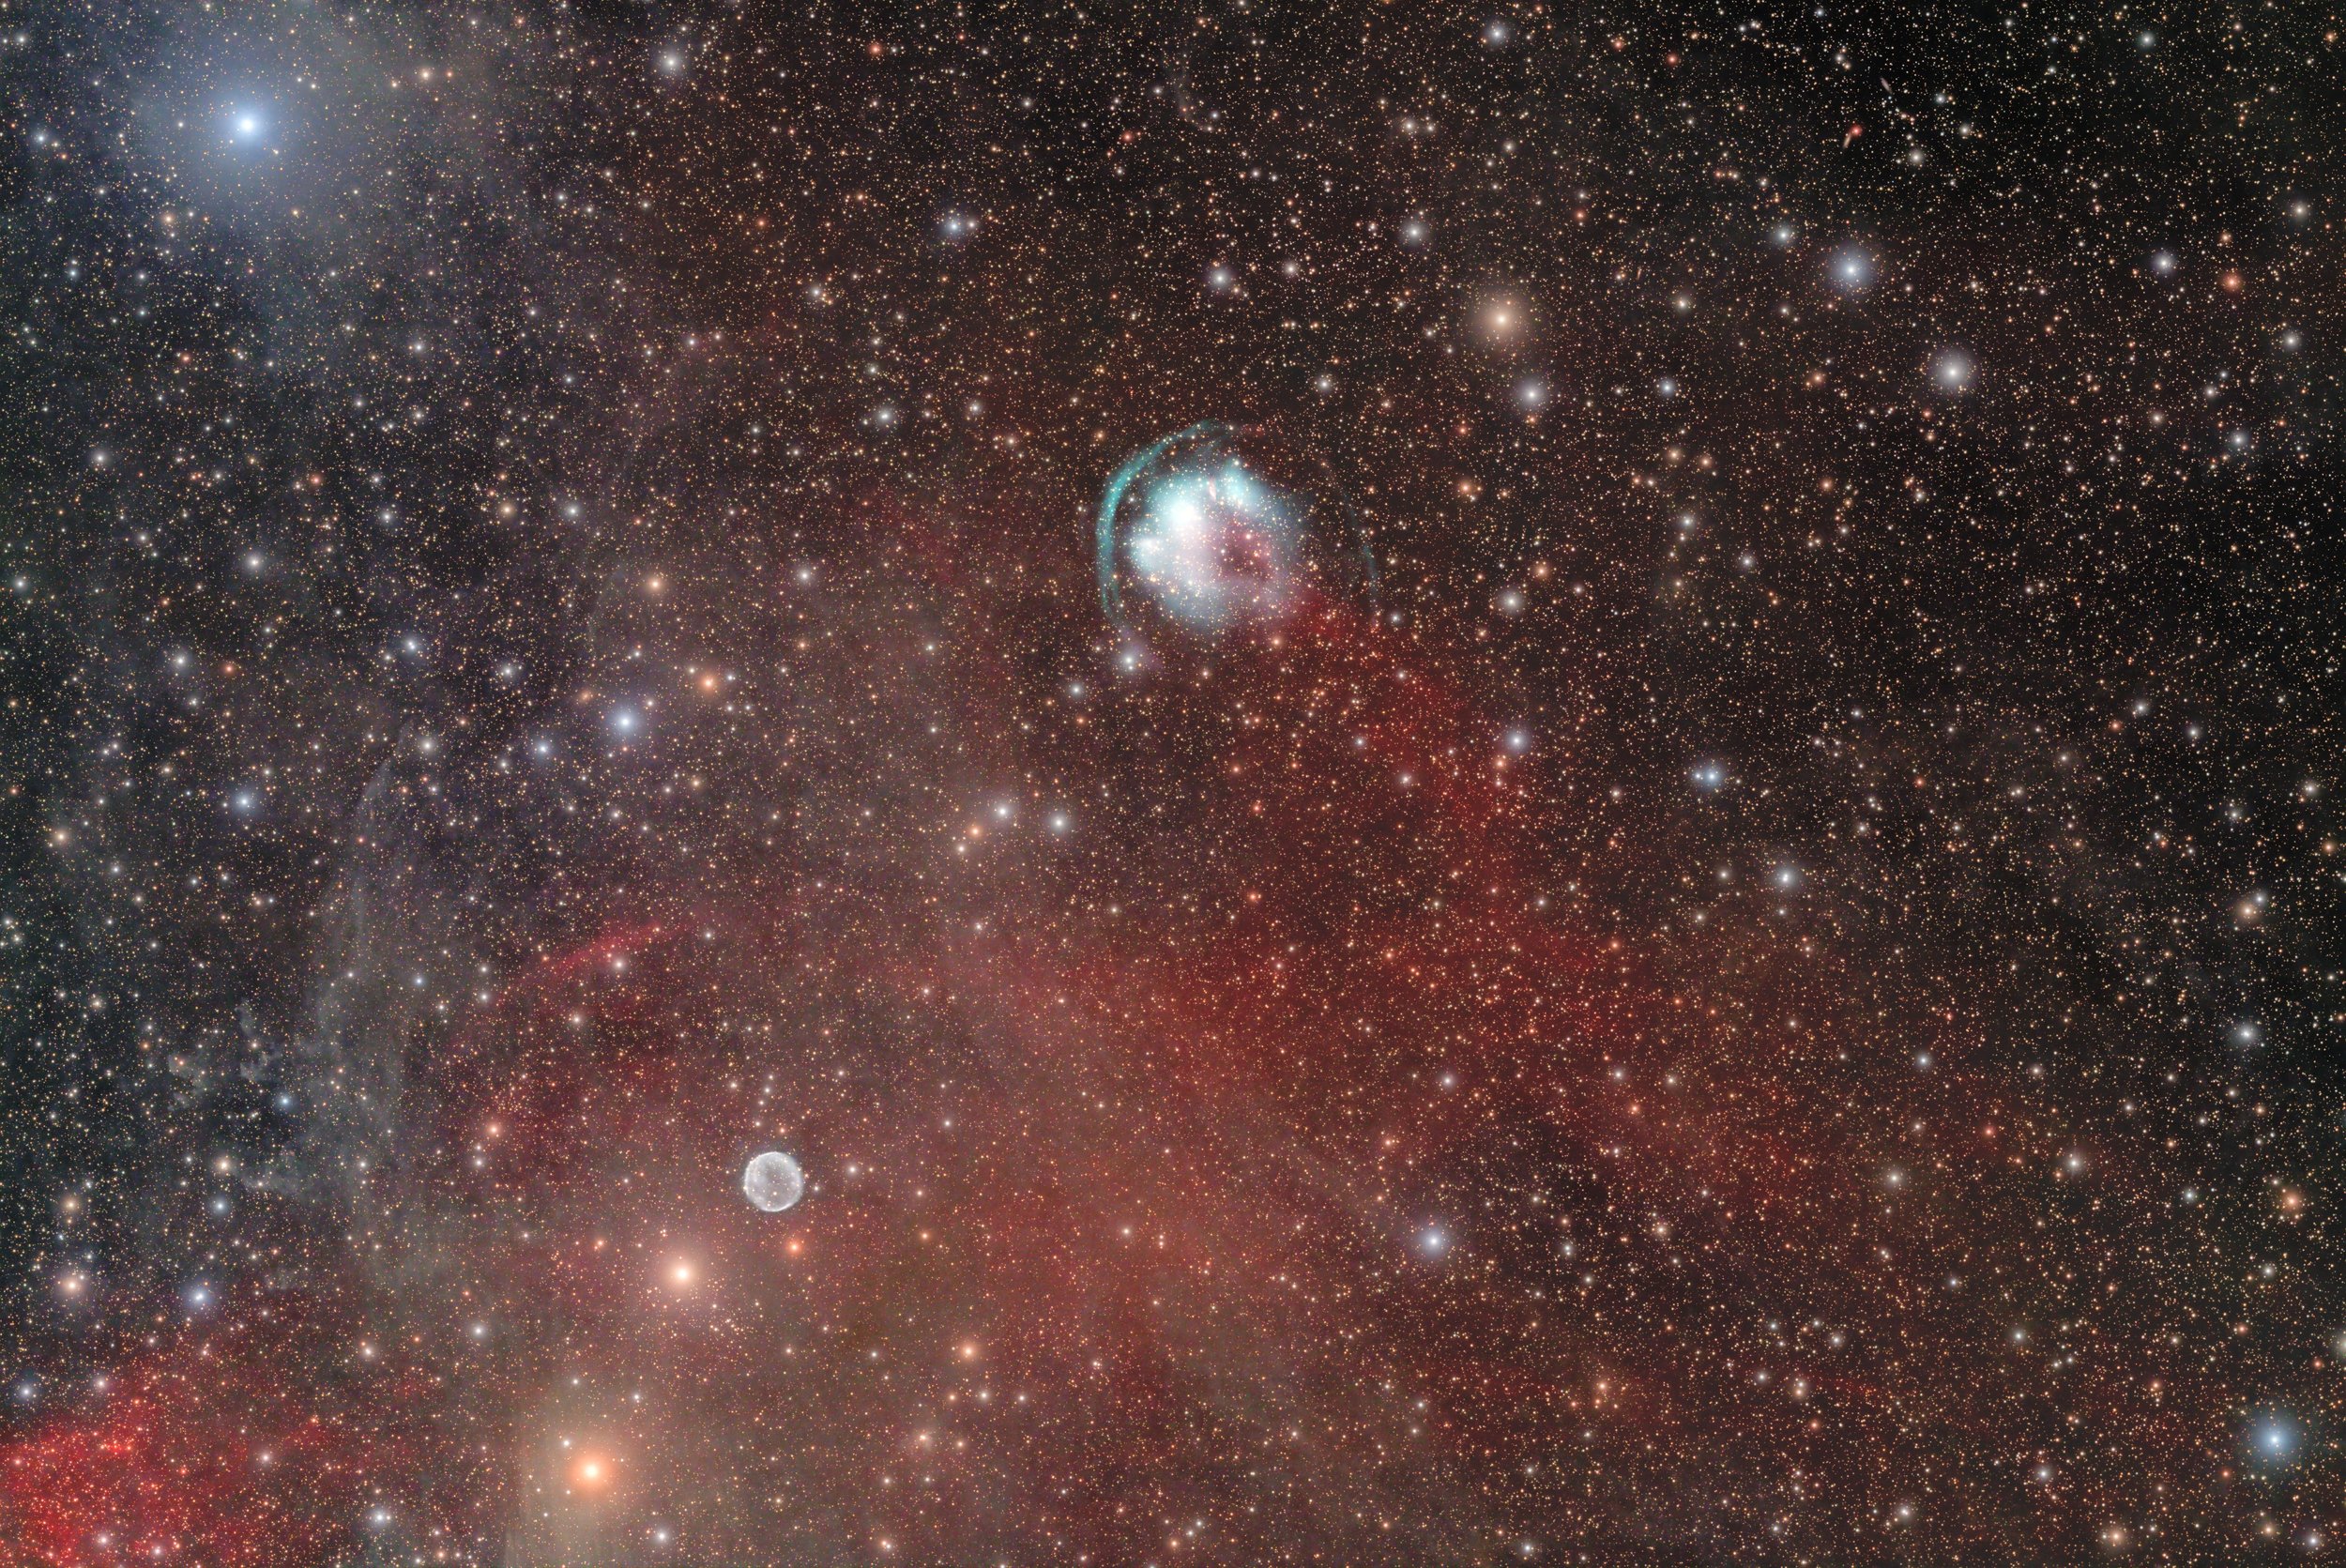
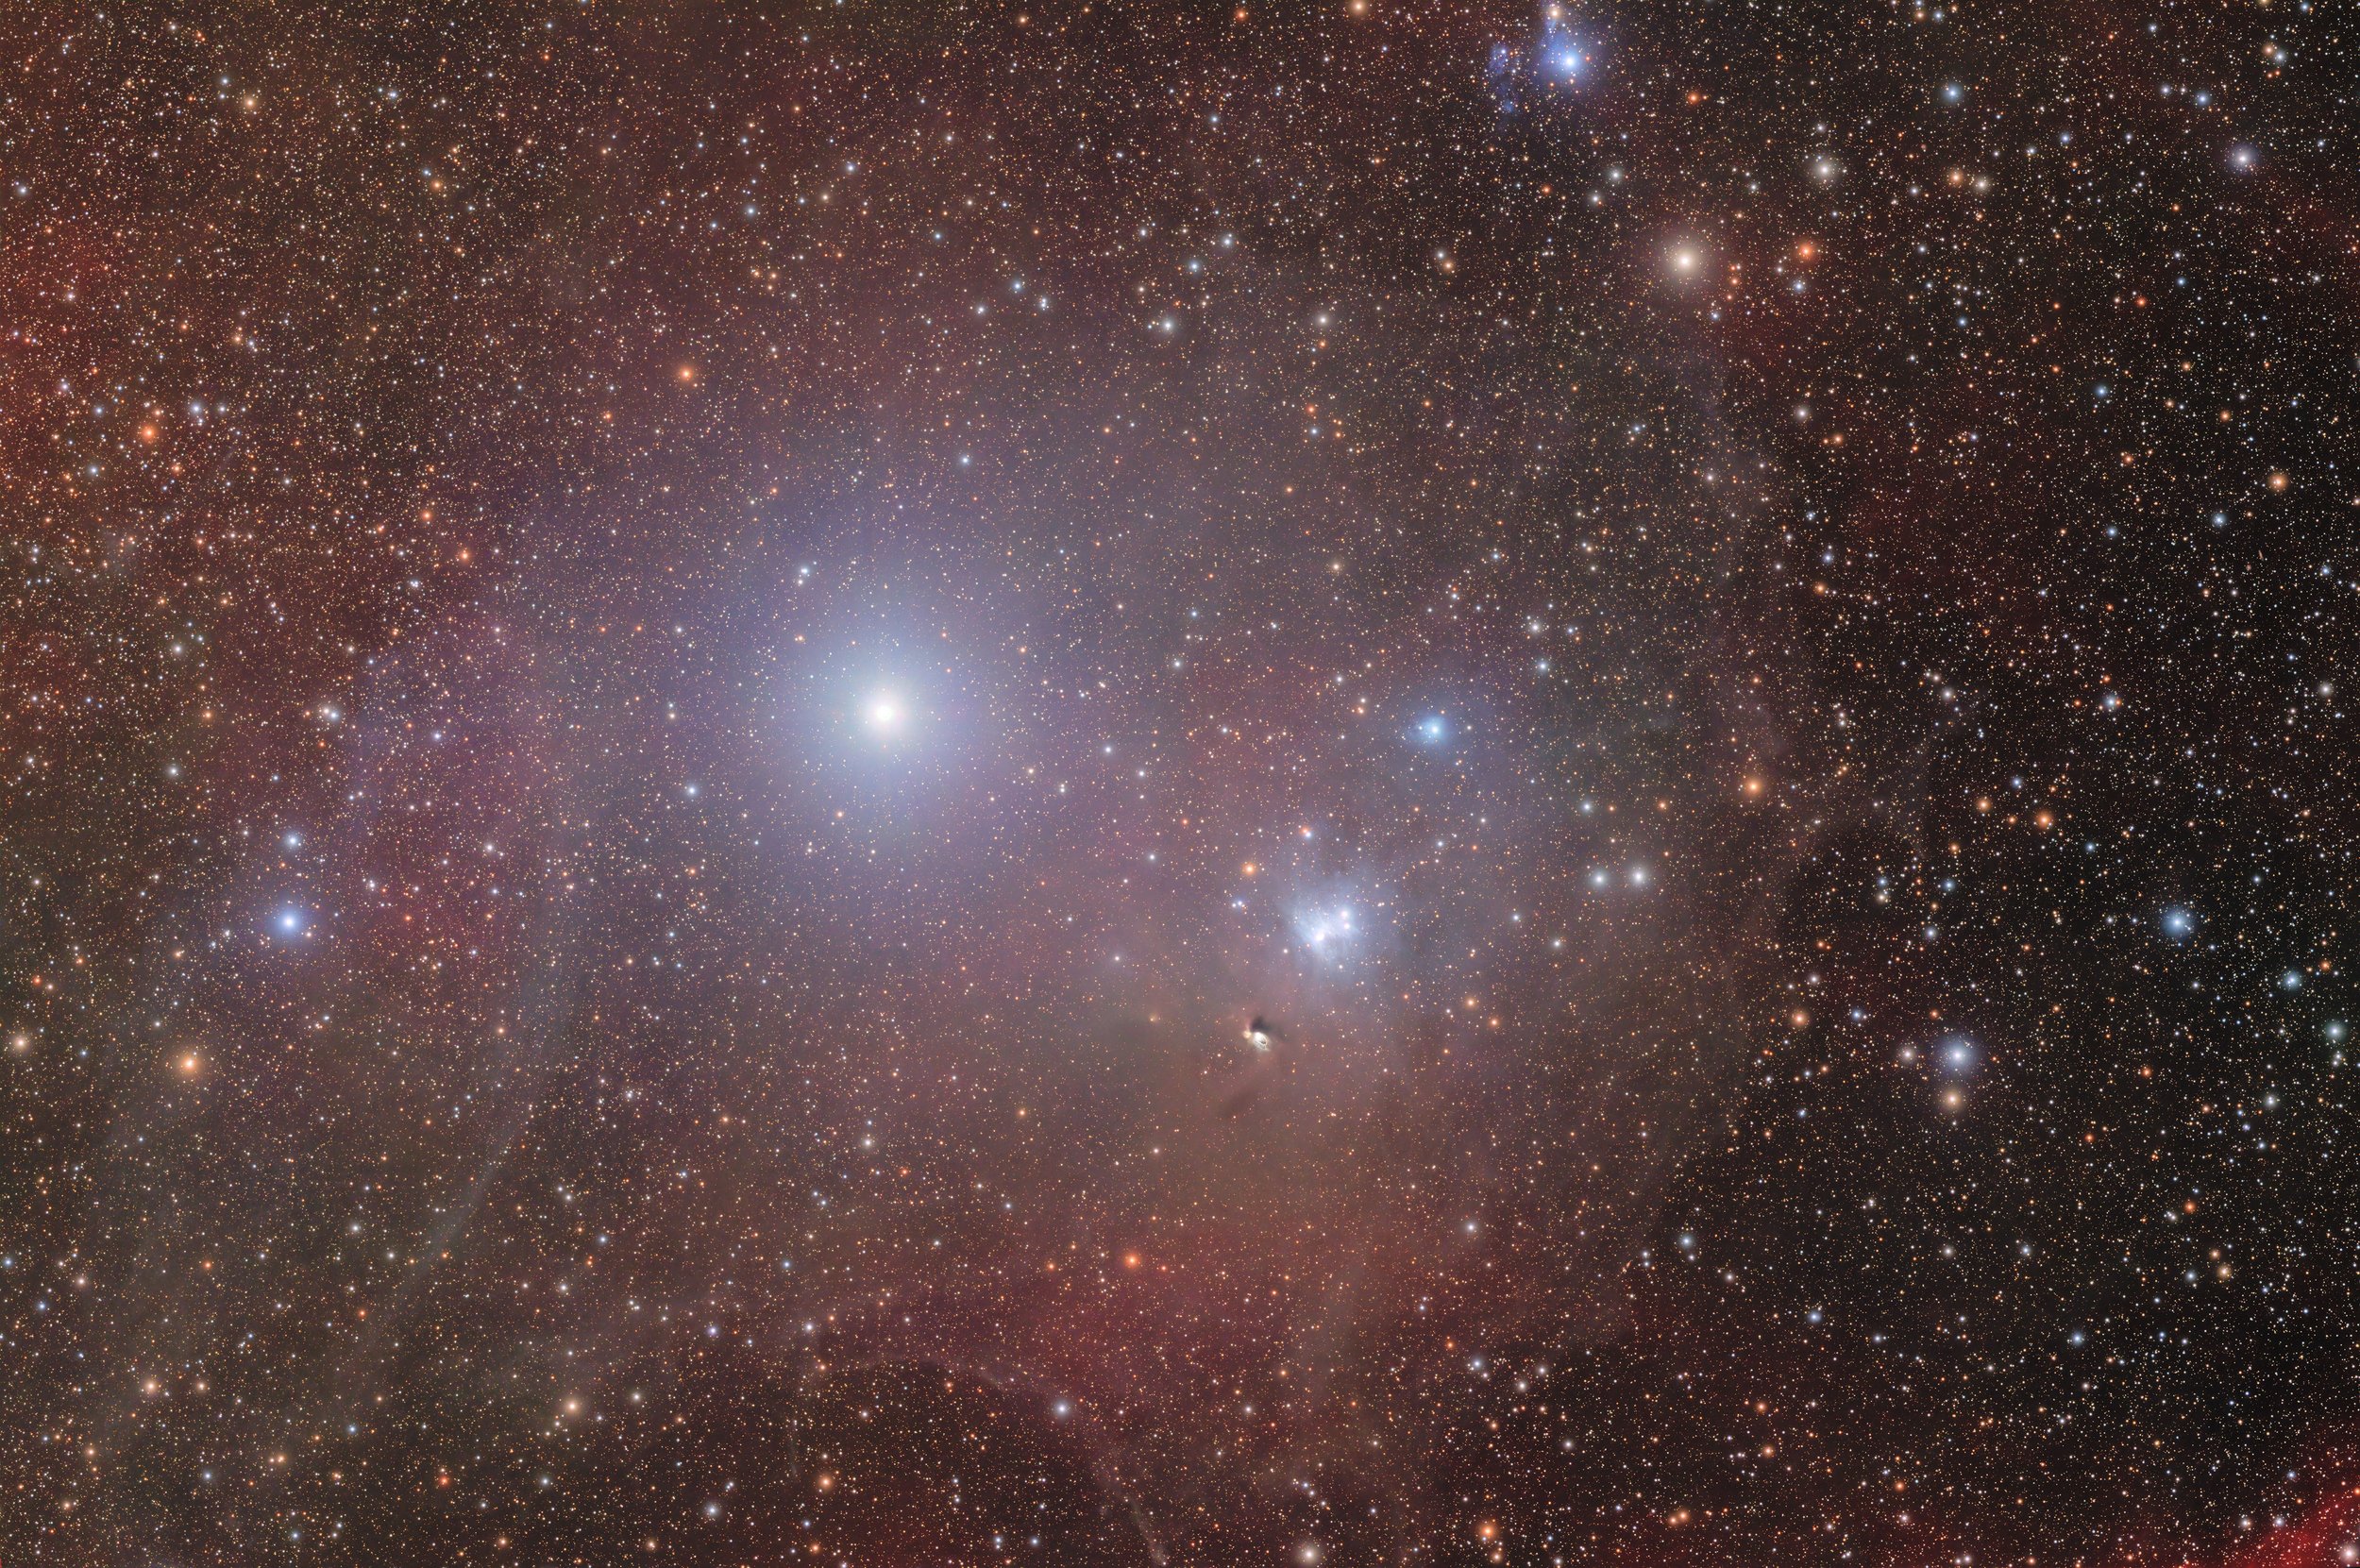
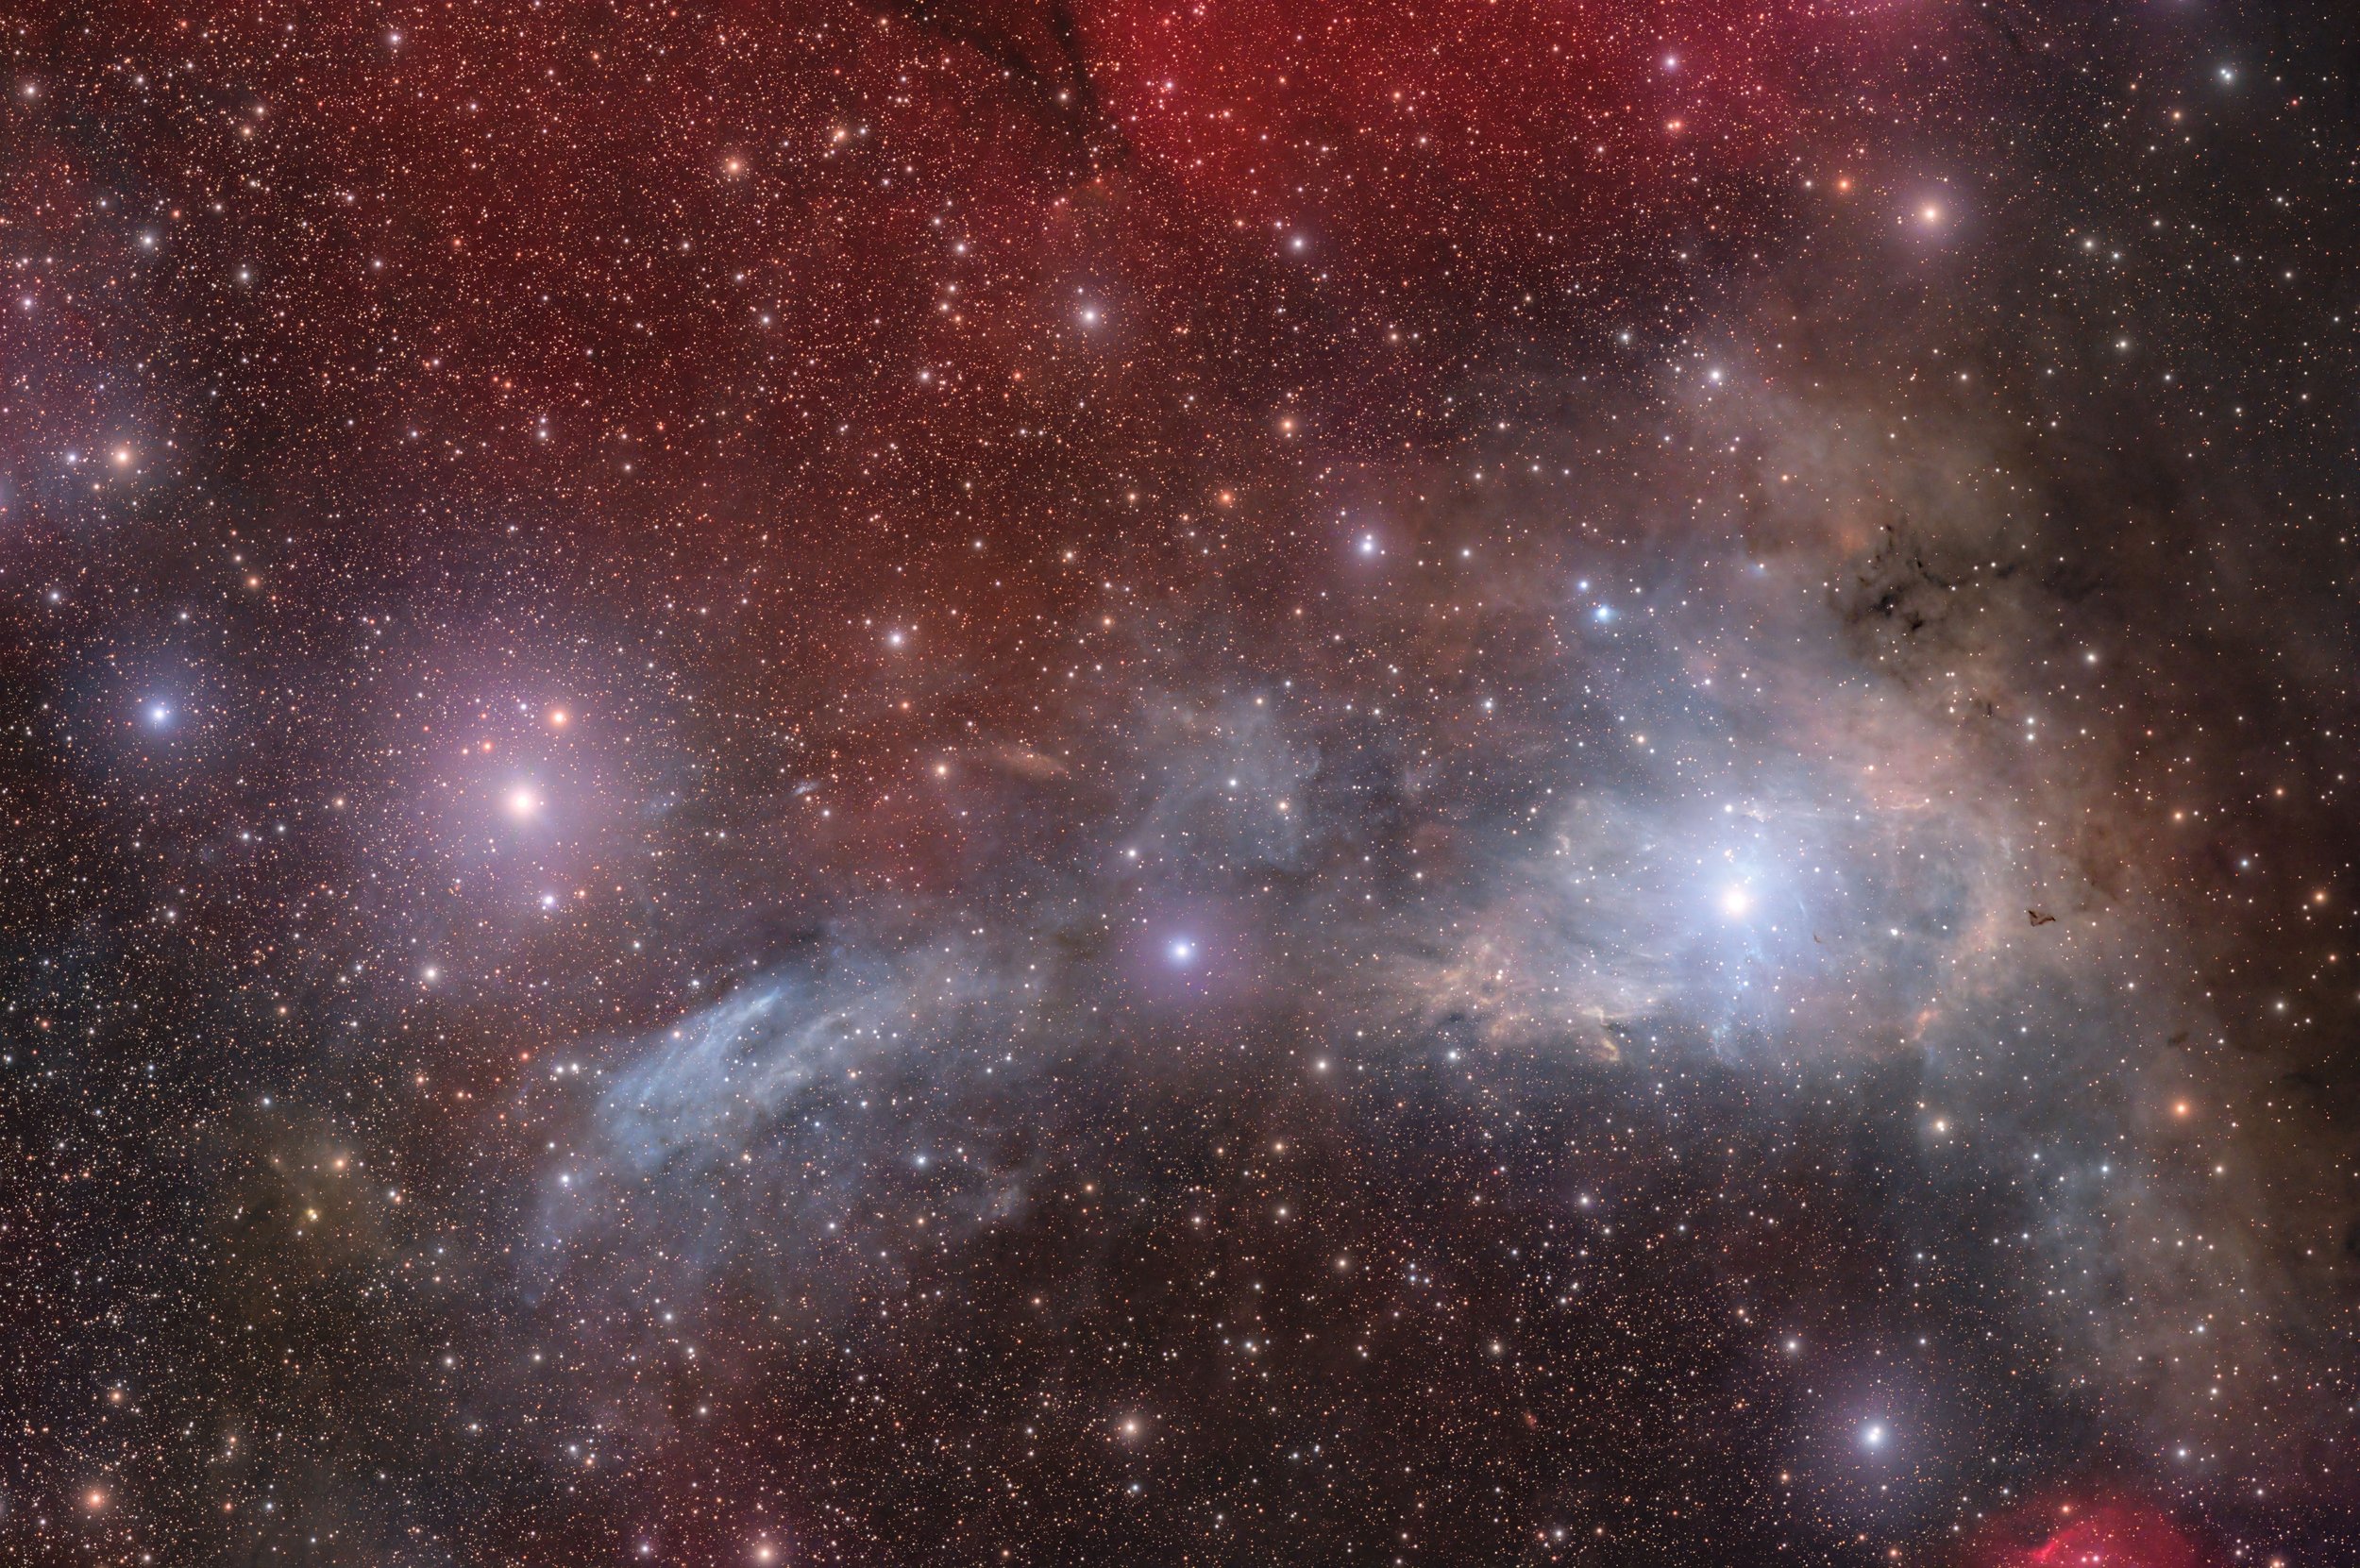
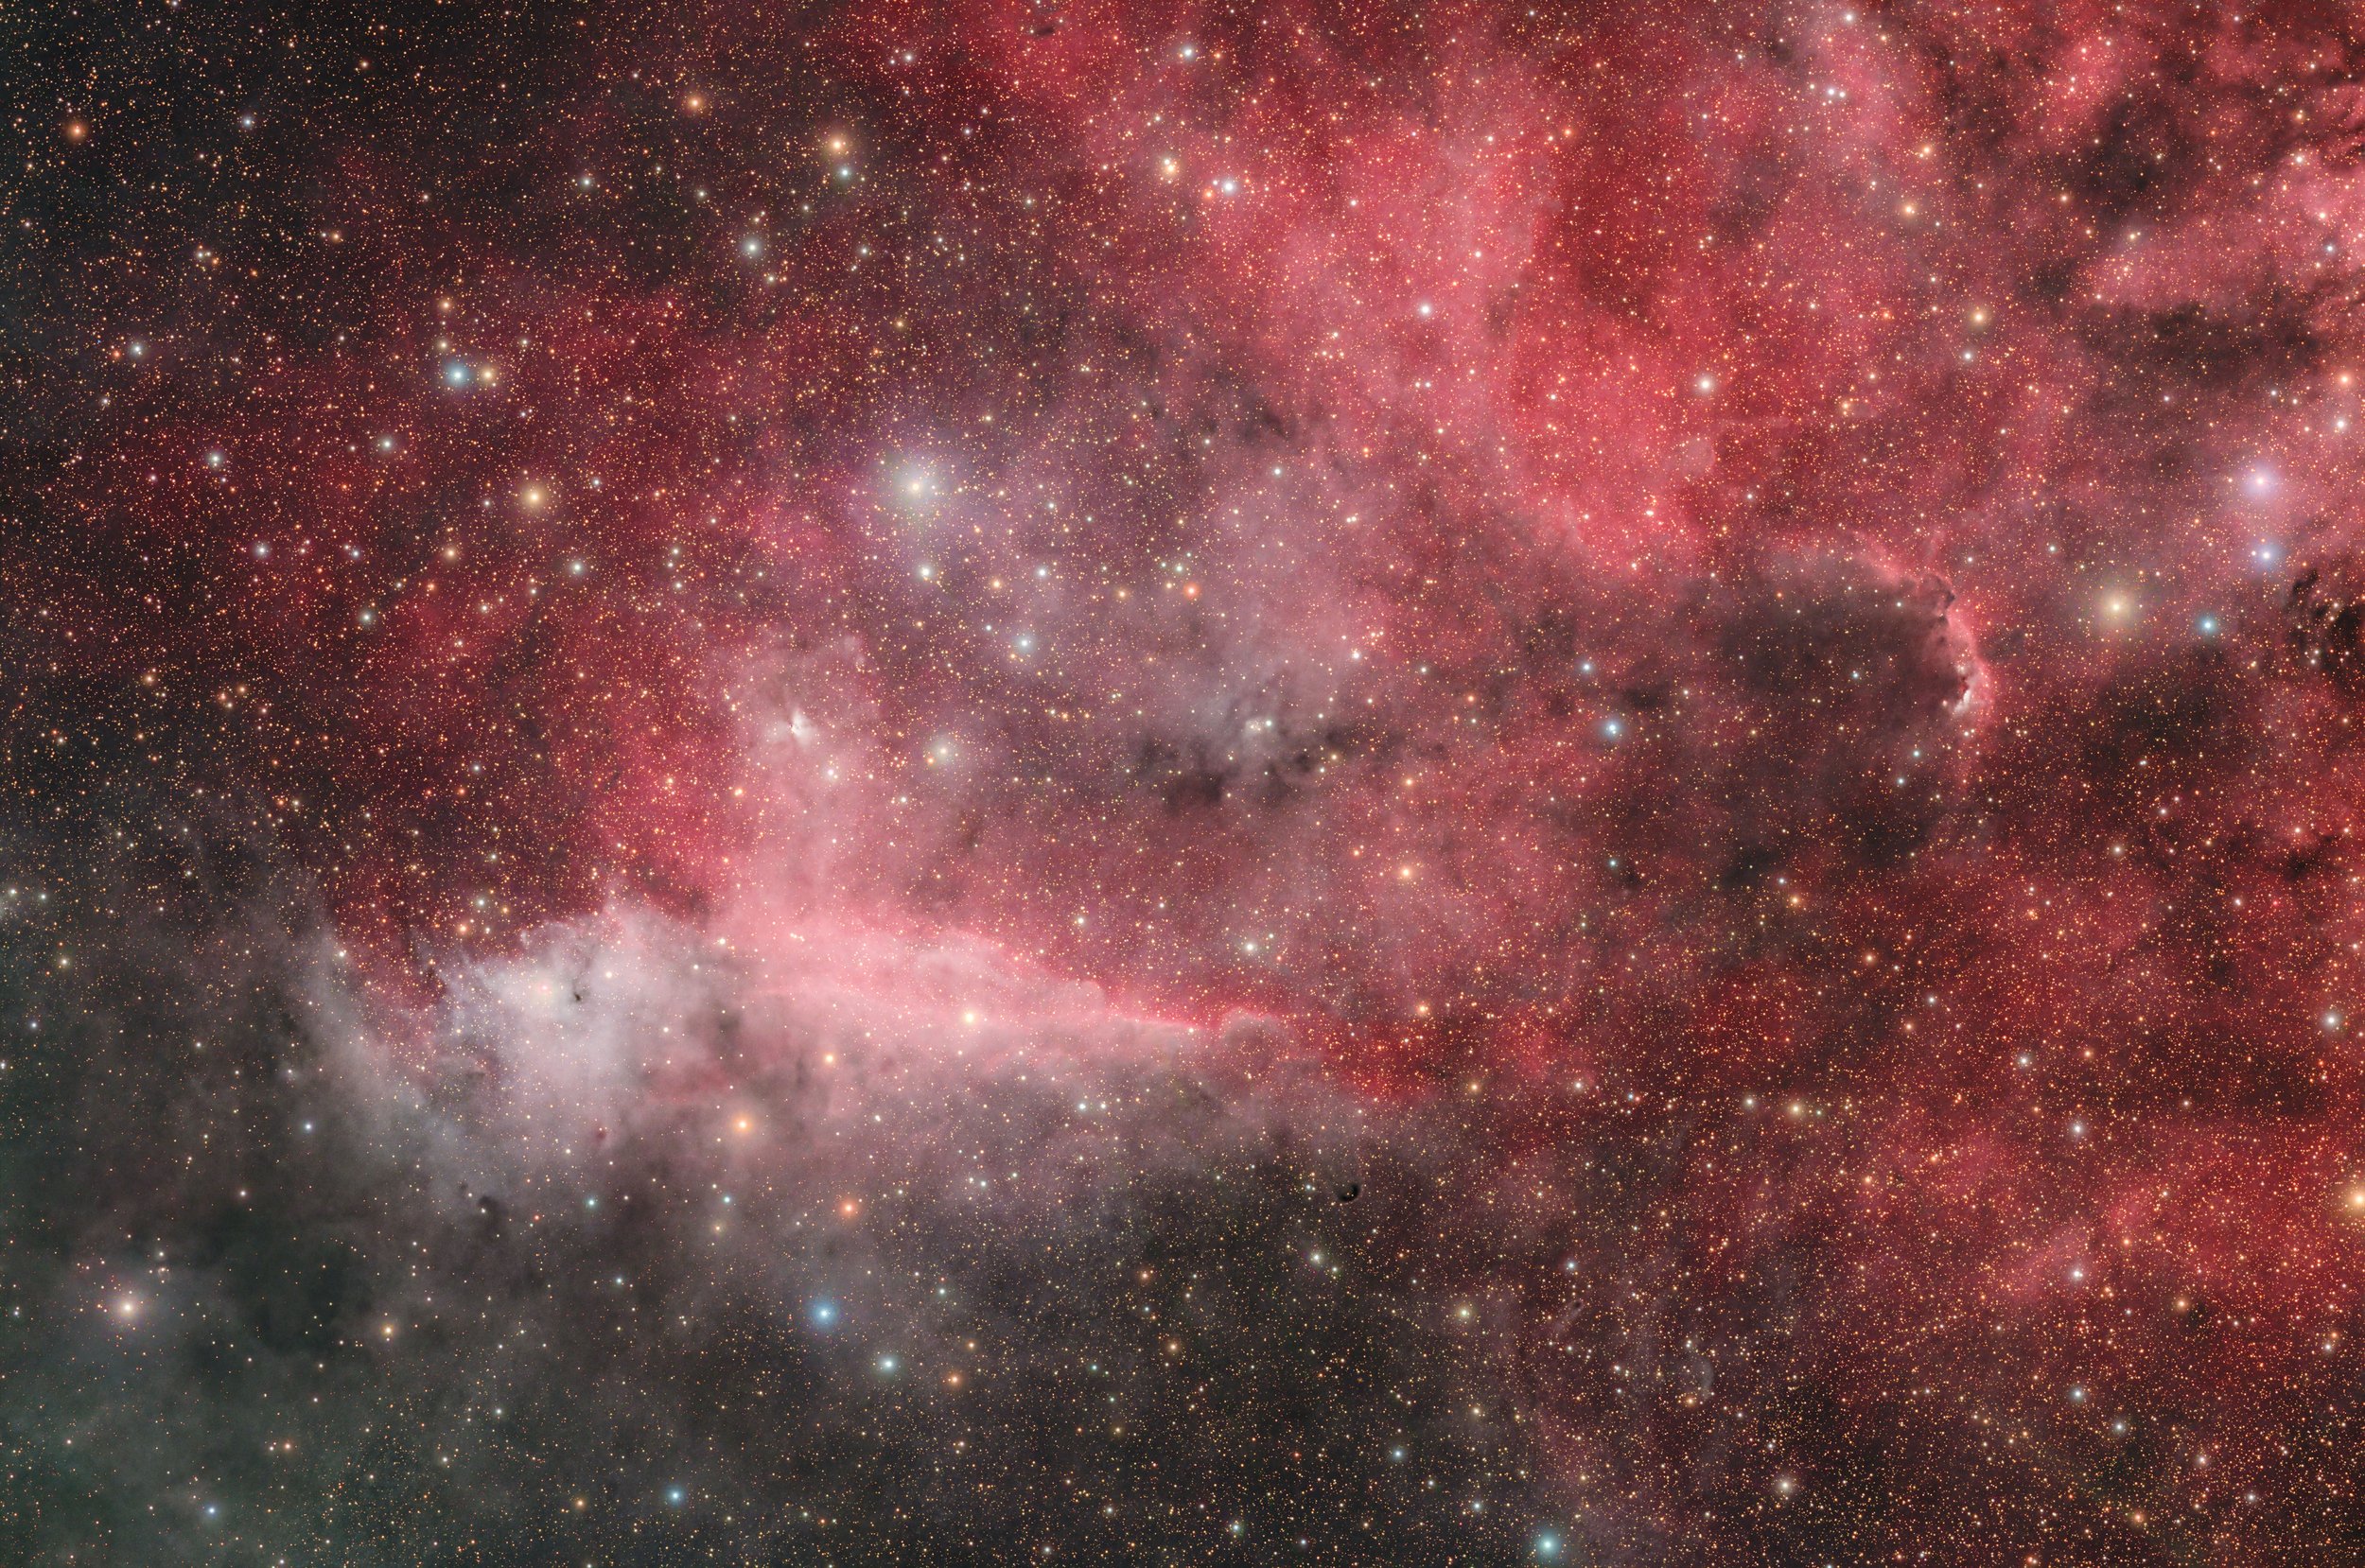
Some more recent images from this camera: