About three years ago, I started on a journey to get out of my back yard and image from dark skies with a permanent setup. I had been remote imaging to my back yard, but still setting up and tearing down my equipment each night. I had gone from using my 10Micron mount regularly to using my Rainbow Astro portable mount more often because I just didn’t want to deal with all the heavy equipment. It meant that some of my larger scopes went unused for some time.
During this journey I explored leasing land on someone else property near Llano Texas, and had got to where I was going to sign a contract, but the contractor used to build an observatory on this land really dragged his feet. It took about 8 months of waiting before I eventually decided I didn’t want to spend money to build something on someone else’s land. There are no 100% guarantees with a situation like this, and I’ve even heard horror stories where the land owner decided to reclaim his land and the buildings that the observatory owners paid for.
Through some good fortune, my wife inherited an acre of land in bortle 4-5 skies, and we started the process to get quotes on developing the land to build out a twin pier observatory and small weekend home (1,000sqft) for a place to hang out while at the property. After collecting building plans for everything, and getting surveys done this came at a time towards the end of the pandemic when building supplies were at an all time high. Costs were so outrageous that again, my progress to do something remote stalled.
Remote hosted services
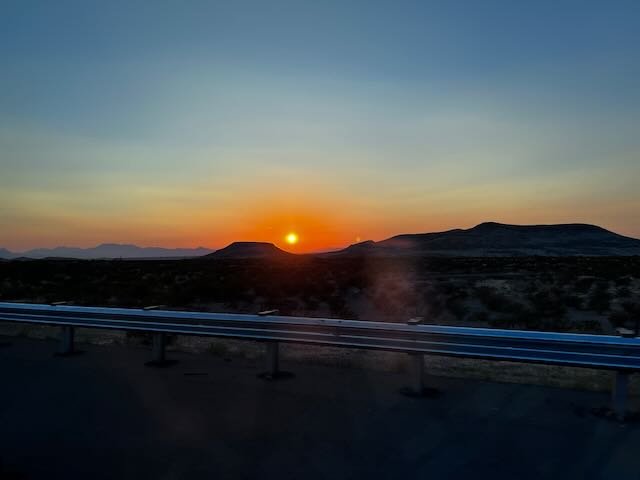
I waited almost almost a full year before eventually deciding that I was tired of the planning and waiting, and would delve into remote hosting services. It just so happened that during that same time period, Ed Thomas at Deep Space Products went into partnership with another person and started to offer his own remote hosting service called Deep Space Products Remote (DSPR) in southwestern New Mexico (Animas, NM).
Satellite view of the observatories at Astronomer’s Paradise (DSPR).
I’ve known Ed for a few years from owning a 10Micron mount (he’s the main service person for 10Micron in the U.S.). After a few back and forth conversations, we scheduled a move in date.
I wish I could say it were as simple as that, and I moved in immediately. But for about 6 months I struggled to find insurance with my own insurance broker. As soon as words like “Observatory” or “Telescope” enter the discussion you might as well be speaking greek to insurance people. They have no idea how to cover your equipment, or what kind of policy you need. Eventually I managed to contact State Farm and get a personal articles policy. It costs about $10/month per $10k of equipment, and you’ll need to provide receipts for every valuable piece of equipment you want to host. State Farm will also only cover you in the state where your items are stored, so if you want to host in New Mexico, you’ll need to look up a local State Farm insurer in the state. I found one near by in Deming, NM.
Planning for the remote observatory
At the start of the process you’ll want to think long and hard about the types of objects you want to image. Since I had been stuck in my back yard for the first 7-8 years in this hobby, I never once saw the southern sky. My home blocks all view to the south, and trees block about a 30° window east of my northern view. So there were a lot of nebulas I wanted to image that I’ve never been able to. For those reasons I didn’t want to have too long of a focal length. That meant my EdgeHD 11 at 2800mm was out of the picture. But I did want to be able to image moderately sized galaxies so I wanted something longer than my Esprit 100 at 550mm. I also wanted something with very good optics that was well corrected where I could use my existing ZWO ASI6200MM-Pro camera with Chroma filters.
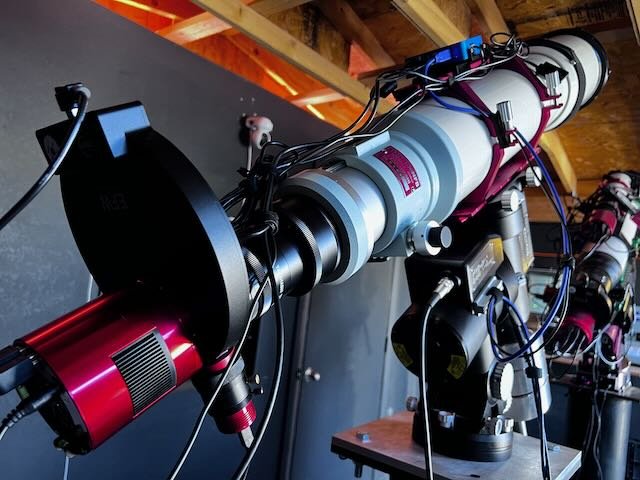
Takahashi TOA-130NFB telescope
Ed was in the middle of moving his shop, and he had some gear he wanted to sell quickly. He posted on Cloudy Nights that he had some excess inventory to sell at discounted prices. One of those items happened to be a Takahashi TOA-130NFB. Even with the discount, these telescopes are not cheap. I ended up selling my Sky-Watcher Esprit 100, one of my Rainbow Astro mounts, and two of the rare Takahashi’s I had found at an estate sale. All told, I broke even on the purchase. And started setting up in the back yard to test everything before deploying to New Mexico. I combined the TOA130-NFB with the 645 flattener, together they net a 990mm focal length. Not quite in the middle of my two previously mentioned scopes, but a very good combination from a resolution standpoint.
Remote testing and required hardware
It’s very important that you test everything remotely in the back yard. This includes remote connectivity, tilt adjustments, powering on and off all the equipment, meridian flip, pier clearance, and advanced sequences to image through the night. For my remote access I adopted Chrome Remote Desktop. This has proven to be flawless. I often connect from my phone to power things up, but you can of course connect with any desktop computer as well. It’s extremely reliable, but even then, I’ve installed TeamViewer as a backup.
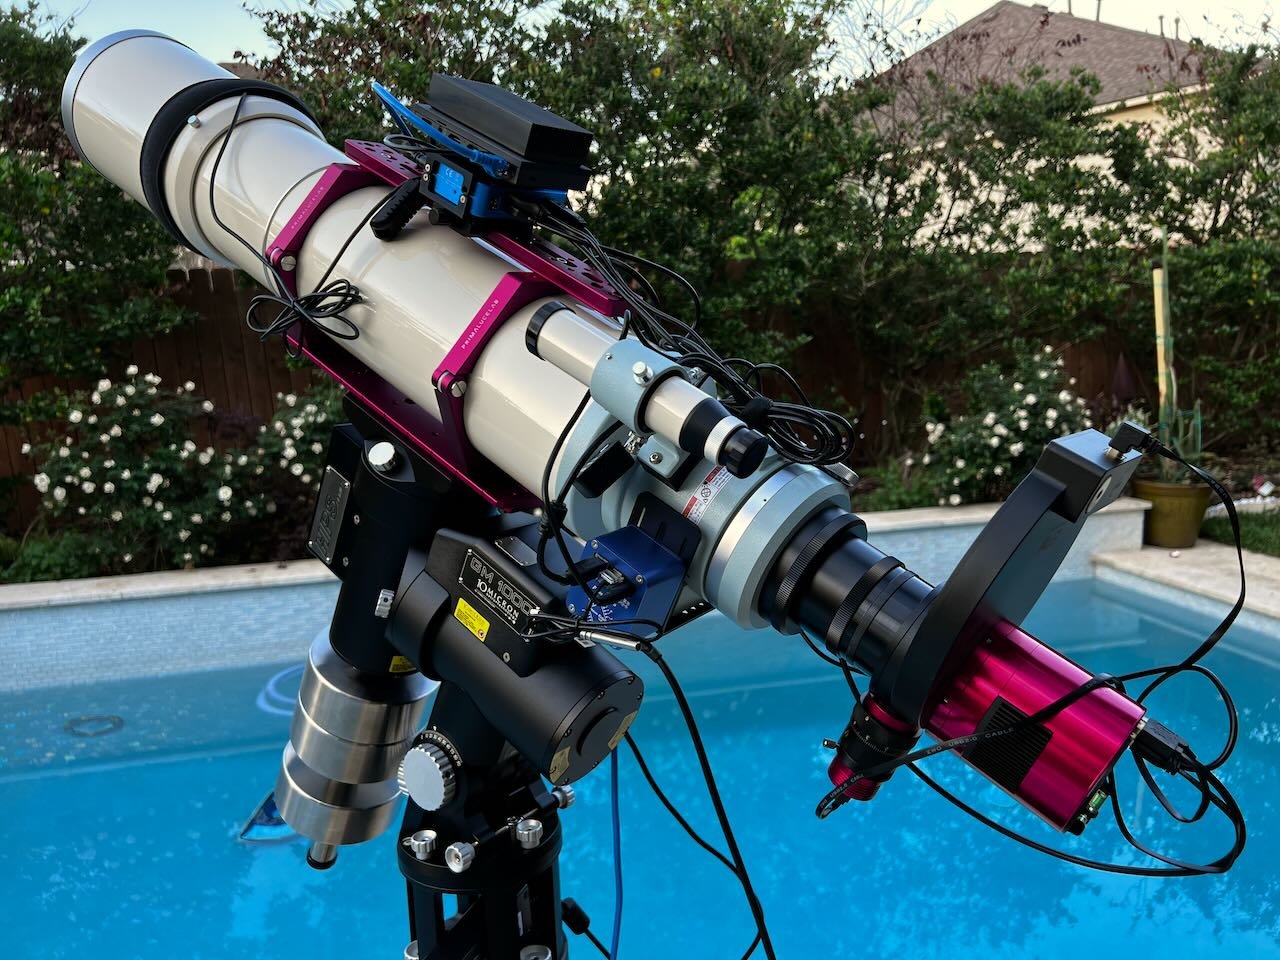
My remote system in the back yard, cautiously close to the pool.
There’s a few additional pieces of hardware that you’ll need besides the telescope, mount, camera, and focuser:
Kasa Smart Plug (for remote power on without access to your computer)
Intel NUC or Mini PC (I’ve linked the PC I purchased, Core i7, 32GB RAM)
APC UPS Battery Backup (for power losses, we’ve lost power several times out in the desert for only single days)
Digital Loggers Web Power Switch (for powering on and off individual items as necessary)
Pegasus Pocket Powerbox Advance (for power distribution on your telescope)
These items are a must. The desert is hot in the summer with the observatories baking during the day (105 degF + temps). You’ll want to power completely off, computer and all. Even the ZWO cameras if they are receiving power sit on, in a state where the sensor is active, but not being cooled. These cameras get very hot to the touch sitting idle, so you want power cut off to them or risk burning out your sensor. I power everything down completely during the day. At dusk, I use the Kasa app on my iPhone to turn on the plug, which sits behind my battery back up but before the Digital Loggers switch. Then I can remotely turn on everything else. My computer bios is set to power on when AC current is applied. So as soon as the power is flipped, the computer boots too.
Another big consideration for me was the computer. I love Macs and use them for home and work. But I have a ton of experience with PCs too. And I had to consider the software requirements of the equipment at Astronomer’s Paradise like the weather and roof. I also had to consider what applications could support me on a Mac. This left only KStars/EKOS. And while I love the application, and think its interface is one of the best for this hobby, the software is in a constant state of flux, and can be very unreliable after updates. I had to make the hard decision to go to a PC for this reason. But I still get to remote into the system from my Mac! And of course, all my processing is done on the Mac too. In the back yard, I had been content with a MeLe Quieter computer, and had never used anything more powerful because the MeLe could run off 12v supplied by the Pegasus power box. But wow, after I opted to get a Mini PC instead, I’m so glad I did. I had no idea how underpowered the MeLe computers are, and it’s been a joy to use something powerful at the telescope.
Remote install
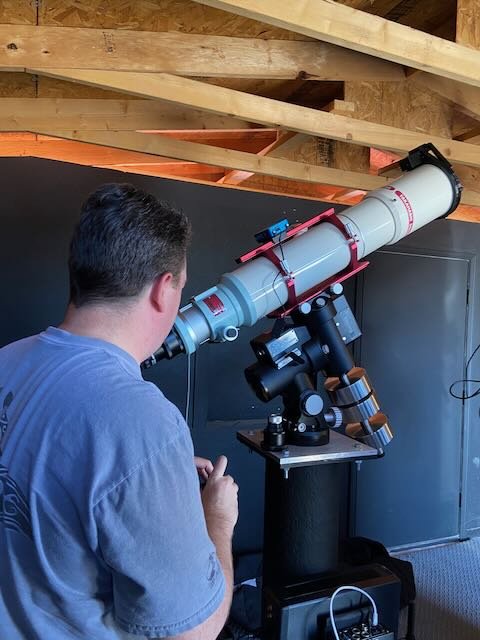
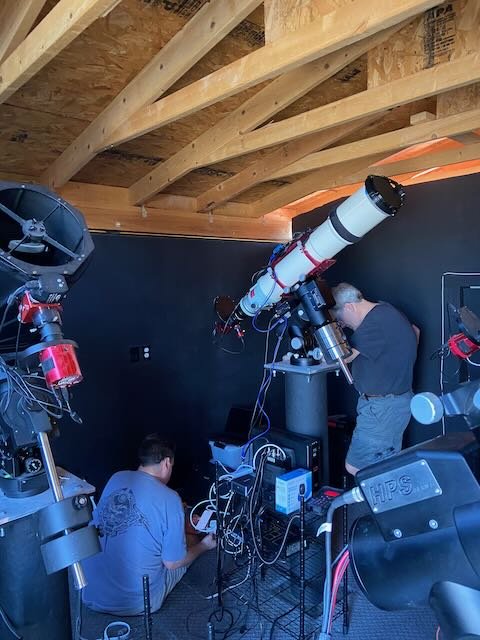
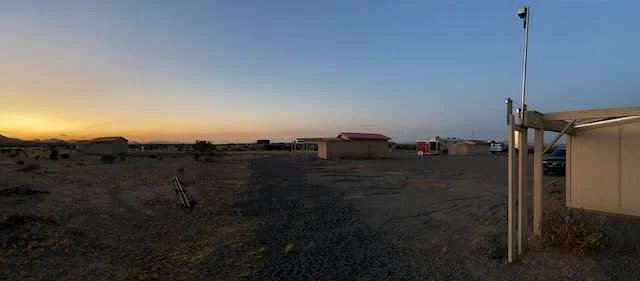
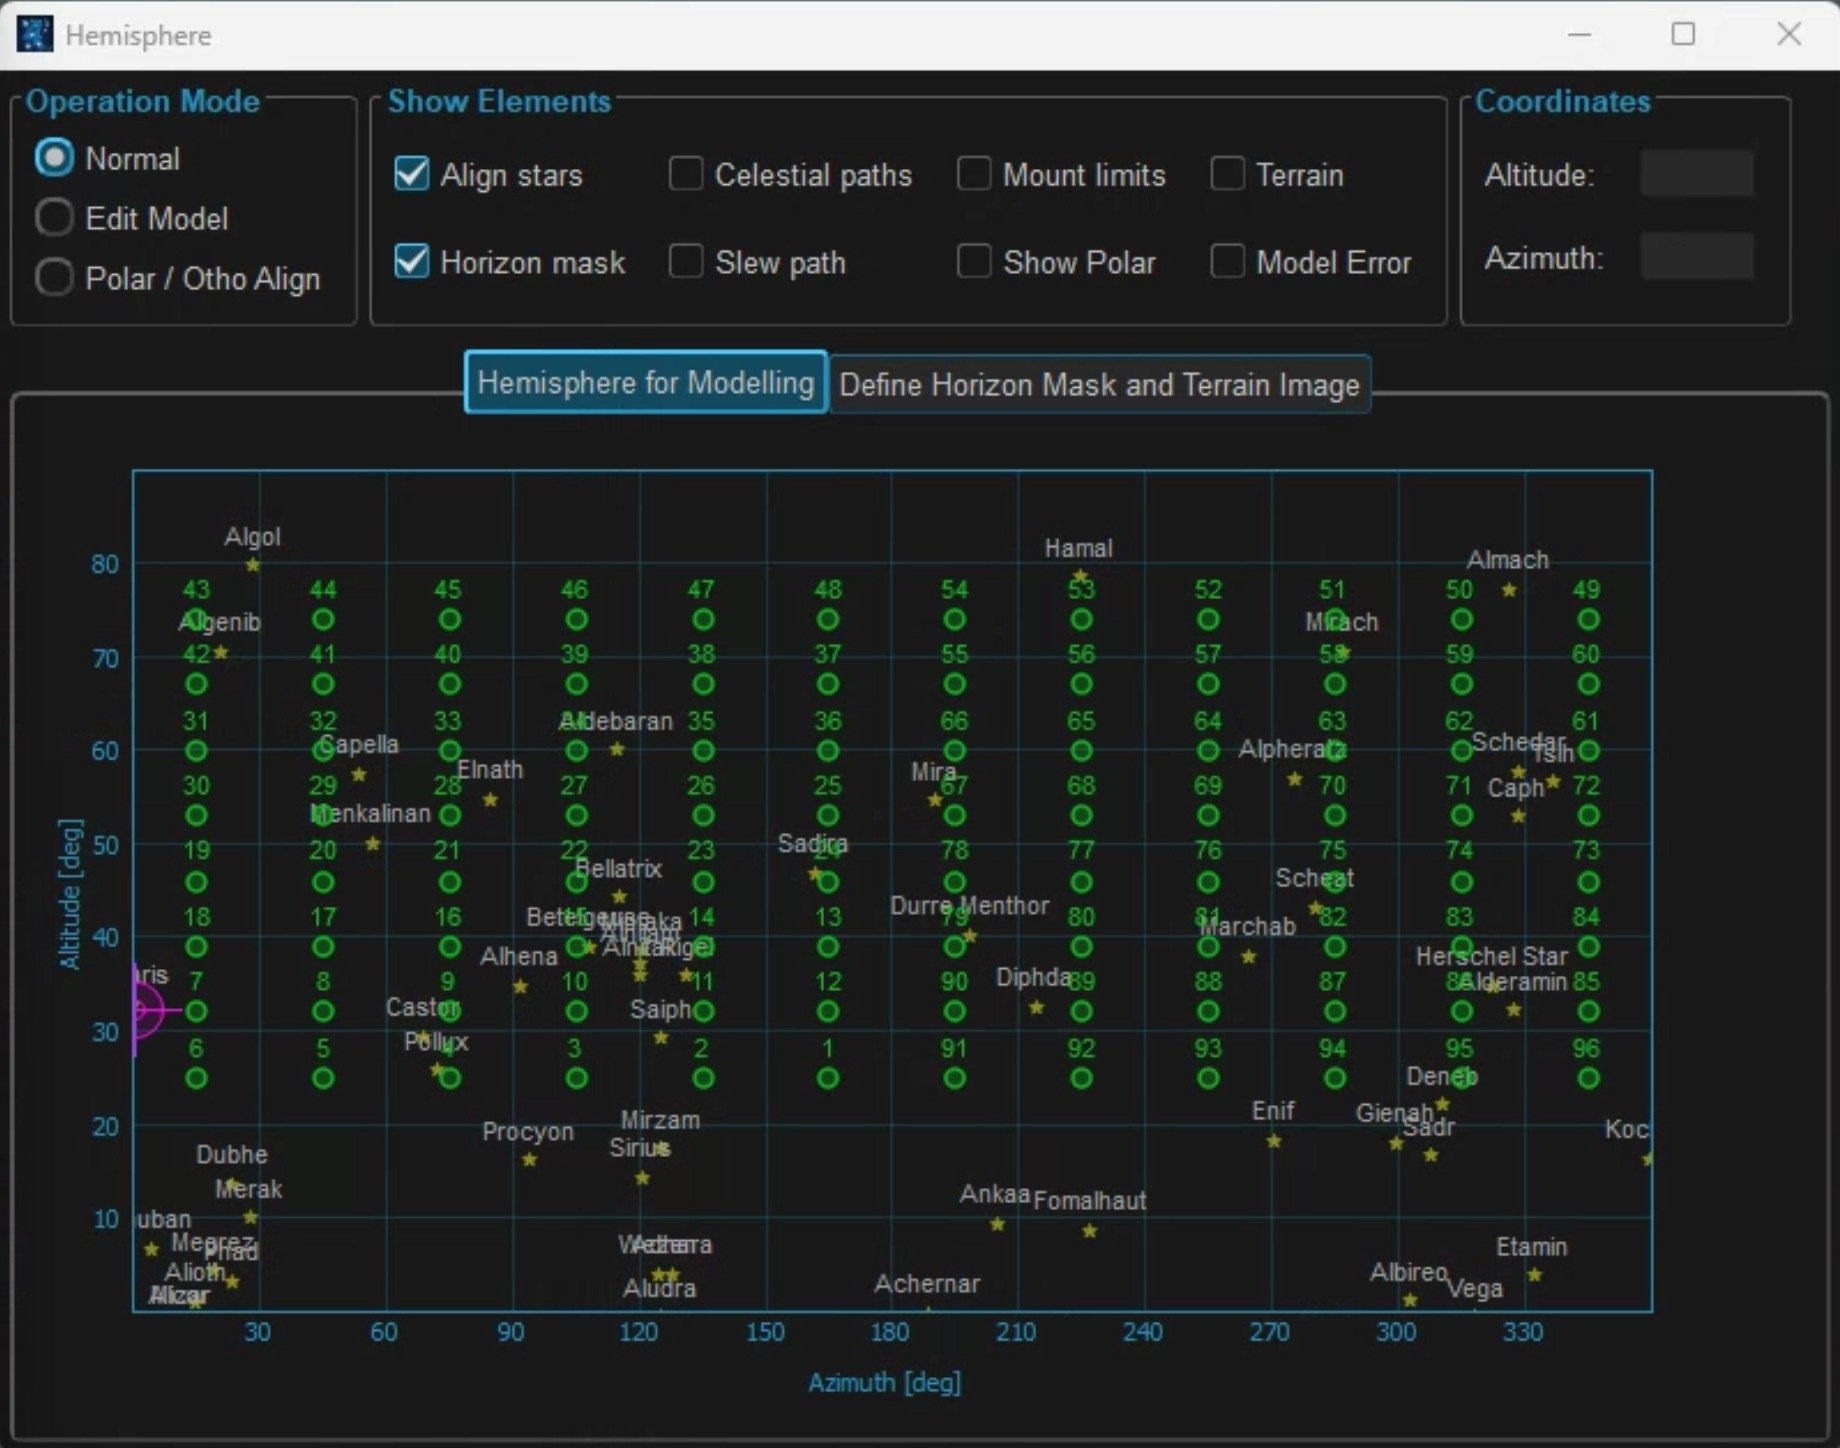
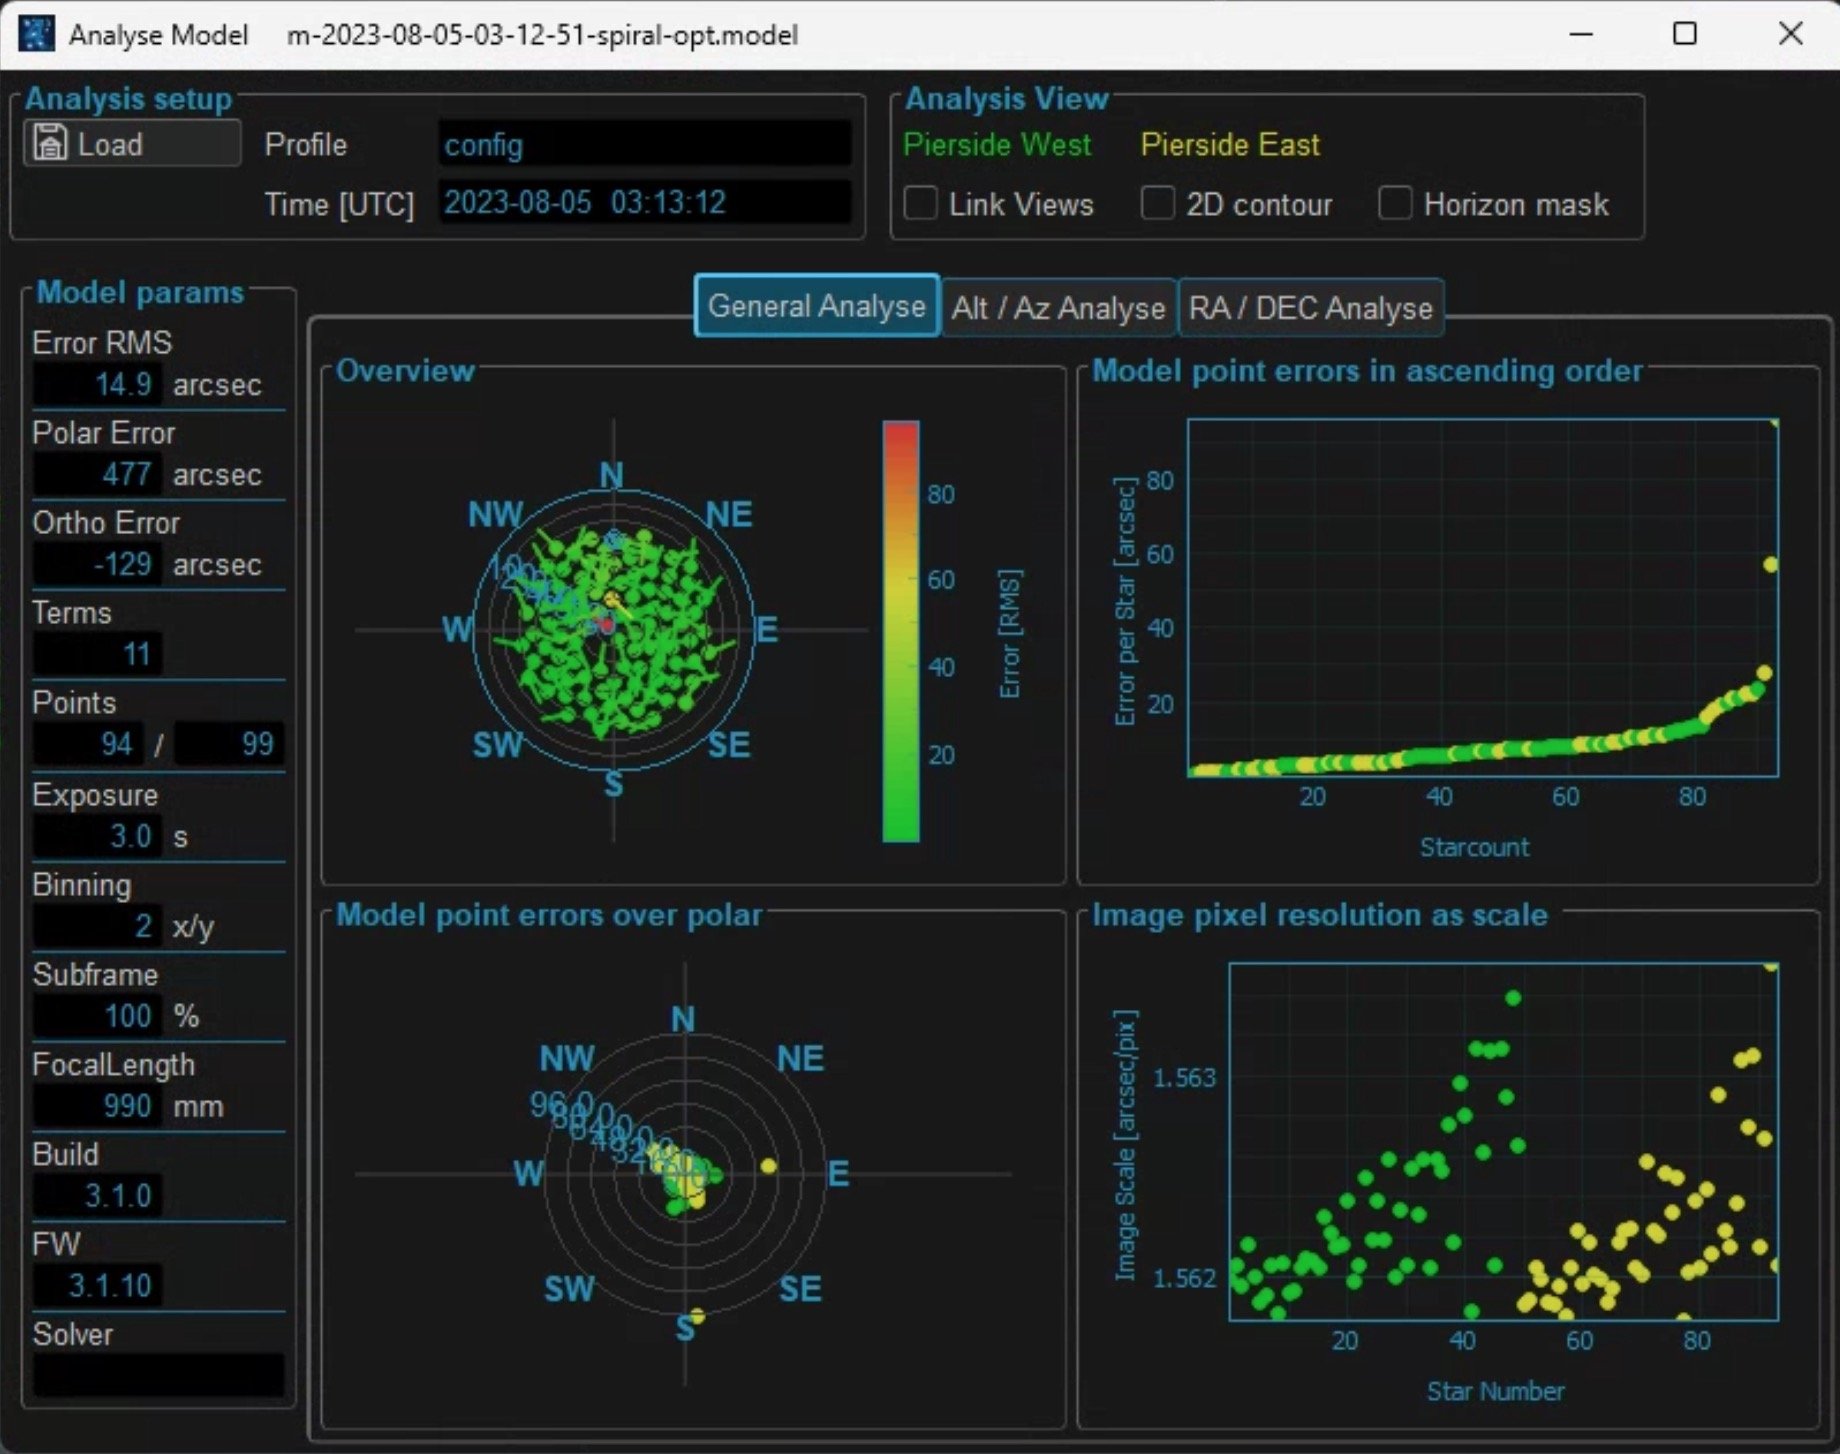
To get out to Animas New Mexico from Houston Texas, I decided it would be more economical to drive my equipment. Along with my Dad, we packed the car and made the 1,500+ mile trip in two days. In the photos above you’ll see myself and Ed setting up the equipment for first light. I had only planned on being there overnight one night. While Ed does have a bunkhouse on site, there are no places to eat unless you bring food to cook, so we stayed at a nearby hotel in Lordsburg NM, which is only 30 minutes away. Make sure you have a laptop on hand to remote into your setup and test things out. I had a little bit of trouble getting the GPS to set the location of the equipment, but after that got sorted, I was able to model the sky and get 10 minute unguided subs right away.
For good measure I also tested guiding.
Can guiding really get much better than this?
Setup was mostly a breeze since I had everything worked out at the house. It was really plug and go, along with some cable management. Ed also supplied a small webcam that I was able to place at the base of the telescope to keep an eye on things.

The only incident I’ve encountered so far was a loose focuser. For about a dozen nights I noticed my backlash growing by a few hundred steps as the focus barrel on the connector started slipping. Took me about that long to discover the issue. Luckily there’s some great help on sight 24/7 and it was fixed for me, and has since worked flawlessly.
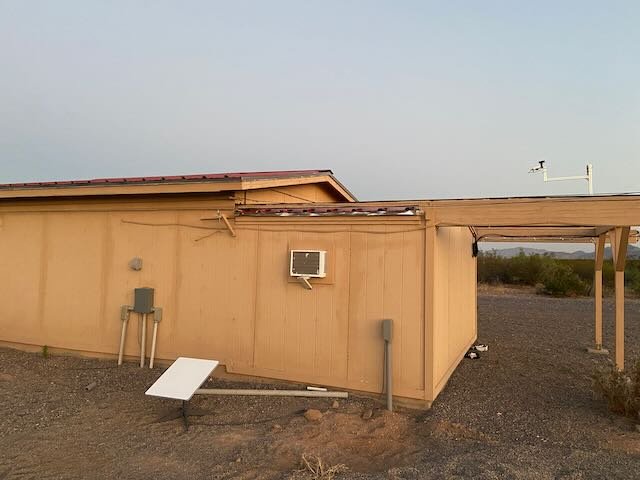
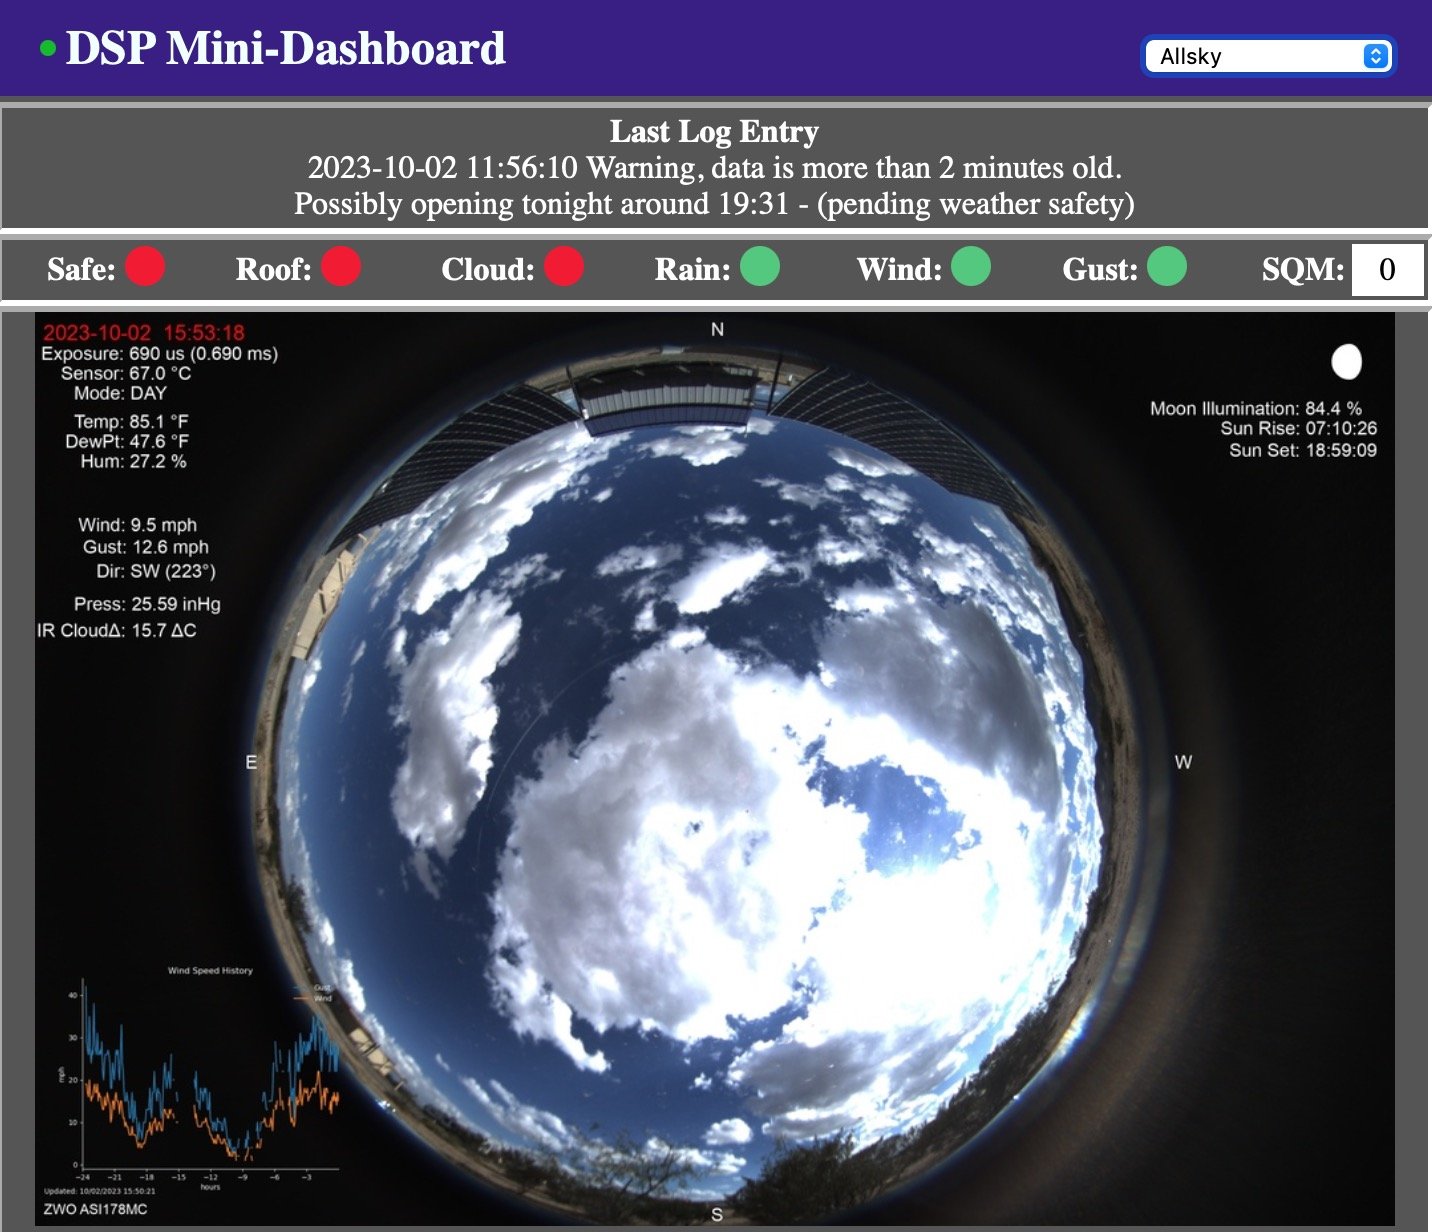
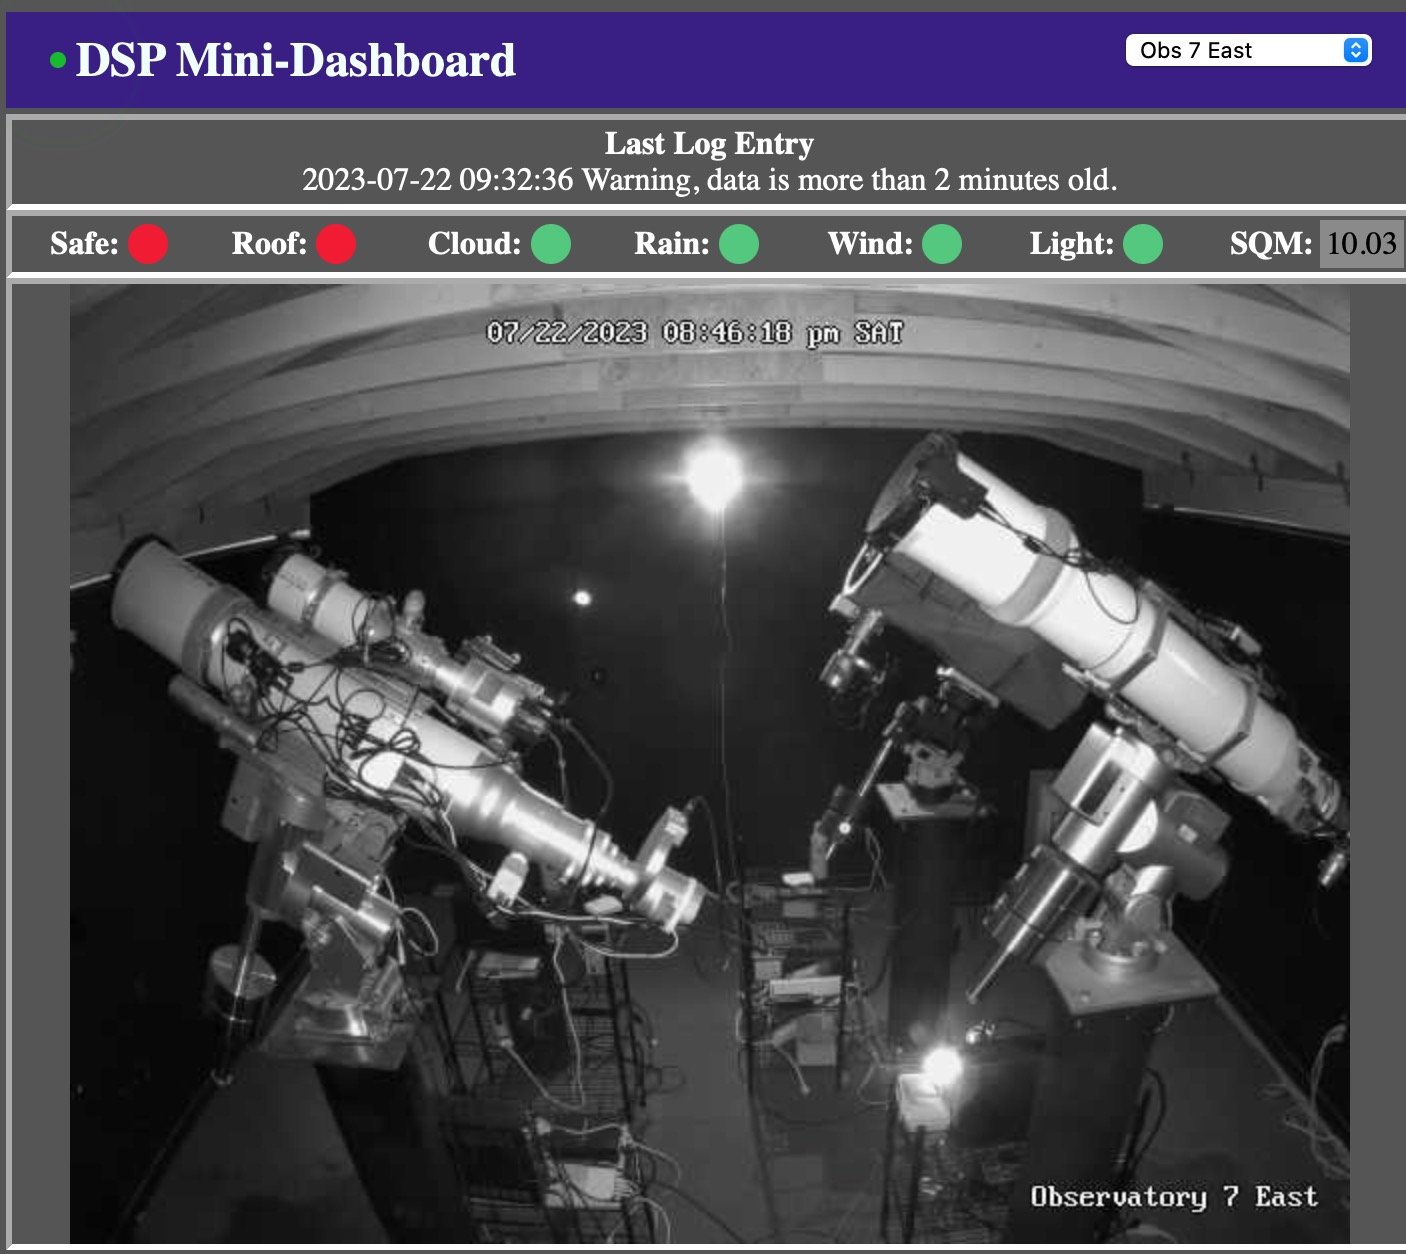
In addition to the housing facilities for your telescope, you have access to weather data, roof information, an all sky camera, message boards, and instant messaging if needed.
Having access to the weather and the roof status allows me to fully automate the night with N.I.N.A. my chosen software for the scheduling and imaging. A mini web based dashboard also allows me to see my equipment from both sides of the room, or switch to the all sky camera.
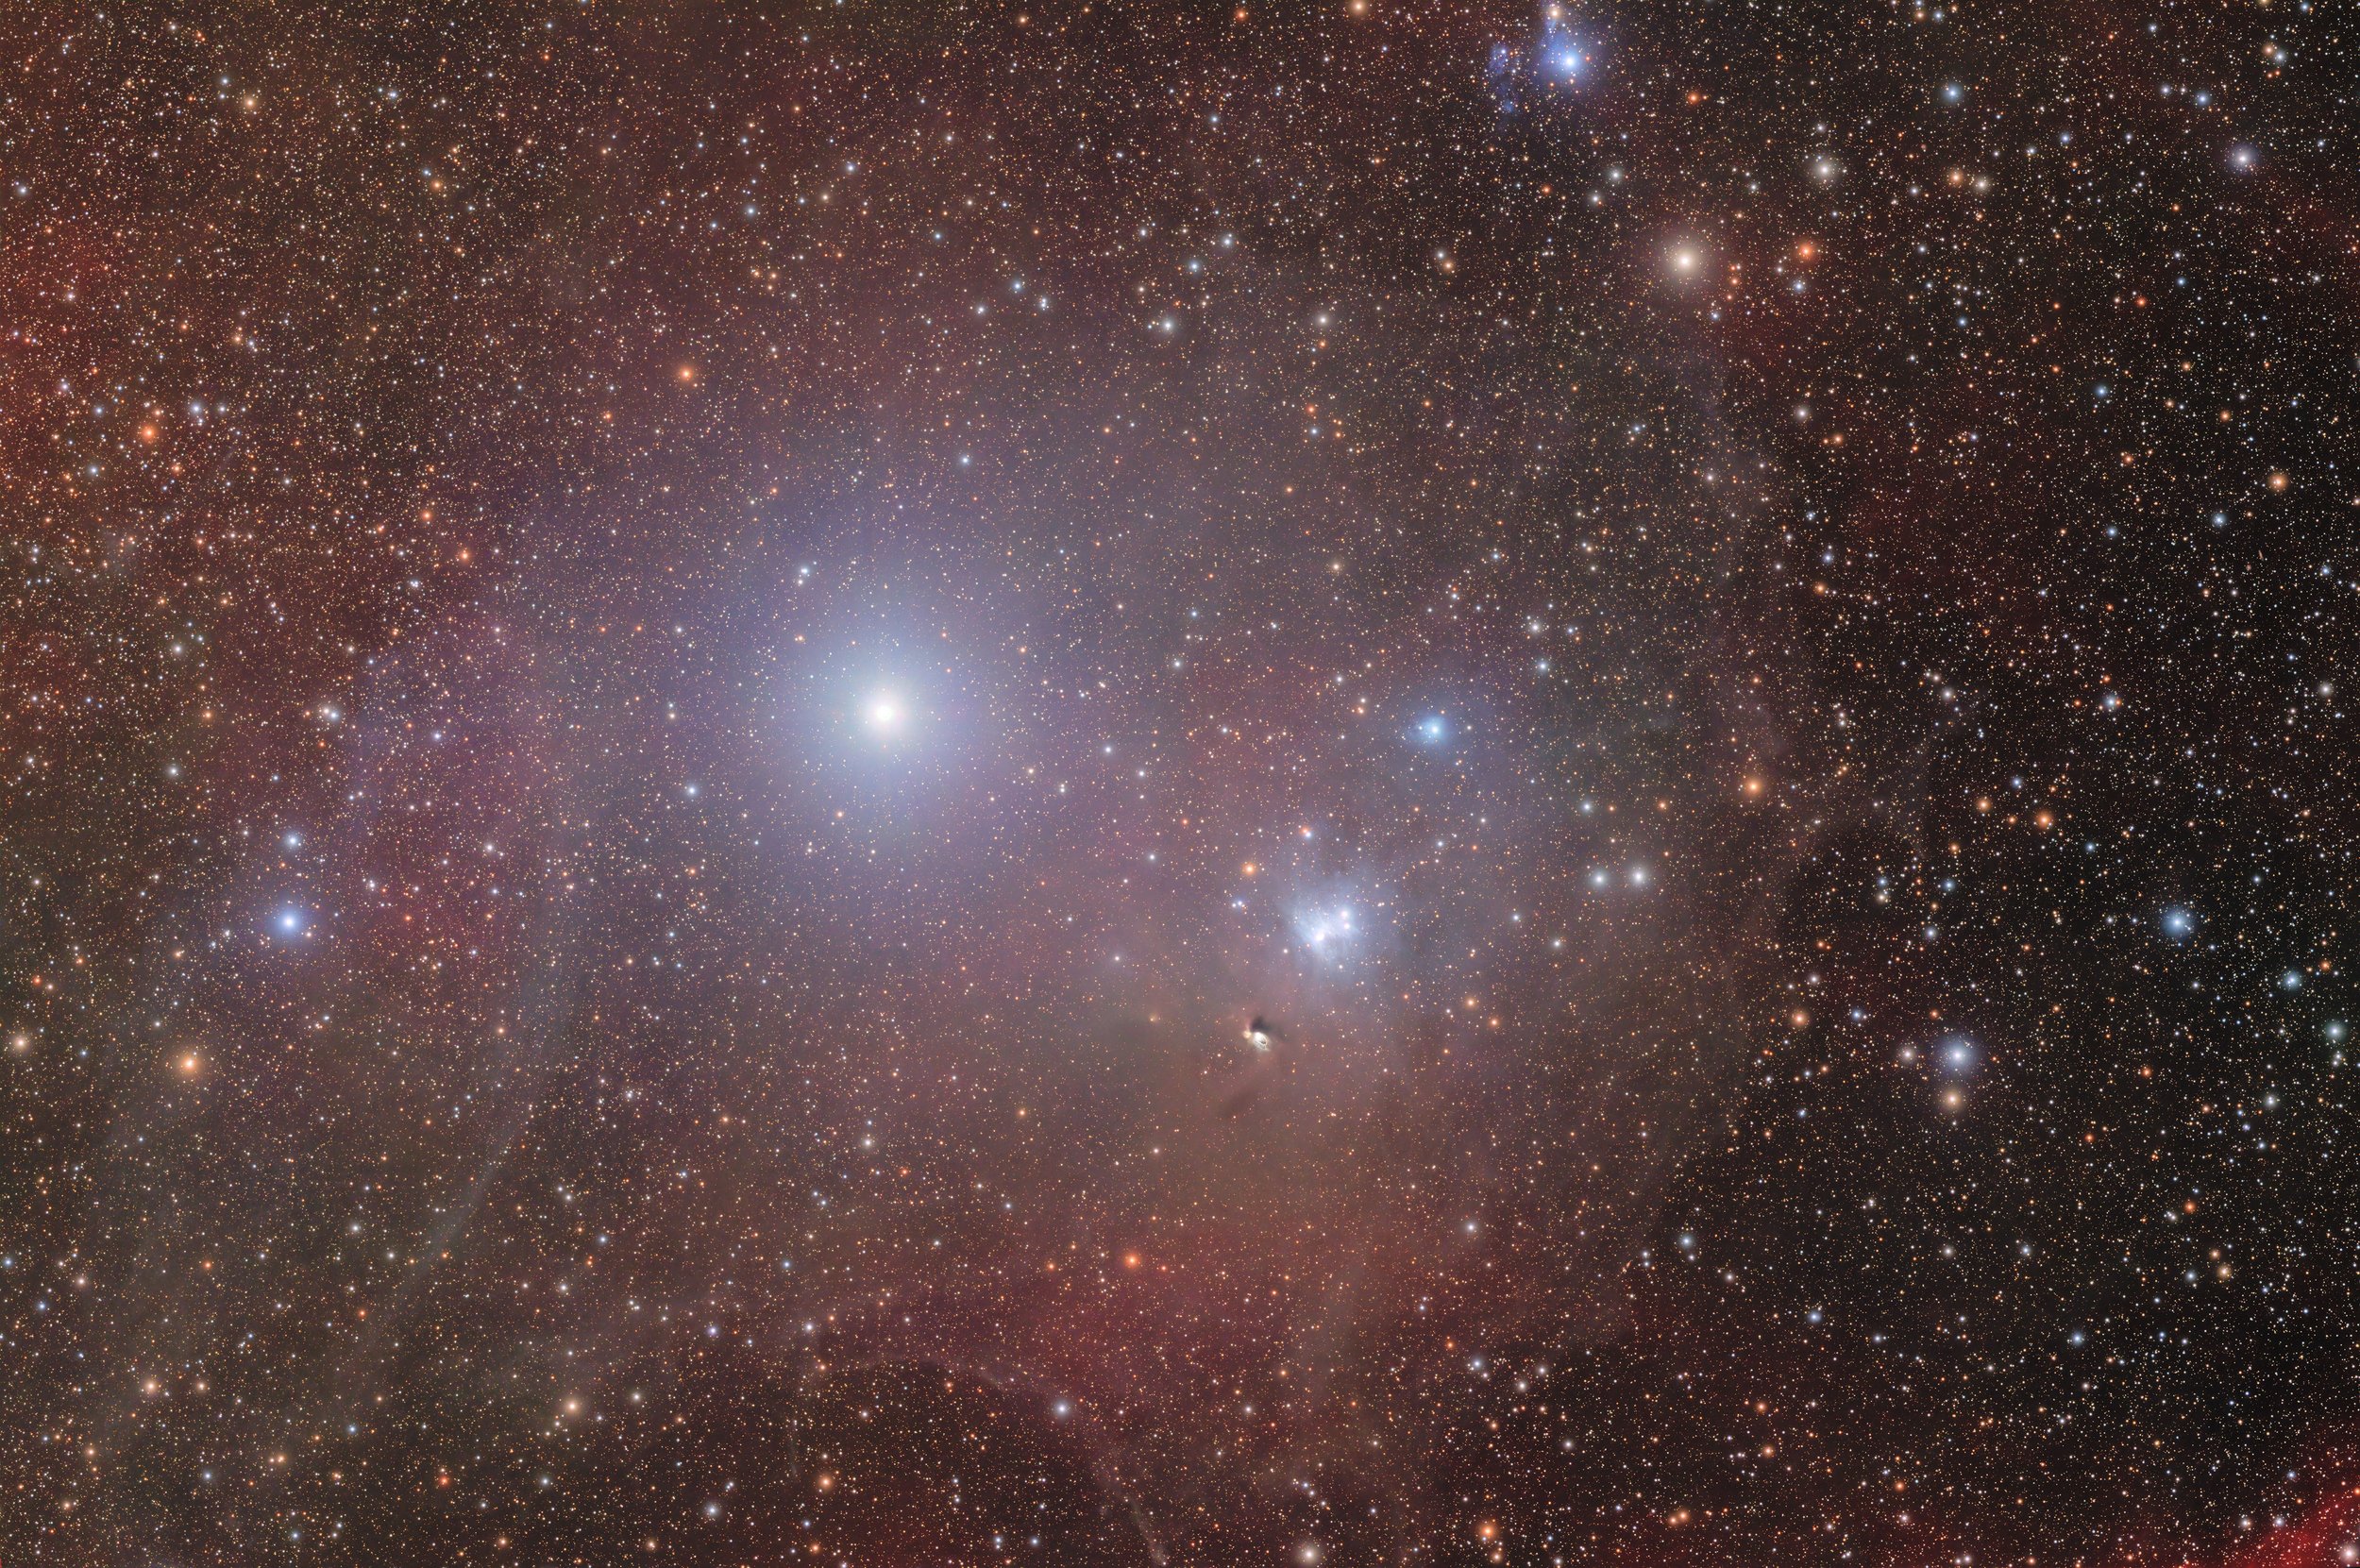
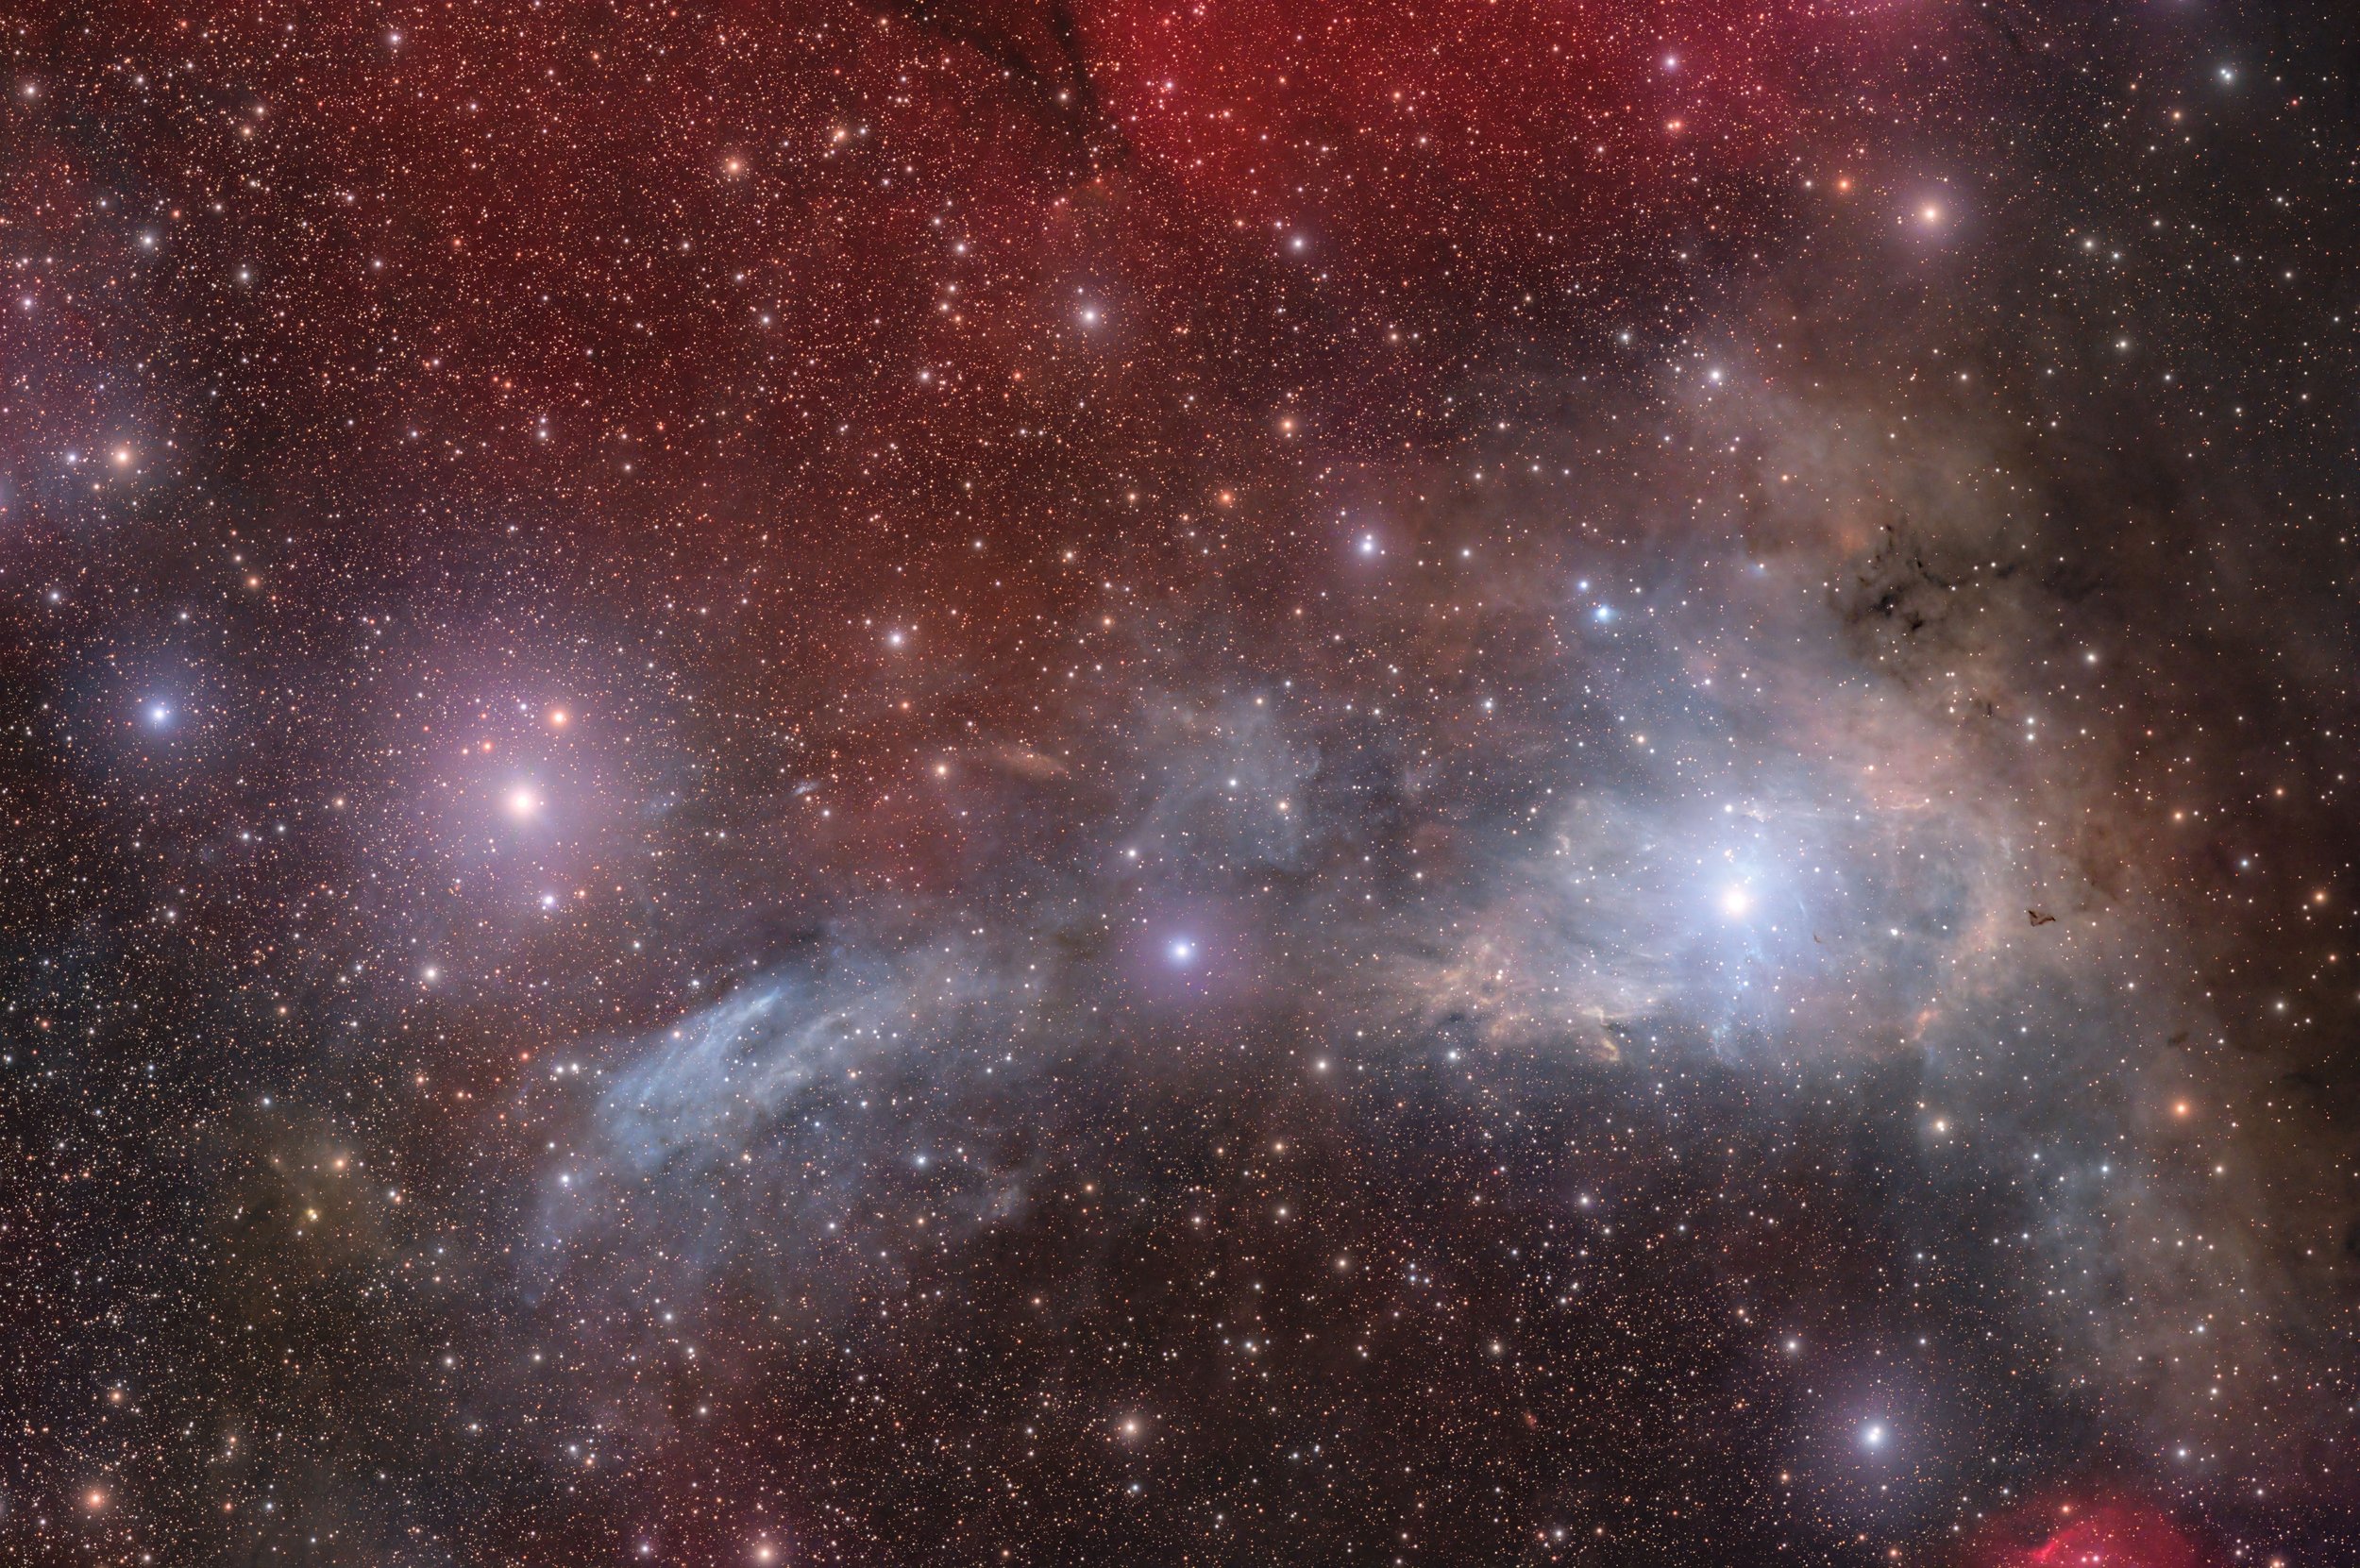
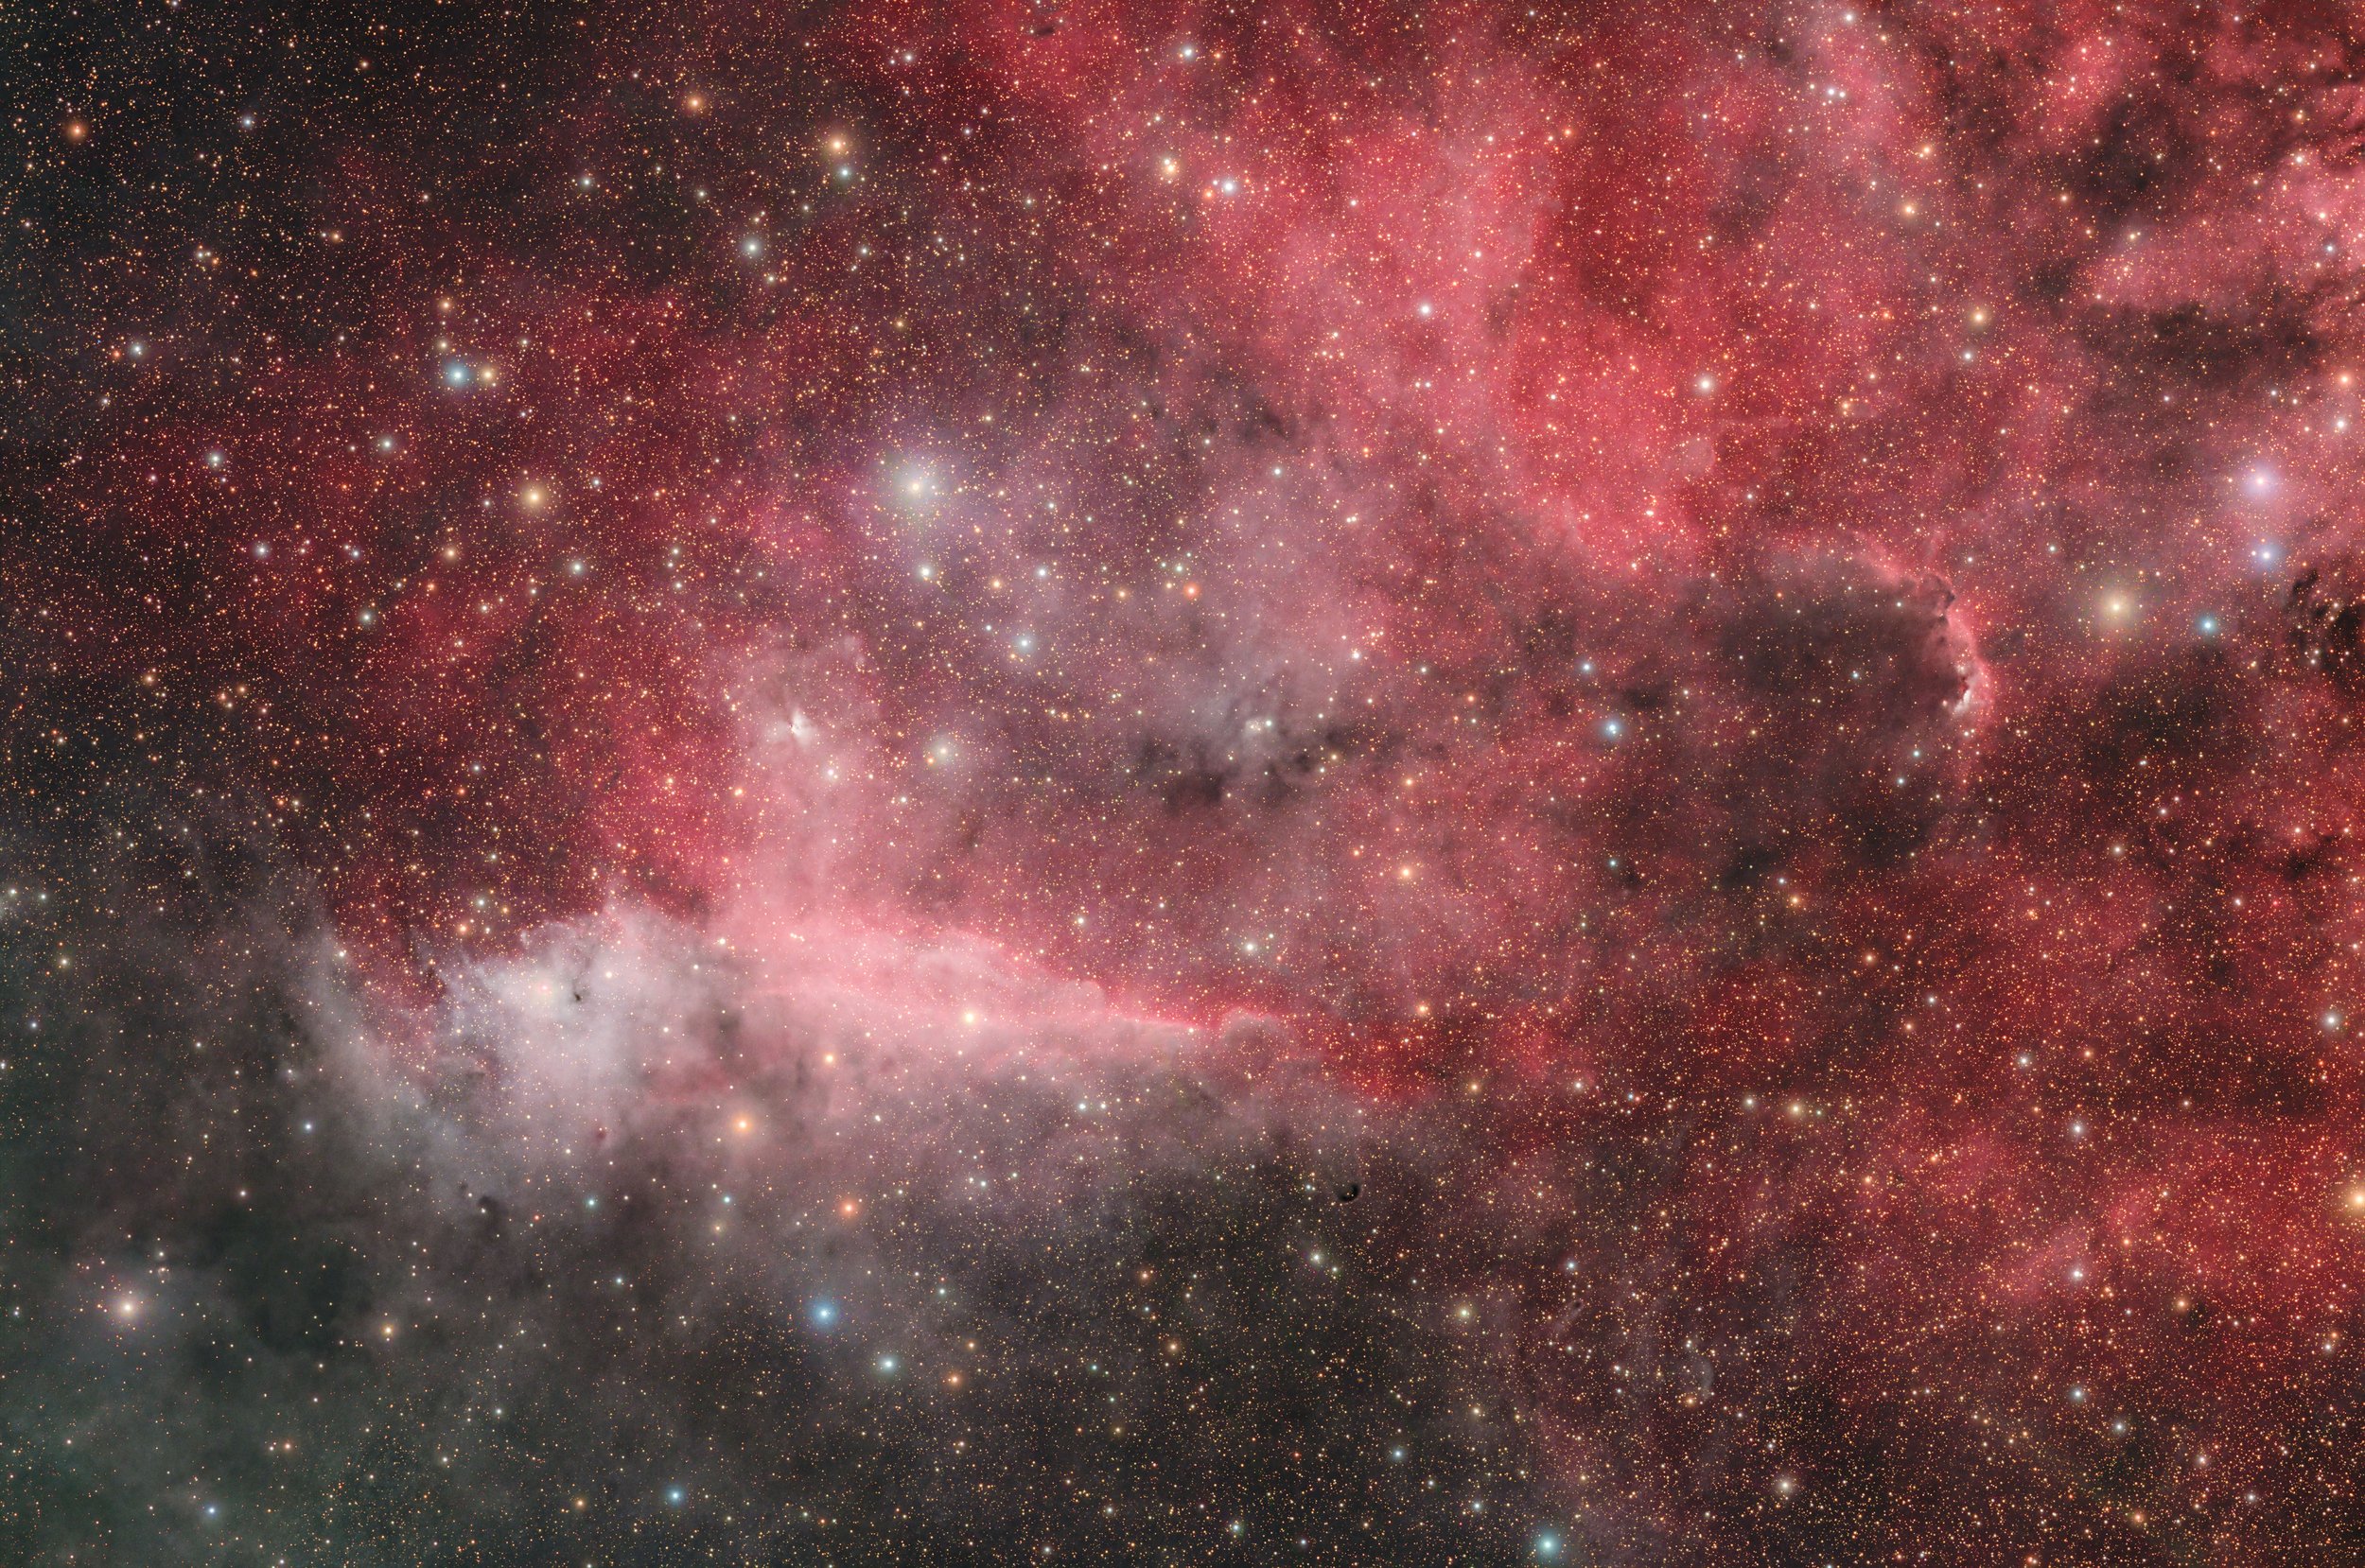
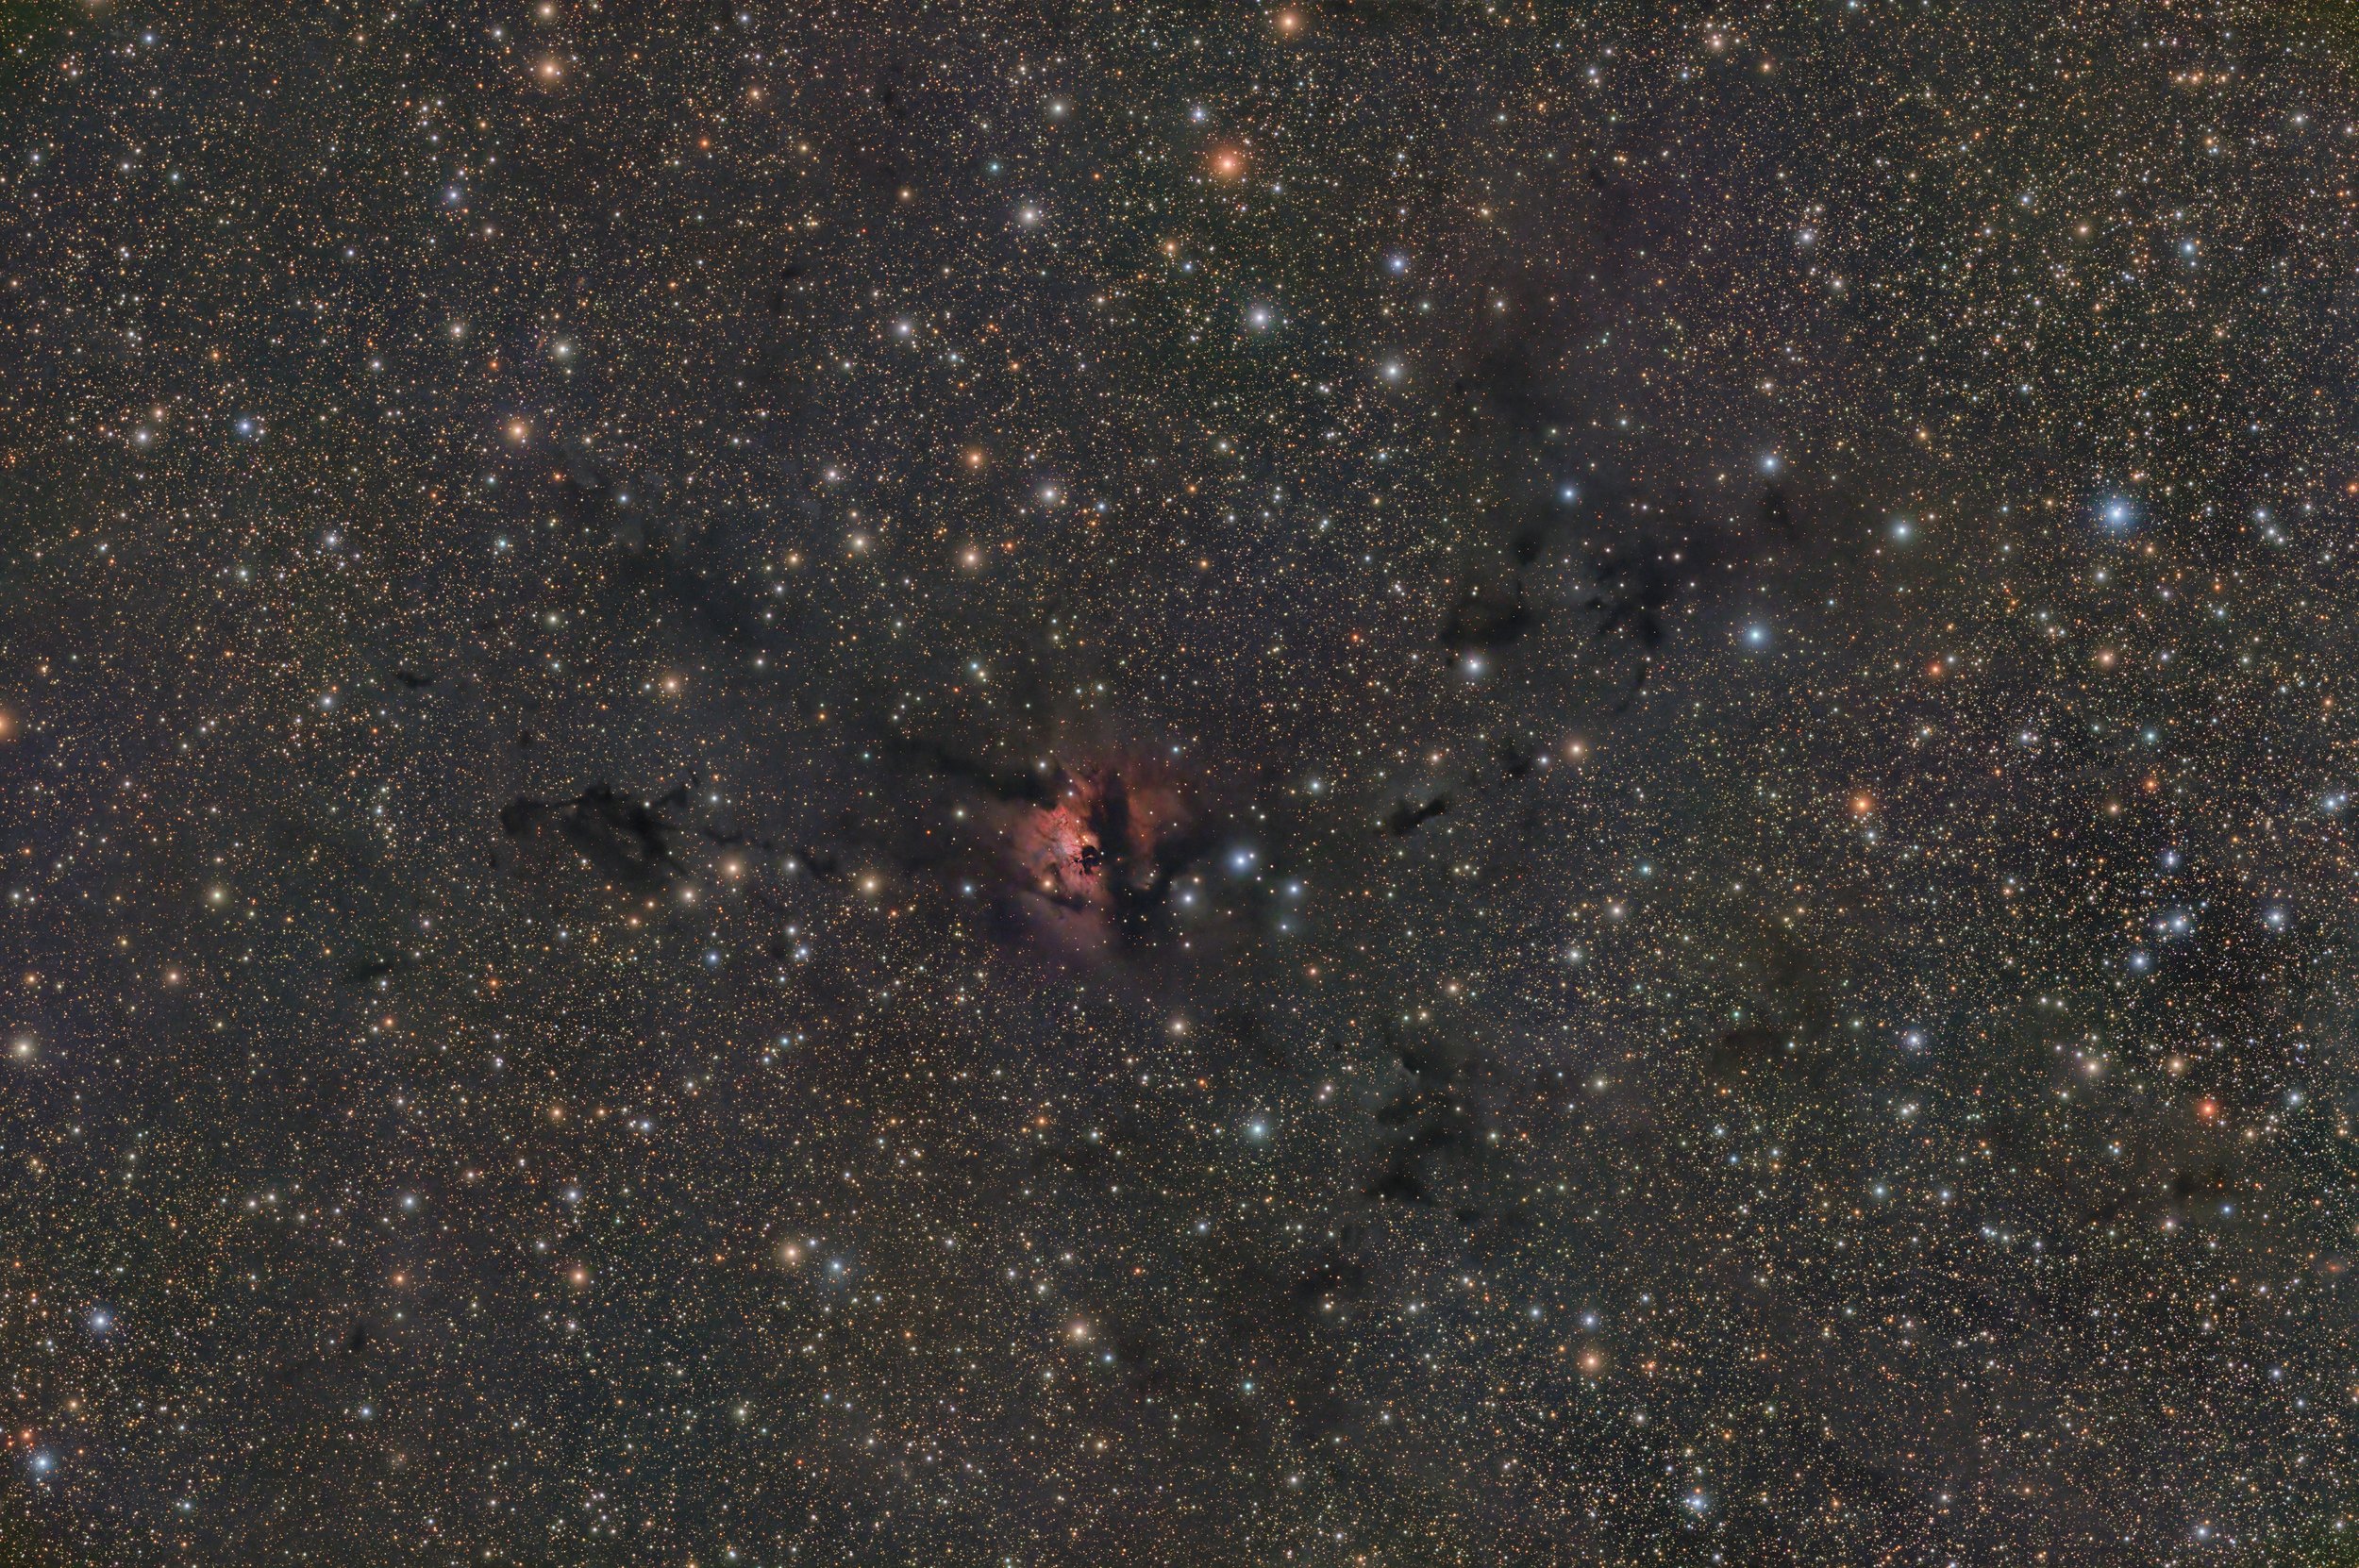
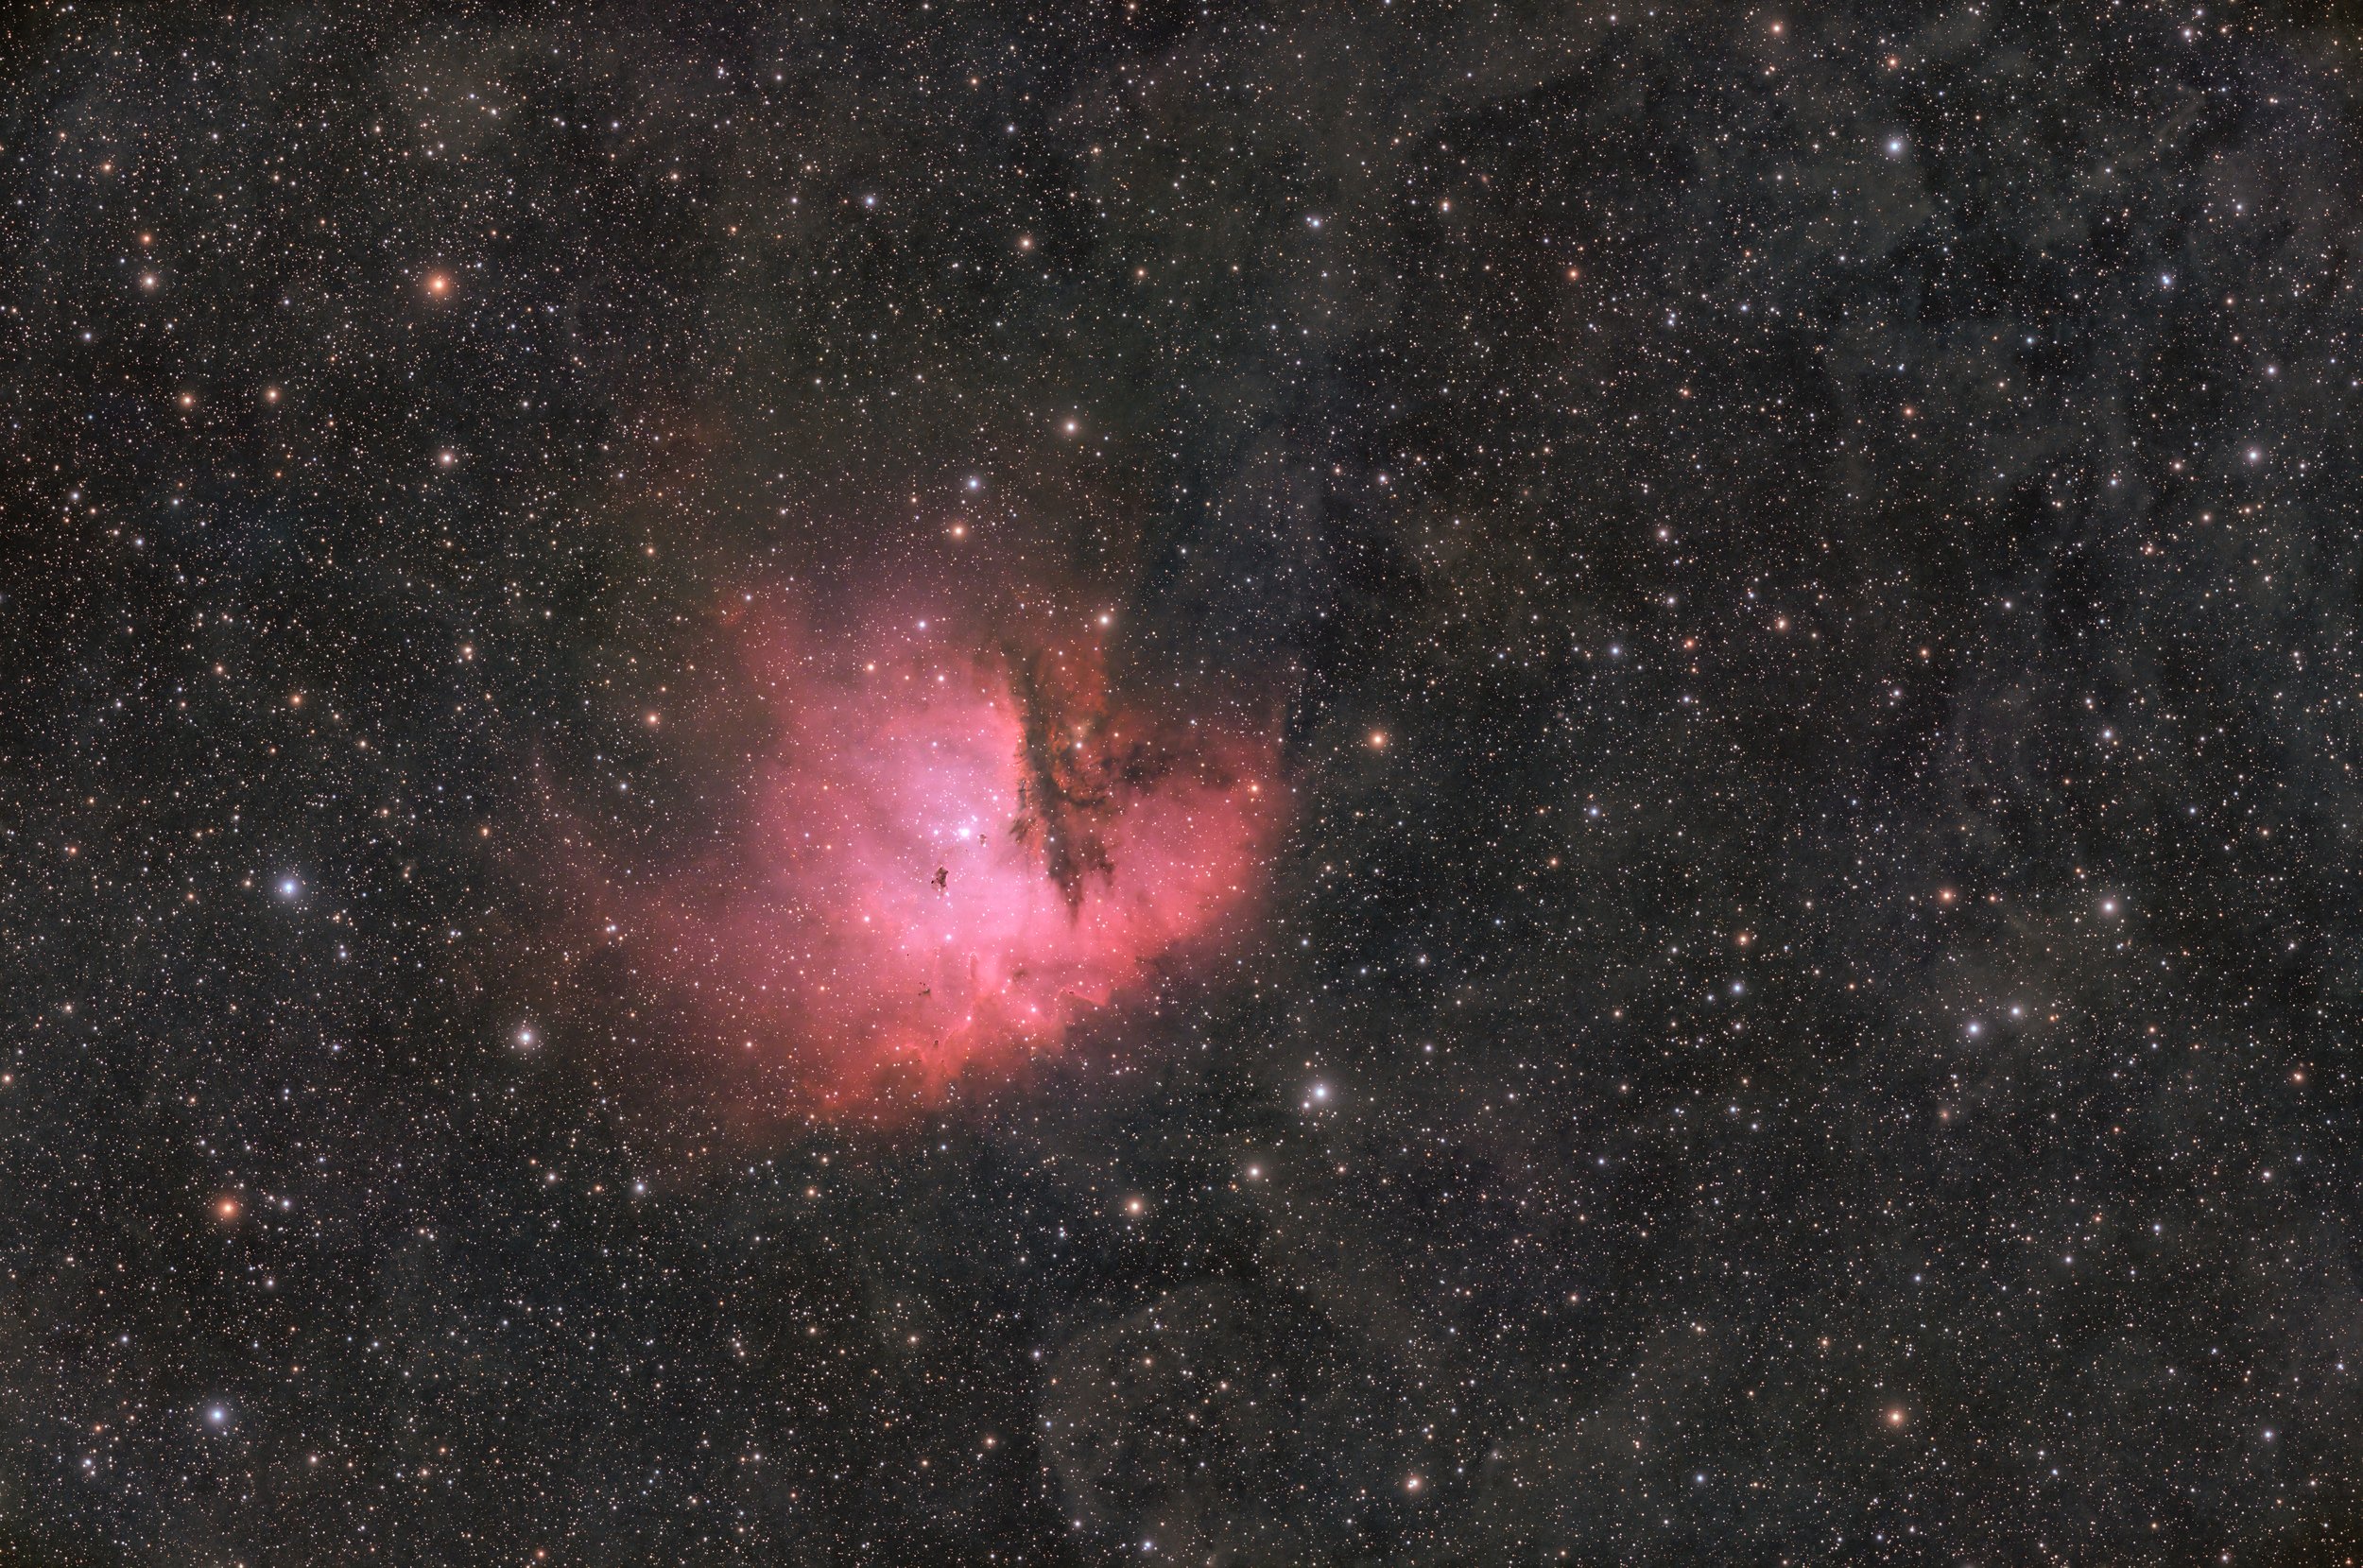
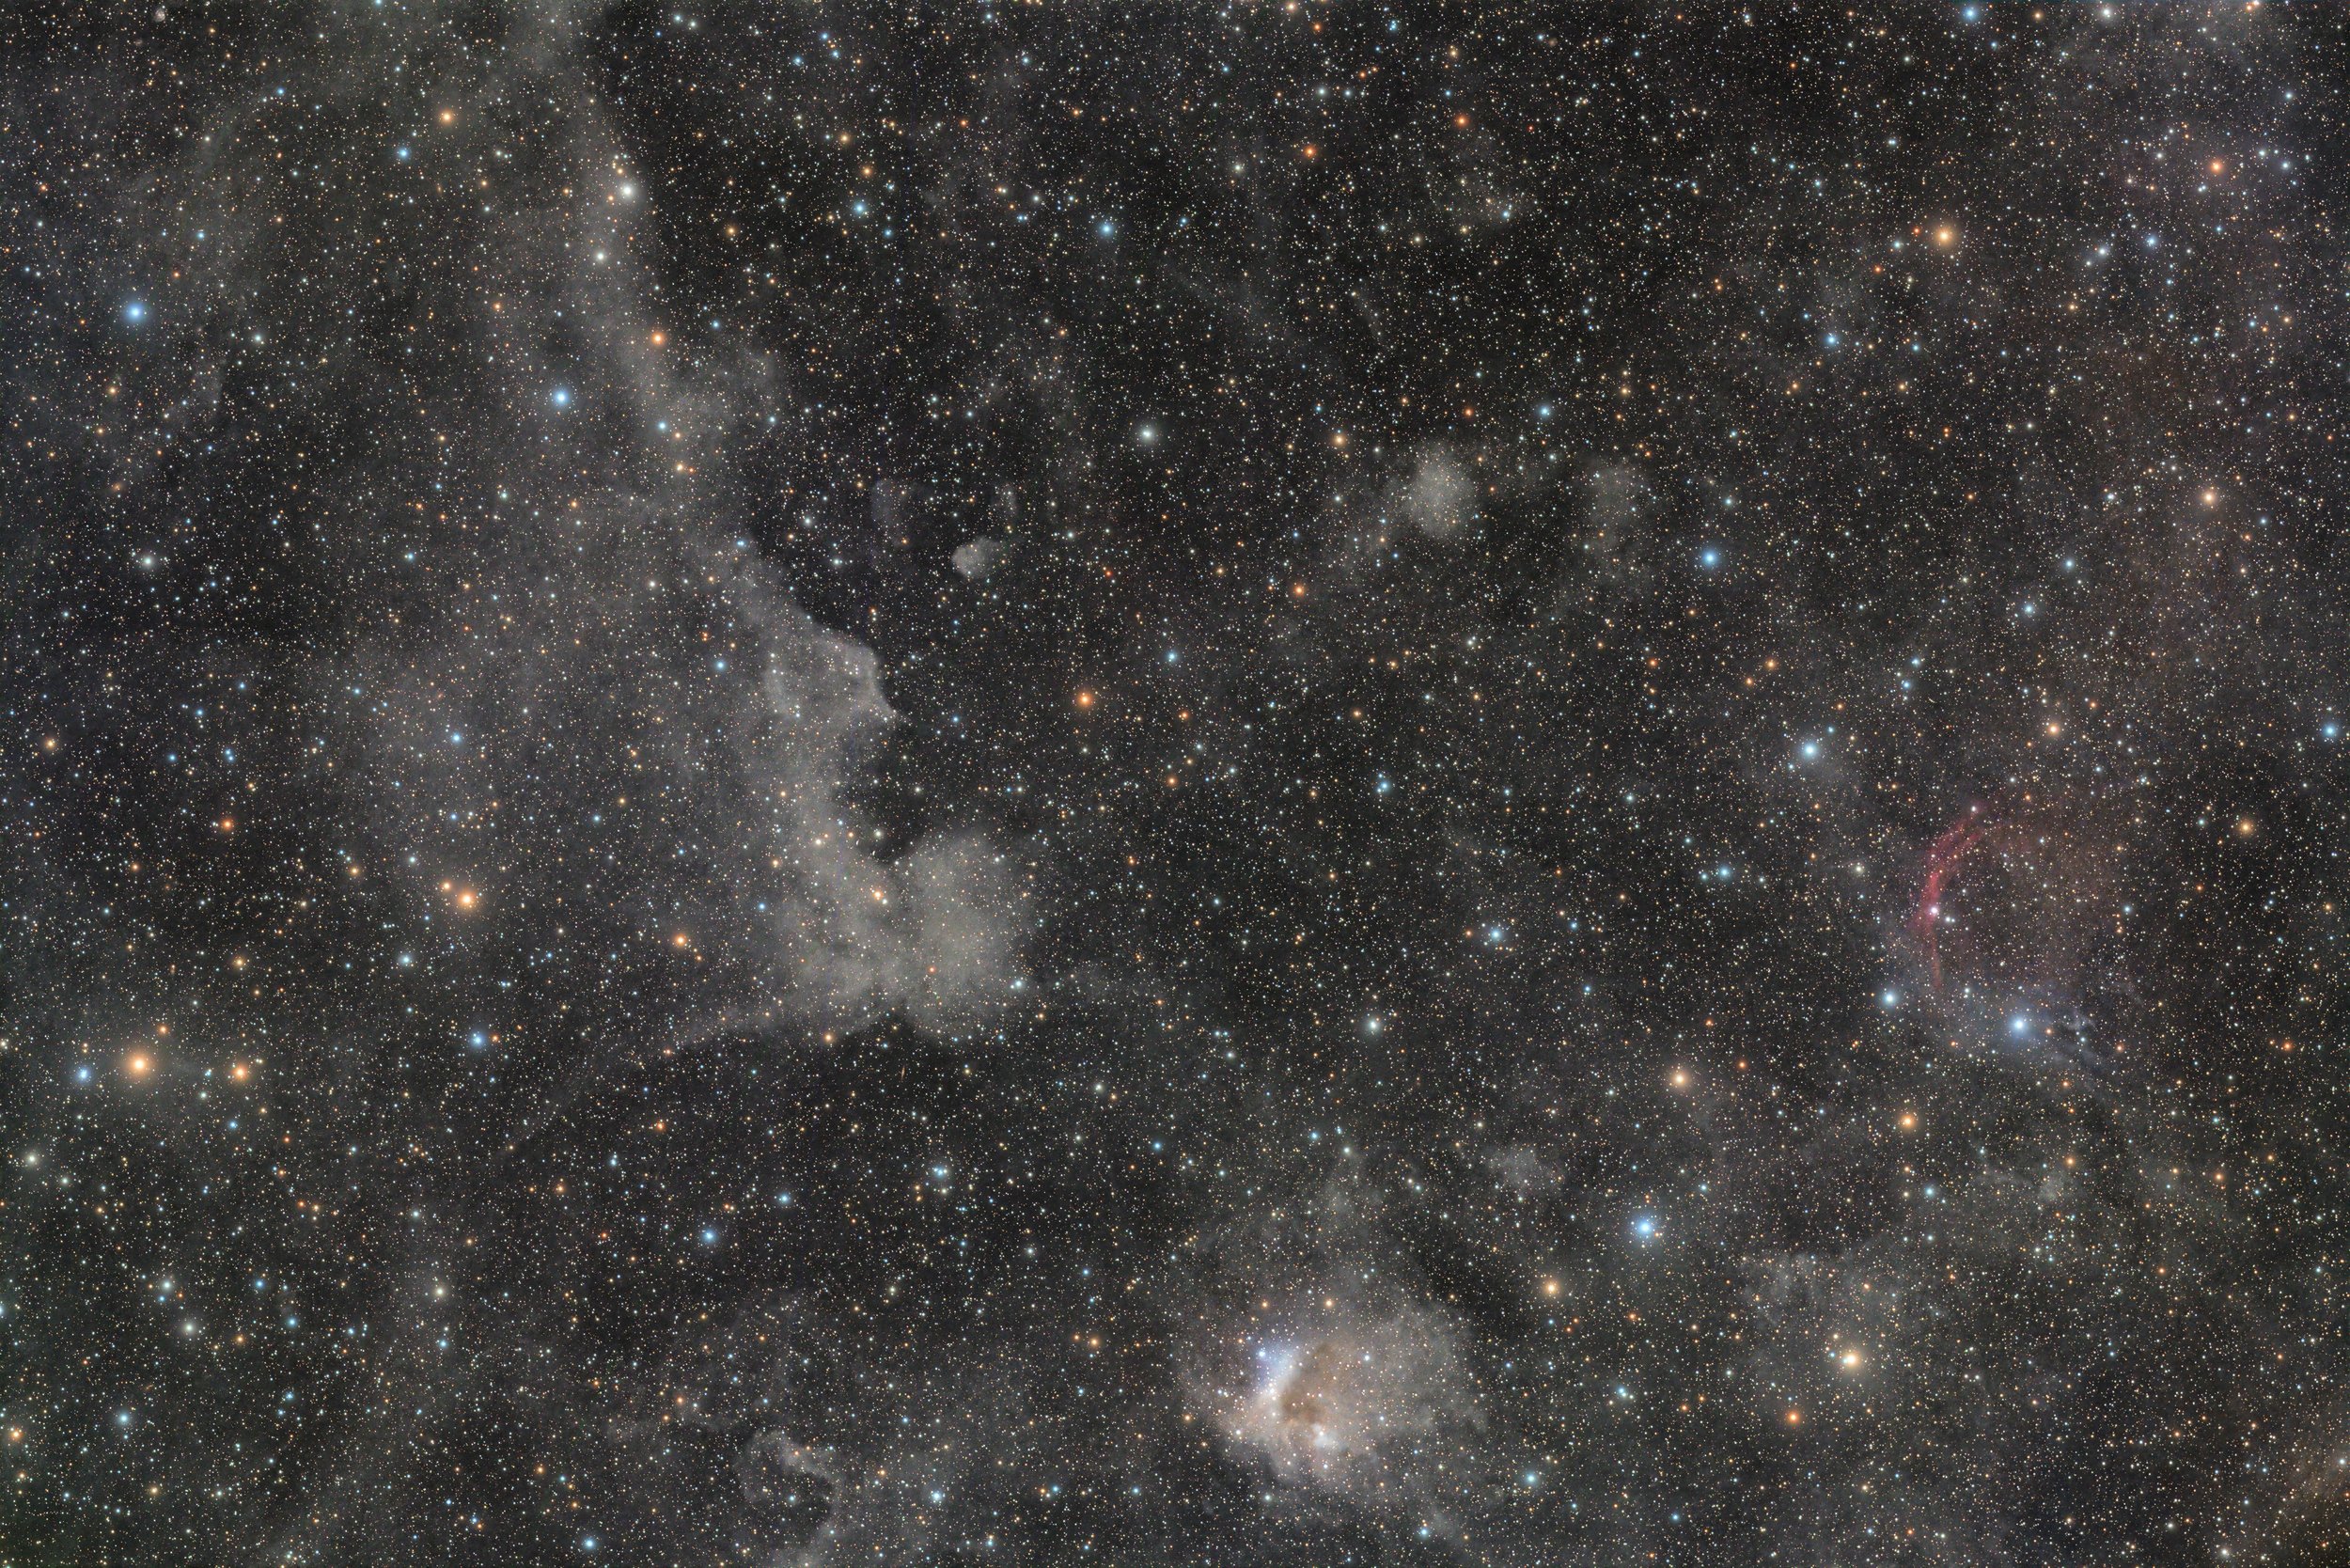
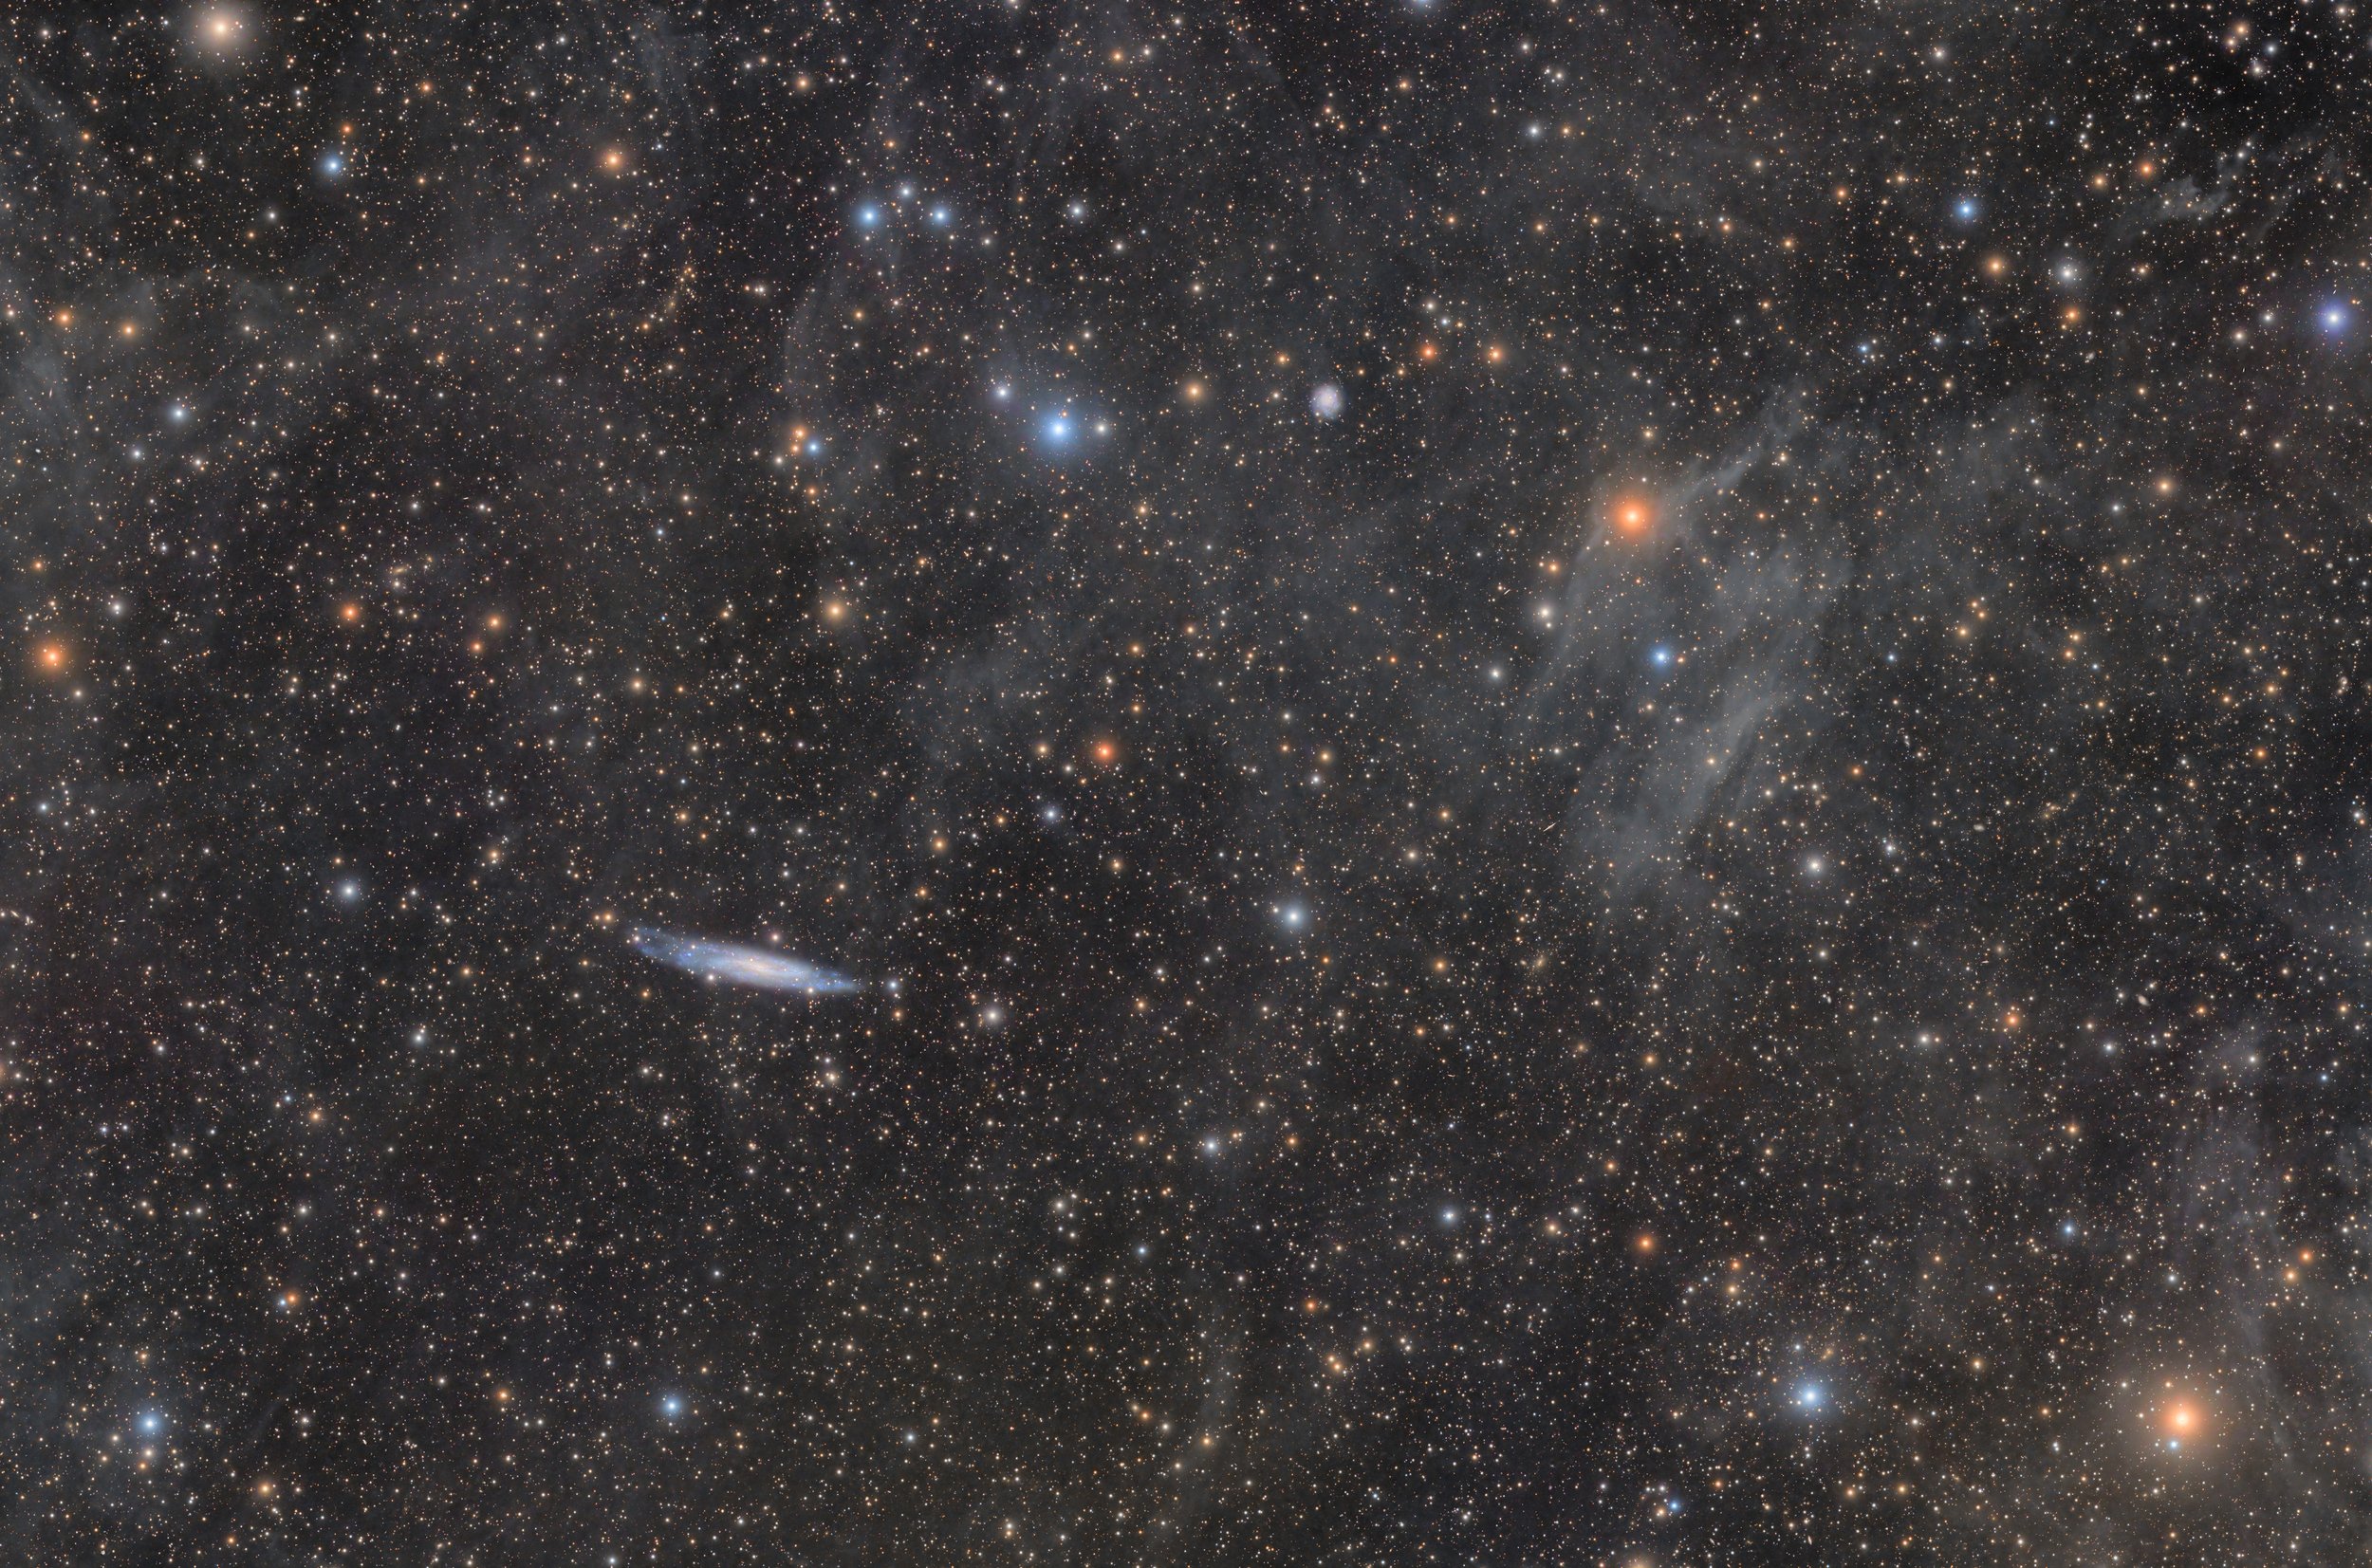
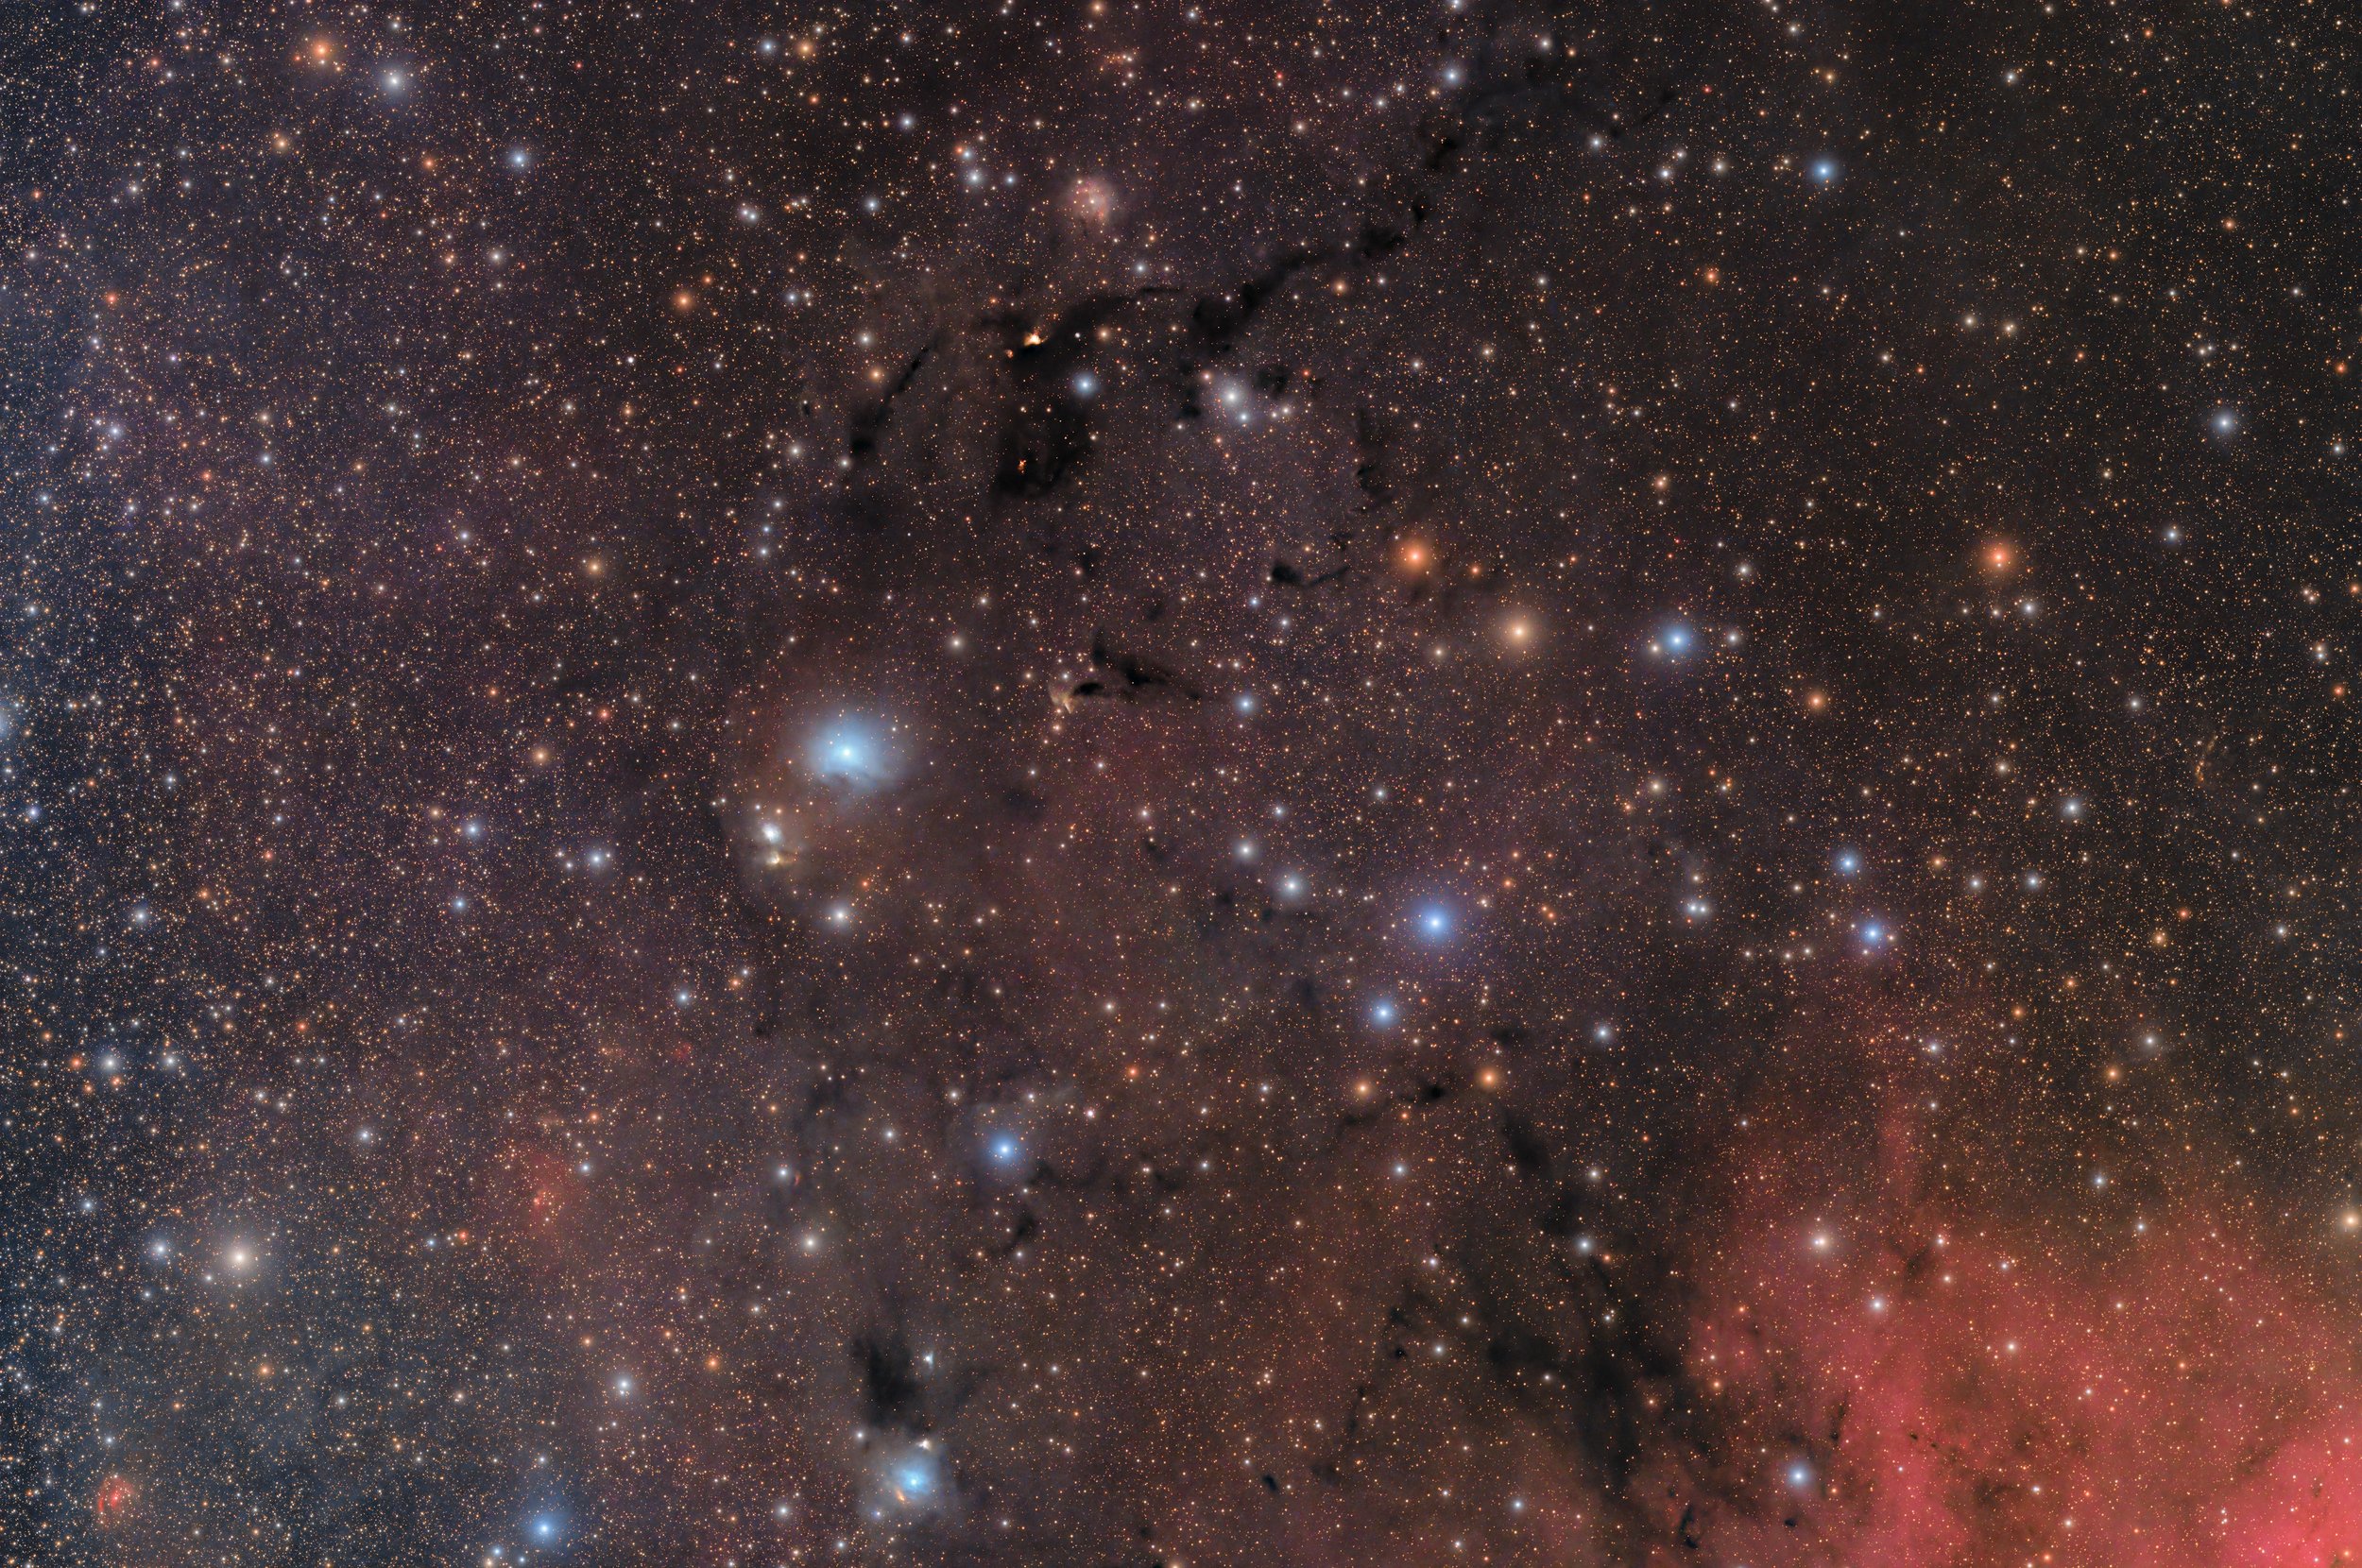
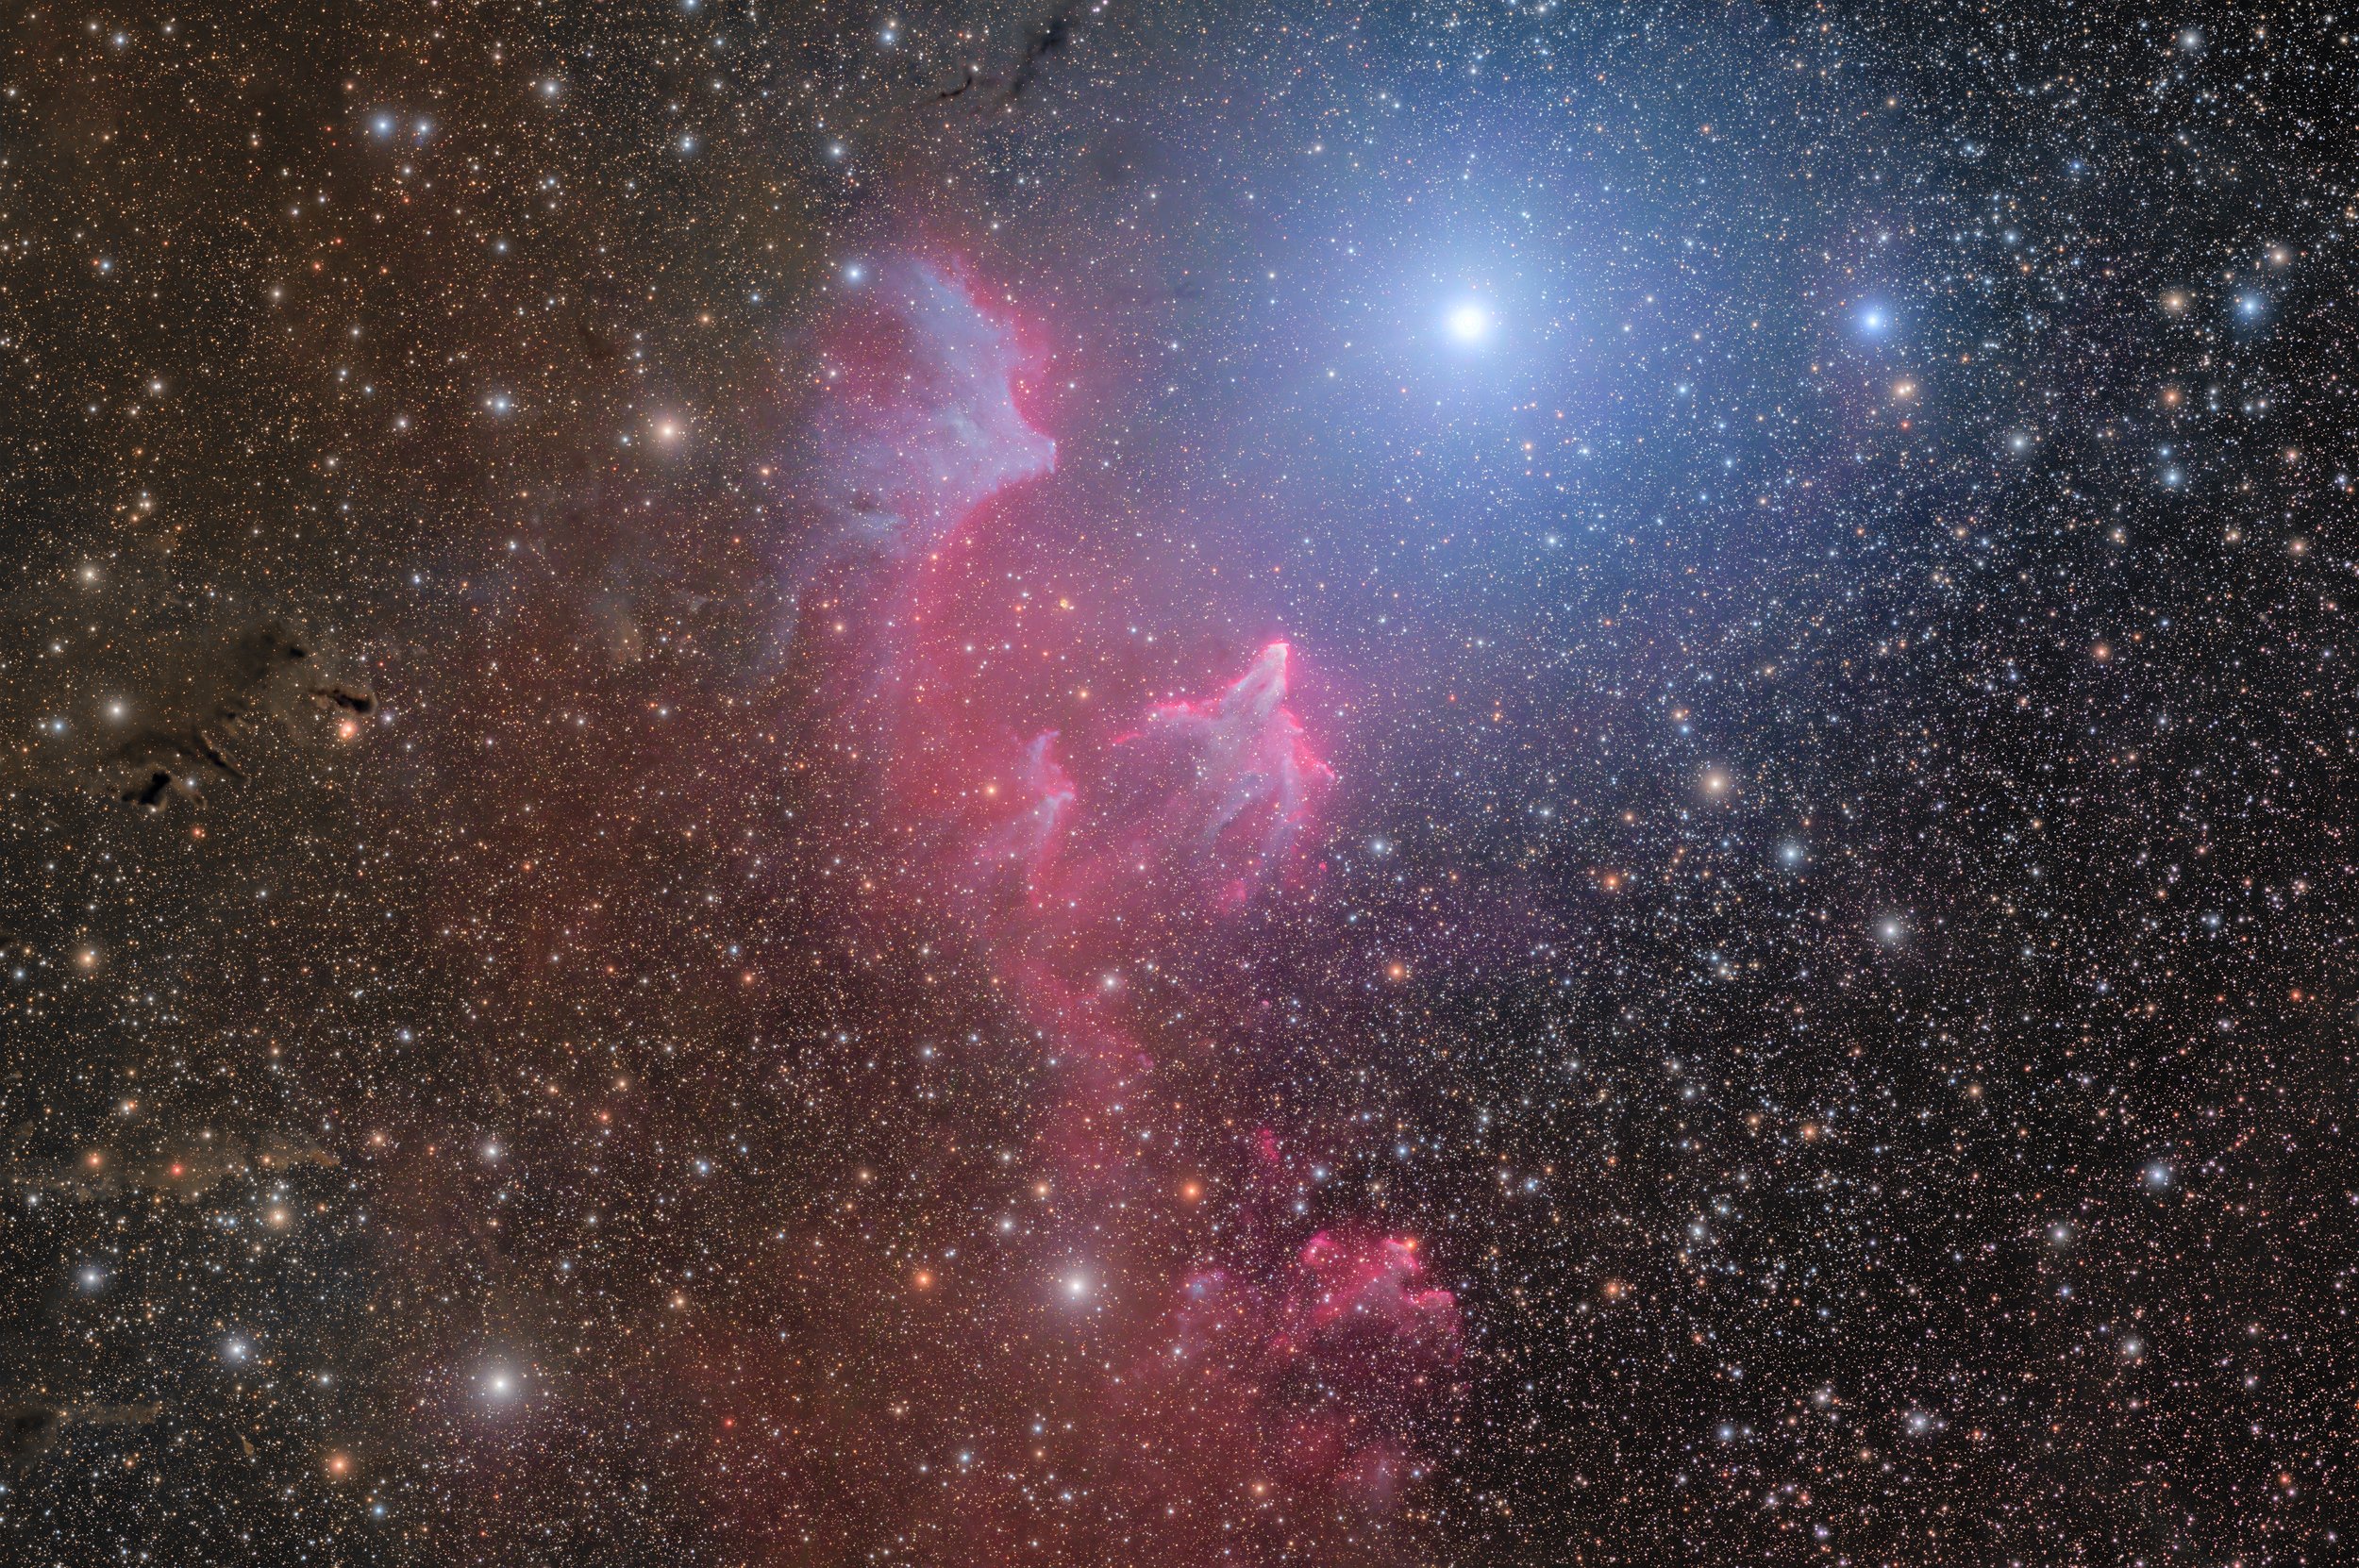
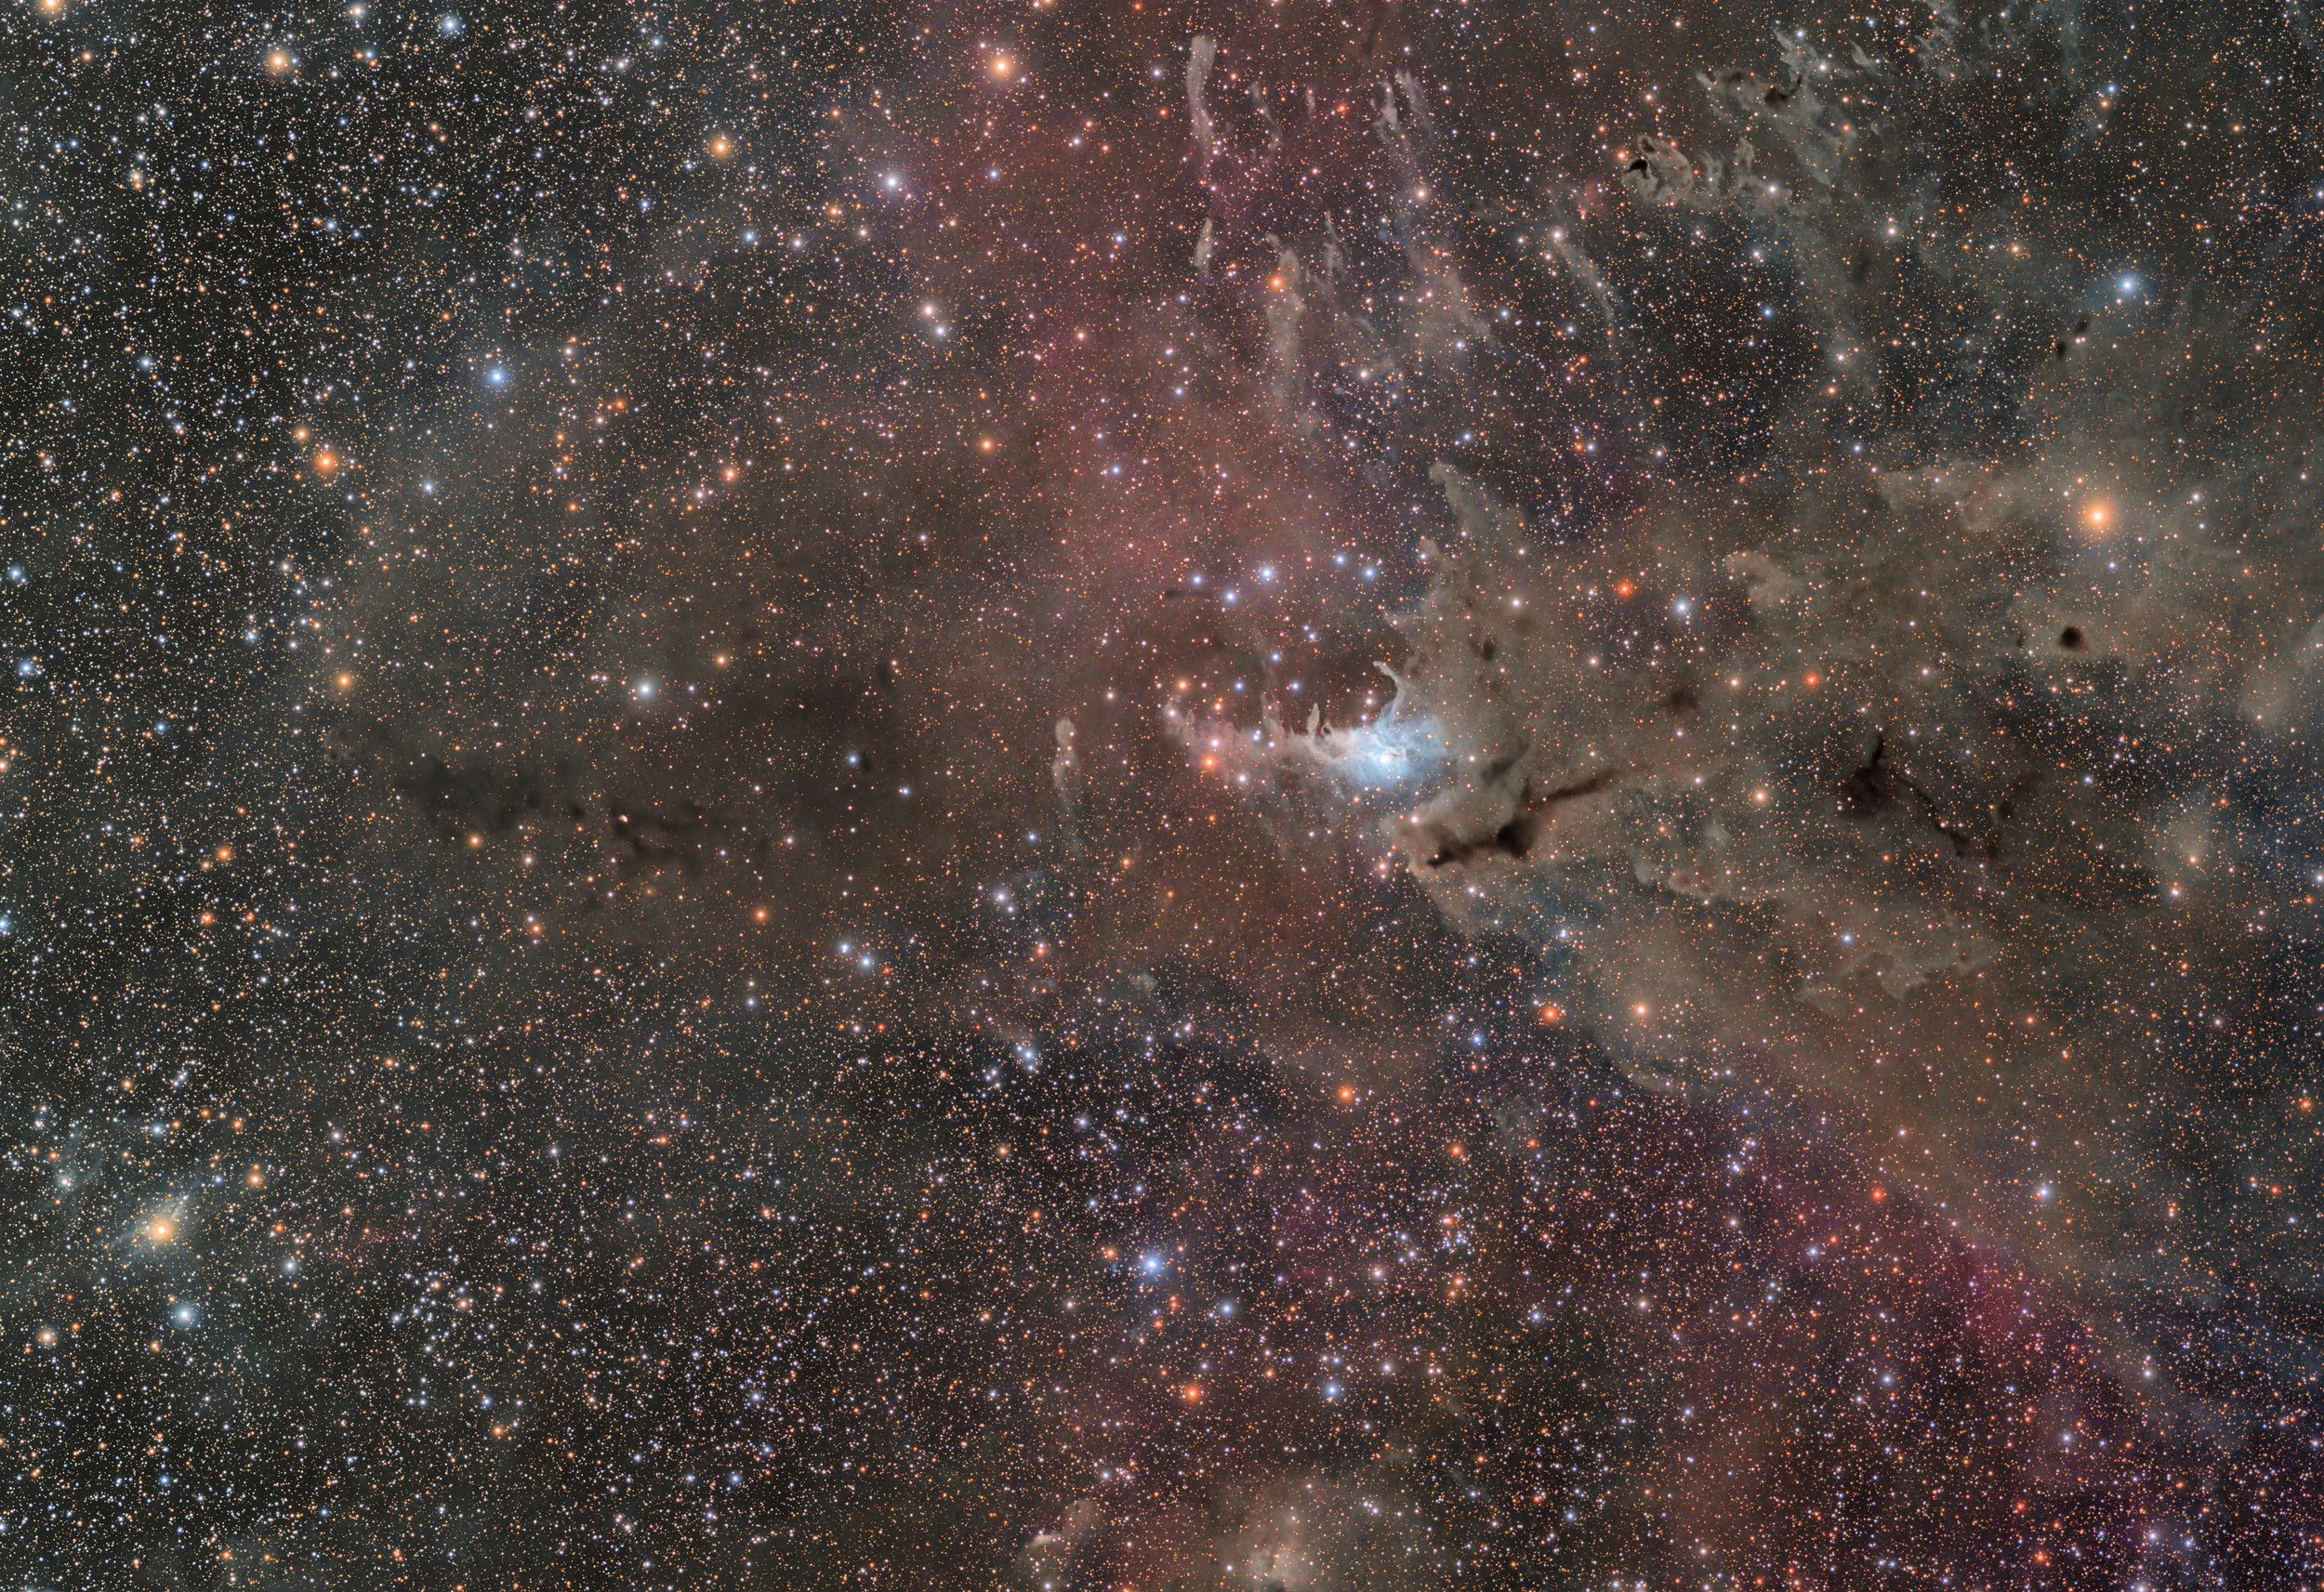
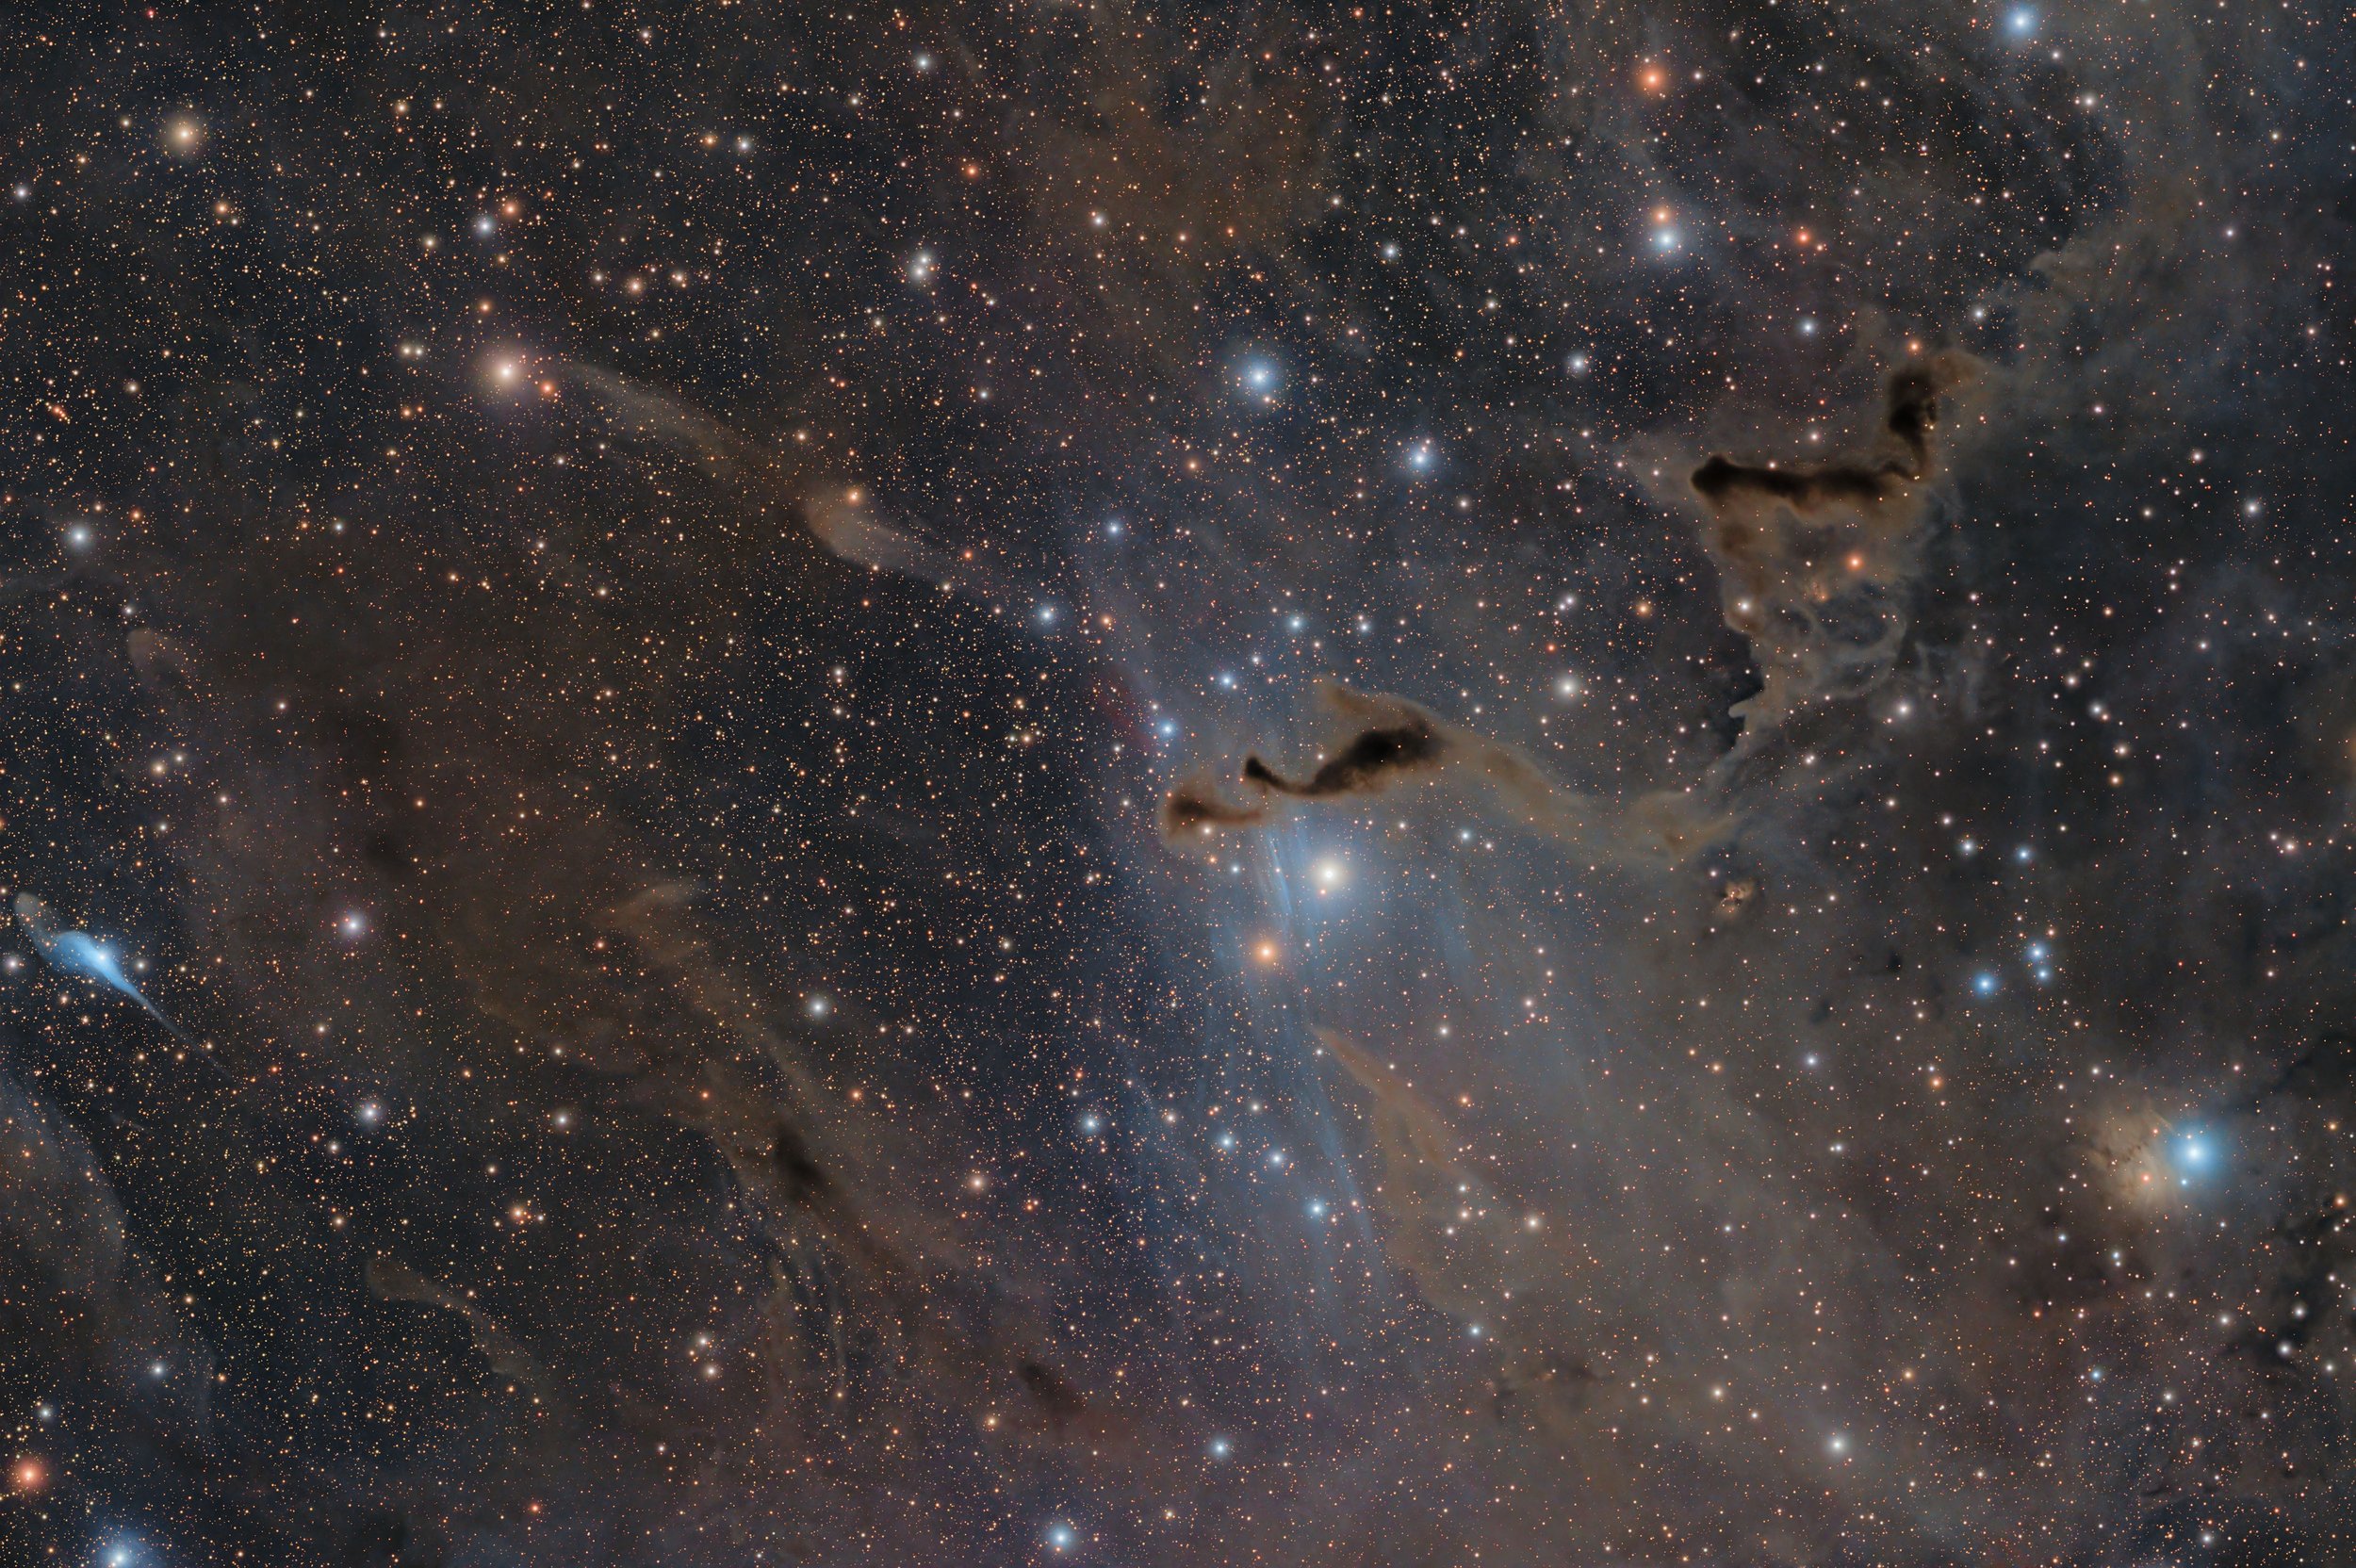
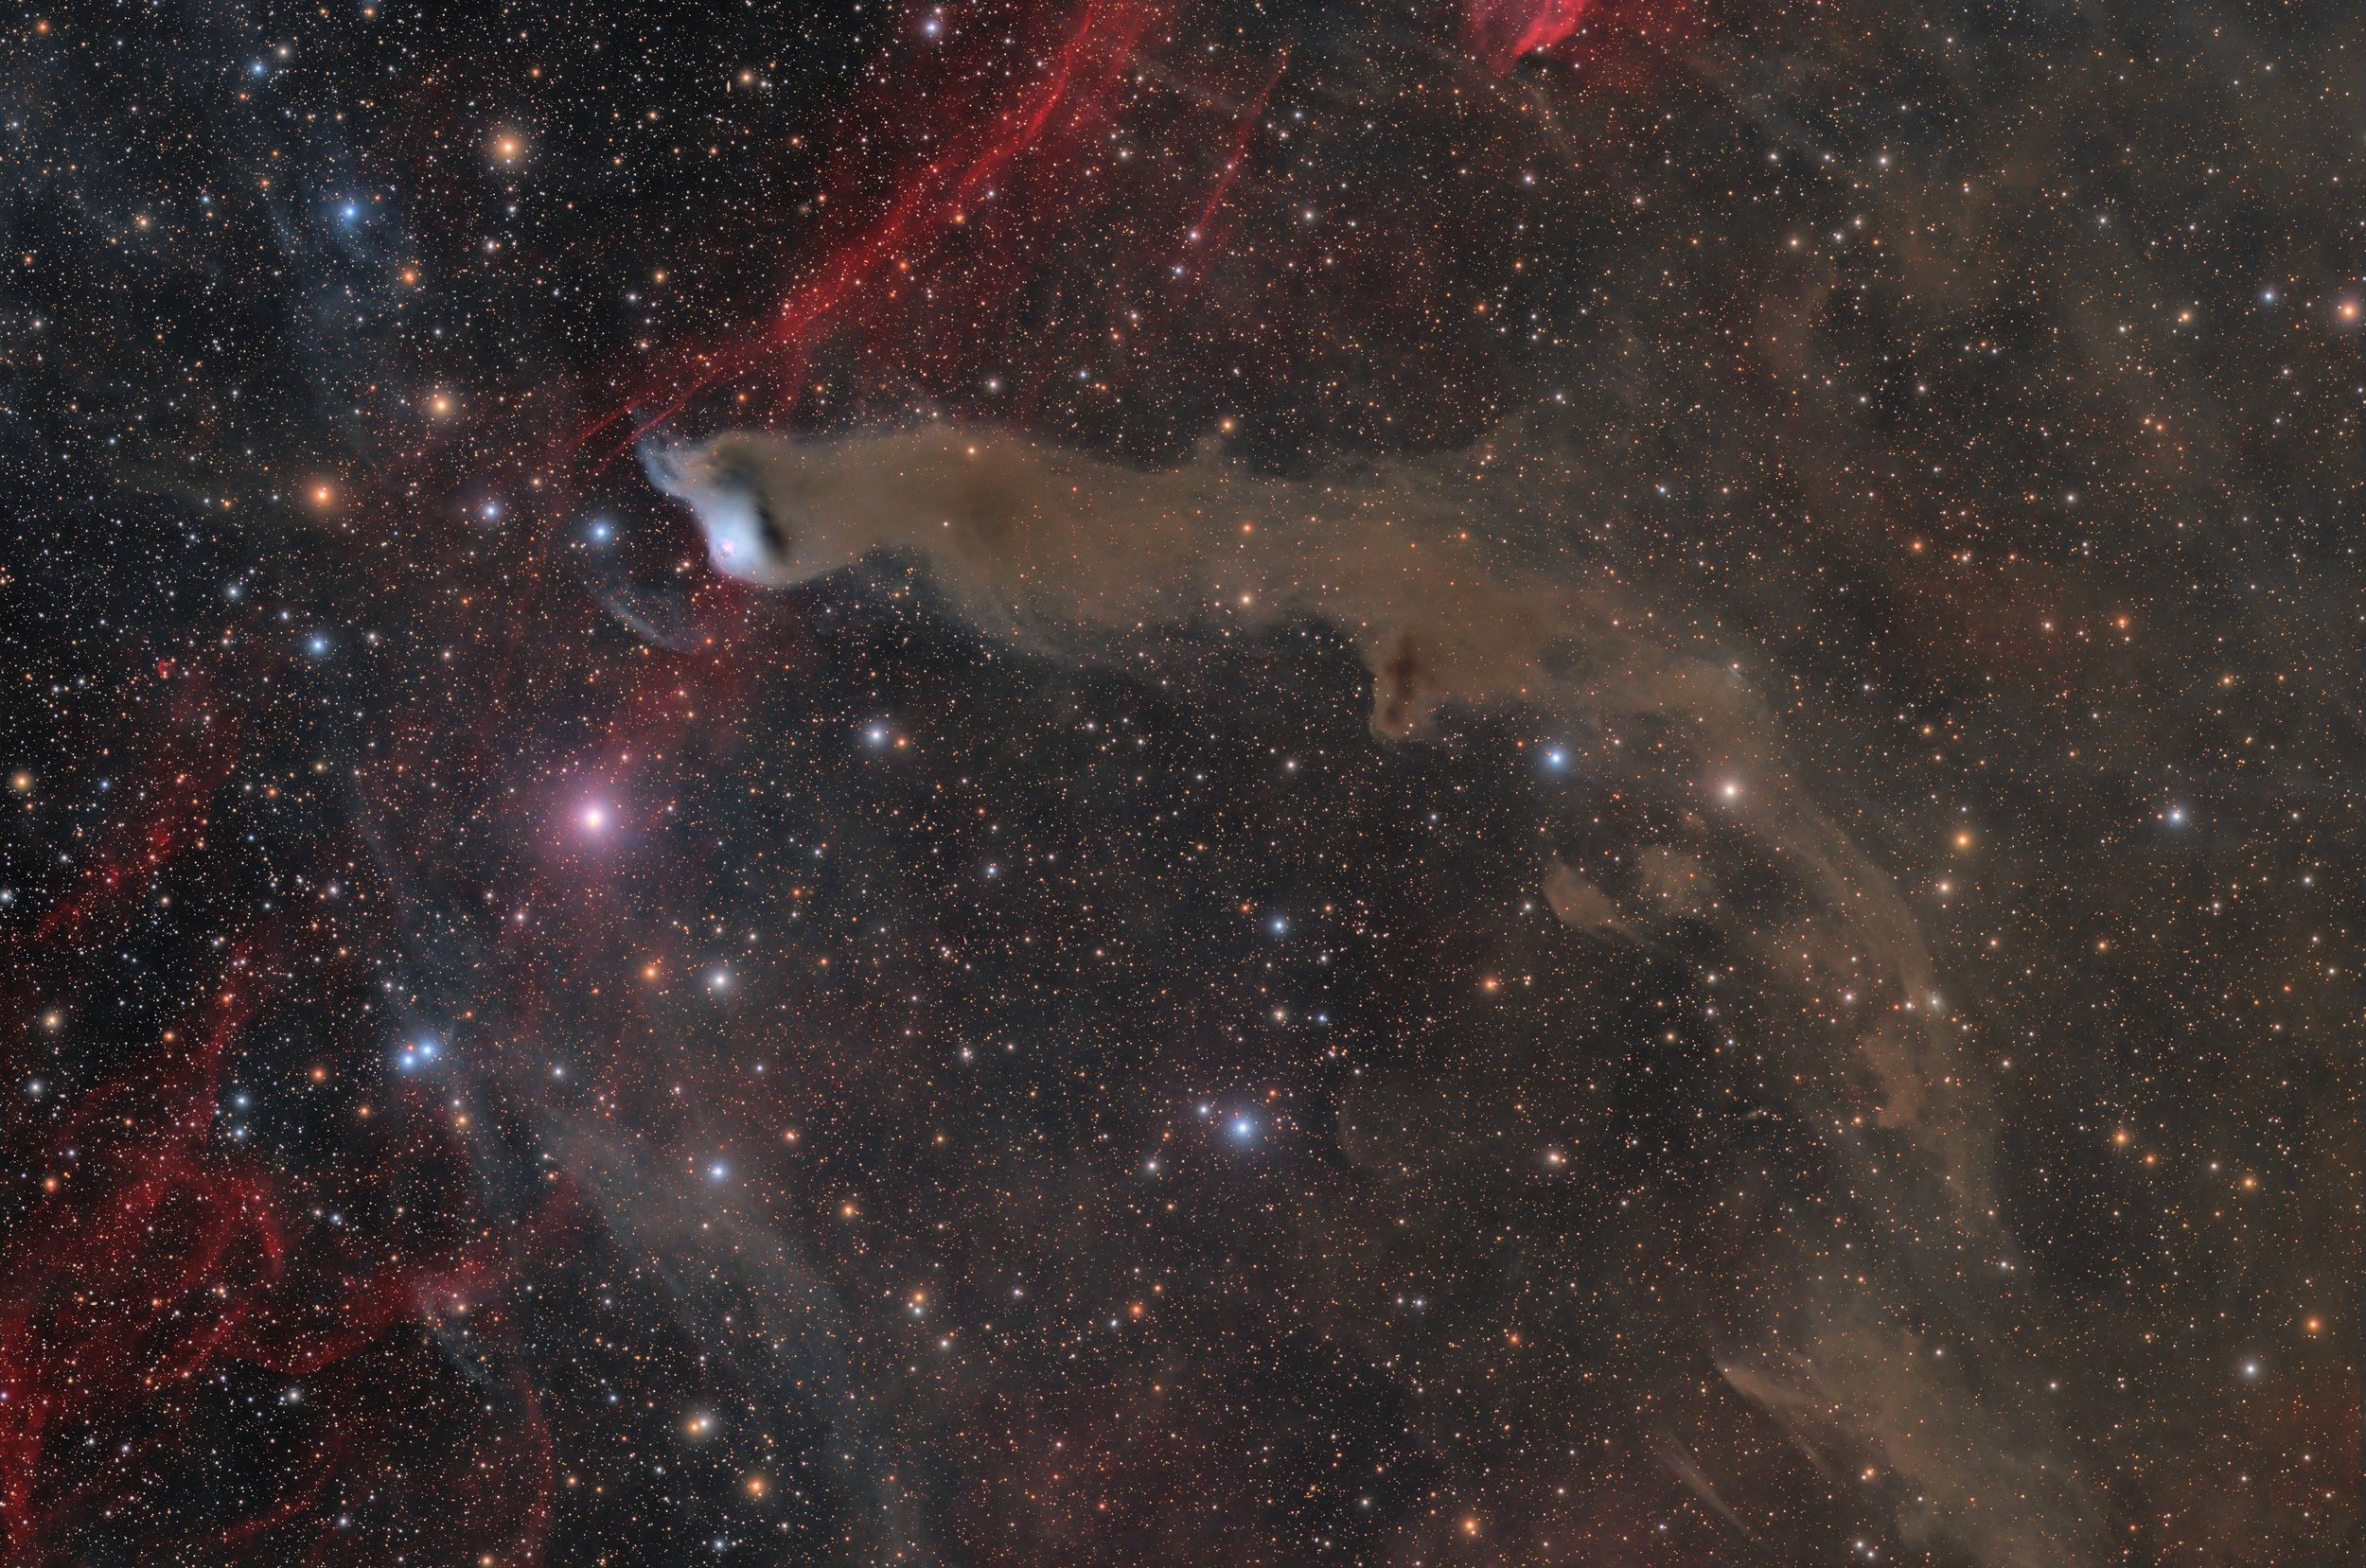
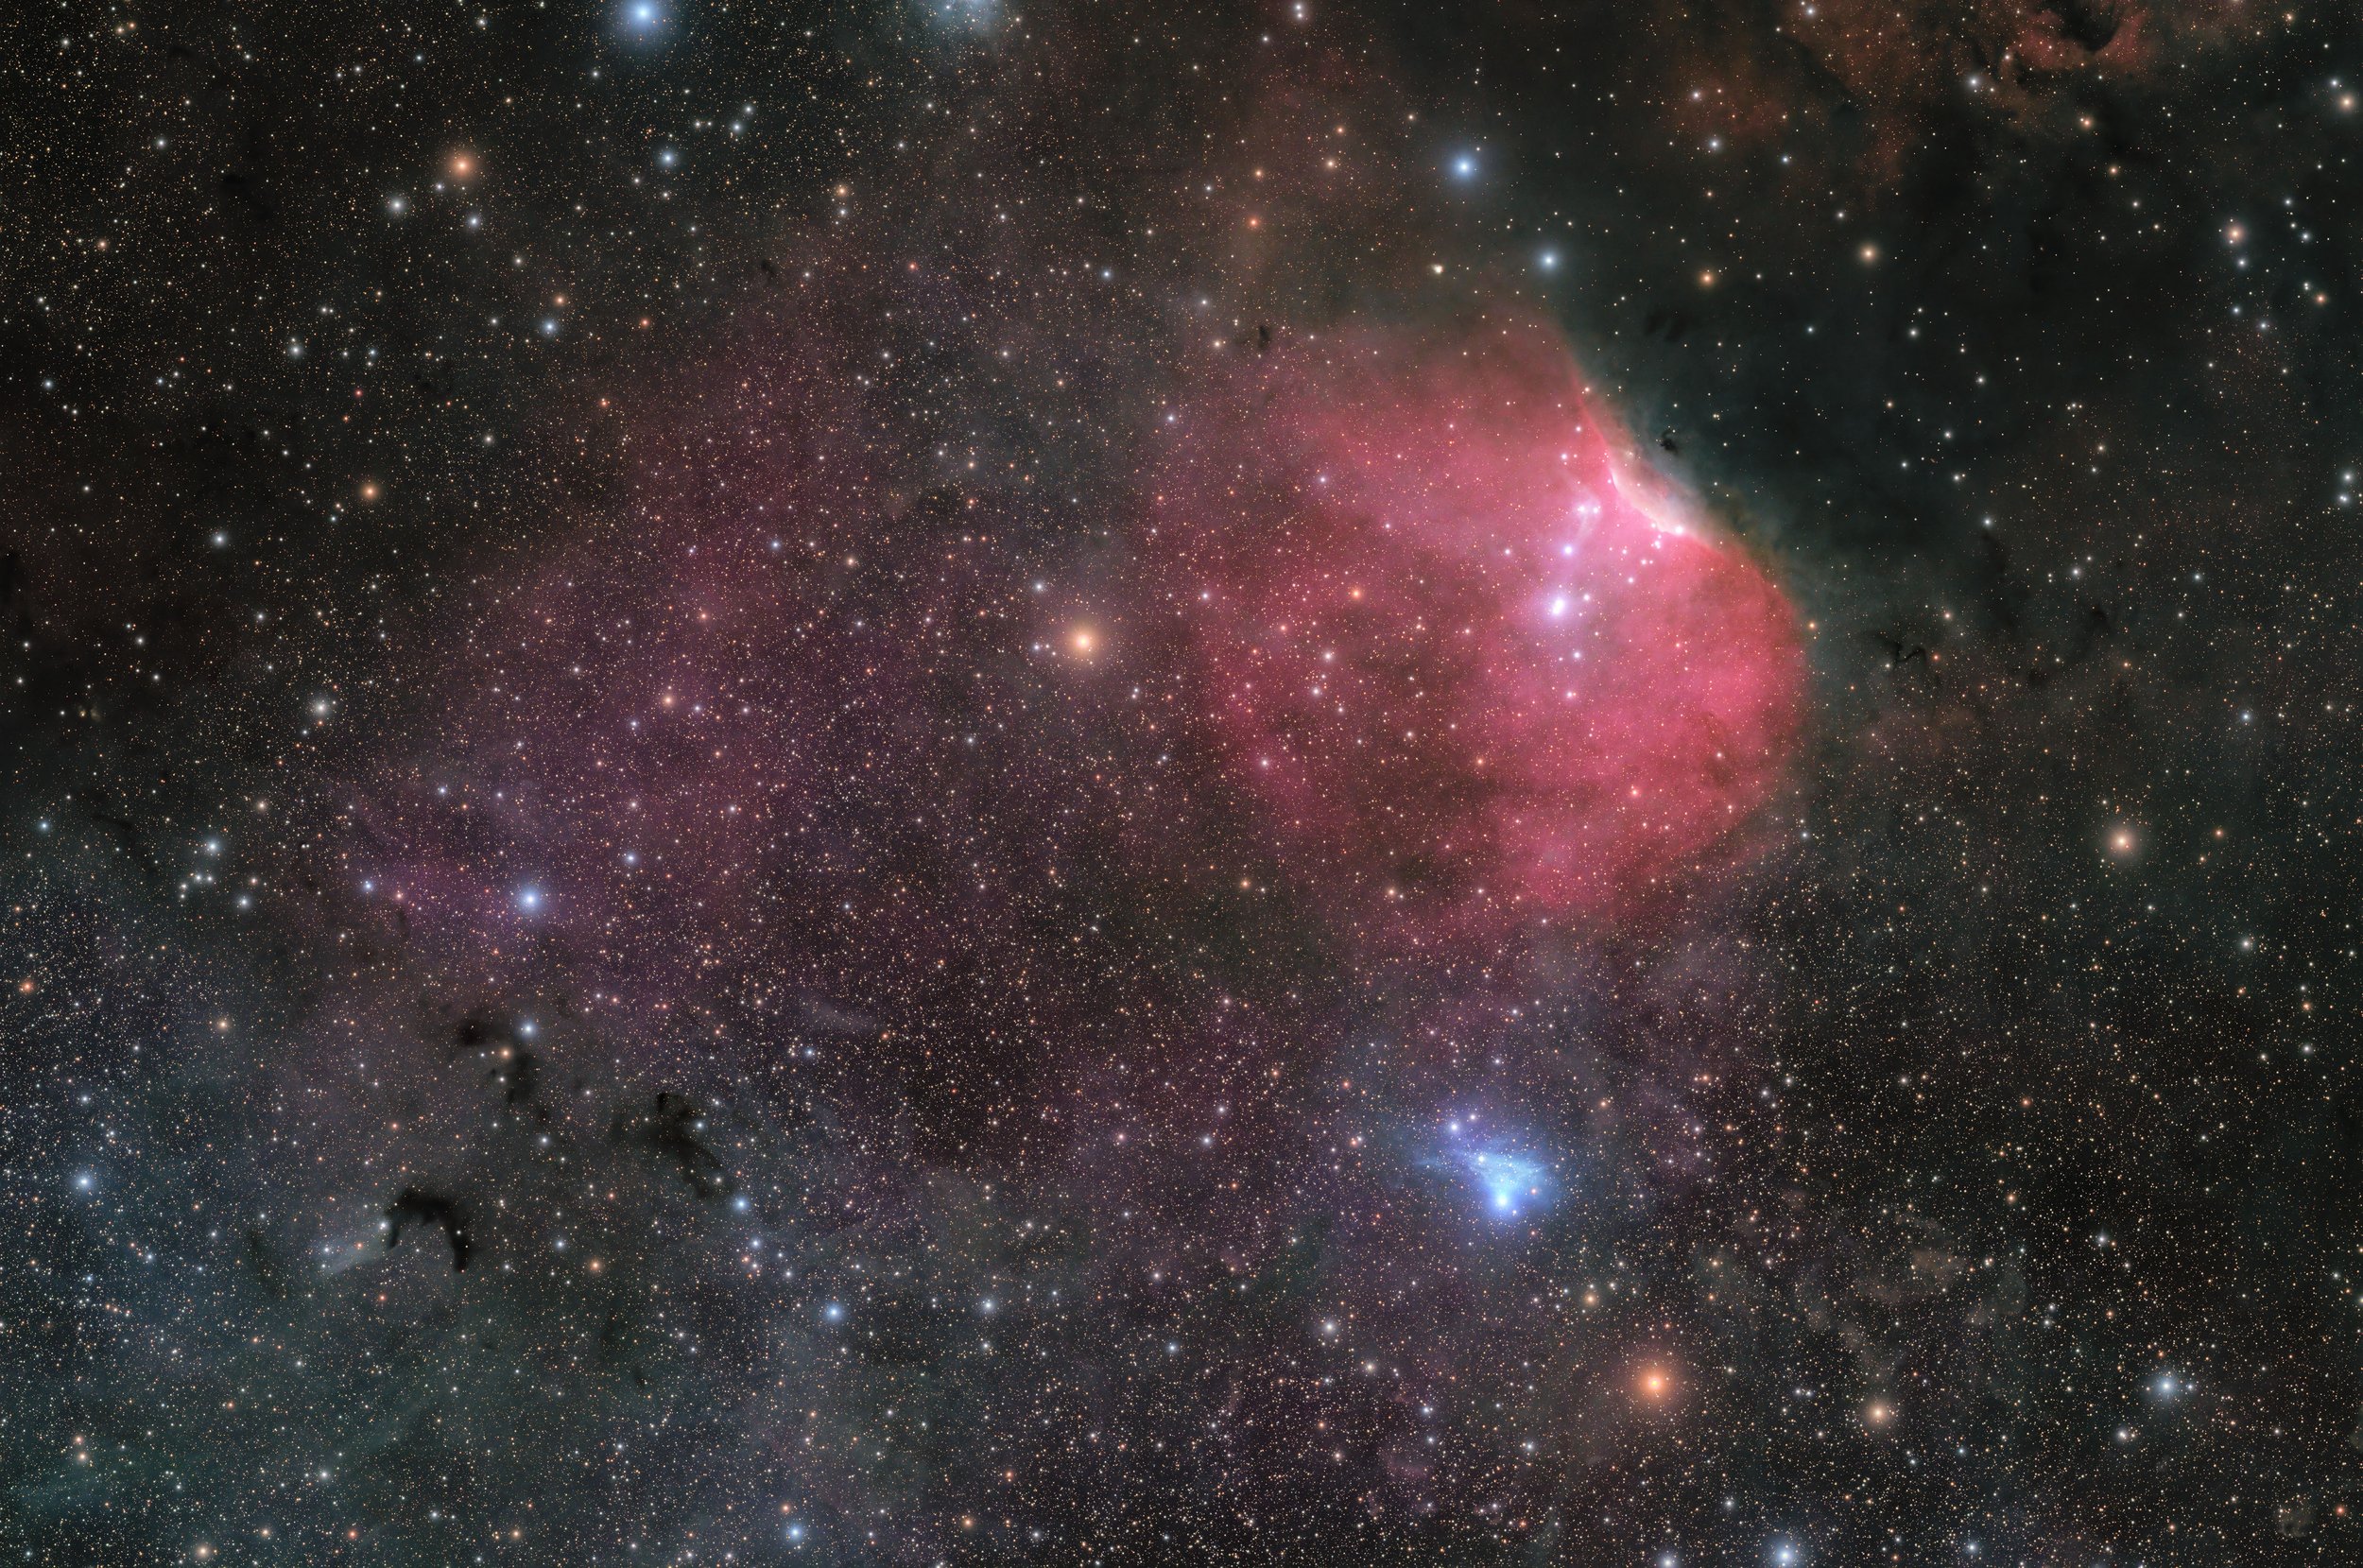
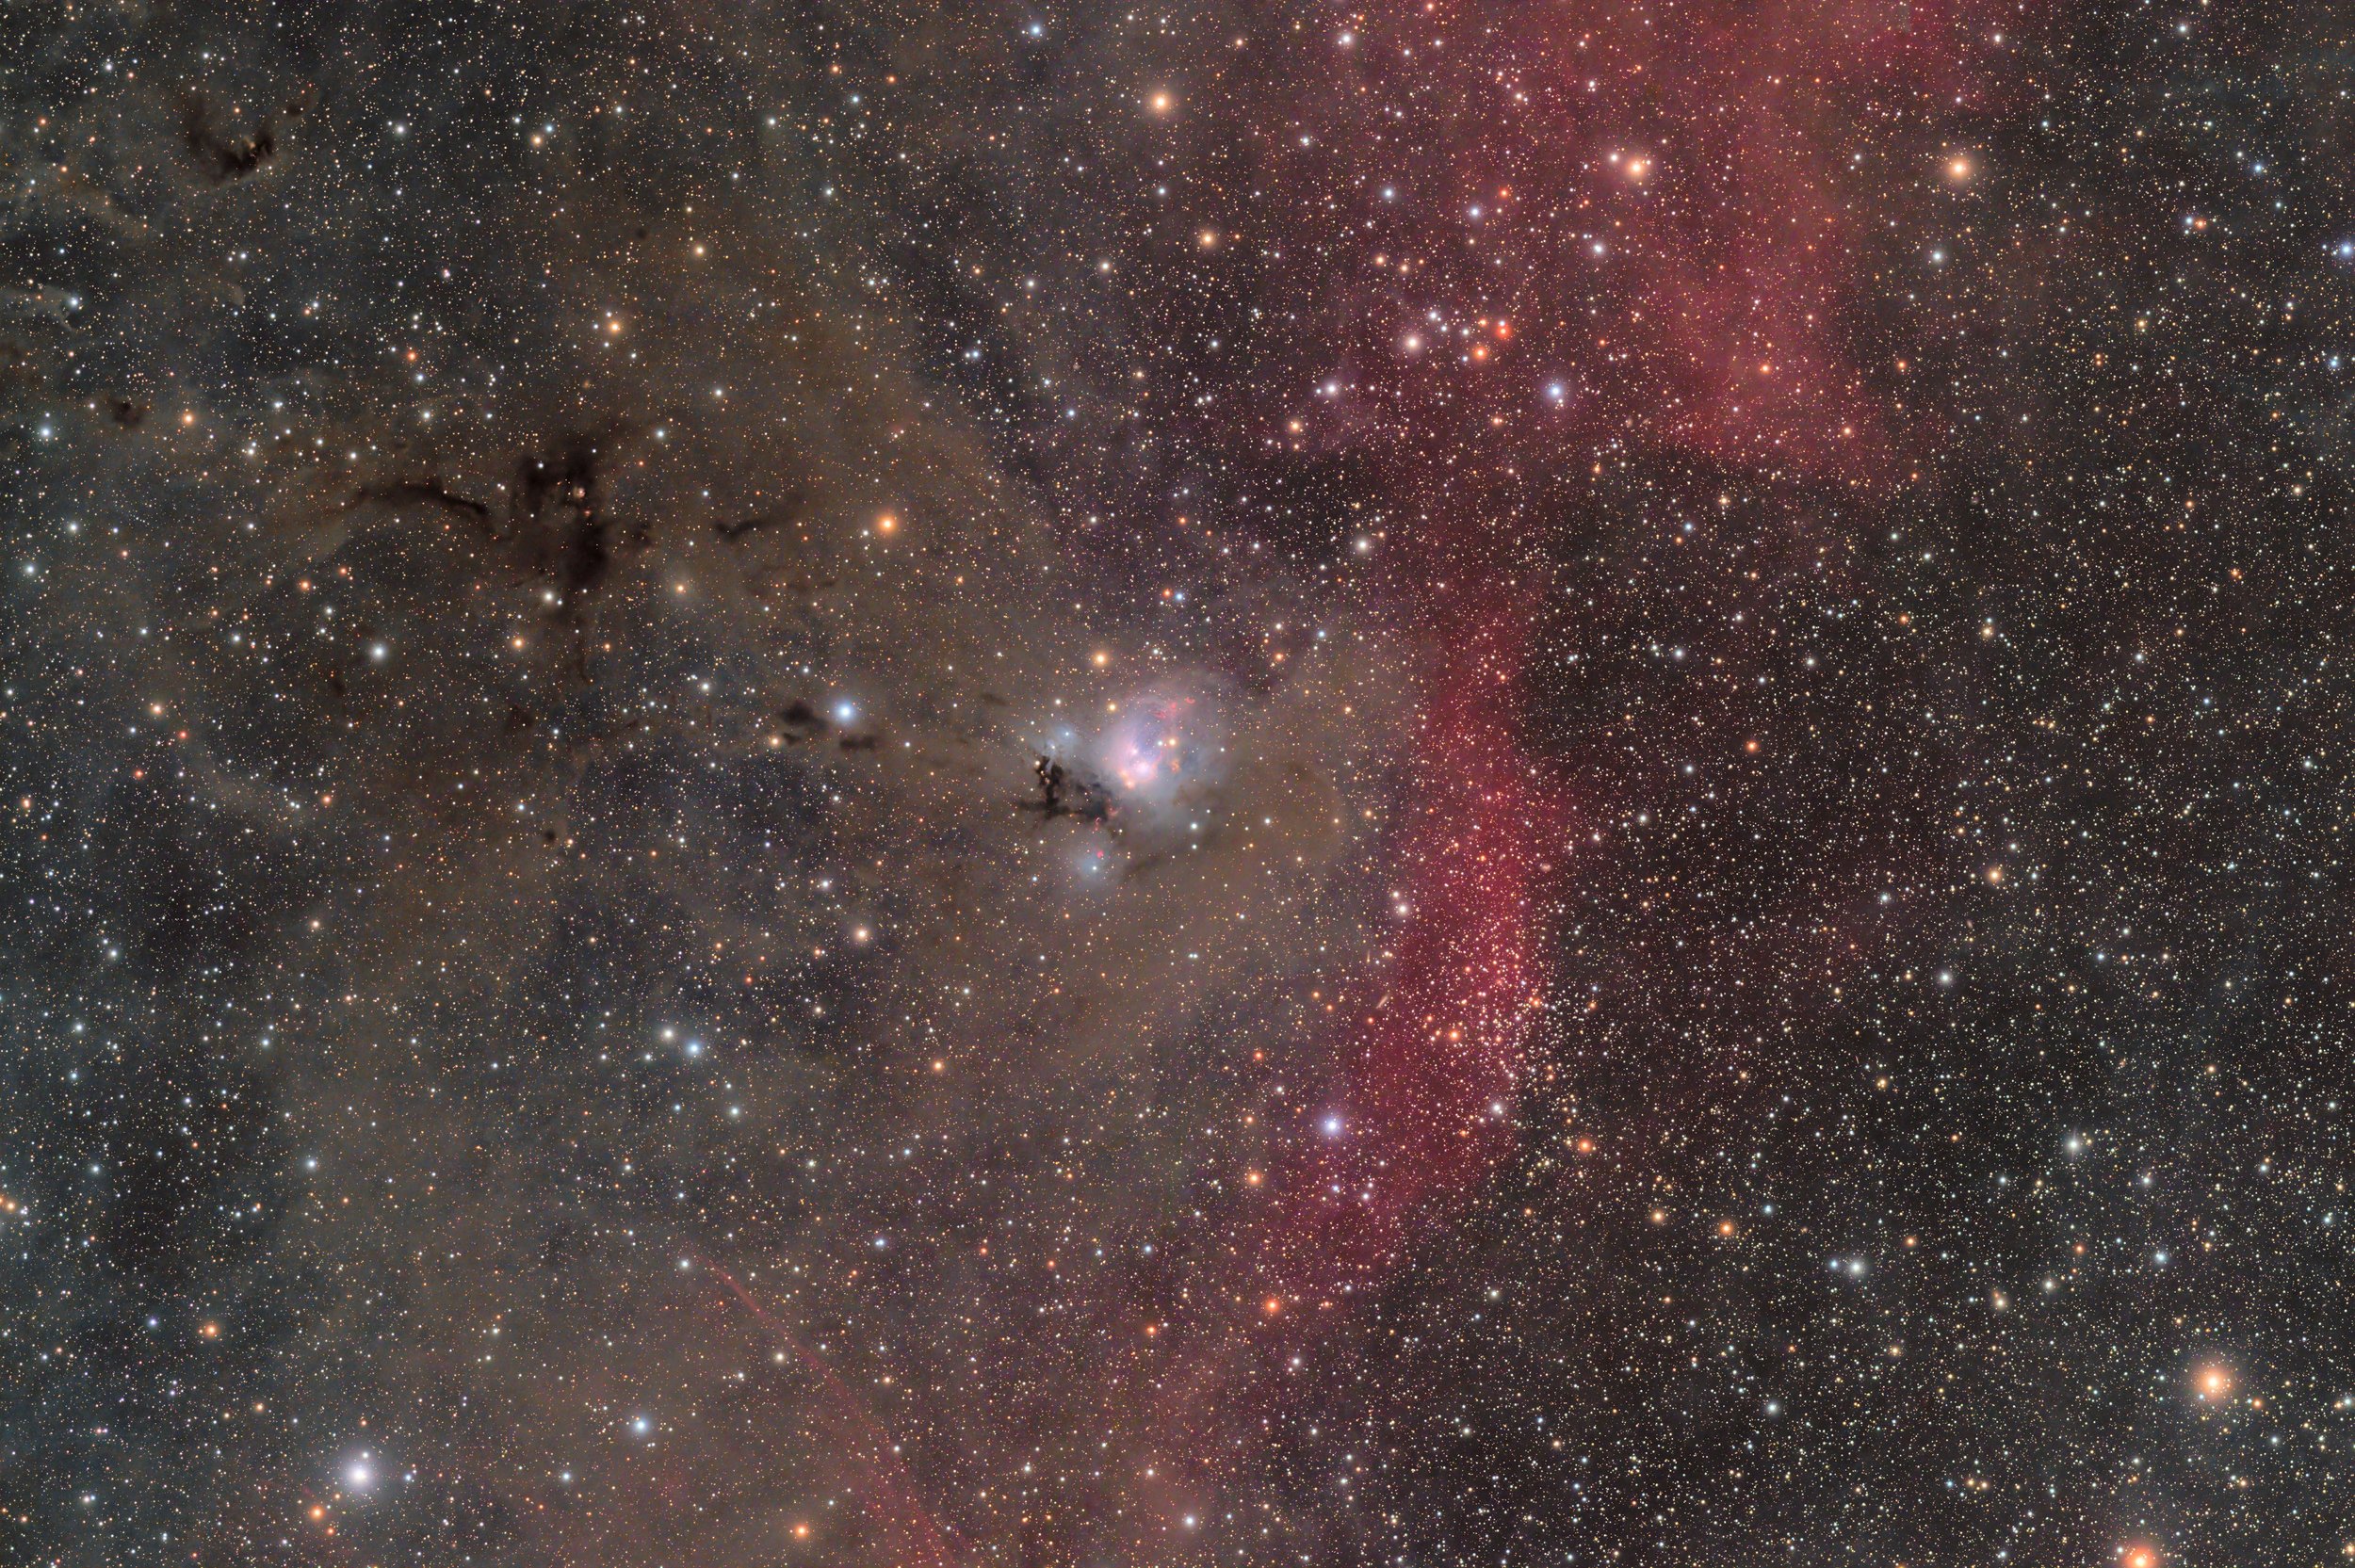
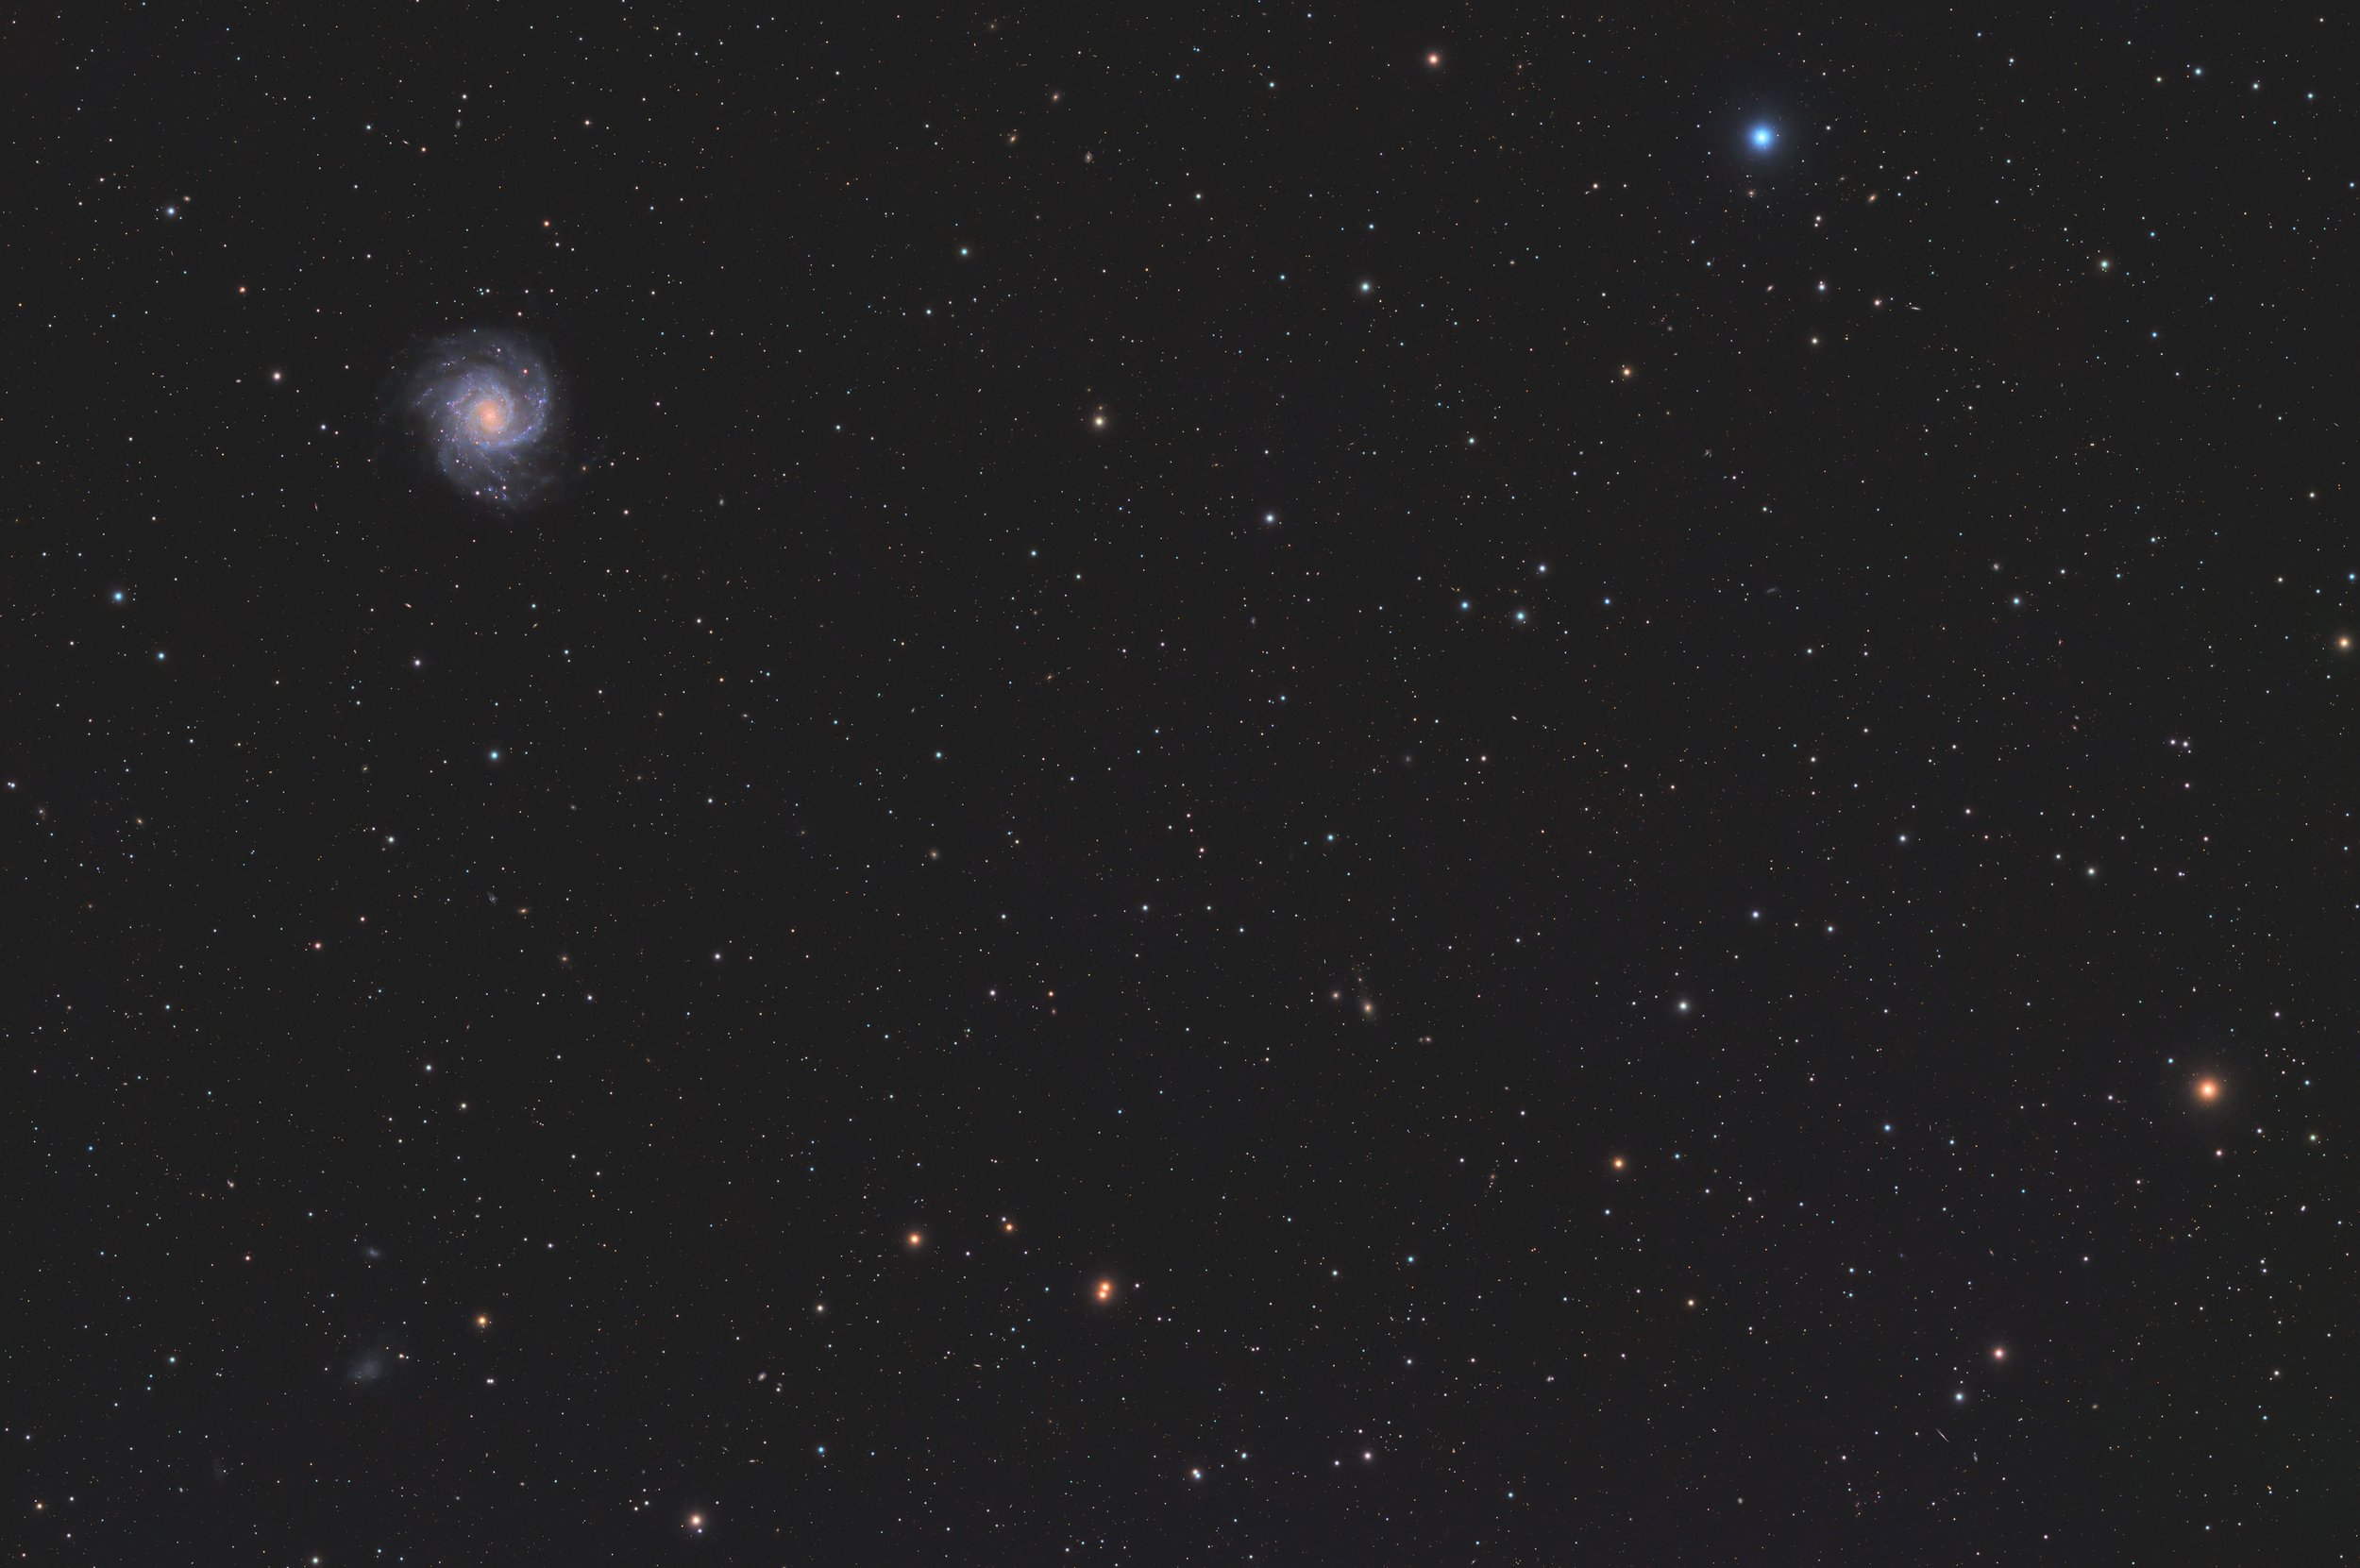
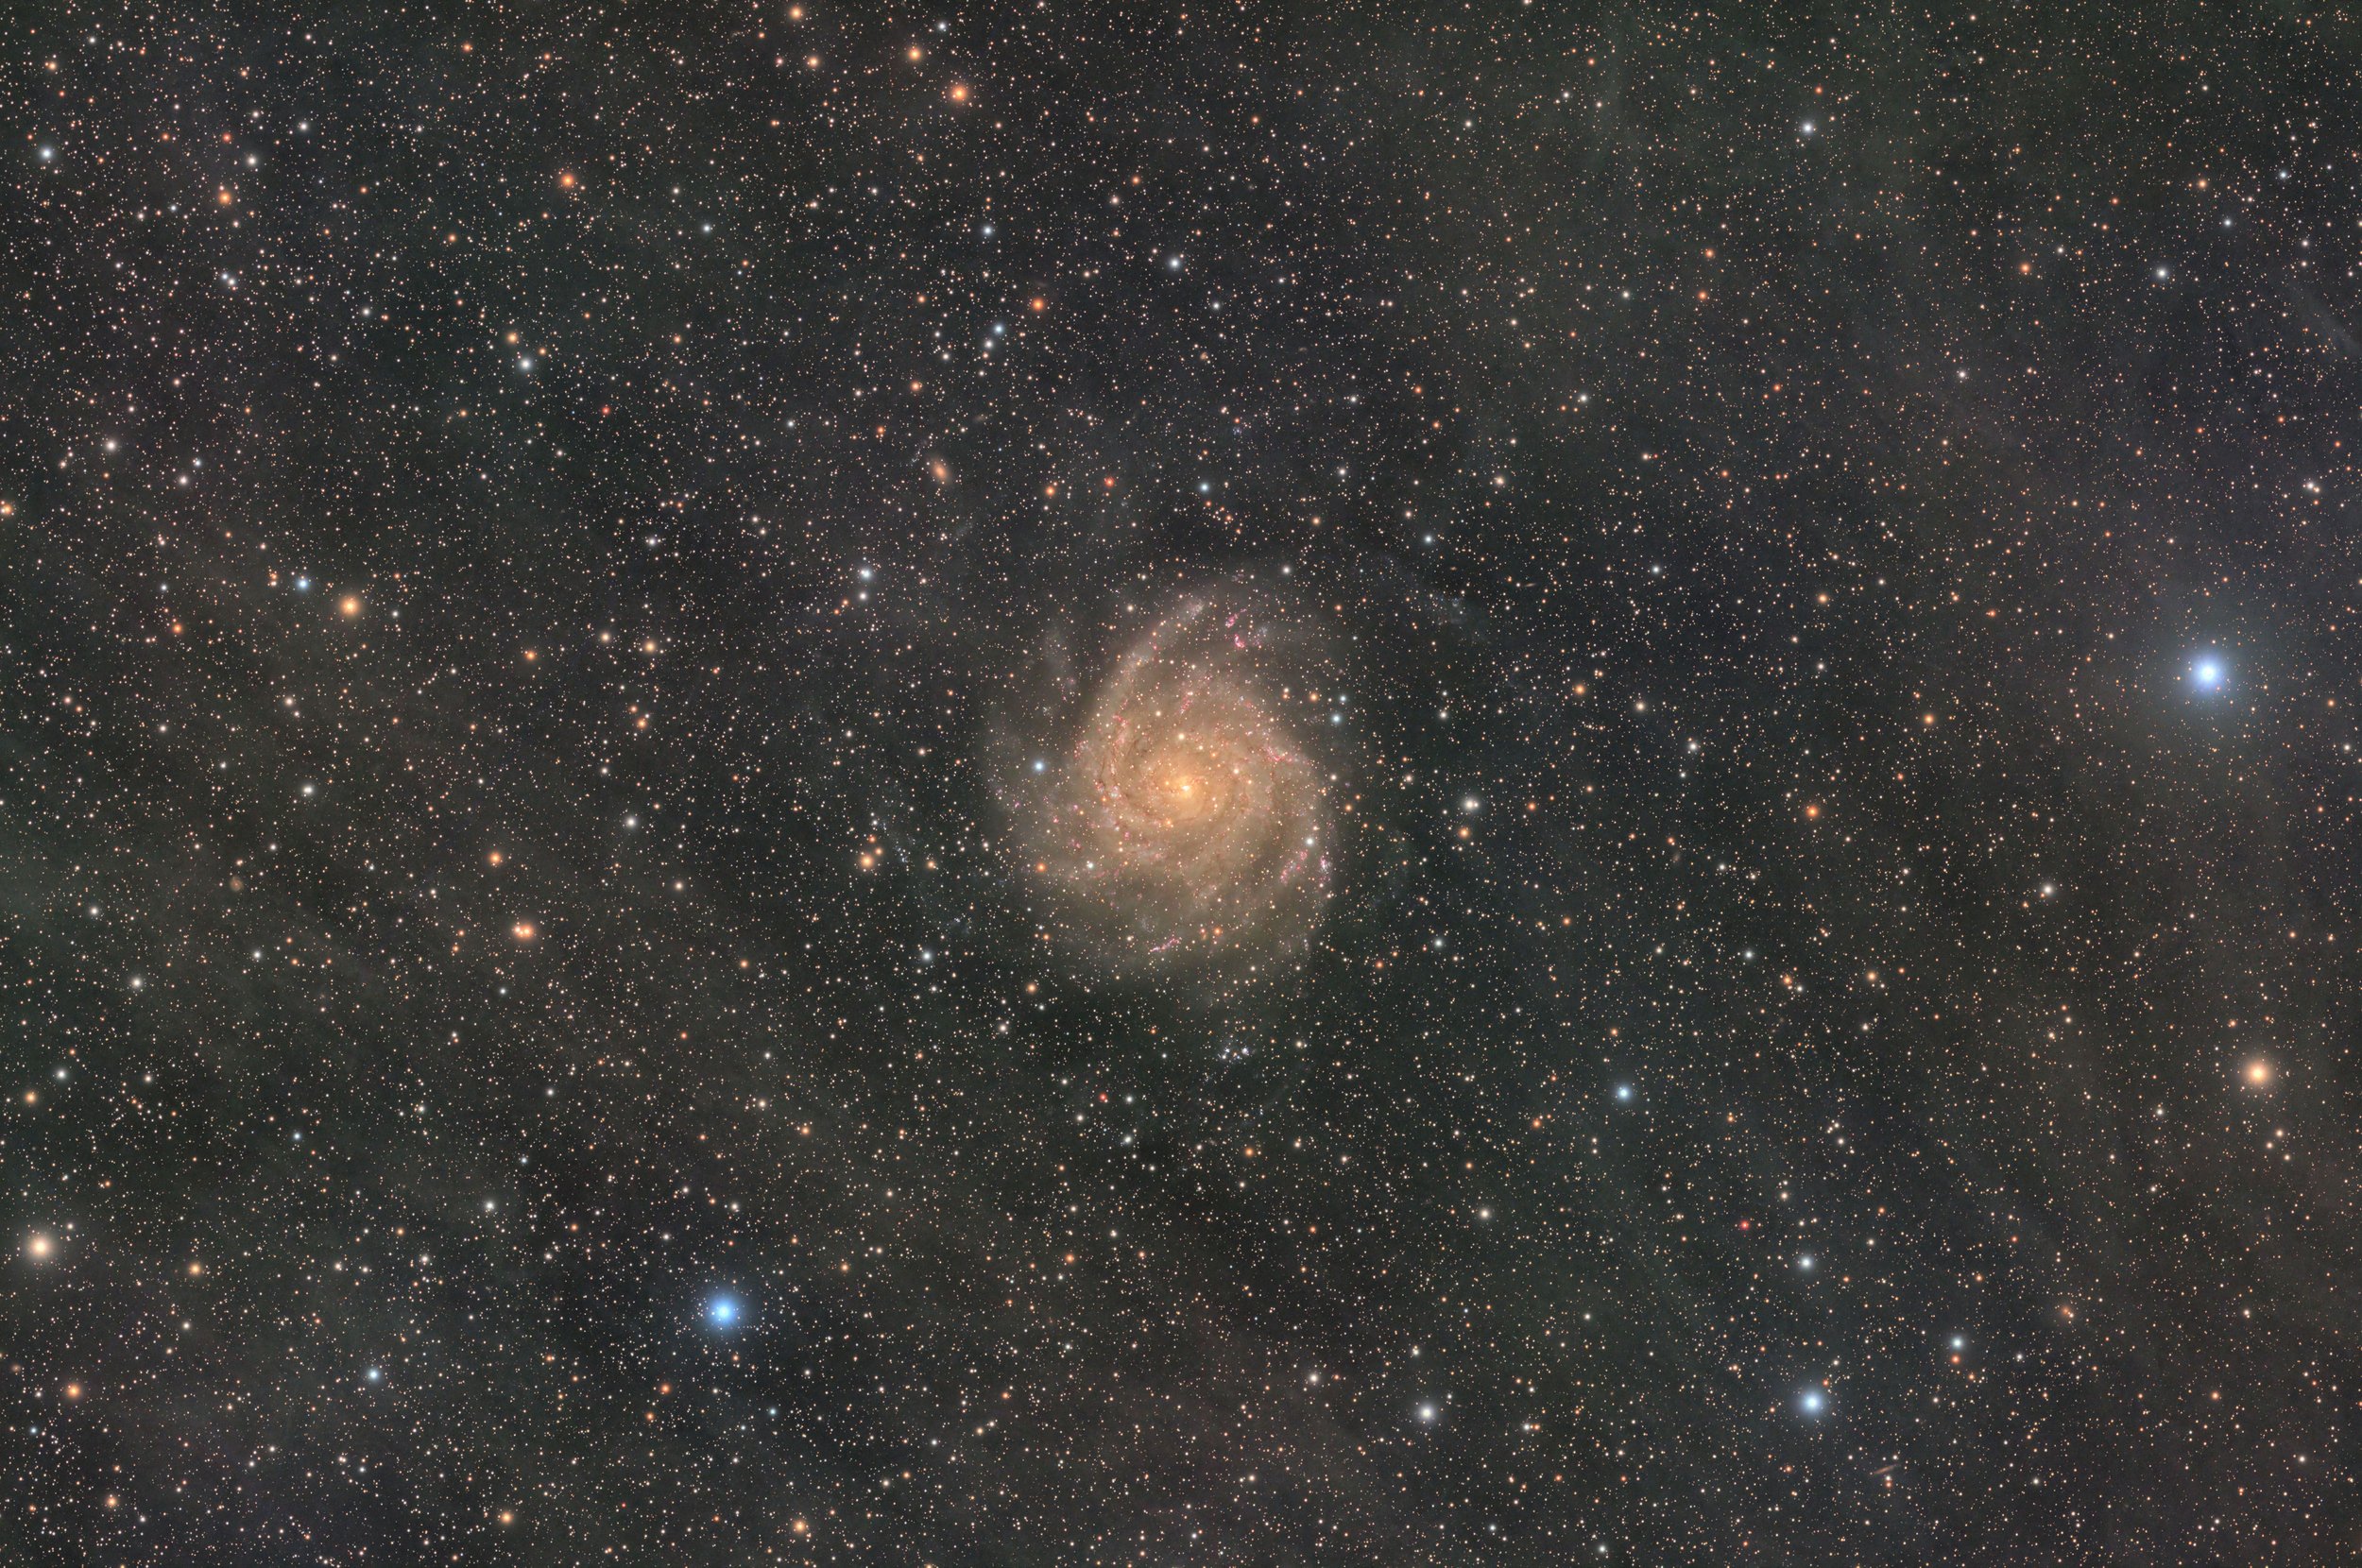
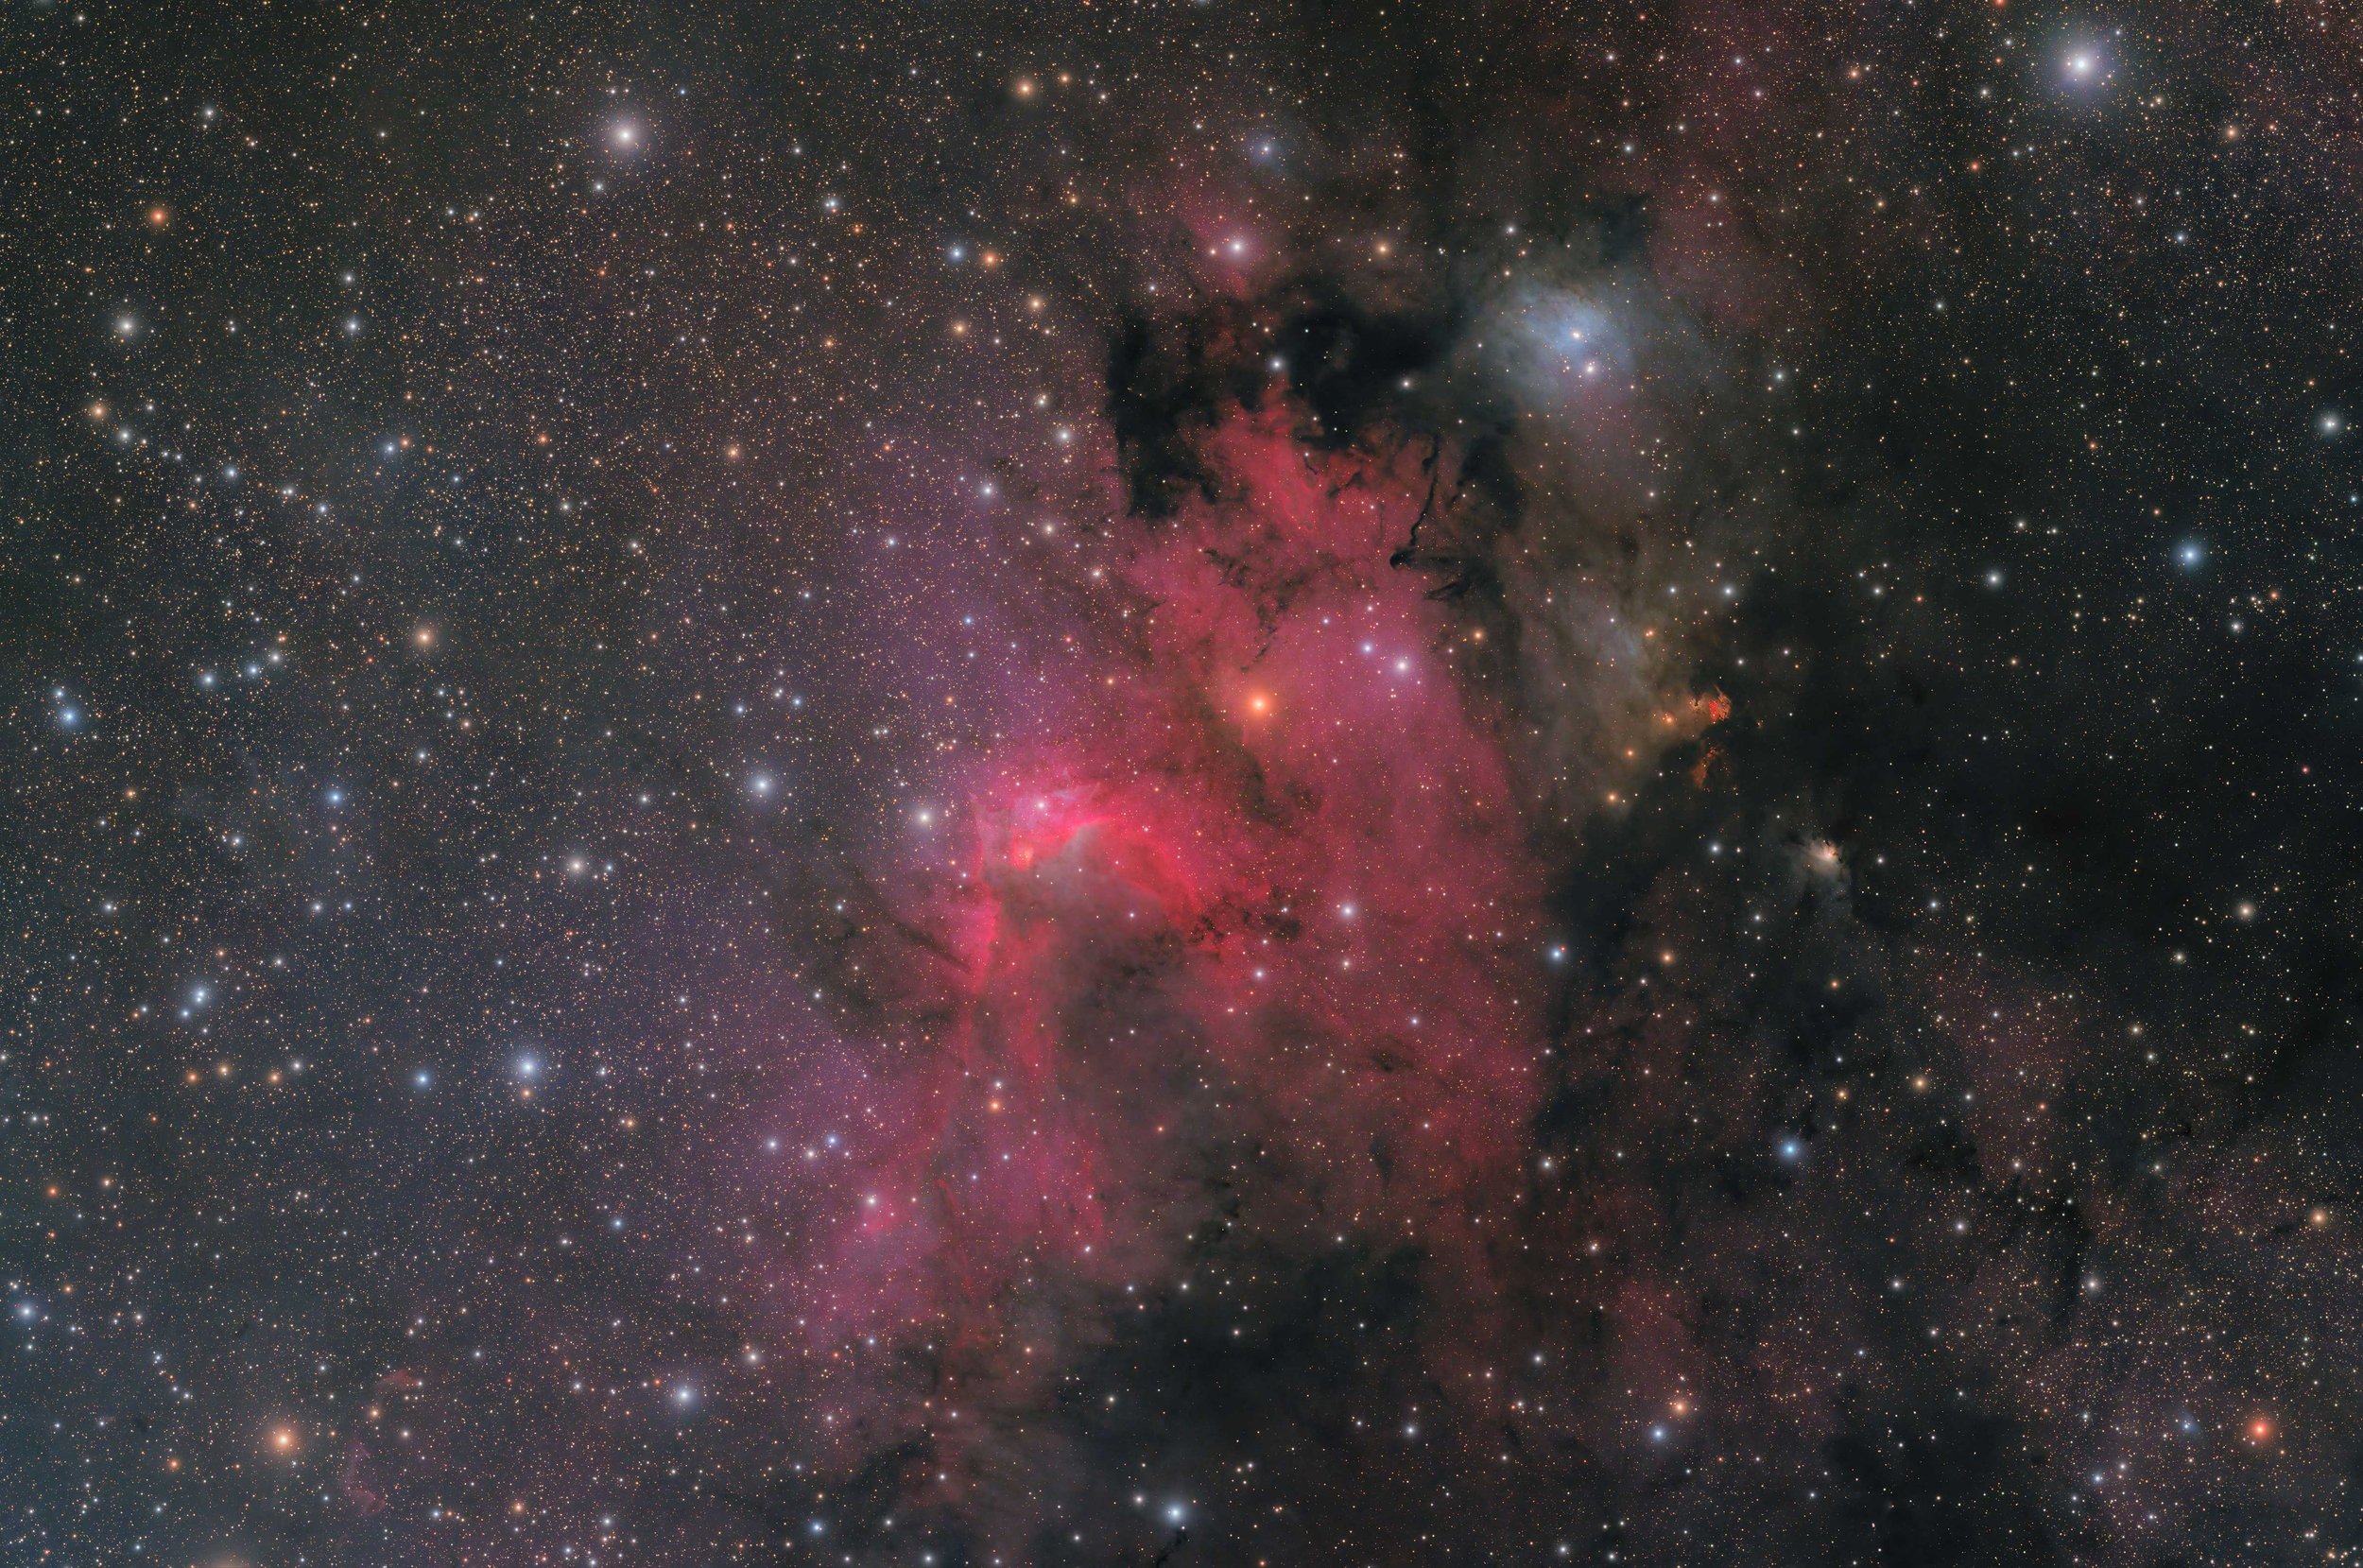
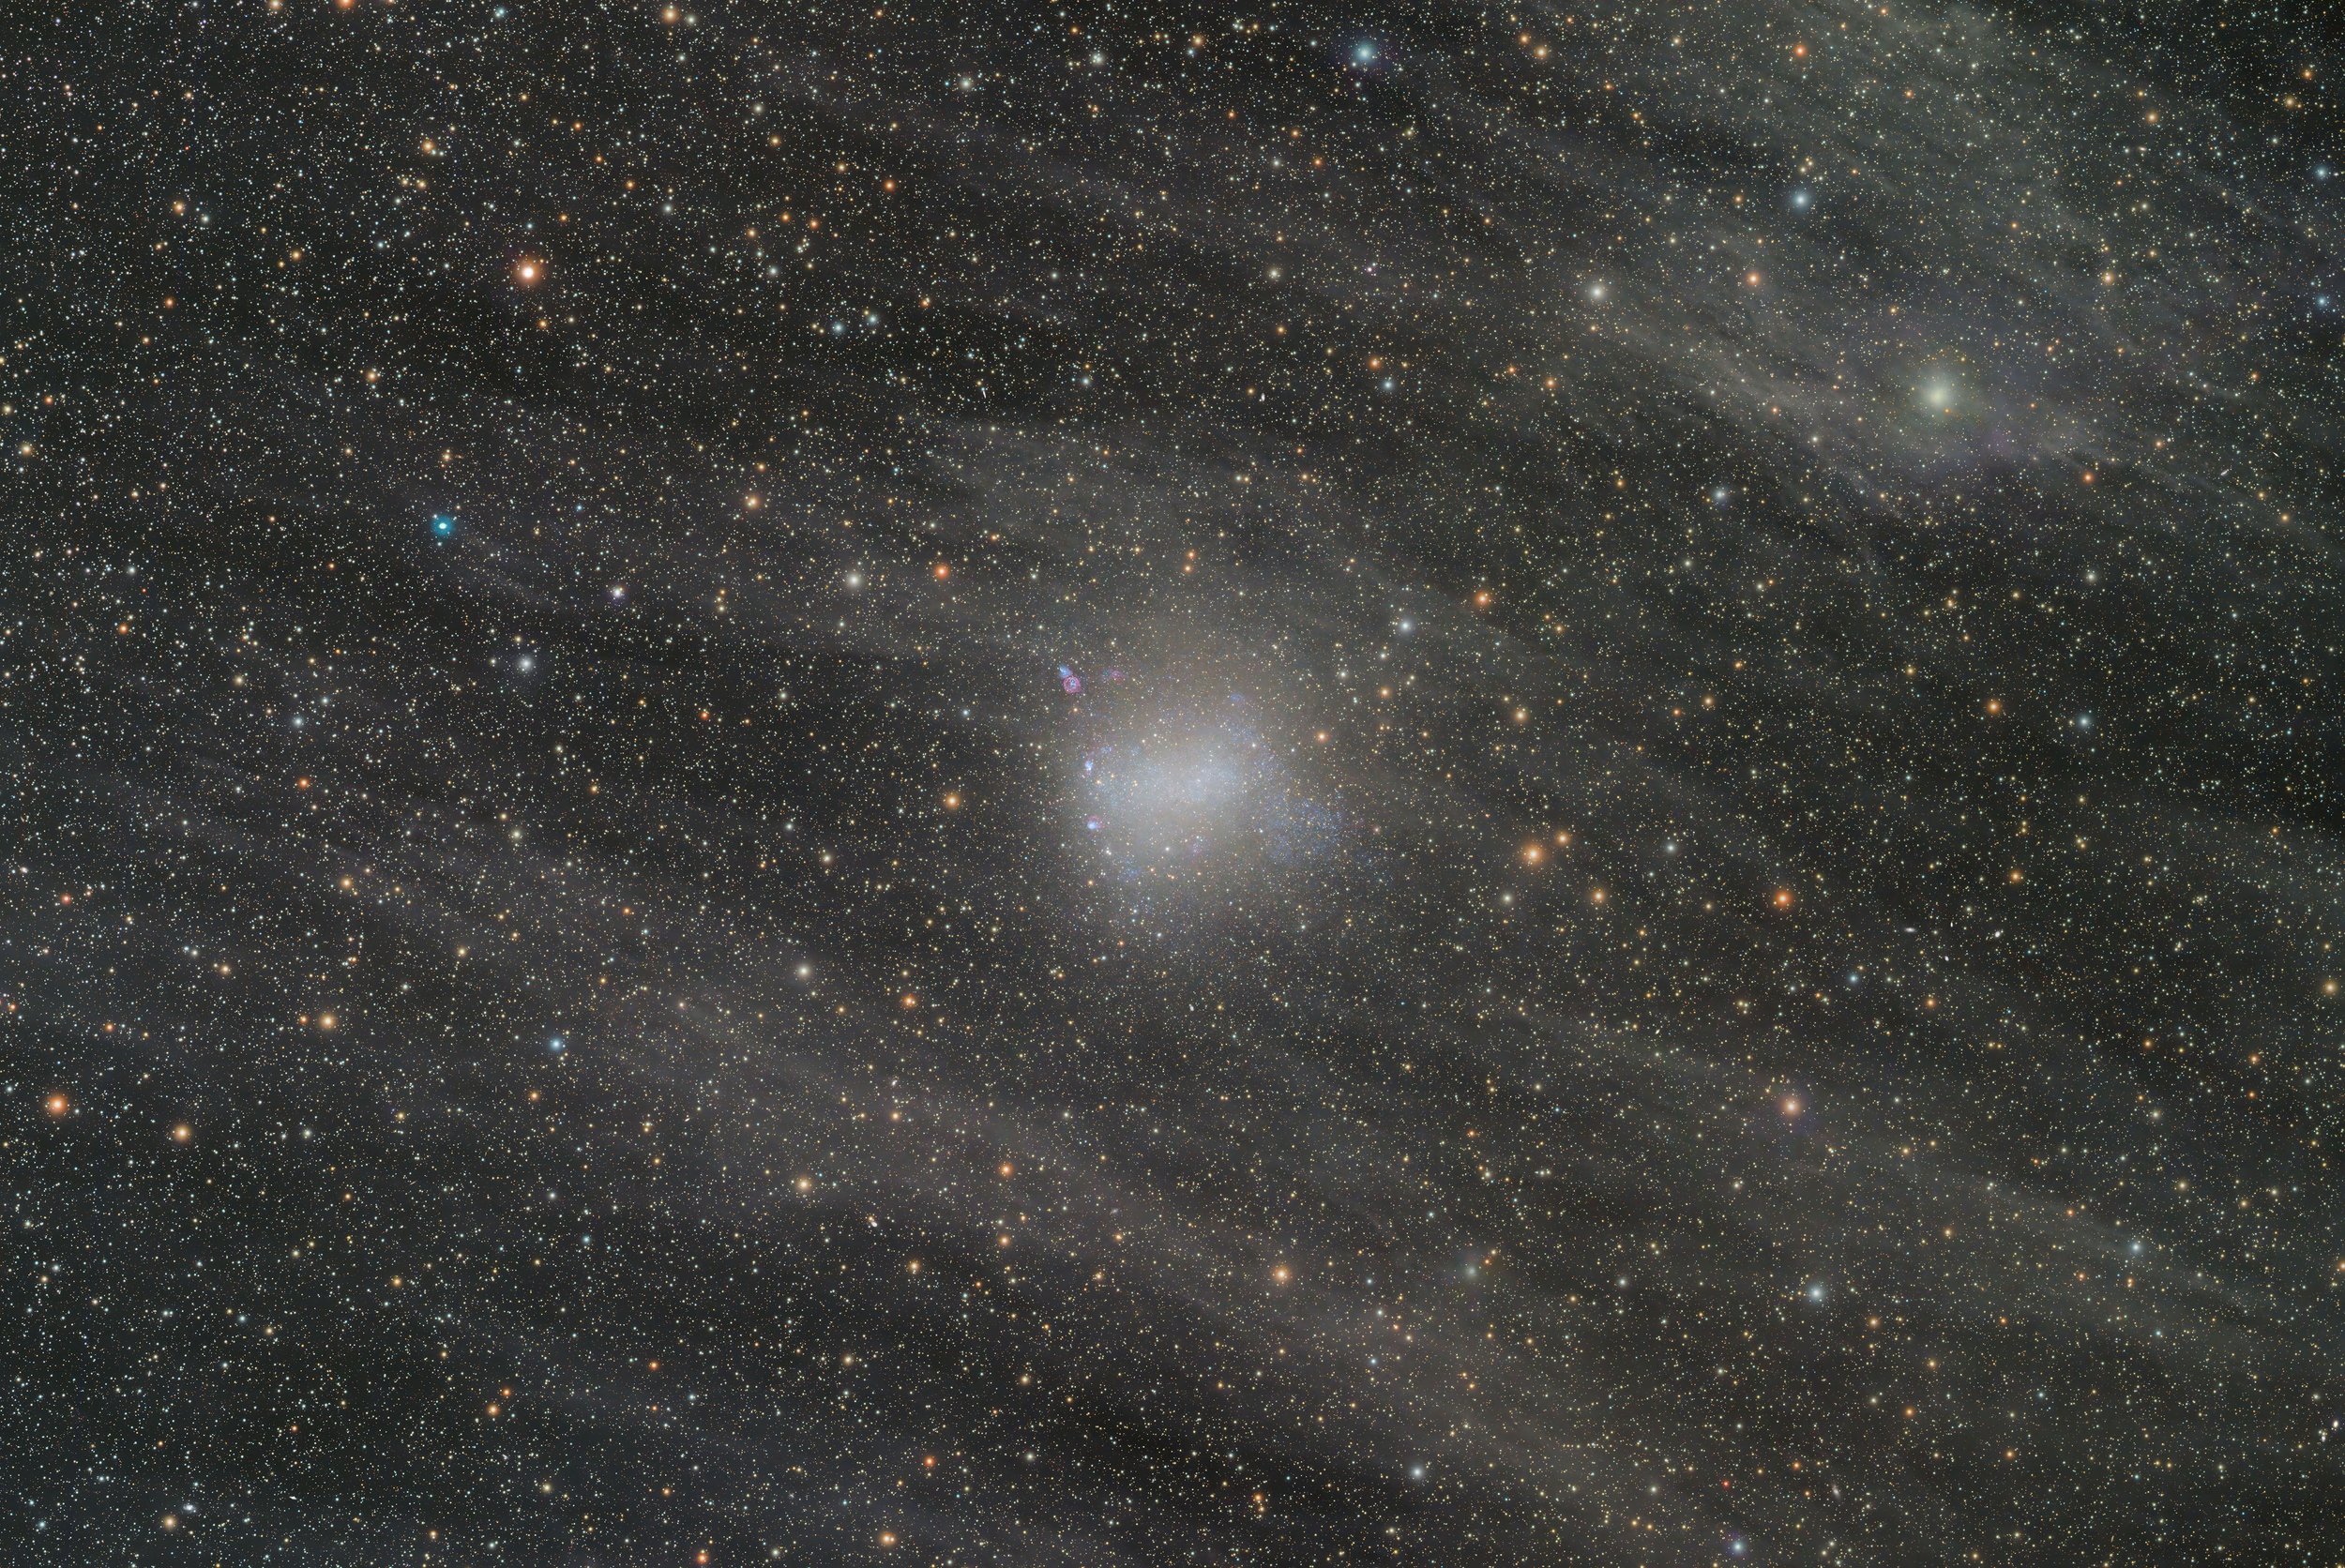
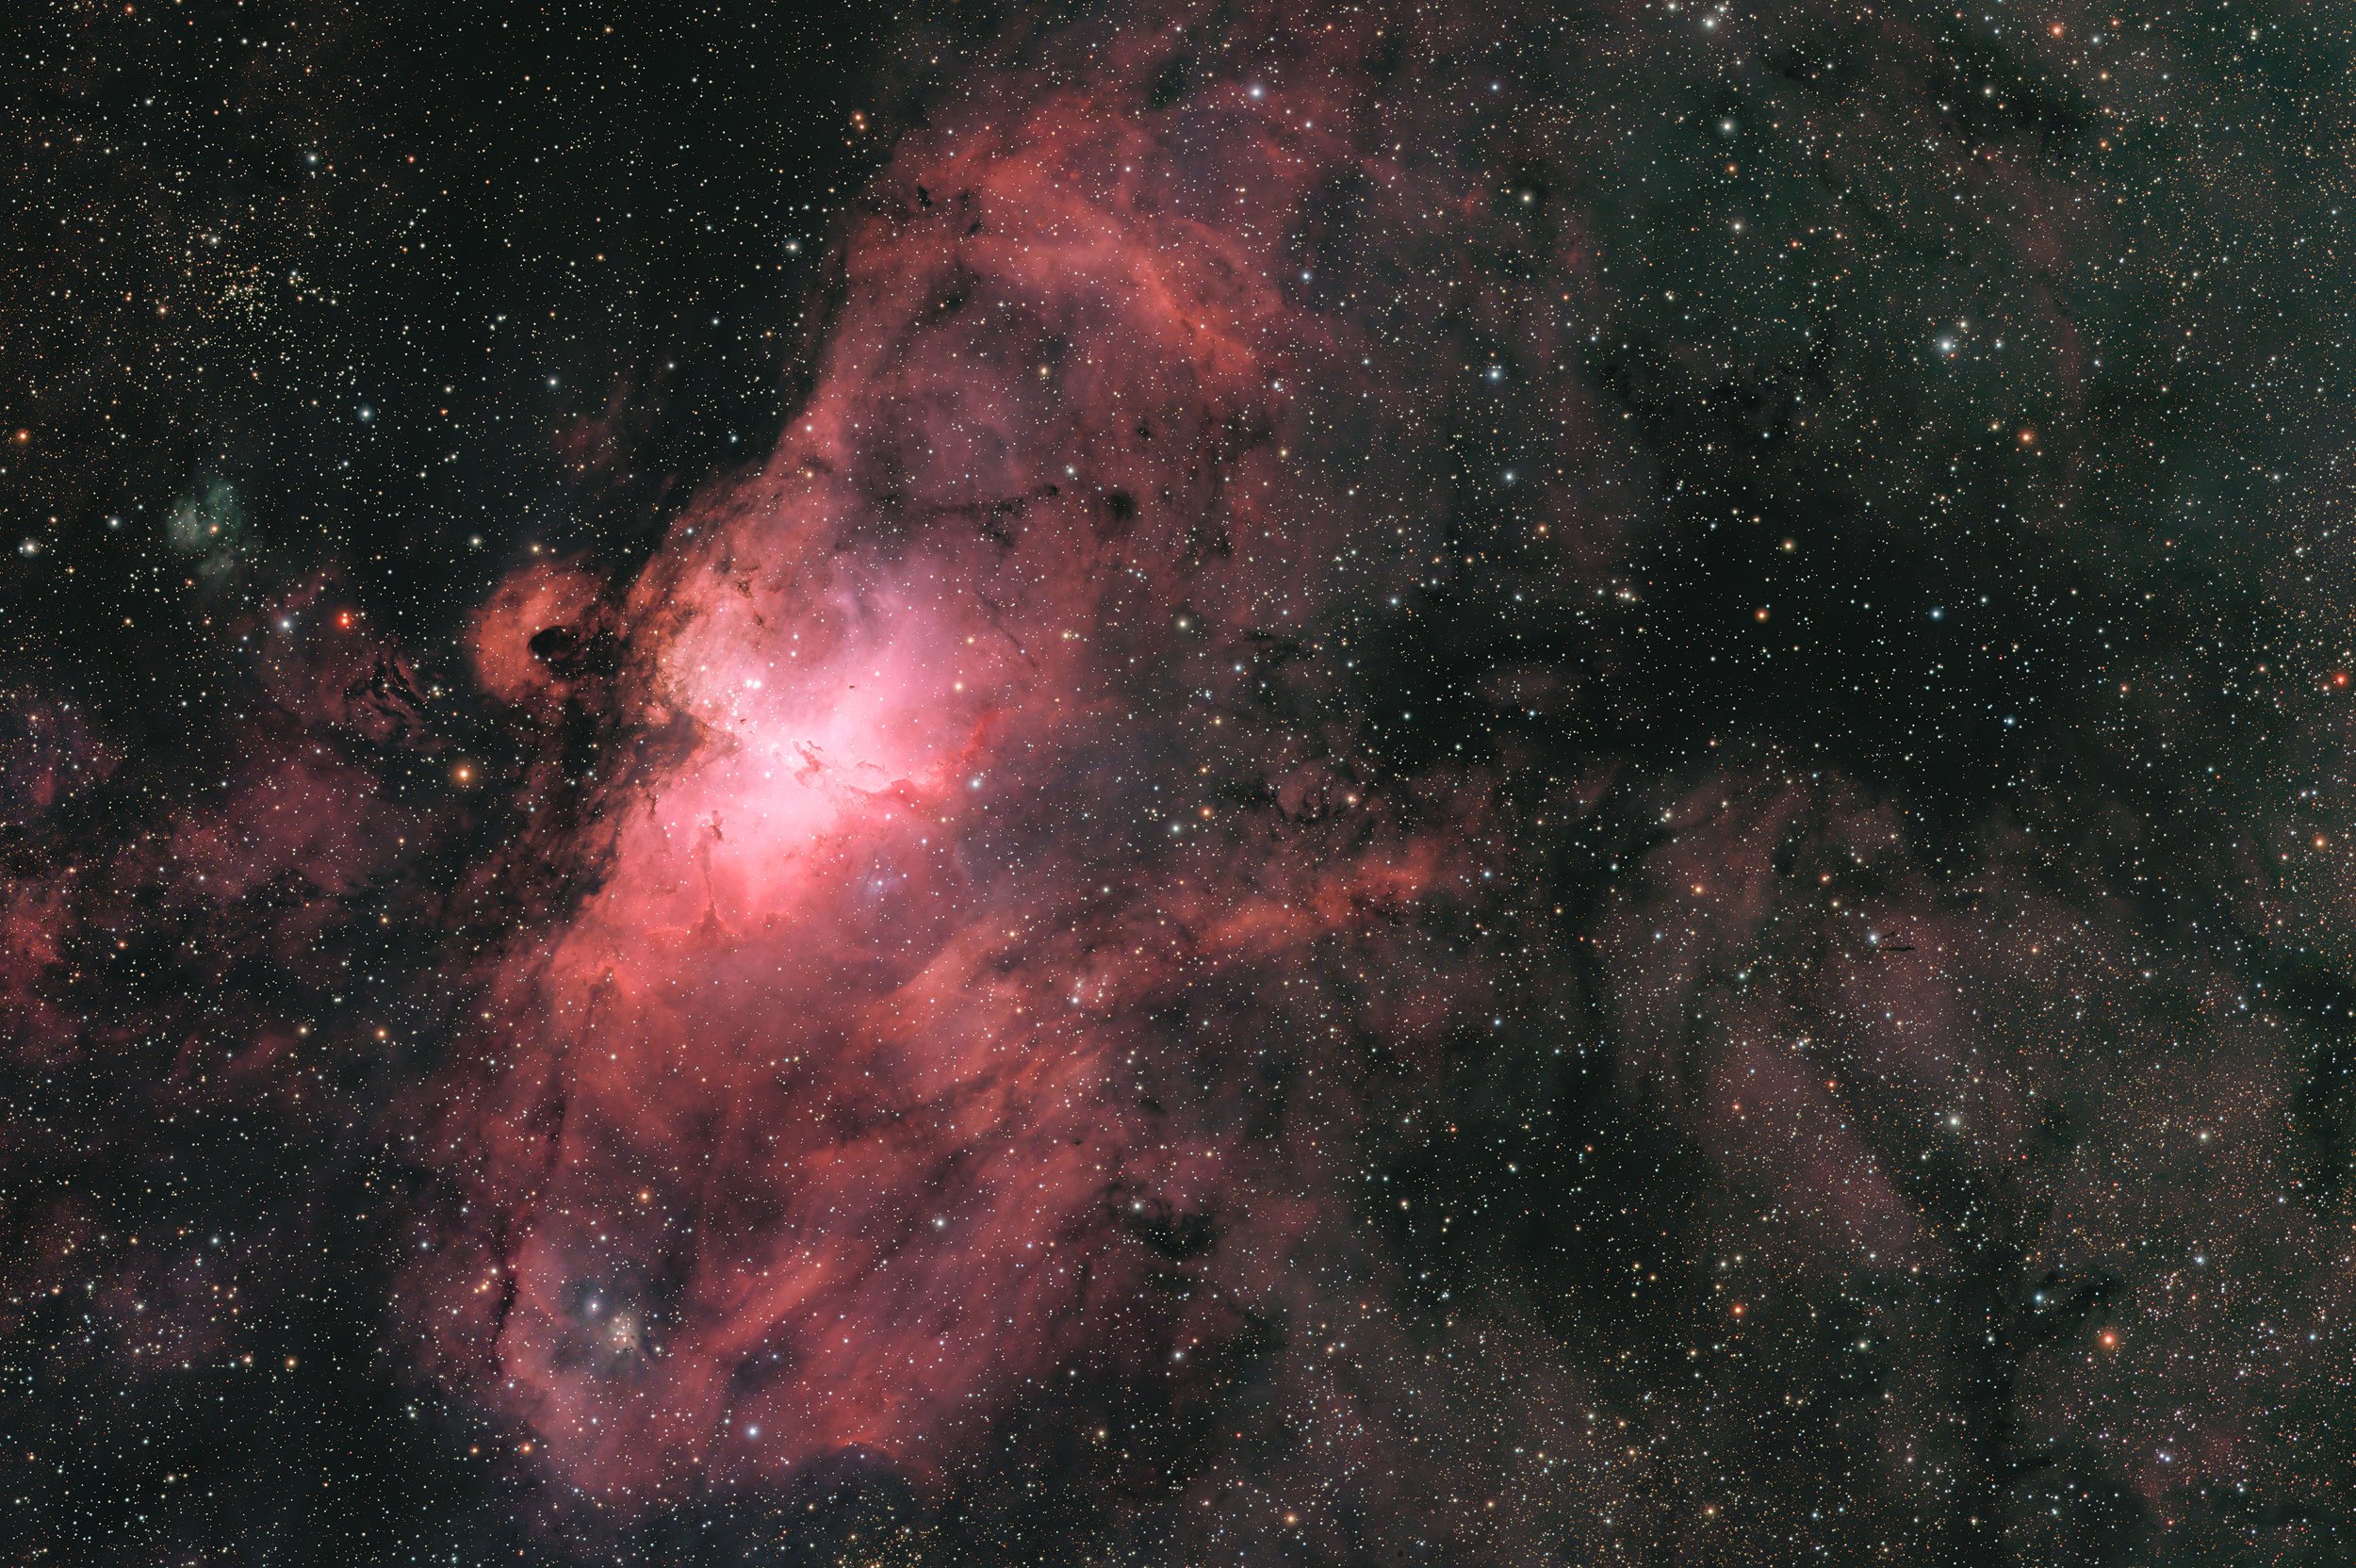
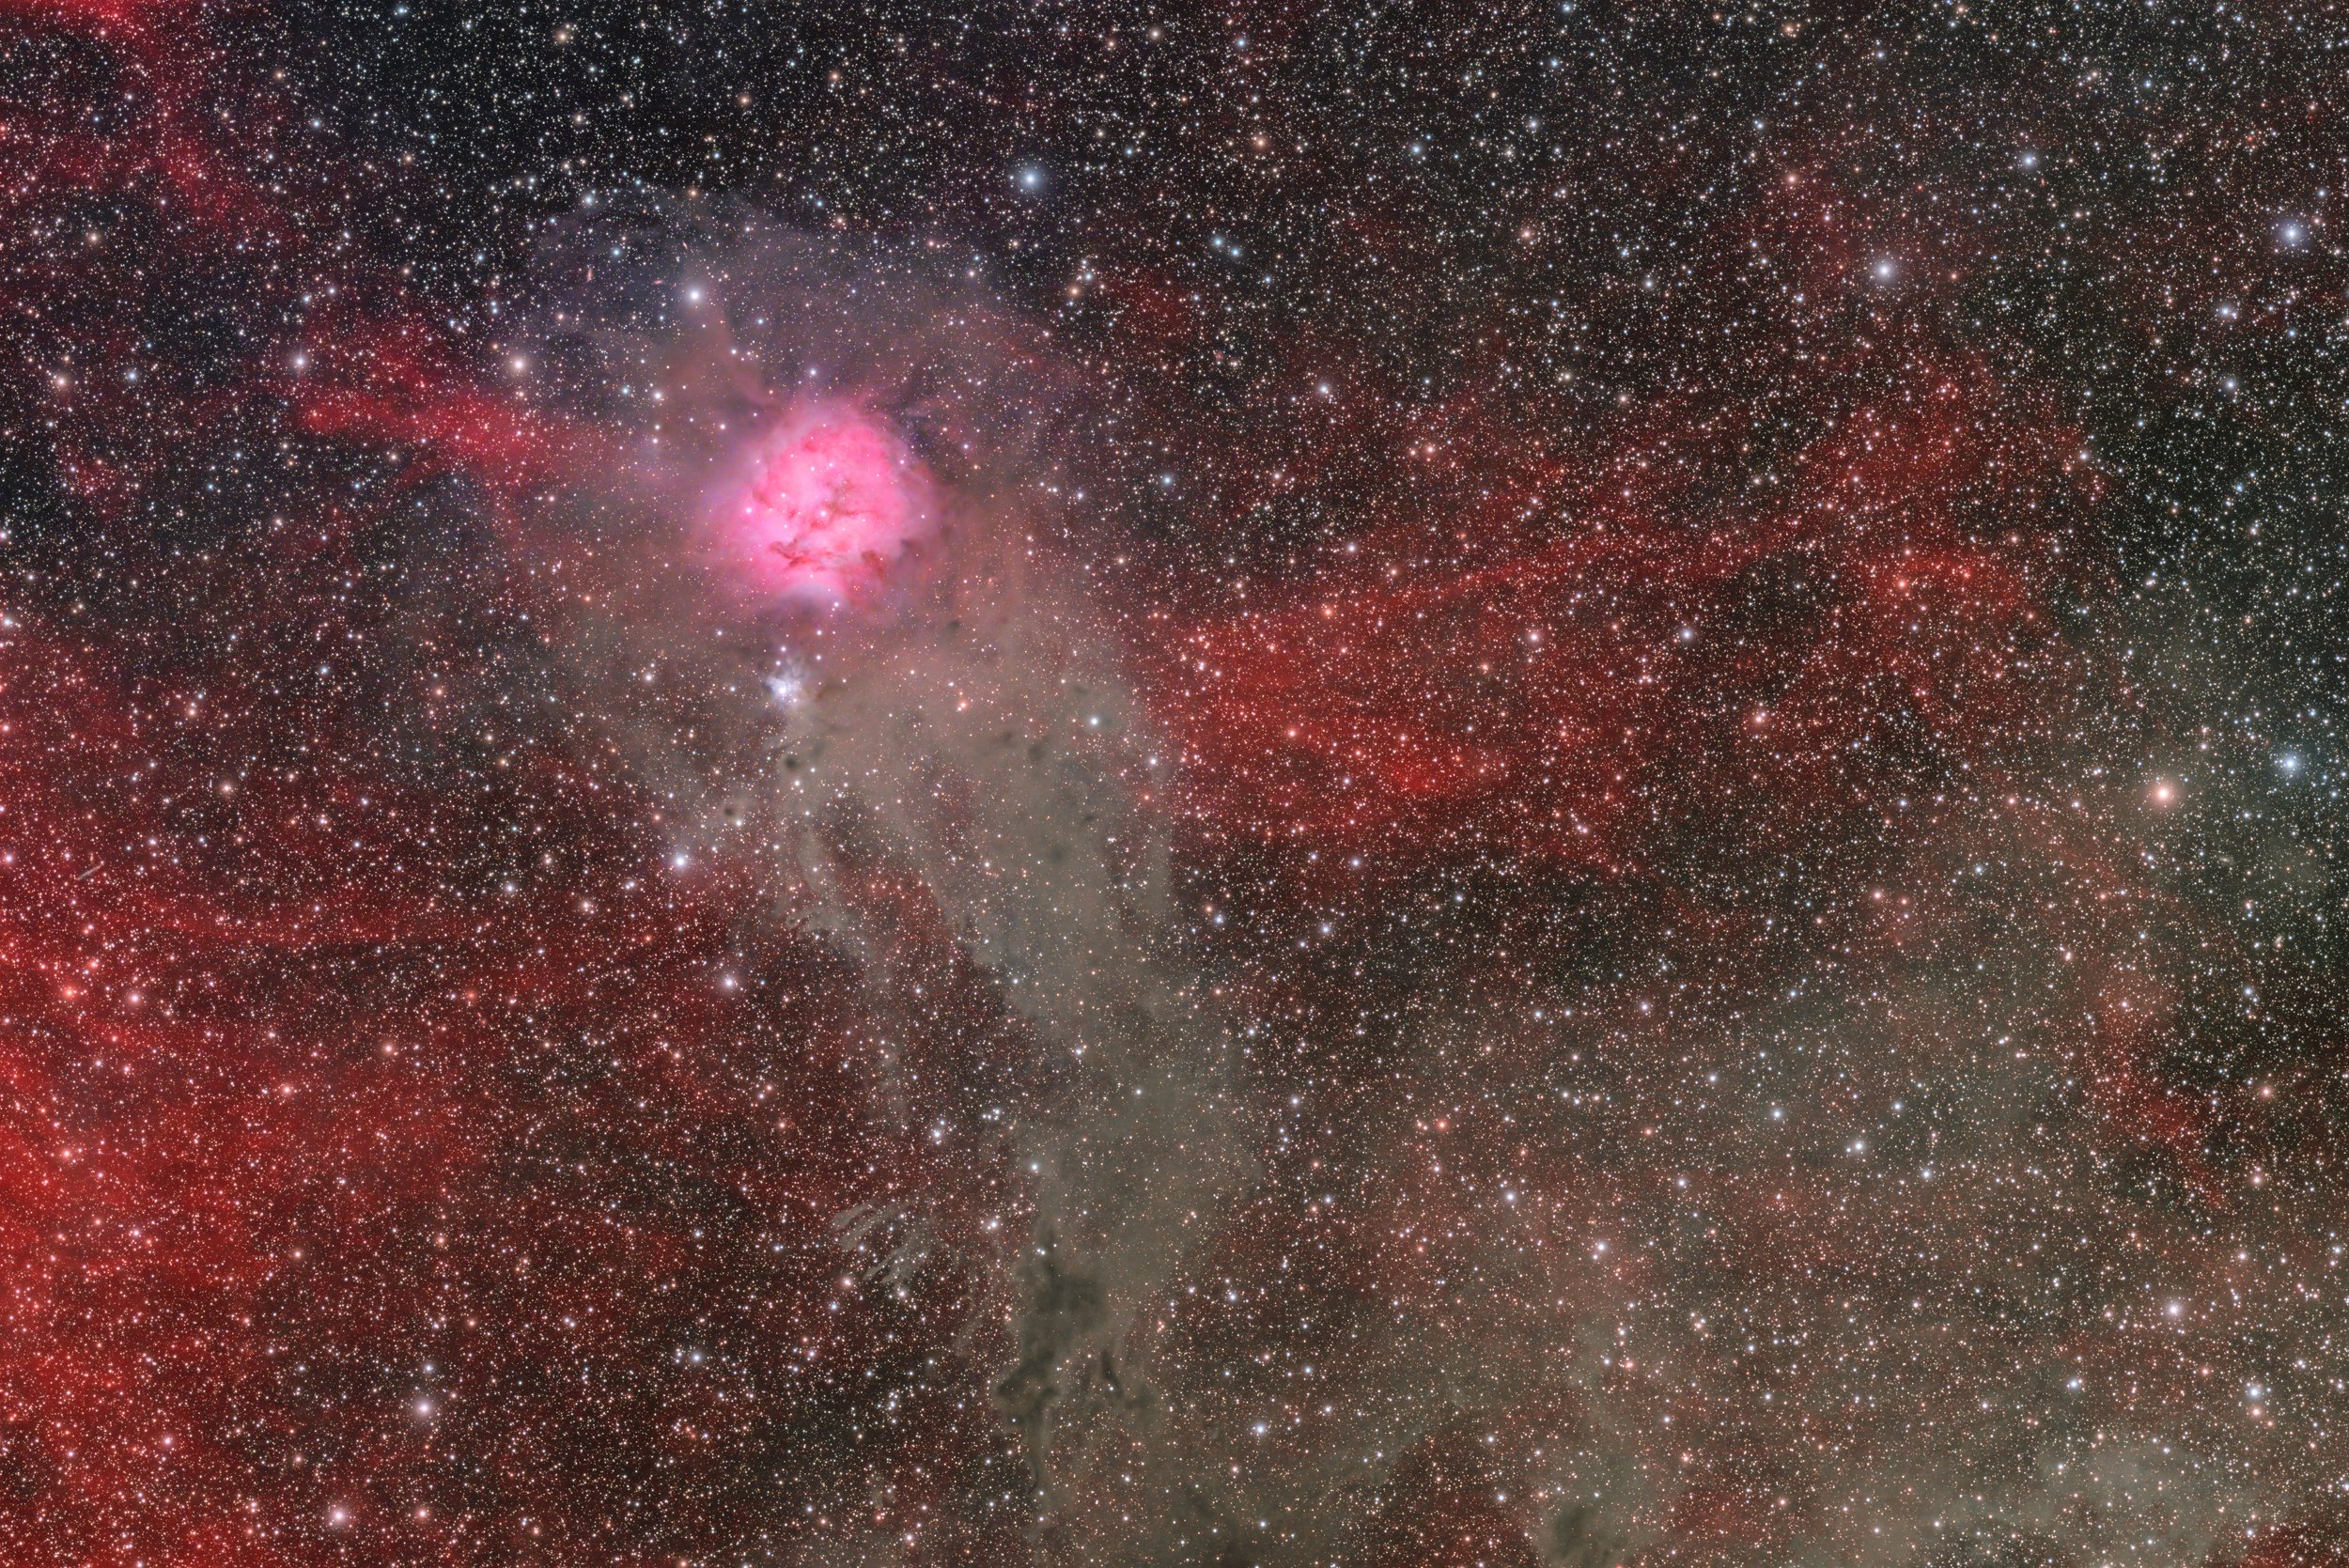
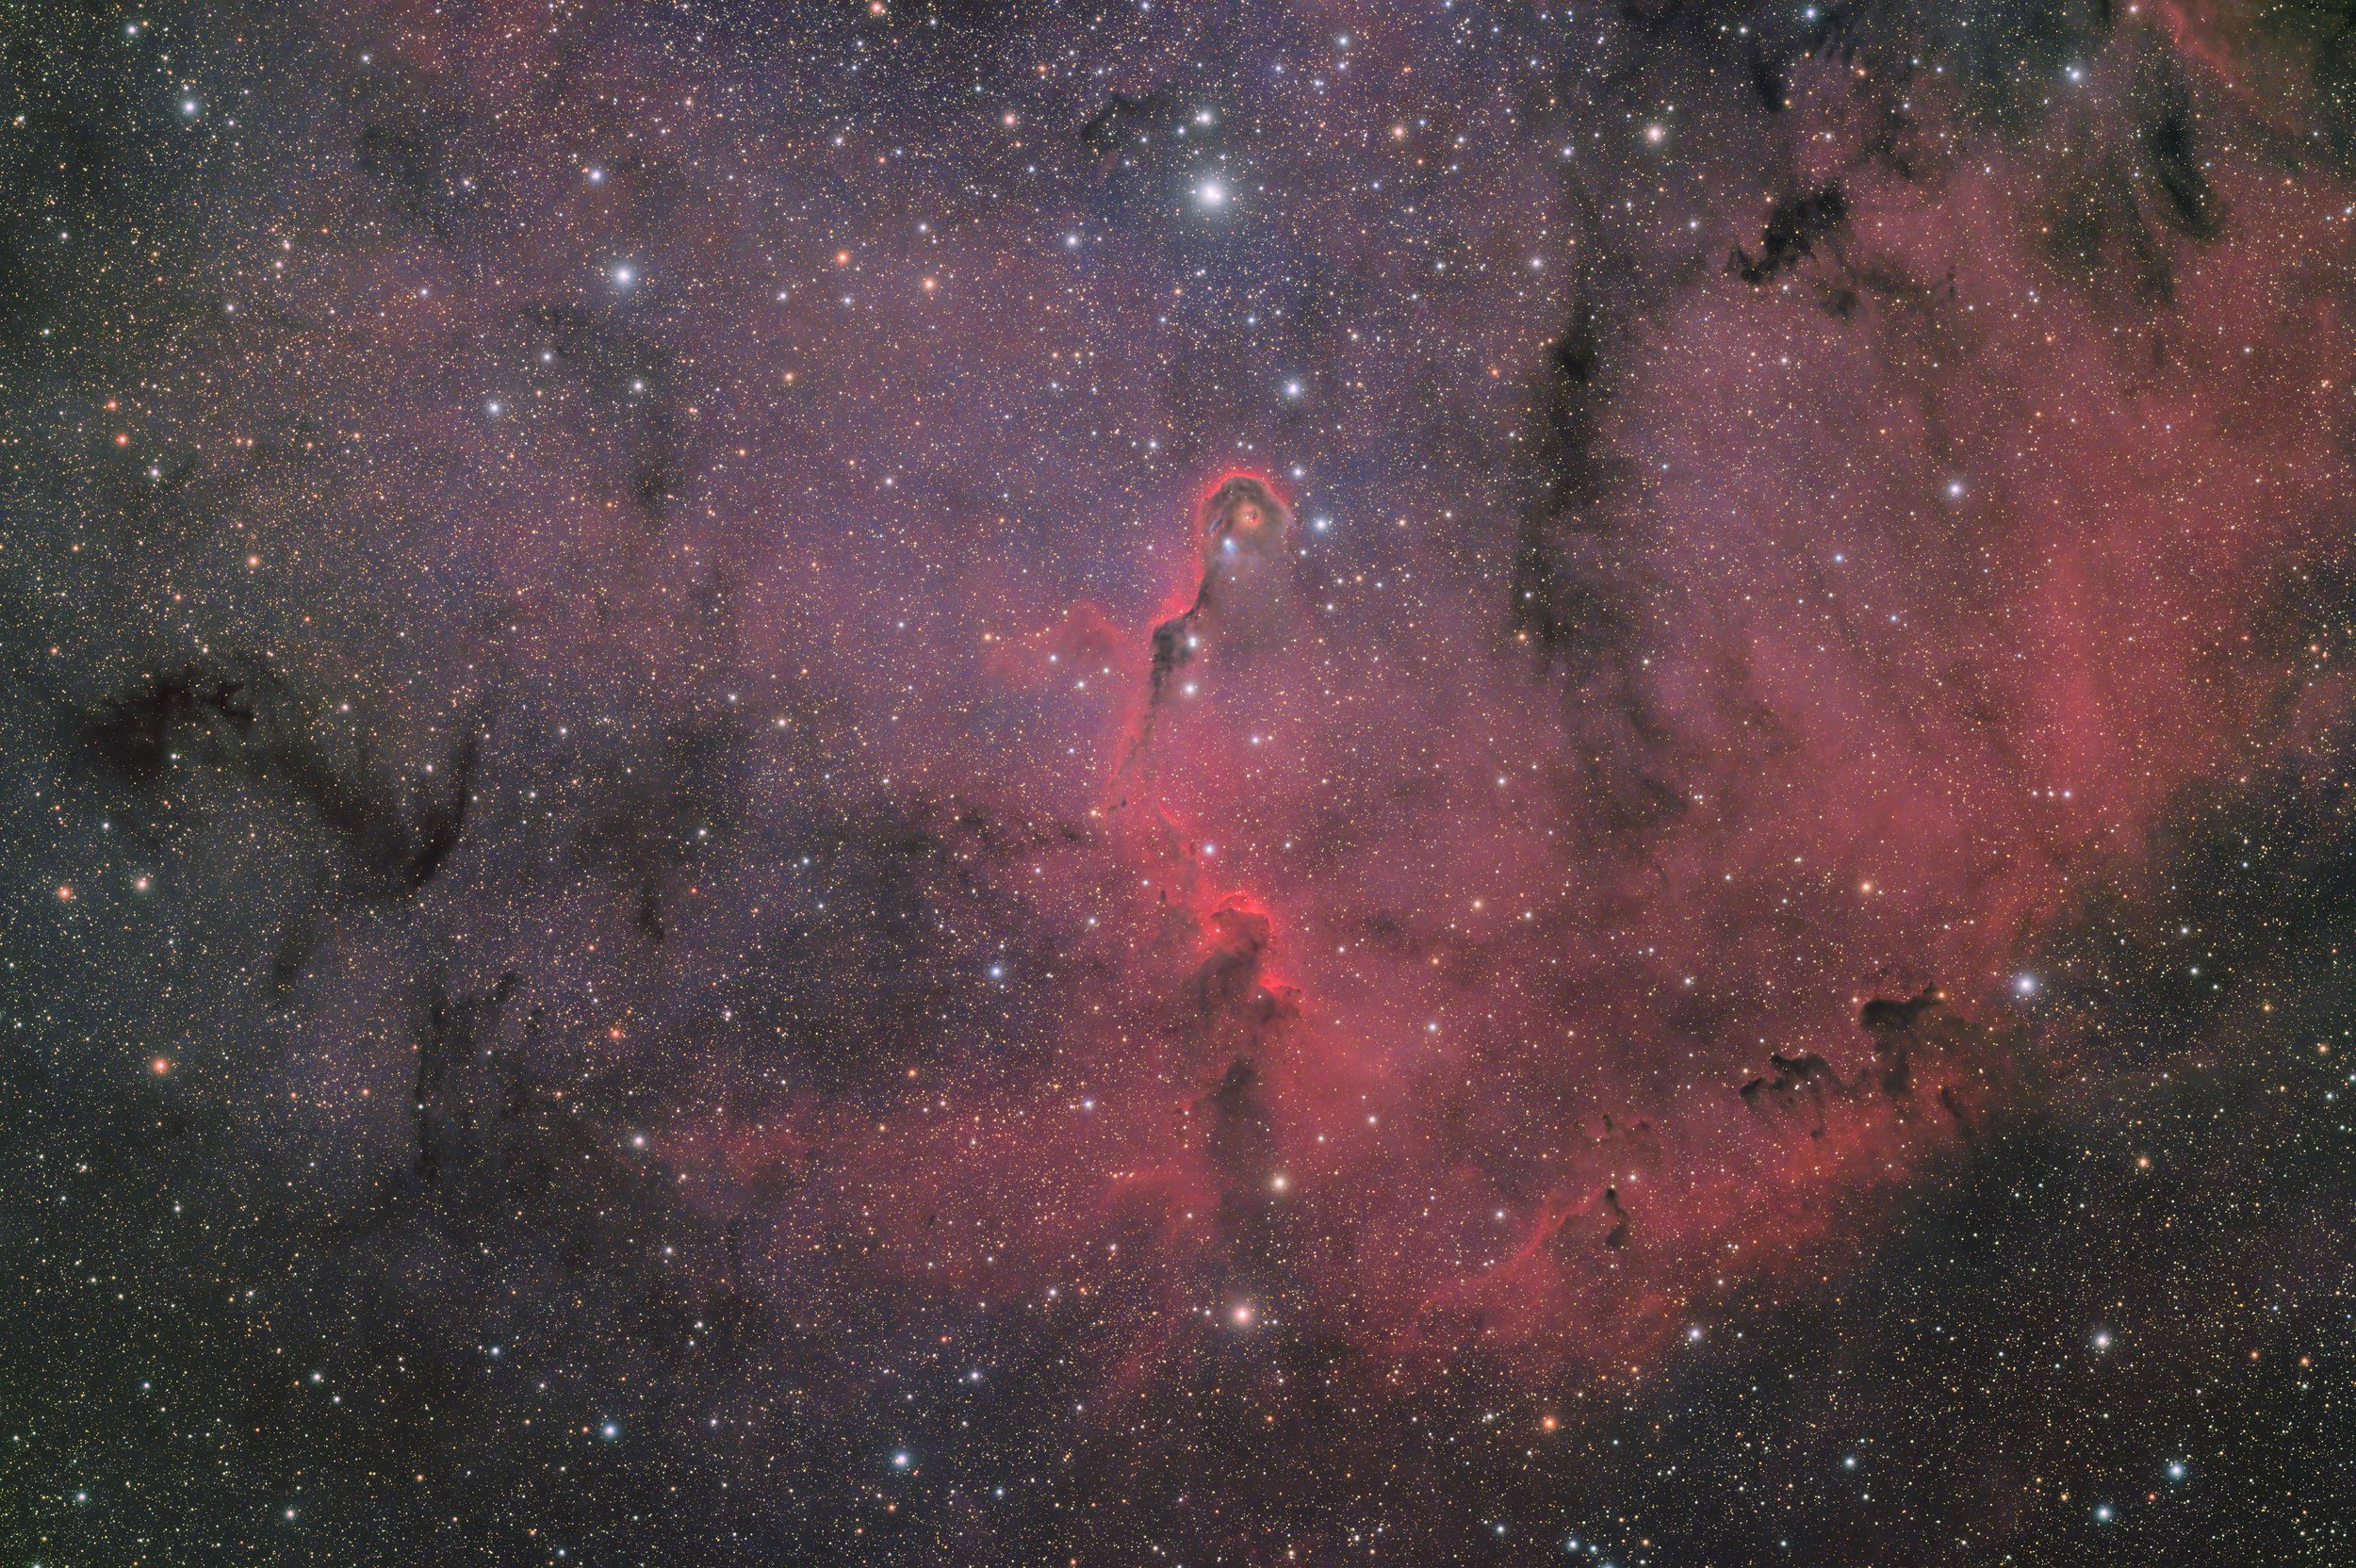
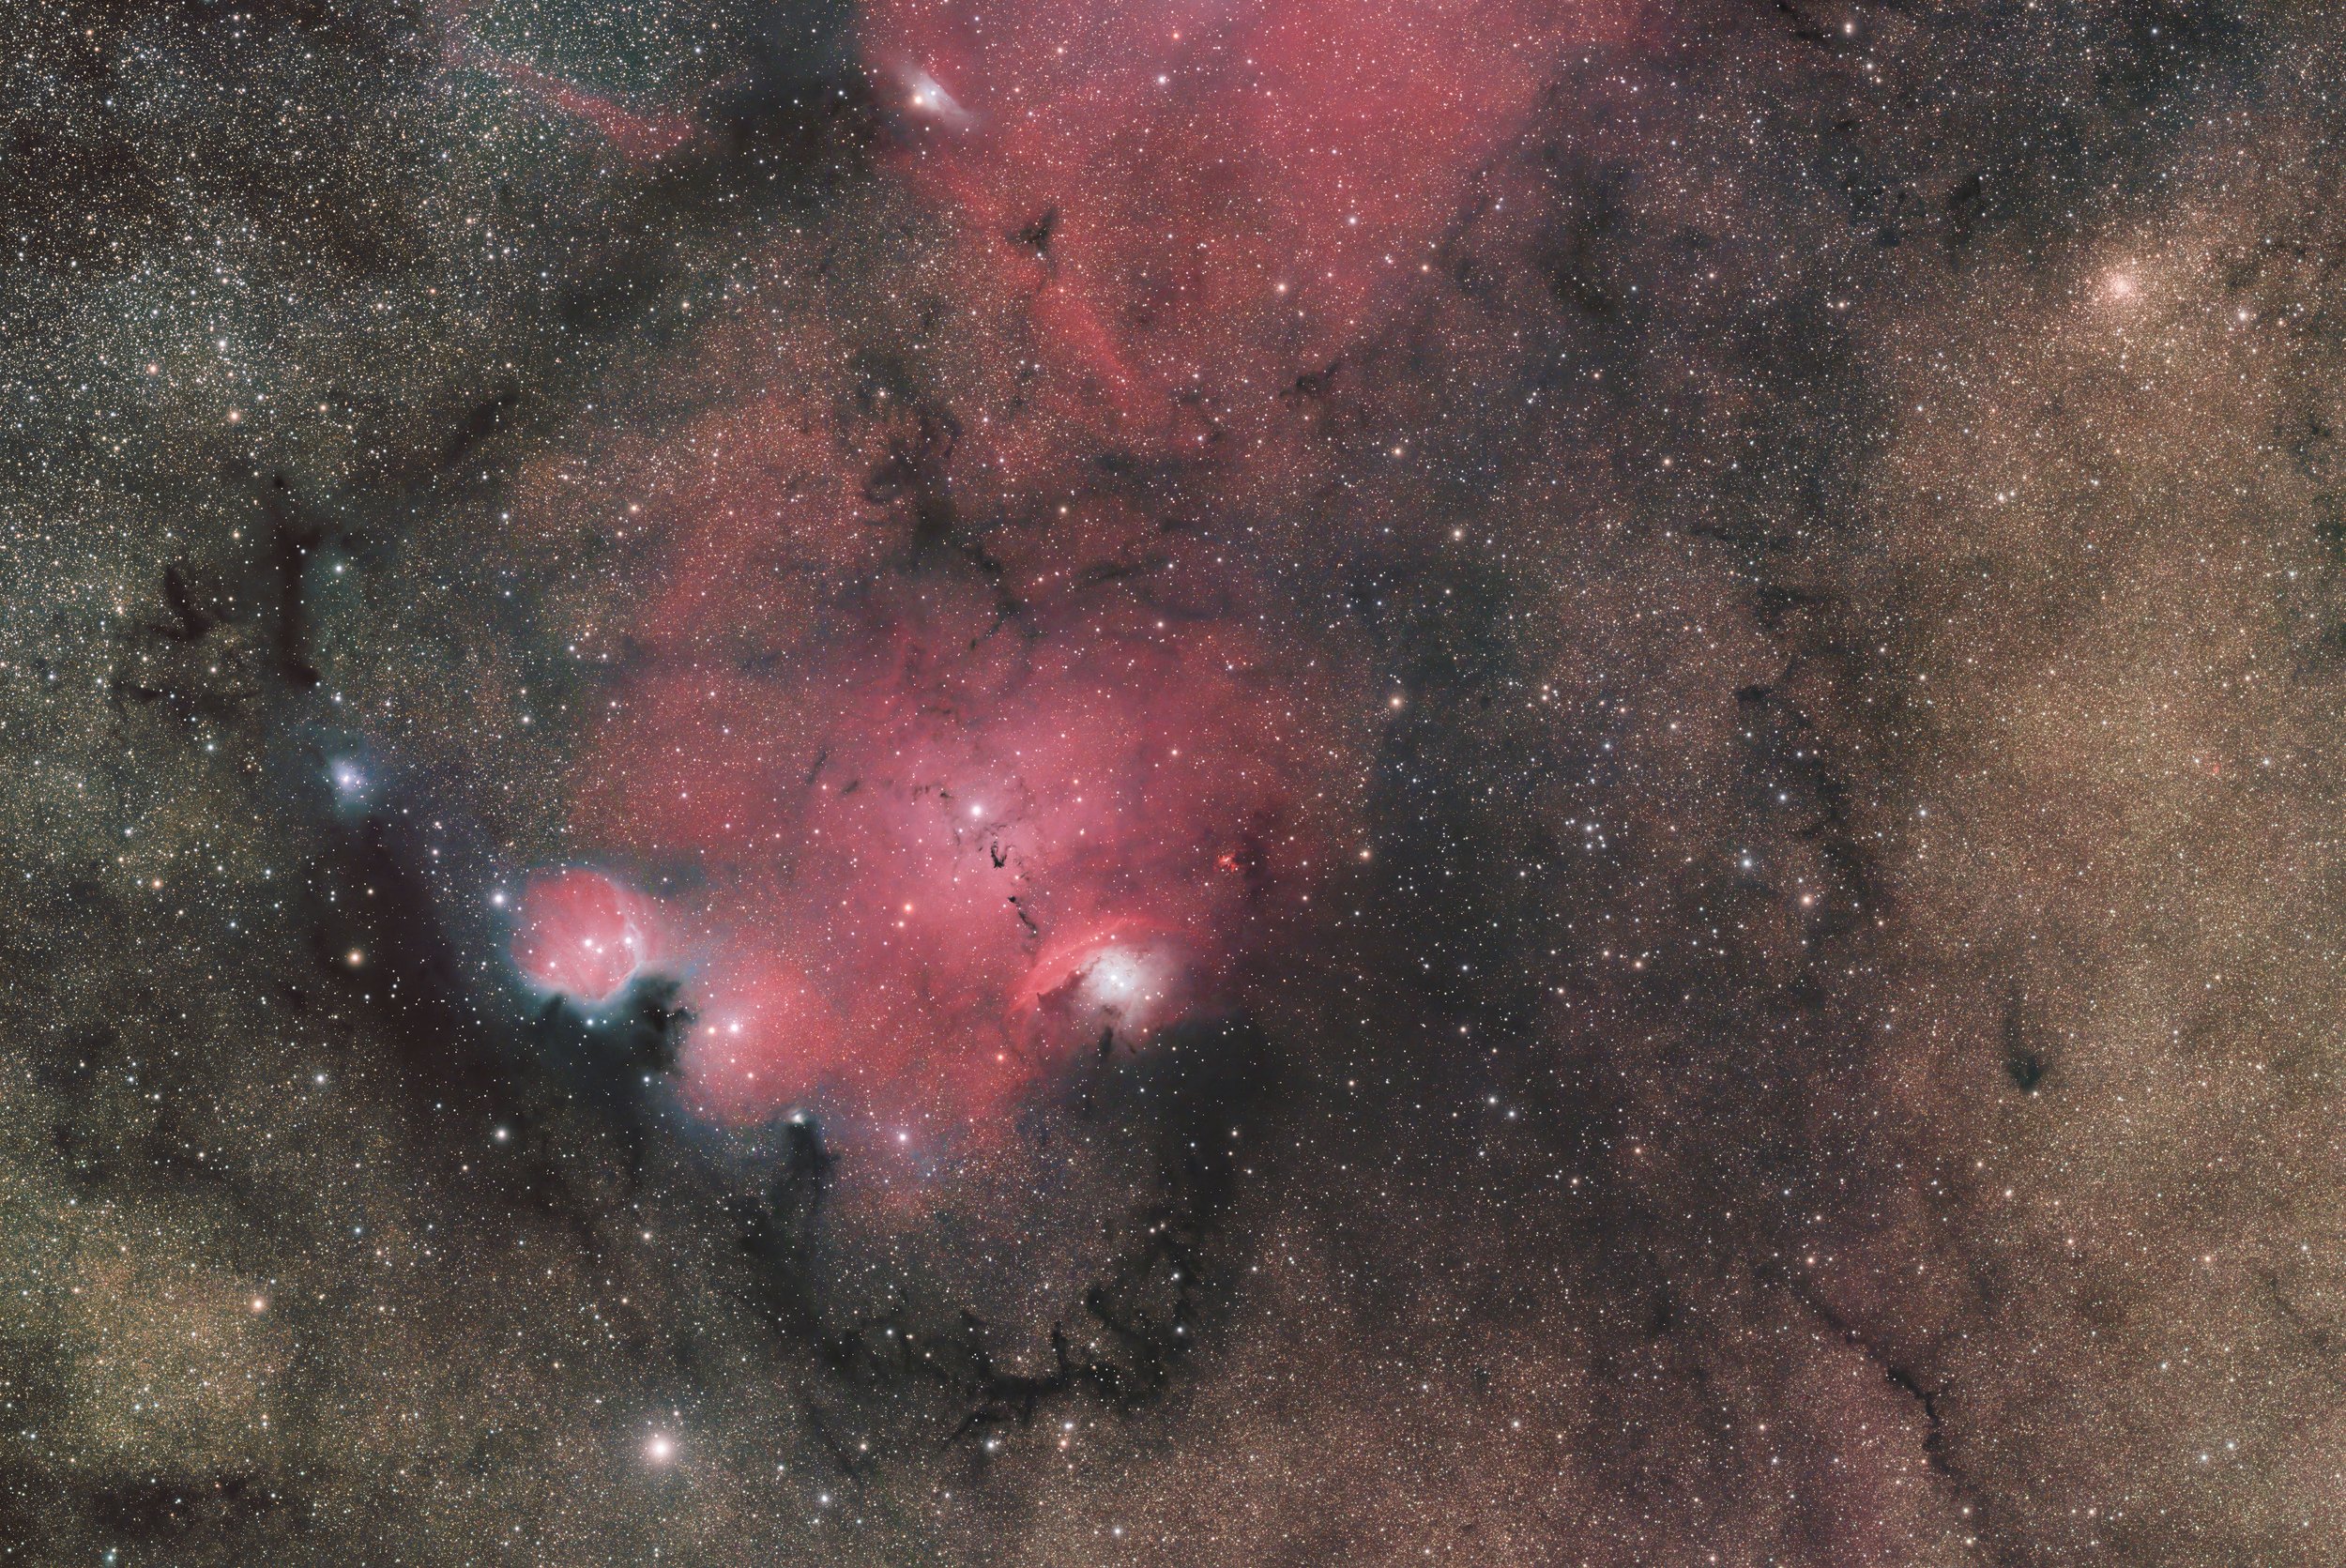
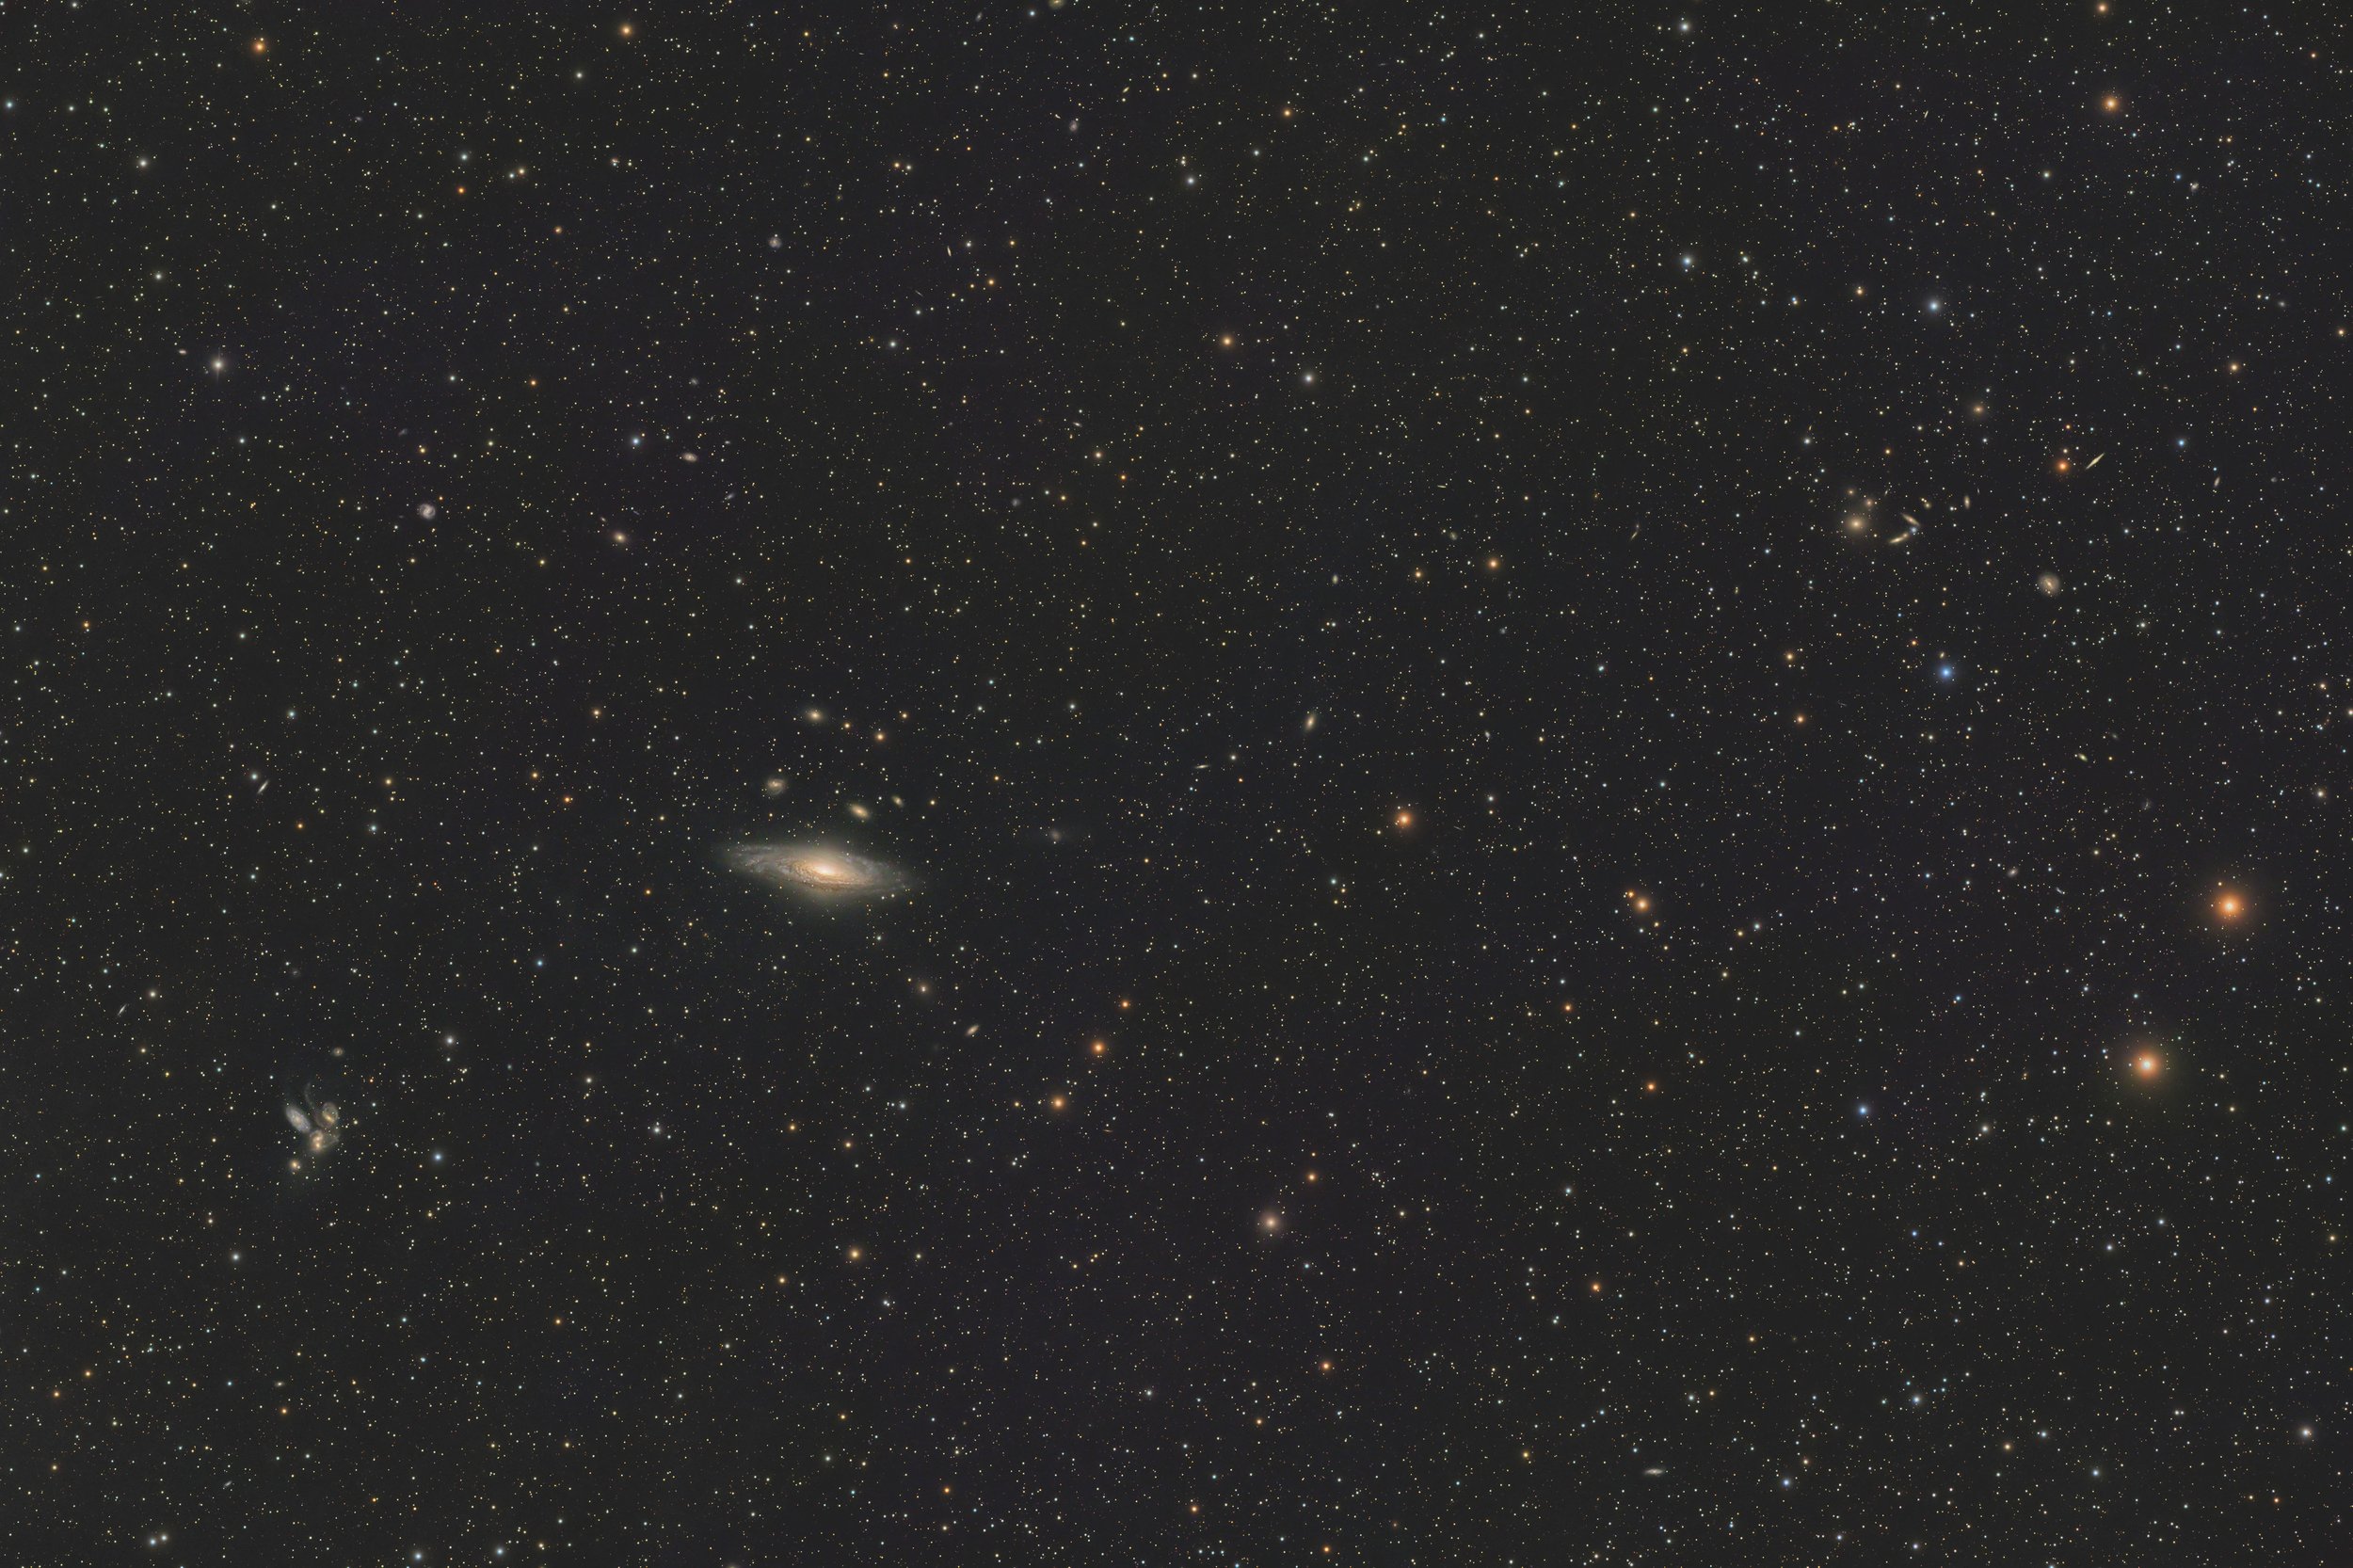
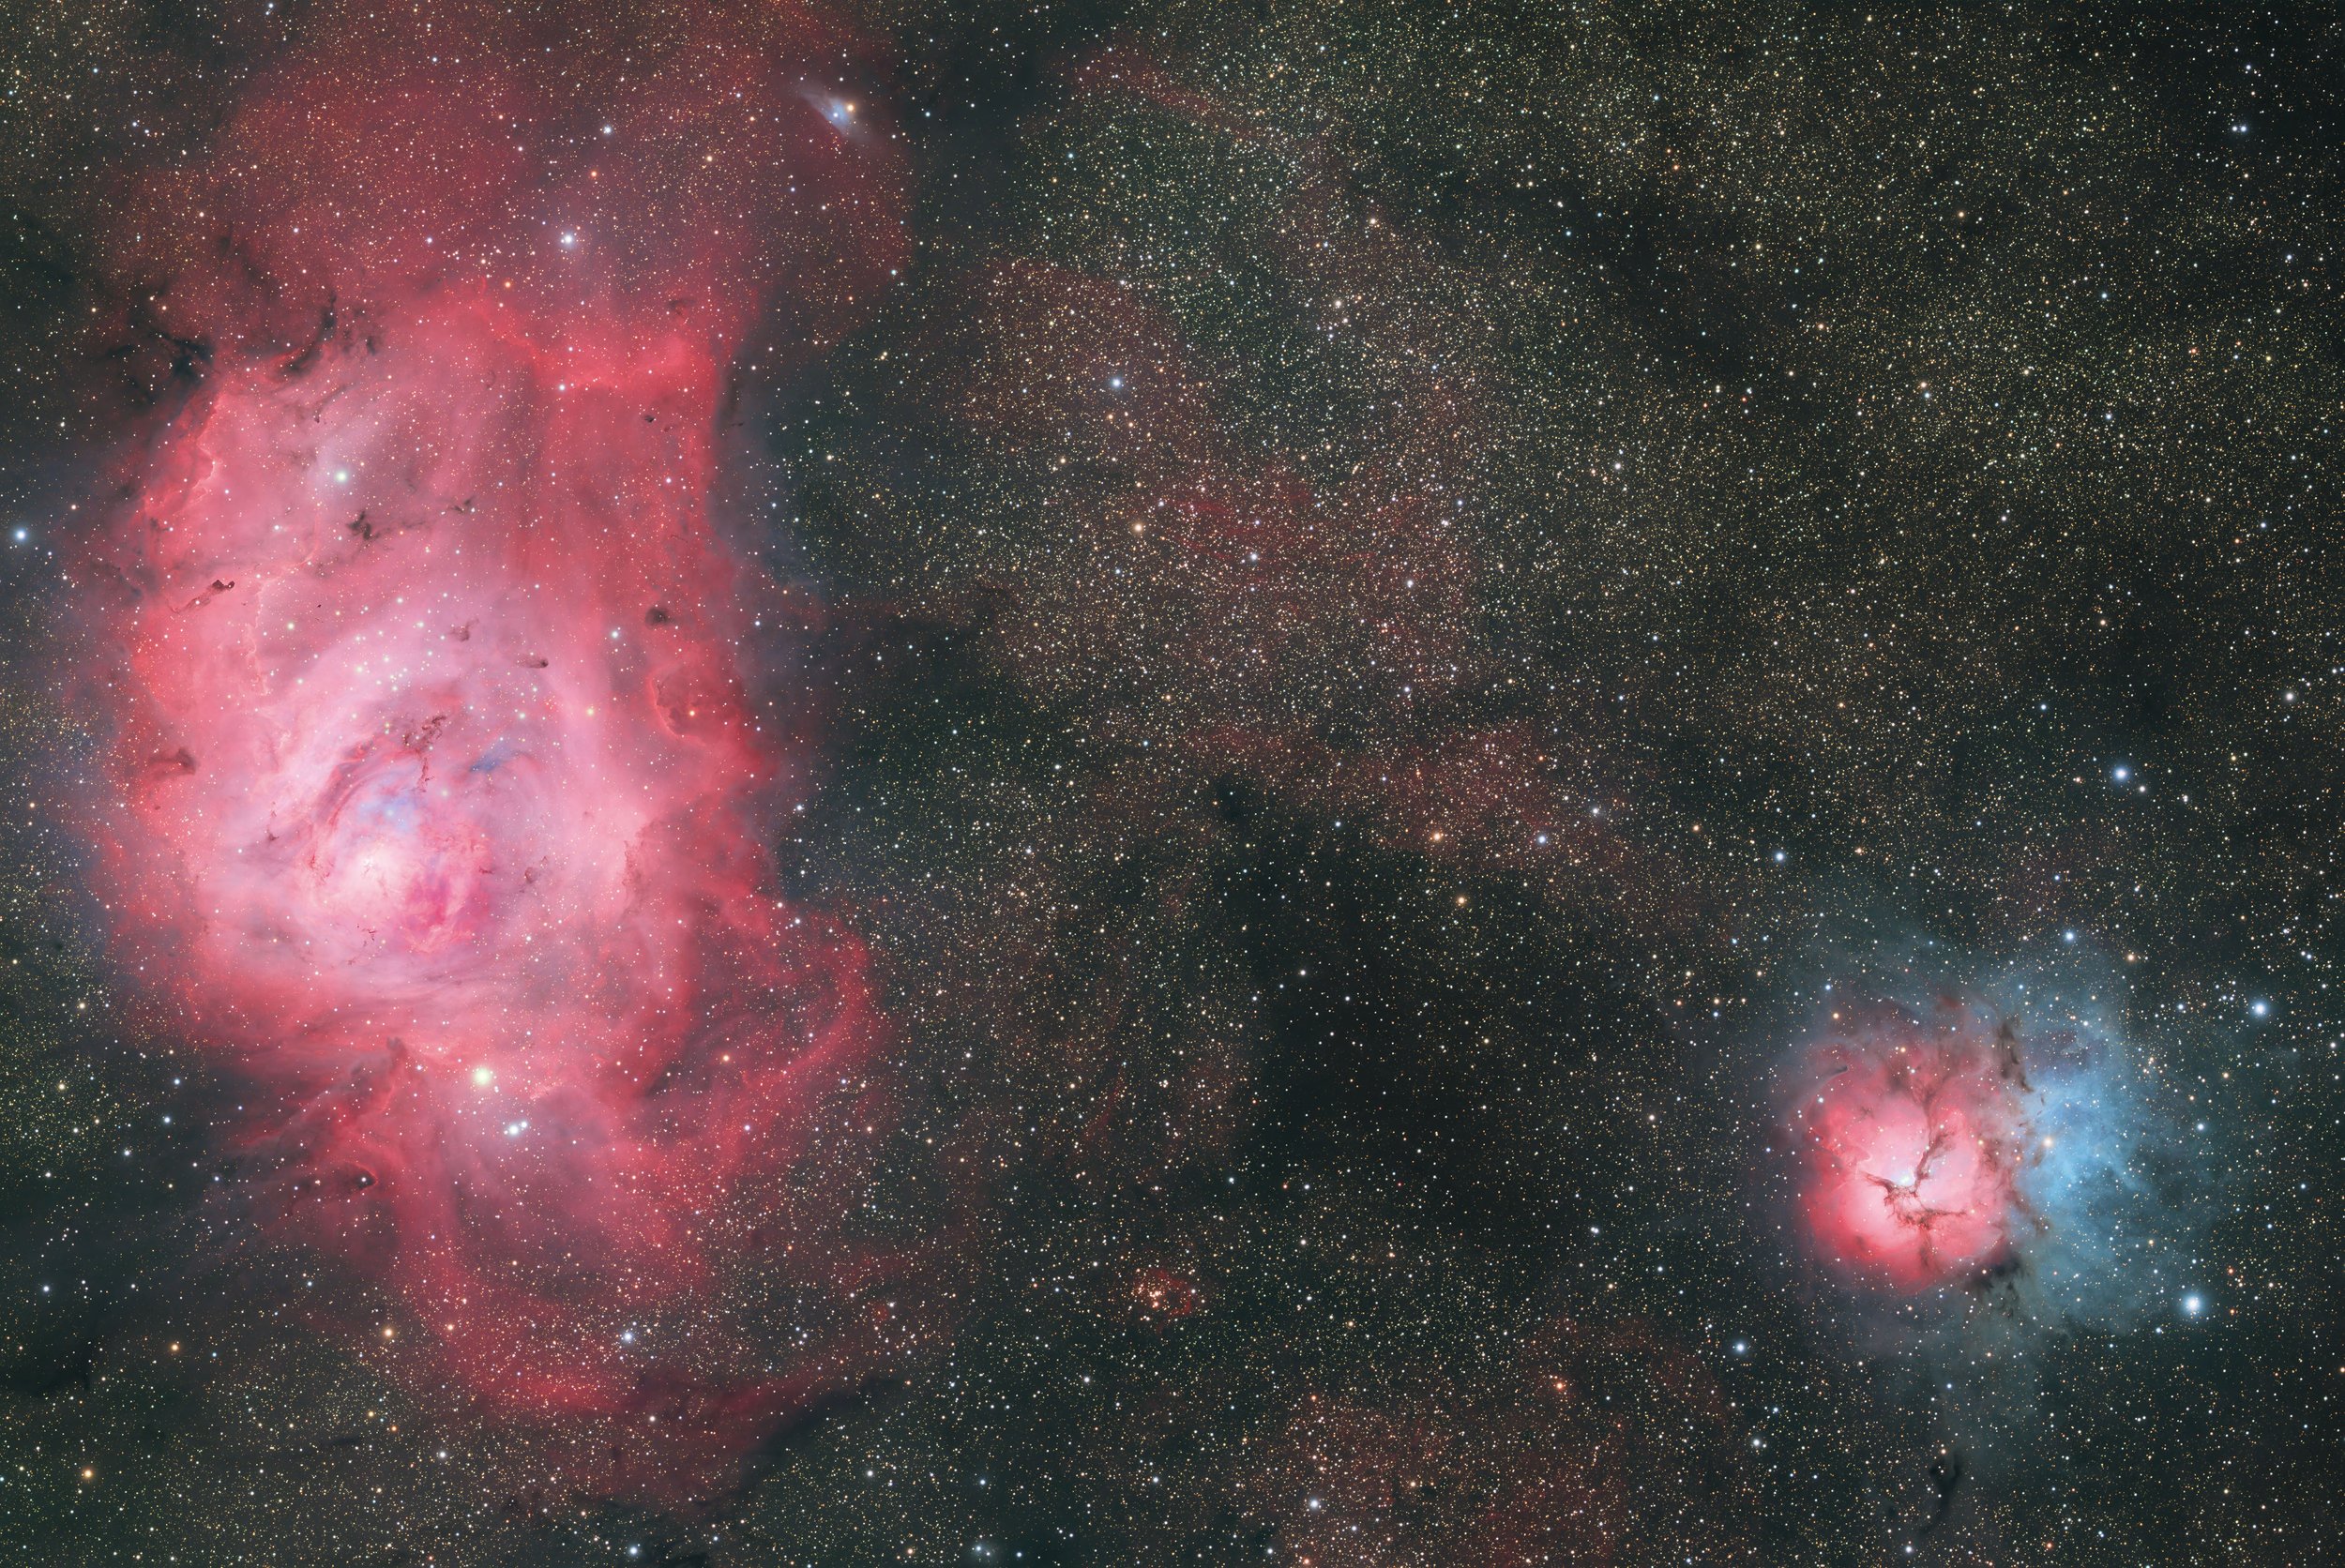
What kind of images can be shot from very dark remote skies?
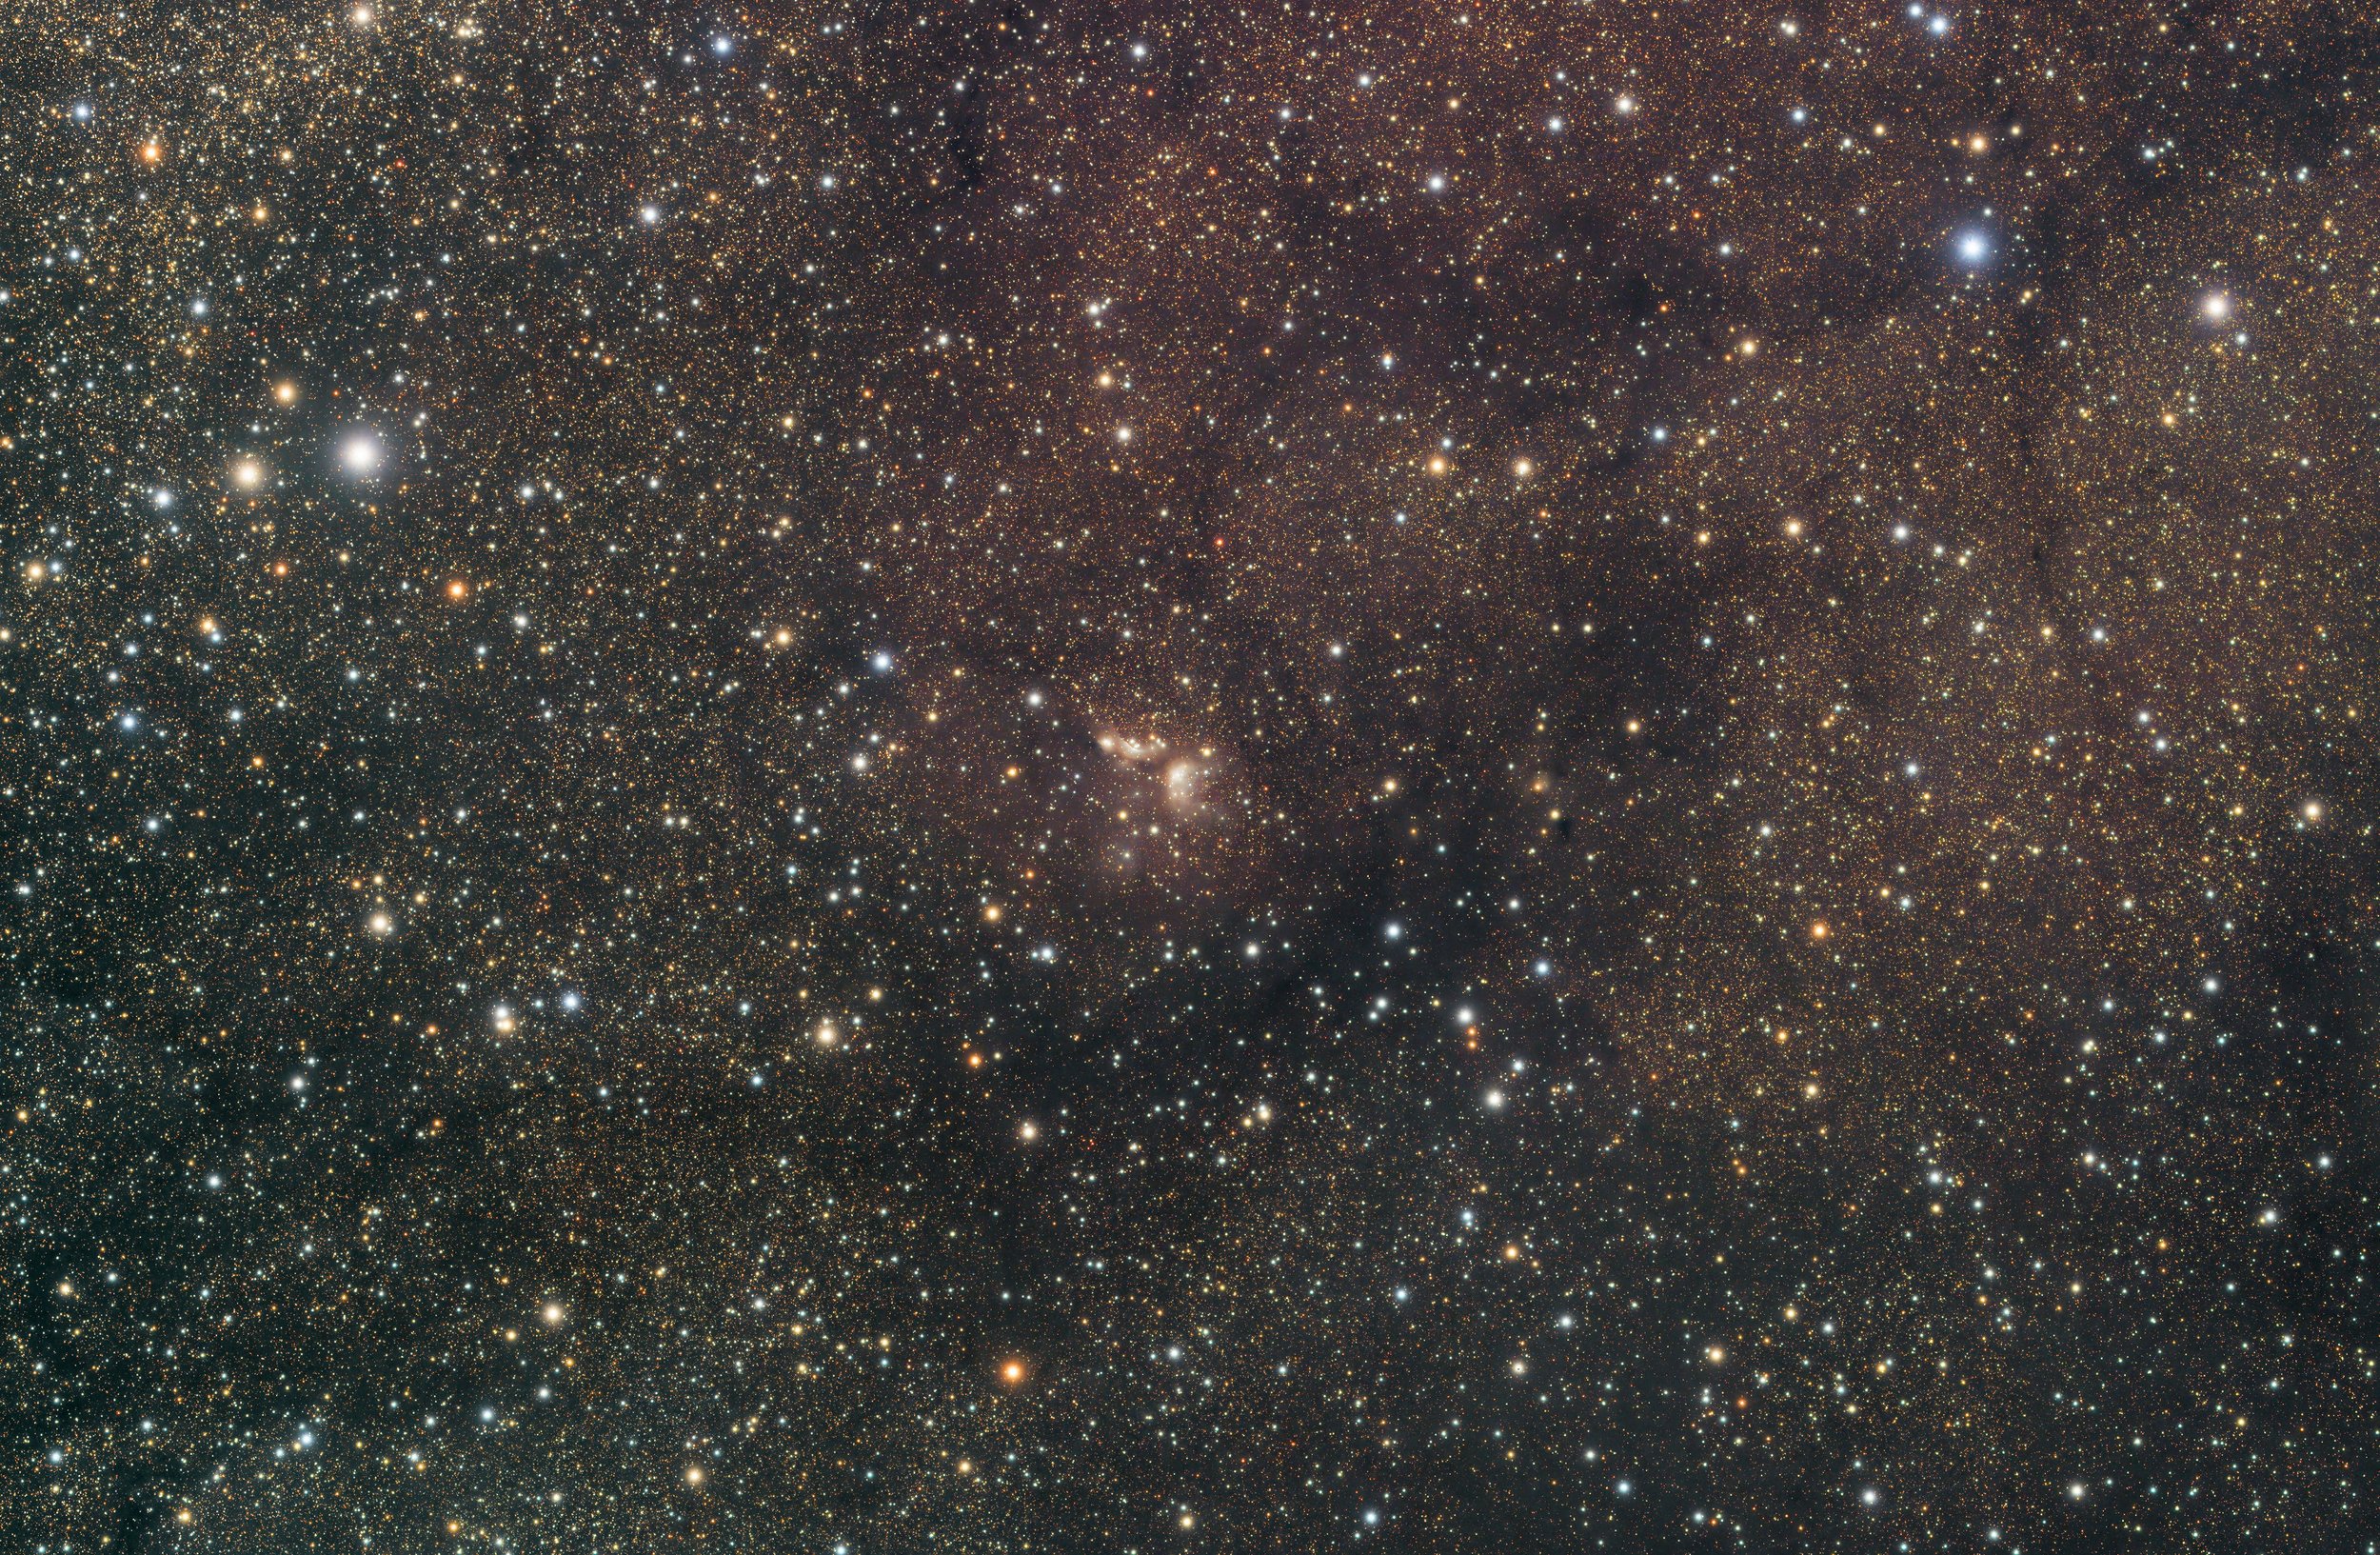
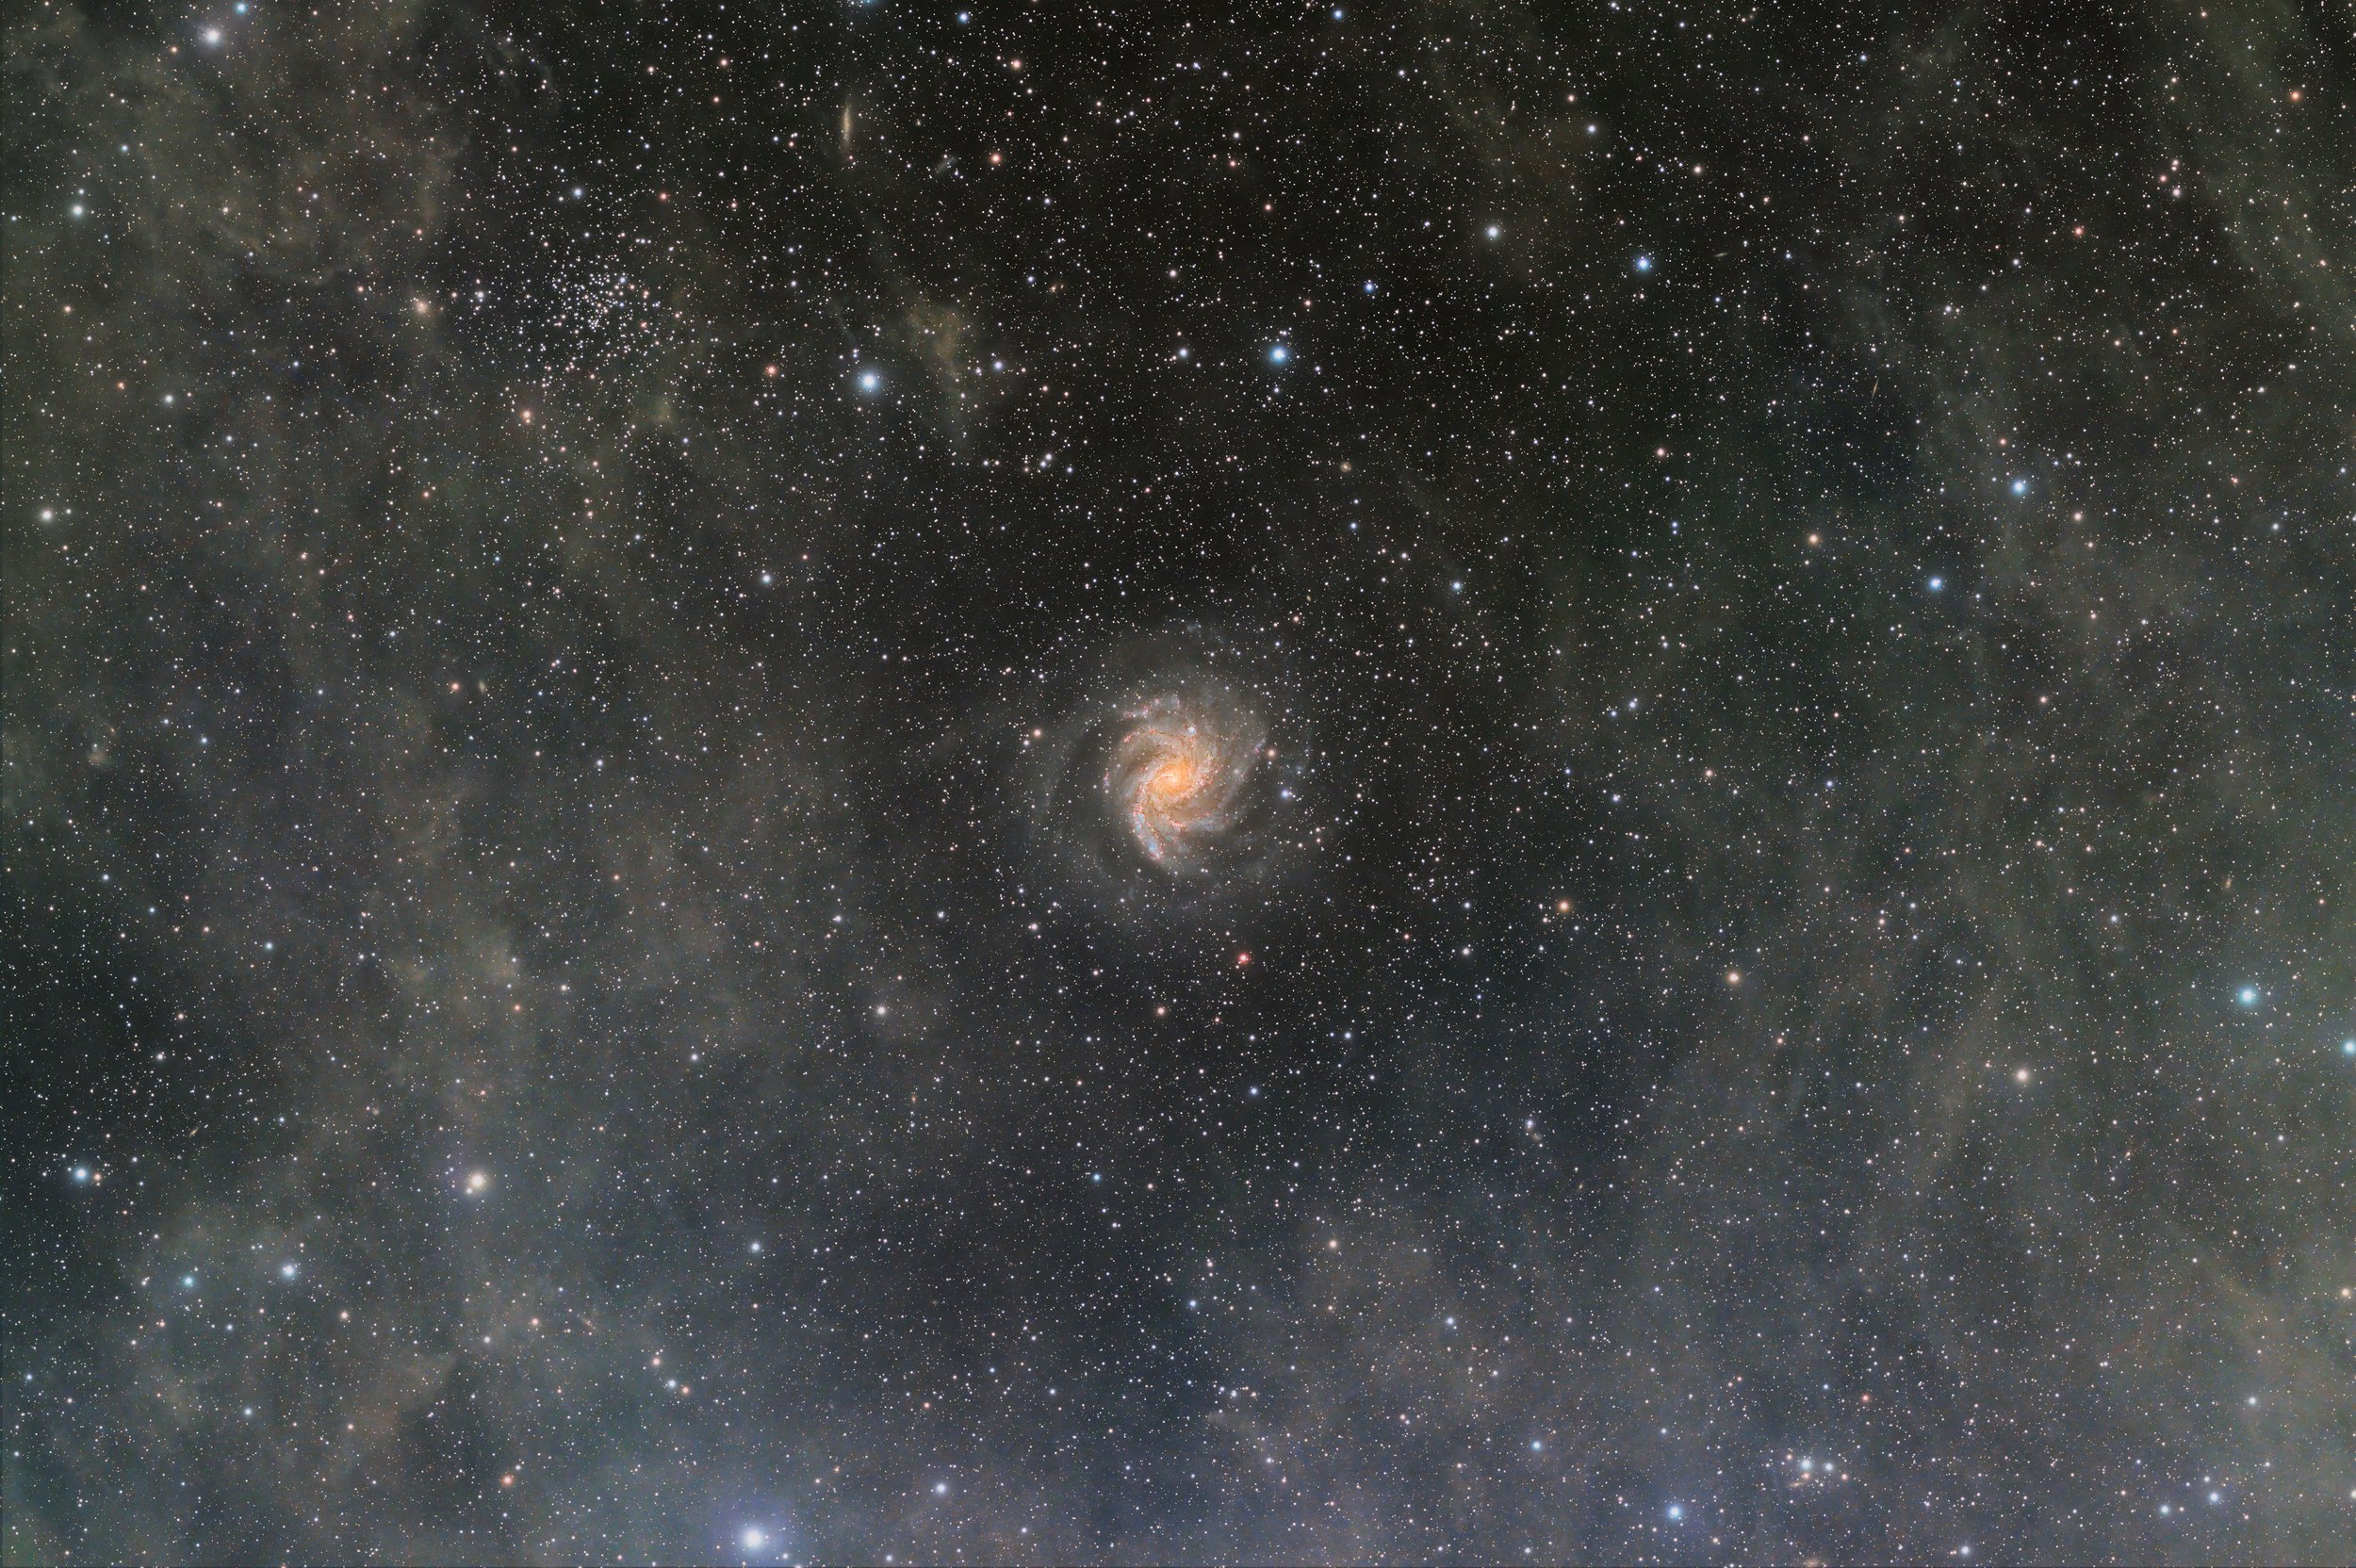
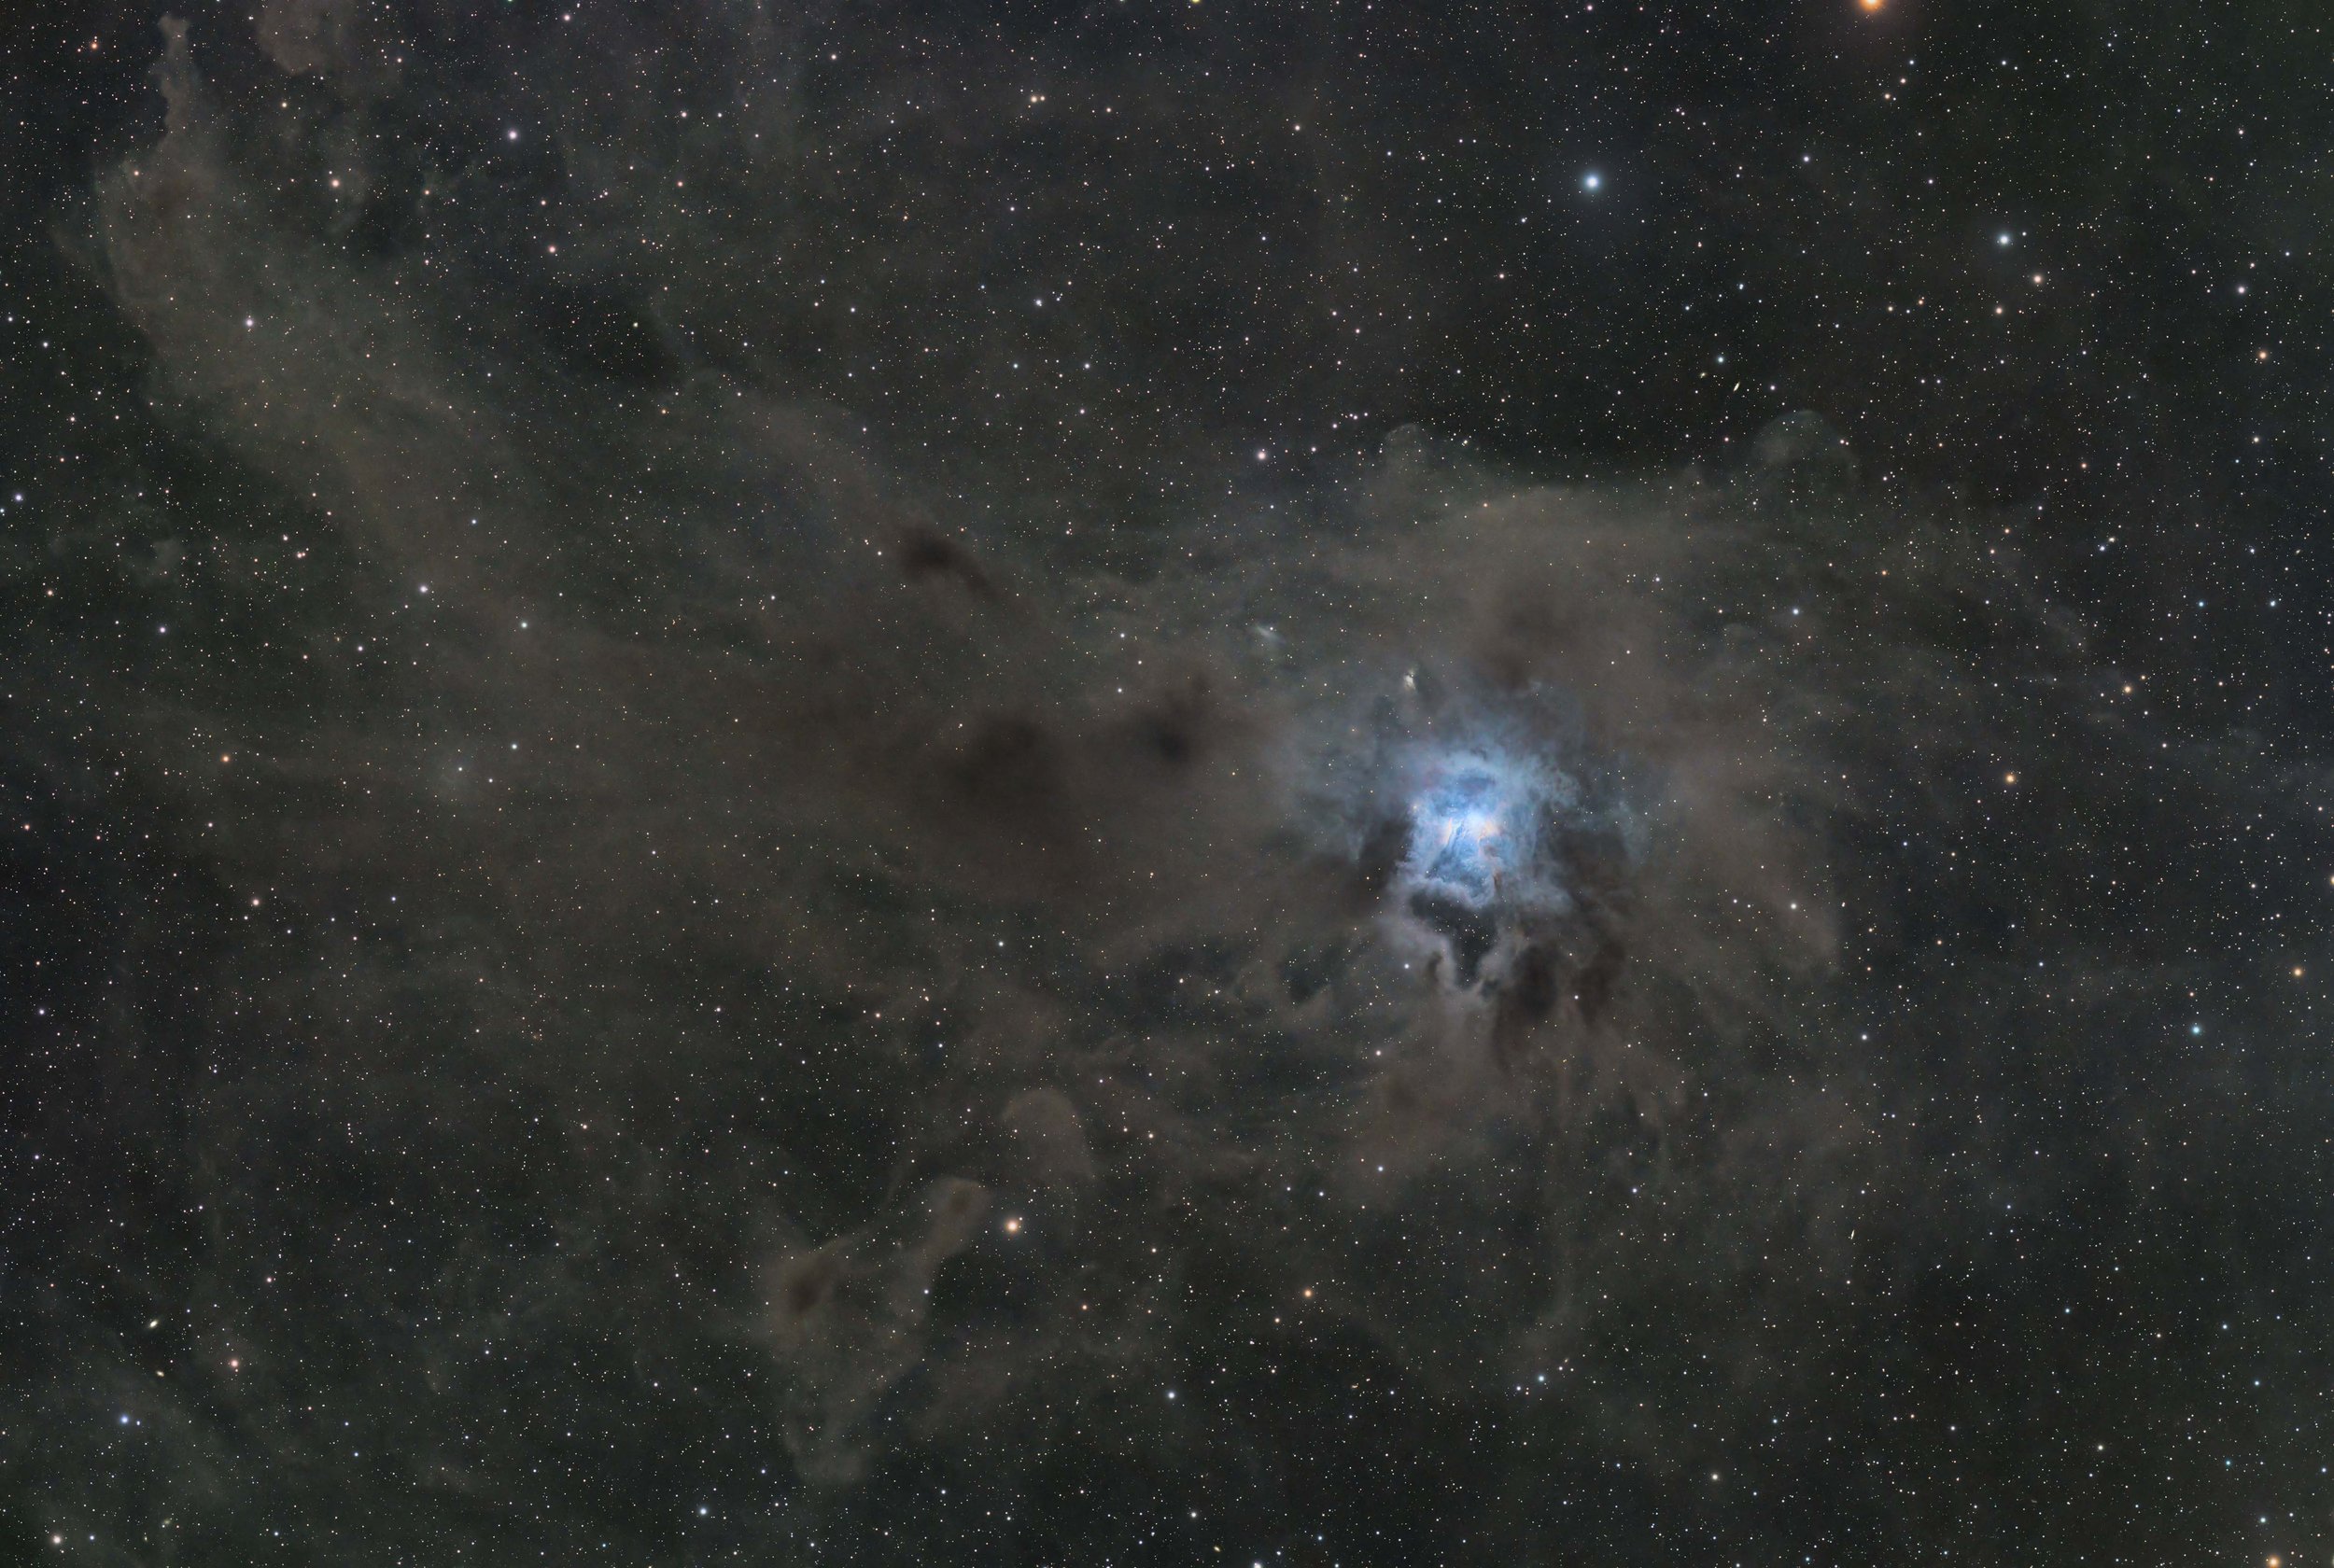
This is really the whole reason you even consider a remote setup. DSP Remote is a Bortle 1/2 dark sky. Just about the best you can get. It’s extremely dry, so you’re not shooting through humidity. Most nights the seeing is absolutely great. Even though I have access to southern skies now, I’ve been shooting a lot of northern targets that were too dark to image from my Bortle 9 back yard. This has been tremendously fun. Most of the images I’ve shot are between one and two nights worth of imaging. And almost all of them are broadband images with only 1 or two exceptions where I added HA or OIII data to my broadband image.
I cannot say enough great things about this setup and location. Ed has been great to work with, and if you want to consider hosting there, please use me as a referral. Ed is giving away hosting time for referrals, so you can do the same once you’re set up on sight. If you have any questions please reach out. I’m happy to share my NINA Advanced Sequence for the site which has safety stops included for the roof opening and closing. This allows me to image all through the night even if the roof closes for passing clouds or high winds and opens back up during the night.
I wanted to provide an update in 7/21/2025. I’m still hosting here at DSPR, and Ed is now offering some very competitive prices for medium to large rigs, with prices starting as low as $300/month.
My remote image gallery