
Astrophotography on macOS has come a long way since the early days of “figure it out yourself.” In 2025, you can do serious deep-sky imaging on a Mac with modern capture, guiding, plate-solving, and processing tools—and (finally) planetary imaging has a much better Mac-native path for stacking and sharpening.
Before we talk software, we need to cover one important fork in the road:
You must decide whether you want to photograph:
The Moon and planets (planetary imaging)
OR
Nebulae, star clusters, and galaxies (deep-sky / “DSO” imaging)
These aren’t mutually exclusive—you can do both—but the gear, capture style, and software workflow are different enough that beginners tend to have a better time picking one to start with.
If you’re just getting into the hobby, I also recommend reading my “5 things to consider if you’re interested in astrophotography” article.
Recommendations for your start in imaging on the Mac
Here’s the simplest way to understand the difference:
PLANETARY = “high speed video”
Short exposures
High frame rate video (hundreds/thousands of frames)
You keep the sharpest frames and stack them (“lucky imaging”)
DEEP SKY (DSO) = “long exposure photography”
Longer exposures (seconds to minutes)
Accurate tracking is critical
You stack many exposures (plus calibration frames), then process
If you’re not sure which one you want yet, use this quick guide:
If your telescope is a big Dobsonian or SCT and you love Jupiter/Saturn/Moon detail: start with PLANETARY.
If you want colorful nebulae and galaxies: start with DEEP SKY, and expect the mount to matter more than the telescope.
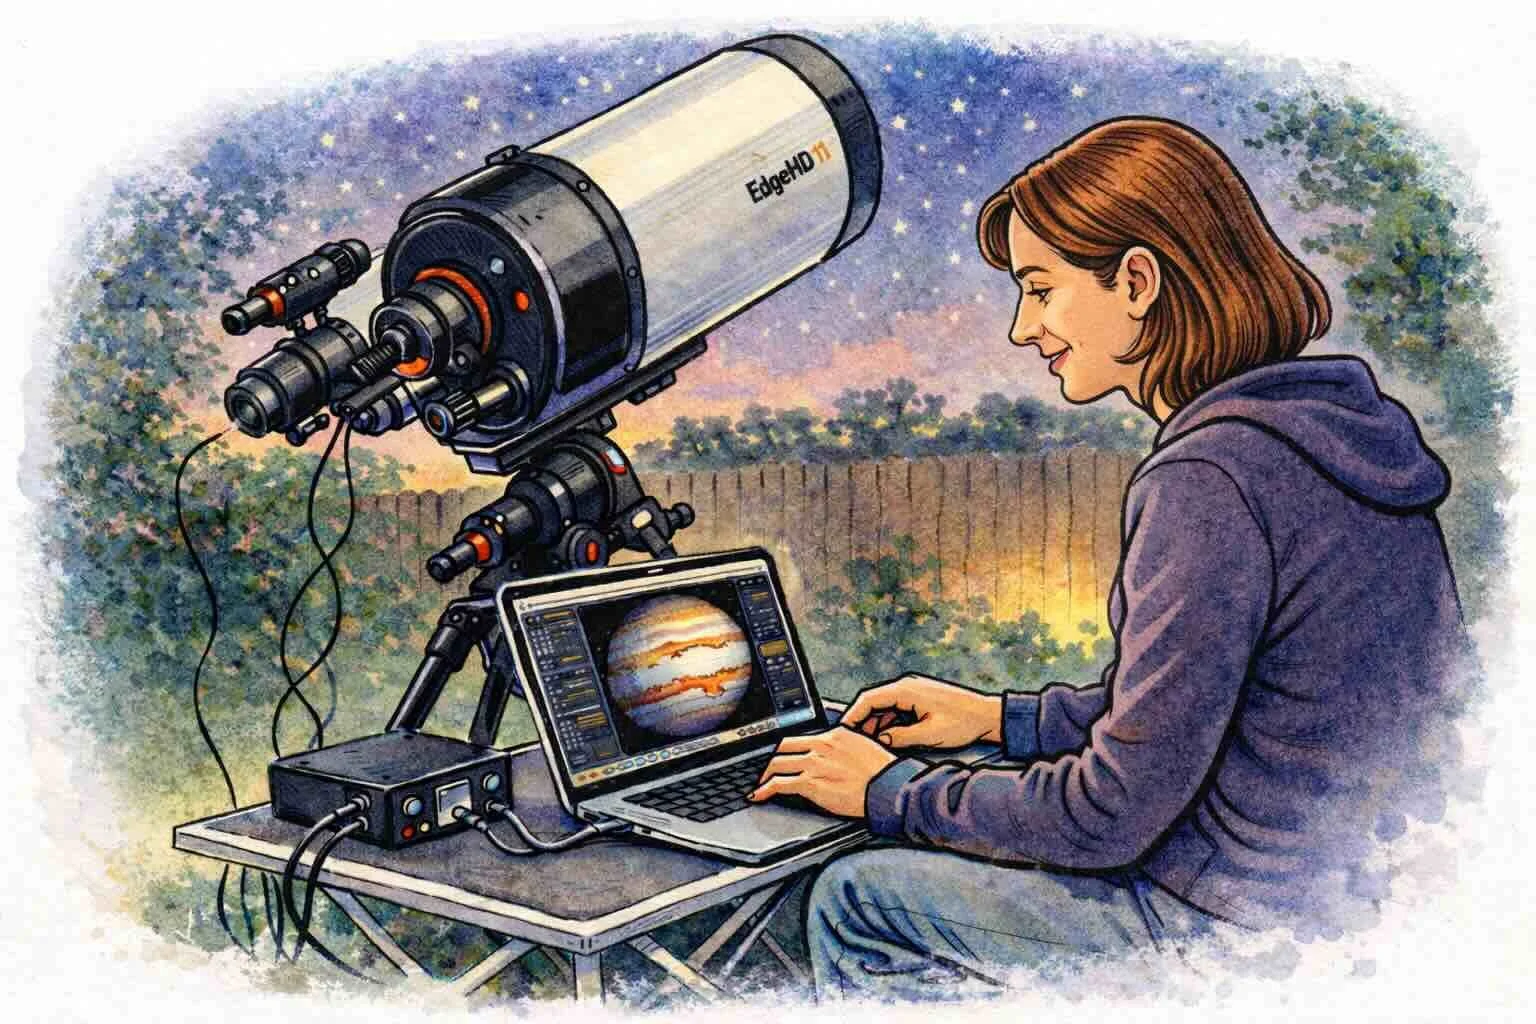
Planetary imaging on the Mac
Planetary is fairly straightforward to start.
Large aperture telescopes (6" and above) are great for planets, and you don’t need an equatorial mount to begin—an Alt/Az mount works fine because your exposures are extremely short. Your entry-level add-ons are a high-speed camera (or fast webcam-style astro camera) and a Mac laptop.
Since the planets are relatively small, the larger the scope and the longer the focal length, the more detail you can capture. The “secret sauce” is not long exposures—it’s collecting lots of frames and stacking the best ones.
Recommended starting software for planetary imaging (Mac)
CAPTURE (record video / SER)
oaCapture (free) — simple, cross-platform, works well for planetary capture
ZWO ASIStudio / ASICap (free) — very convenient if you use ZWO cameras
FireCapture (free) — more advanced capture controls once you’re ready
AstroaDMx Capture (paid/free tiers depending on platform) — another solid Mac-capable capture option
STACKING + SHARPENING (this used to be the Mac “gap”… not anymore)
Planet Stacker X (free, macOS-native) — modern, easy, and purpose-built for stacking + wavelet sharpening on a Mac
PlanetarySystemStacker (free) — excellent results; now much easier on macOS thanks to a launcher-style installer (This is the closest equivalent to Autostakkert on the PC.)
Siril (free) — can stack planetary too, and it’s a great “one tool” option if you’re also learning deep-sky later
POST-PROCESSING (optional, but helpful)
LuckyStackWorker (free) — fast, practical sharpening/denoise workflow after you’ve stacked
A simple planetary workflow that works
Capture a short video of the planet (often 1–3 minutes depending on the target)
Stack the best frames (Planet Stacker X / PSS / Siril)
Sharpen carefully (Planet Stacker X wavelets and/or LuckyStackWorker)
Final color/contrast tweaks
Note: In the past, Mac users had to lean heavily on PixInsight as the only “serious” way to recover fine detail on planets. These days, Planet Stacker X and LuckyStackWorker finally give Mac users a more direct, modern planetary path.
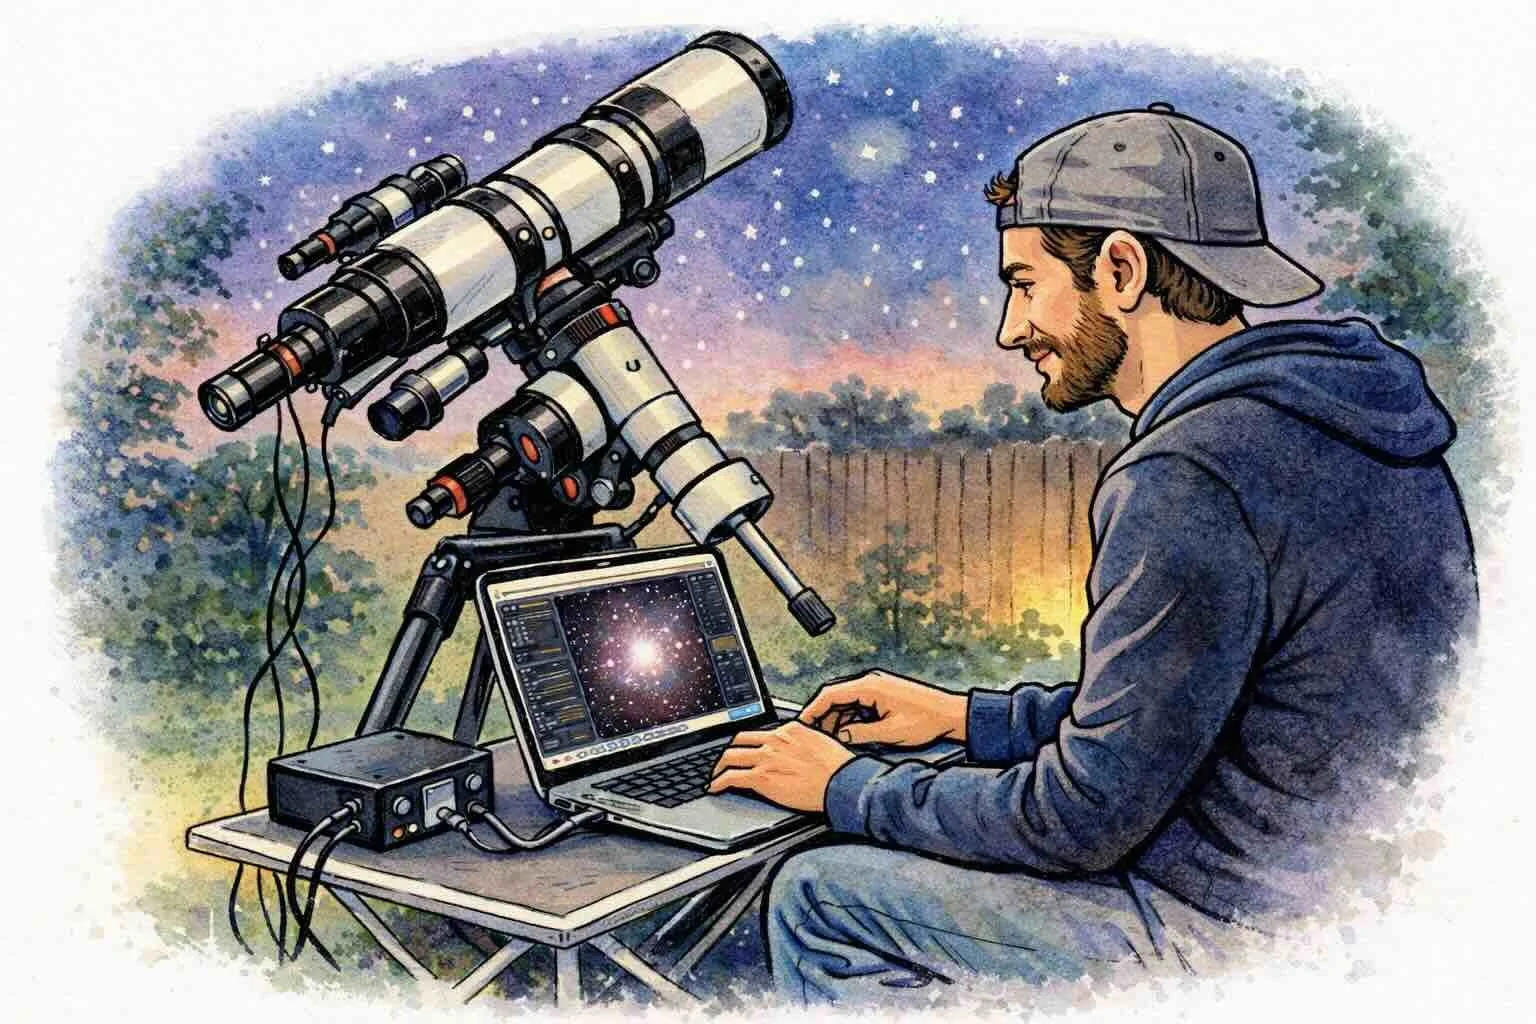
Deep sky object imaging on the Mac
DSO imaging requires more effort because you’re taking longer exposures. That means tracking your target across the sky accurately becomes a requirement, and for most beginners that points to a German Equatorial Mount (GEM) (or a modern harmonic EQ mount).
Deep-sky objects also vary greatly in size—many are larger than the Moon in the sky. Because of this, a giant telescope is NOT the best way to start.
In fact, it’s preferable to begin with a small refractor (often around 60–80mm), because:
it’s lighter and easier for the mount to track
it’s less sensitive to wind and vibration
it’s more forgiving of small guiding/tracking errors
As your focal length goes up, the difficulty (and cost) increases fast. Starting small is the difference between “this is fun” and “why is nothing working?”
Additional requirements for deep-sky
A main imaging camera (DSLR you already own OR a dedicated astro camera)
Guiding camera + guide scope (or an off-axis guider)
Guiding watches a star and sends tiny corrections to your mount so your long exposures stay sharp. With entry-level mounts, this is often the difference between keepers and frustration.
Recommended starting software for deep sky imaging (Mac)
CAPTURE + CONTROL (running your imaging session)
Choose one “control center”:
AstroImager (paid) — Mac-native capture and sequencing (great if you want a very Mac-first experience)
AstroDSLR (paid) — if you’re capturing with a DSLR
KStars + Ekos (free) — a powerful, full-featured imaging suite on Mac (capture, plate solving, sequencing, focusing tools, etc.)
INDIGO A1 (free ecosystem + paid apps) — a very Mac-centric device/control ecosystem (server at the scope, control from your Mac, or do it all from the Mac)
ASIAIR app (free) — if you’re in the ASIAIR ecosystem, this is an easy path from a Mac (Apple Silicon Macs support the Mac app)
GUIDING
PHD2 (free) — the standard guiding software, available for macOS
STACKING + PROCESSING (turning frames into a finished image)
Pick a processing “home base”:
Siril (free) — excellent calibration/stacking and a strong learning-friendly processing path
Astro Pixel Processor (paid) — very approachable end-to-end workflow for stacking and processing
PixInsight (paid) — the deep end of the pool (powerful, but more learning curve)
StarTools (paid) — a very different (and often beginner-friendly) processing philosophy once it clicks
Two very common “add-ons” in modern workflows
GraXpert (free) — gradient removal (light pollution, uneven background, vignetting)
A careful AI-assisted step (optional) — many imagers use star removal and denoise tools, but the best results come from restraint
A simple deep-sky workflow that works
Polar align (or equivalent alignment workflow)
Plate solve / frame your target
Capture a sequence (with dithering if you’re guiding)
Calibrate + stack (dark/flat/bias as needed)
Process (background/gradients → stretch → color → detail/noise control)
If you’re new to deep-sky, your biggest “aha” moments usually come from learning:
calibration frames (darks/flats/bias)
dithering (reduces pattern noise and makes stacking cleaner)
plate solving (centering targets becomes easy)
Glossary (quick and beginner-friendly)
Stacking: combining many frames to reduce noise and improve detail
Guiding: a second camera helps correct tracking errors during long exposures
Dithering: tiny shifts between exposures to reduce fixed pattern noise
Plate solving: software figures out exactly where your telescope is pointed by matching star patterns
Where to go next
If you’re brand new, I recommend starting with one of these:
Planetary: Planet Stacker X + LuckyStackWorker (simple, modern Mac workflow)
Deep sky: KStars/Ekos or AstroImager + PHD2 + Siril (a strong Mac-first foundation)
I’ll continue to keep this guide updated as Mac software evolves. You can also view the full list of available Mac software here.
Support Mac Observatory
If you’d like to support Mac Observatory, please consider purchasing your astronomy gear through Agena Astro using my links on the site. It doesn’t cost you anything extra, and it helps fund future Mac Observatory articles and reviews.